





22 Best Core Exercises for Women Over 60
Low-impact moves, a sturdy chair, and a weekly chart help you build stability without forcing your back, neck, or wrists.
By Dr. Alan Pierce, PT, DPT, Health Reviewer
Updated · 18 min read
The short answer: The best core exercises for women over 60 include glute bridges, bird dog, dead bugs, pelvic tilts, and planks scaled to a wall or the knees. Seated bracing and chair marching offer options without floor work. Start with controlled movement and choose positions that spare your neck, back, and wrists. Core sessions fit two or three days a week.
- Written by our health reviewer
- Cited 15 sources
- How we review
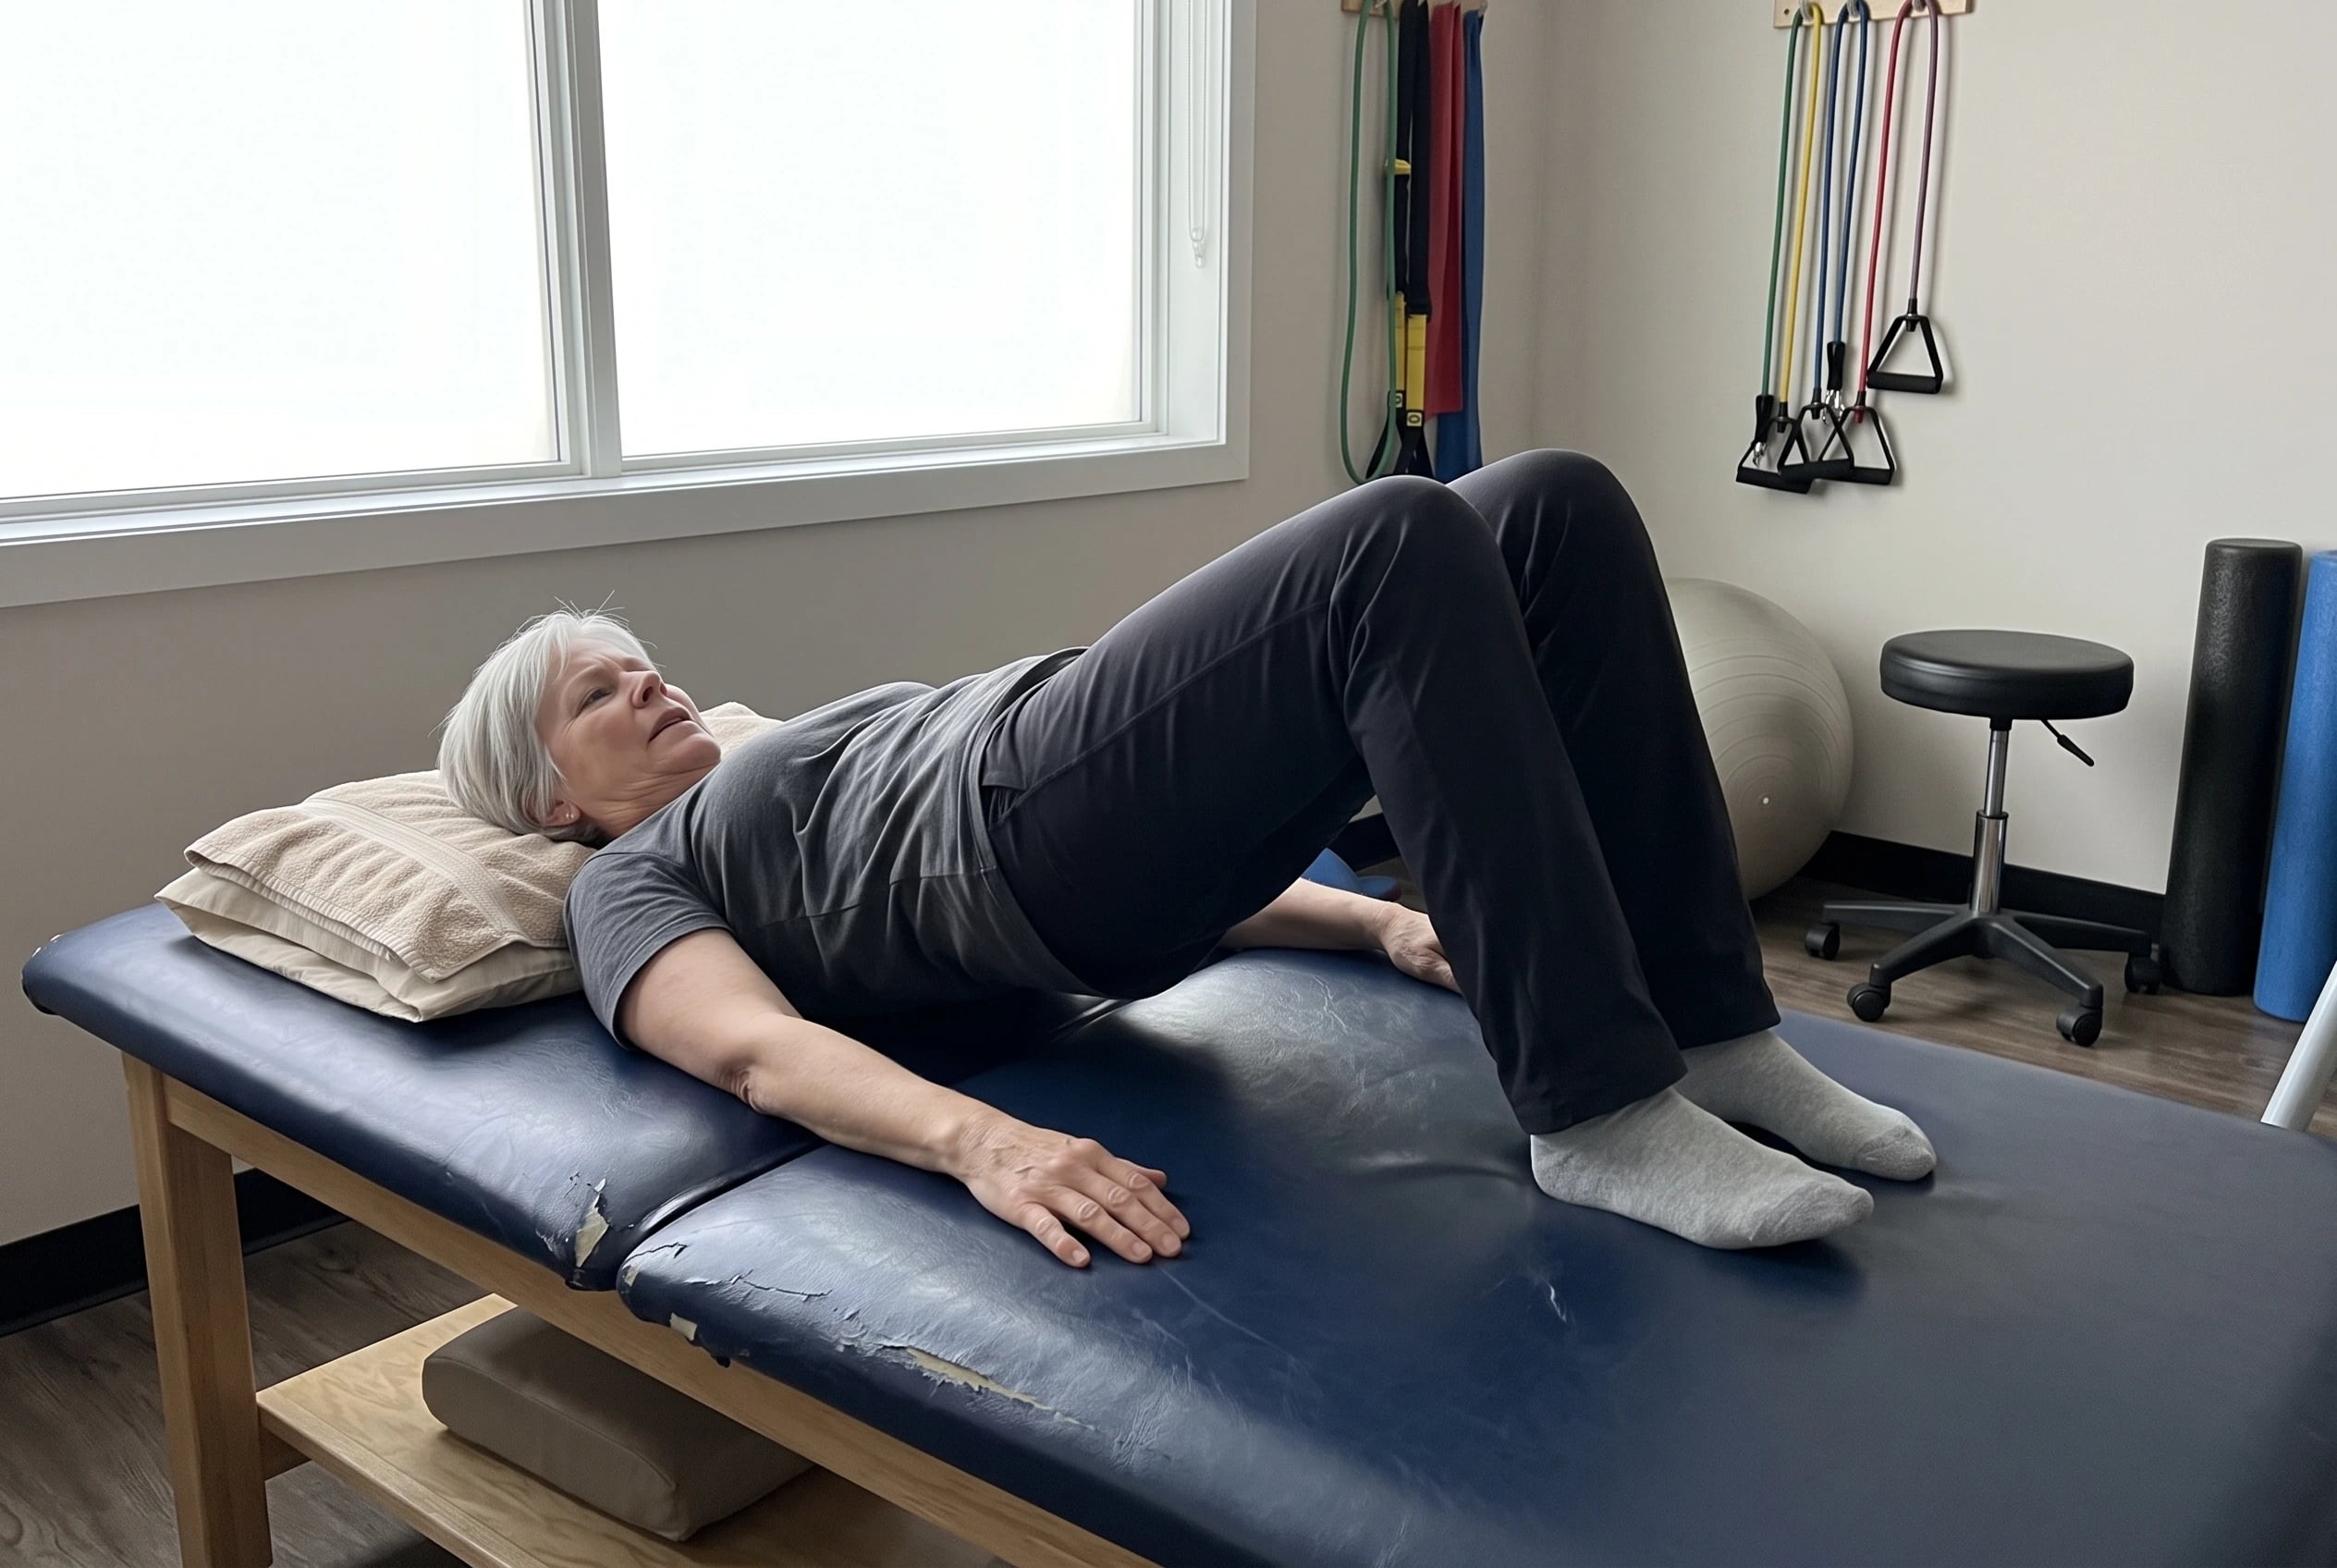
The mat is rolled out. Then comes the less appealing thought: how will you know whether an exercise is helping or hurting your back? That question deserves a better answer than “push through it.” Start where you can control your position and breathing. A wall or chair counts.
Before starting, check with your doctor or physical therapist if you have back or hip trouble, balance concerns, or low bone density.
Stop an exercise that causes sharp pain. The National Institute on Aging advises breathing out during effort instead of holding your breath.
These targets come from UCSF Sports Medicine’s core protocol, Cleveland Clinic’s bridge guide, and the North Tees and Hartlepool NHS exercise program.
22Quadruped Alternate Shoulder Flexion On All Fours
Put your hands beneath your shoulders and your knees beneath your hips. Reach one arm forward, bring it back, then change arms. Both knees stay down, so there’s less to control than in a full bird dog.
Watch the space between your shoulders and hips. If reaching makes your back arch or your trunk turn, shorten the reach. Your hand needn’t lift high.
UCSF Sports Medicine’s back and core exercise collection lists alternating arm and leg reaches. Practicing the arm reach alone gives you a first look at how your trunk responds before you try the opposite arm-and-leg move in #2.
Kneeling or pressure through your hands hurts? Leave this one out. The seated bracing drill in #19 works from a chair, with no weight on your wrists.
21Heel Taps From A 90/90 Position
Lie on your back and lift your legs until your hips and knees are bent at right angles. Lower one heel to tap the floor. Bring it back up, then change legs.
Keep your back flat throughout. If it arches before your heel reaches the floor, shorten the movement. The tap is a target, not a reason to lose the position.
UCSF’s core protocol gives heel taps 2 to 3 sets of 10 repetitions. That’s a program target, not a requirement for your first attempt.
Holding both legs up takes all your attention? Try the leg slide next. It starts with your feet on the floor, which gives you one less thing to manage.
20Leg Slides To Wake Up Lower Abs
Start on your back with your knees bent and feet down. Slide one heel toward your buttock, keeping that knee pointed up. Straighten the leg again, then change sides.
This is a first floor move when lifting both legs feels like too much. One foot stays in contact with the surface. There’s no need to raise your head, either.
The University of Michigan Health general exercise program describes this heel-slide path: heel toward the buttock, knee up, then leg straight again.
As you slide, notice whether your pelvis rocks. Make the path shorter if it does. Repeat a movement you can control rather than trying to send your foot as far as possible.
19Seated Abdominal Bracing Anywhere You Sit
A chair is enough. Sit with your feet on the floor and place your palms on your knees. Press your palms into your knees while you brace your middle, then release.
You’re making a firm effort without folding forward.
UCSF’s seated core drill calls for a 5 to 10 second hold and 2 to 3 sets of 10 repetitions. Breathe during the hold. If you catch yourself clamping your jaw or holding your breath, ease the pressure.
Try a repetition before standing up from a chair. Unlike the pelvic tilt in #10, this drill keeps you upright. You get to practice bracing without lying on the floor or putting weight through your hands.
See more: 26 Daily Activities for Seniors That Give a Day Its Shape →
18Bicep Curl Arm Exercises With Weights Over 50
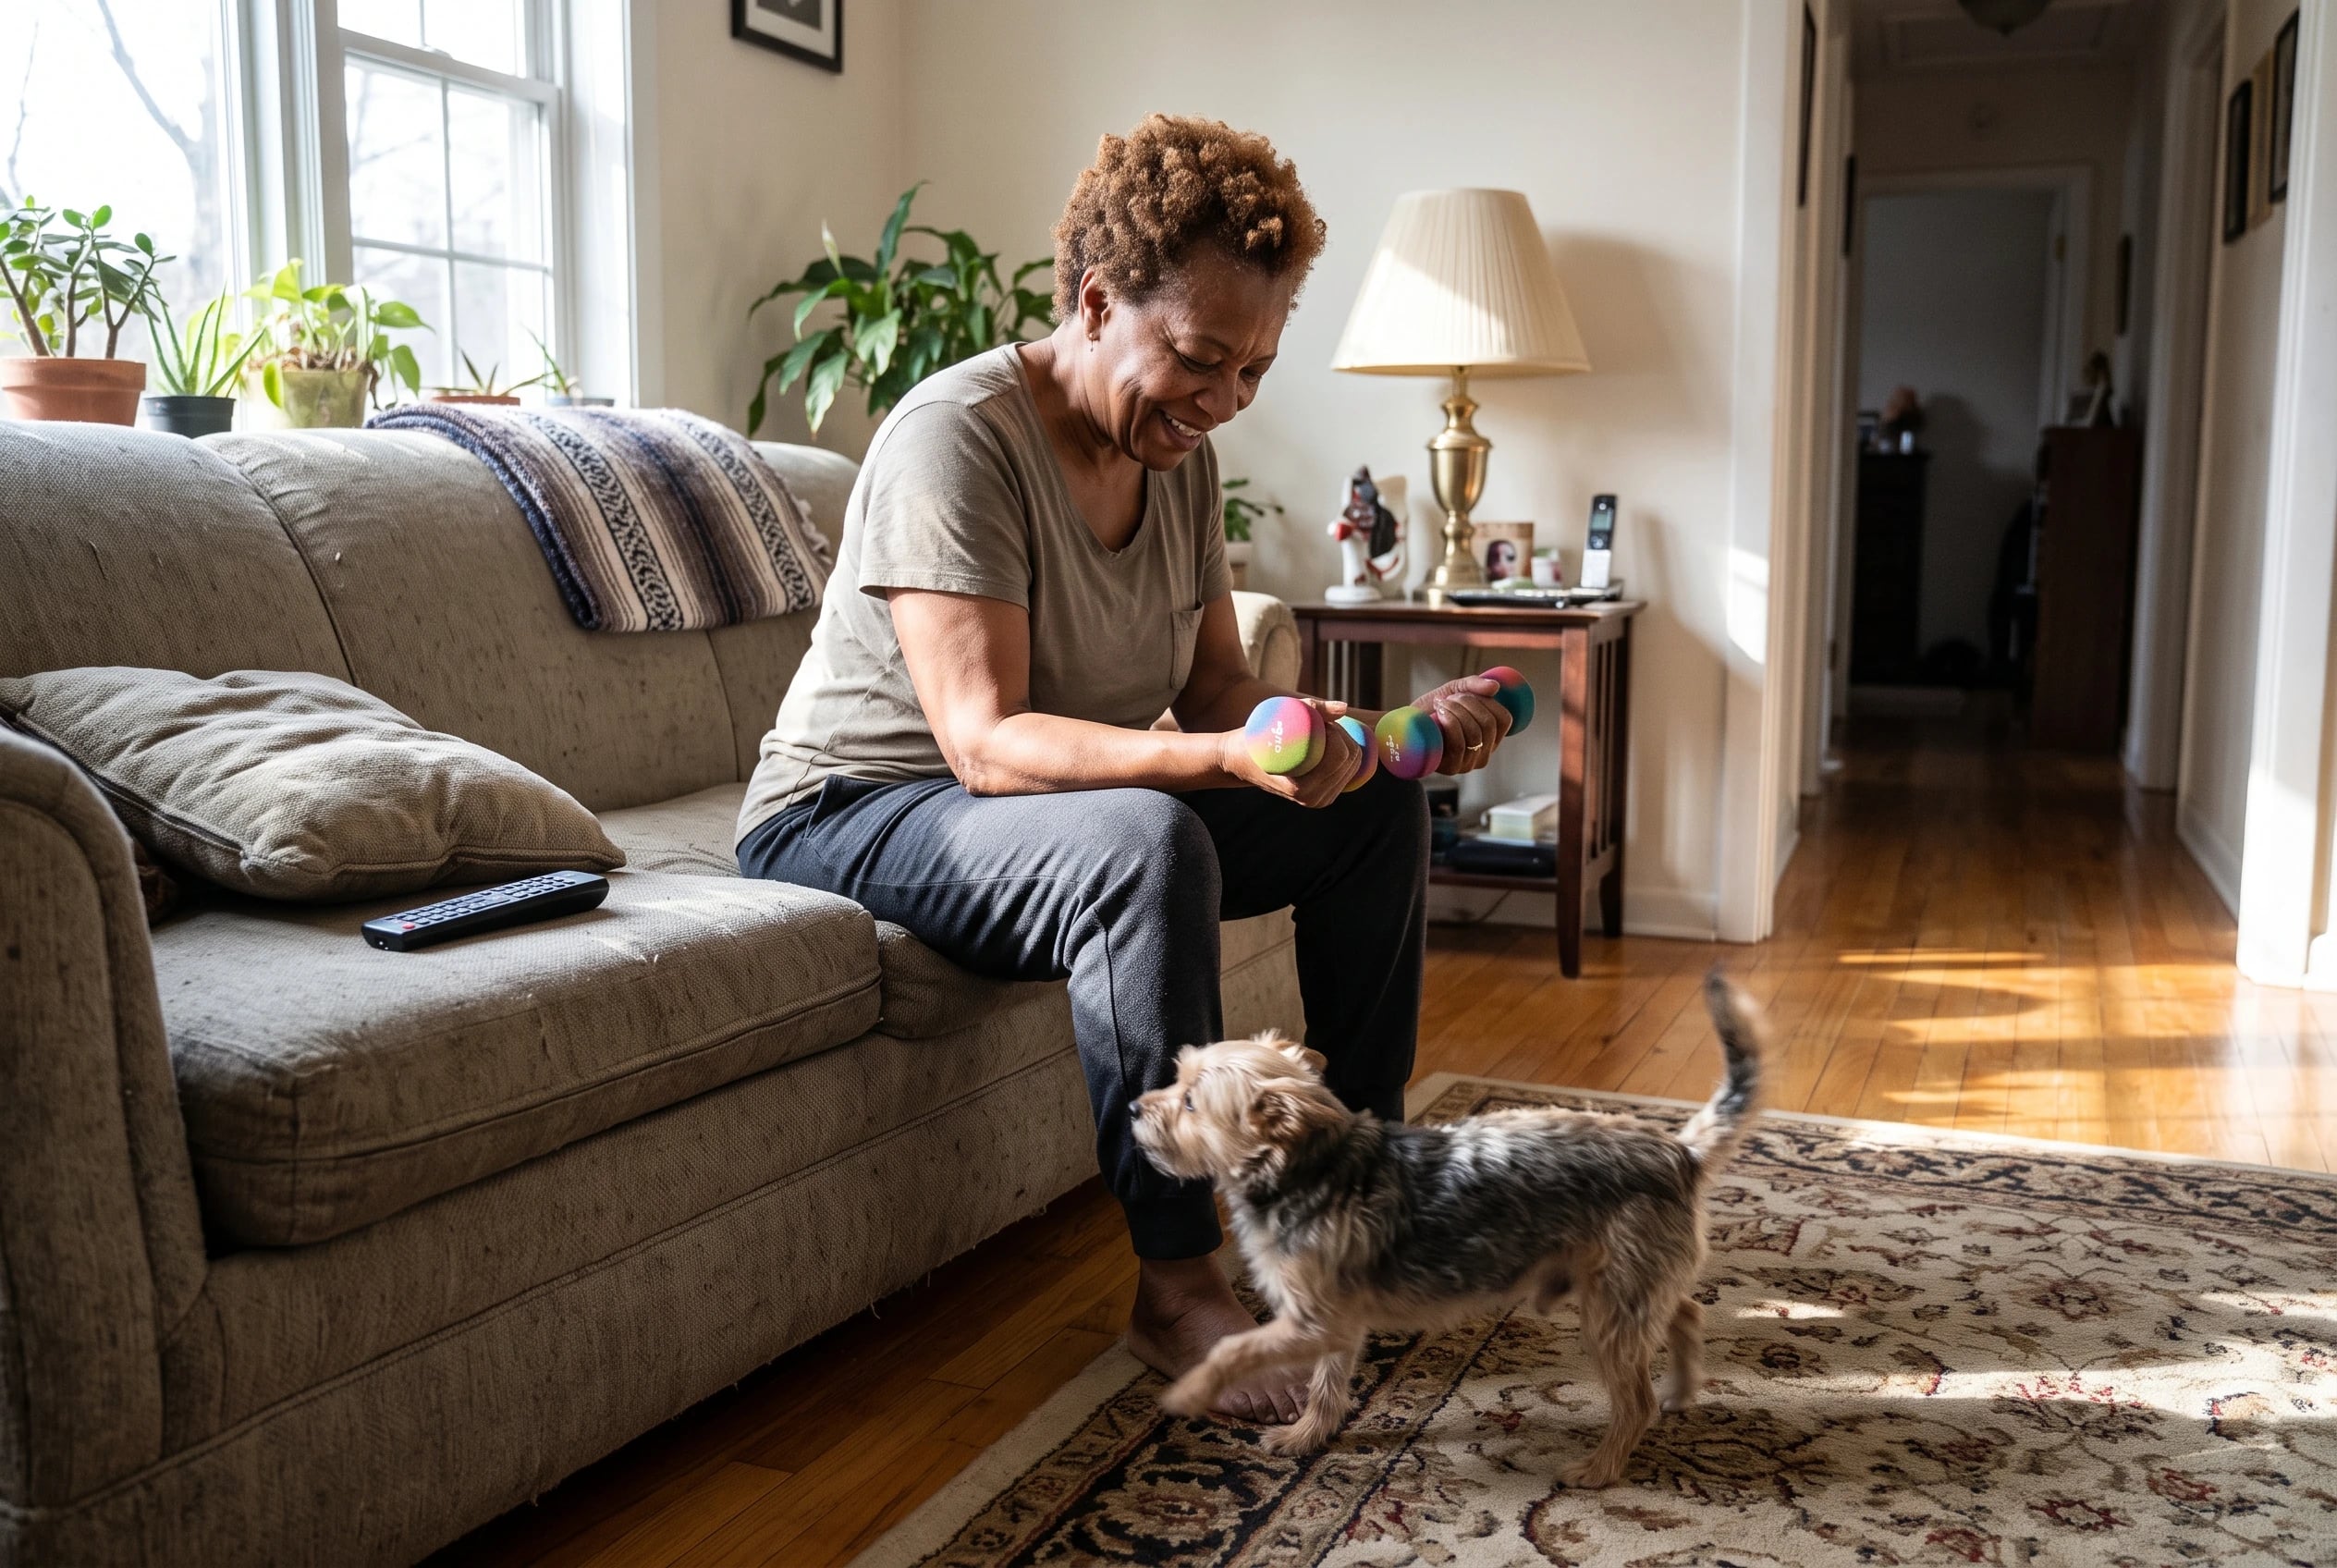
Why put curls here? Your arms move while your trunk stays steady. The curl itself is an arm exercise, so don’t lean backward and turn the lift into a struggle for your back.
Stand with a light dumbbell in each hand and your elbows extended at your sides. Bend your elbows to lift the weights. Lower them with control. Mass General’s strength-training packet describes that sequence.
For arm exercises with weights for women over 50, your position gives you the check. Do your elbows stay close? Does your trunk remain still when you lower the weights?
Check those things before adding weight. If you’re choosing dumbbells, try the full lift and controlled lowering first. Let the movement decide what belongs in your hands.
17Bodyweight Squat Core Exercises Over 50
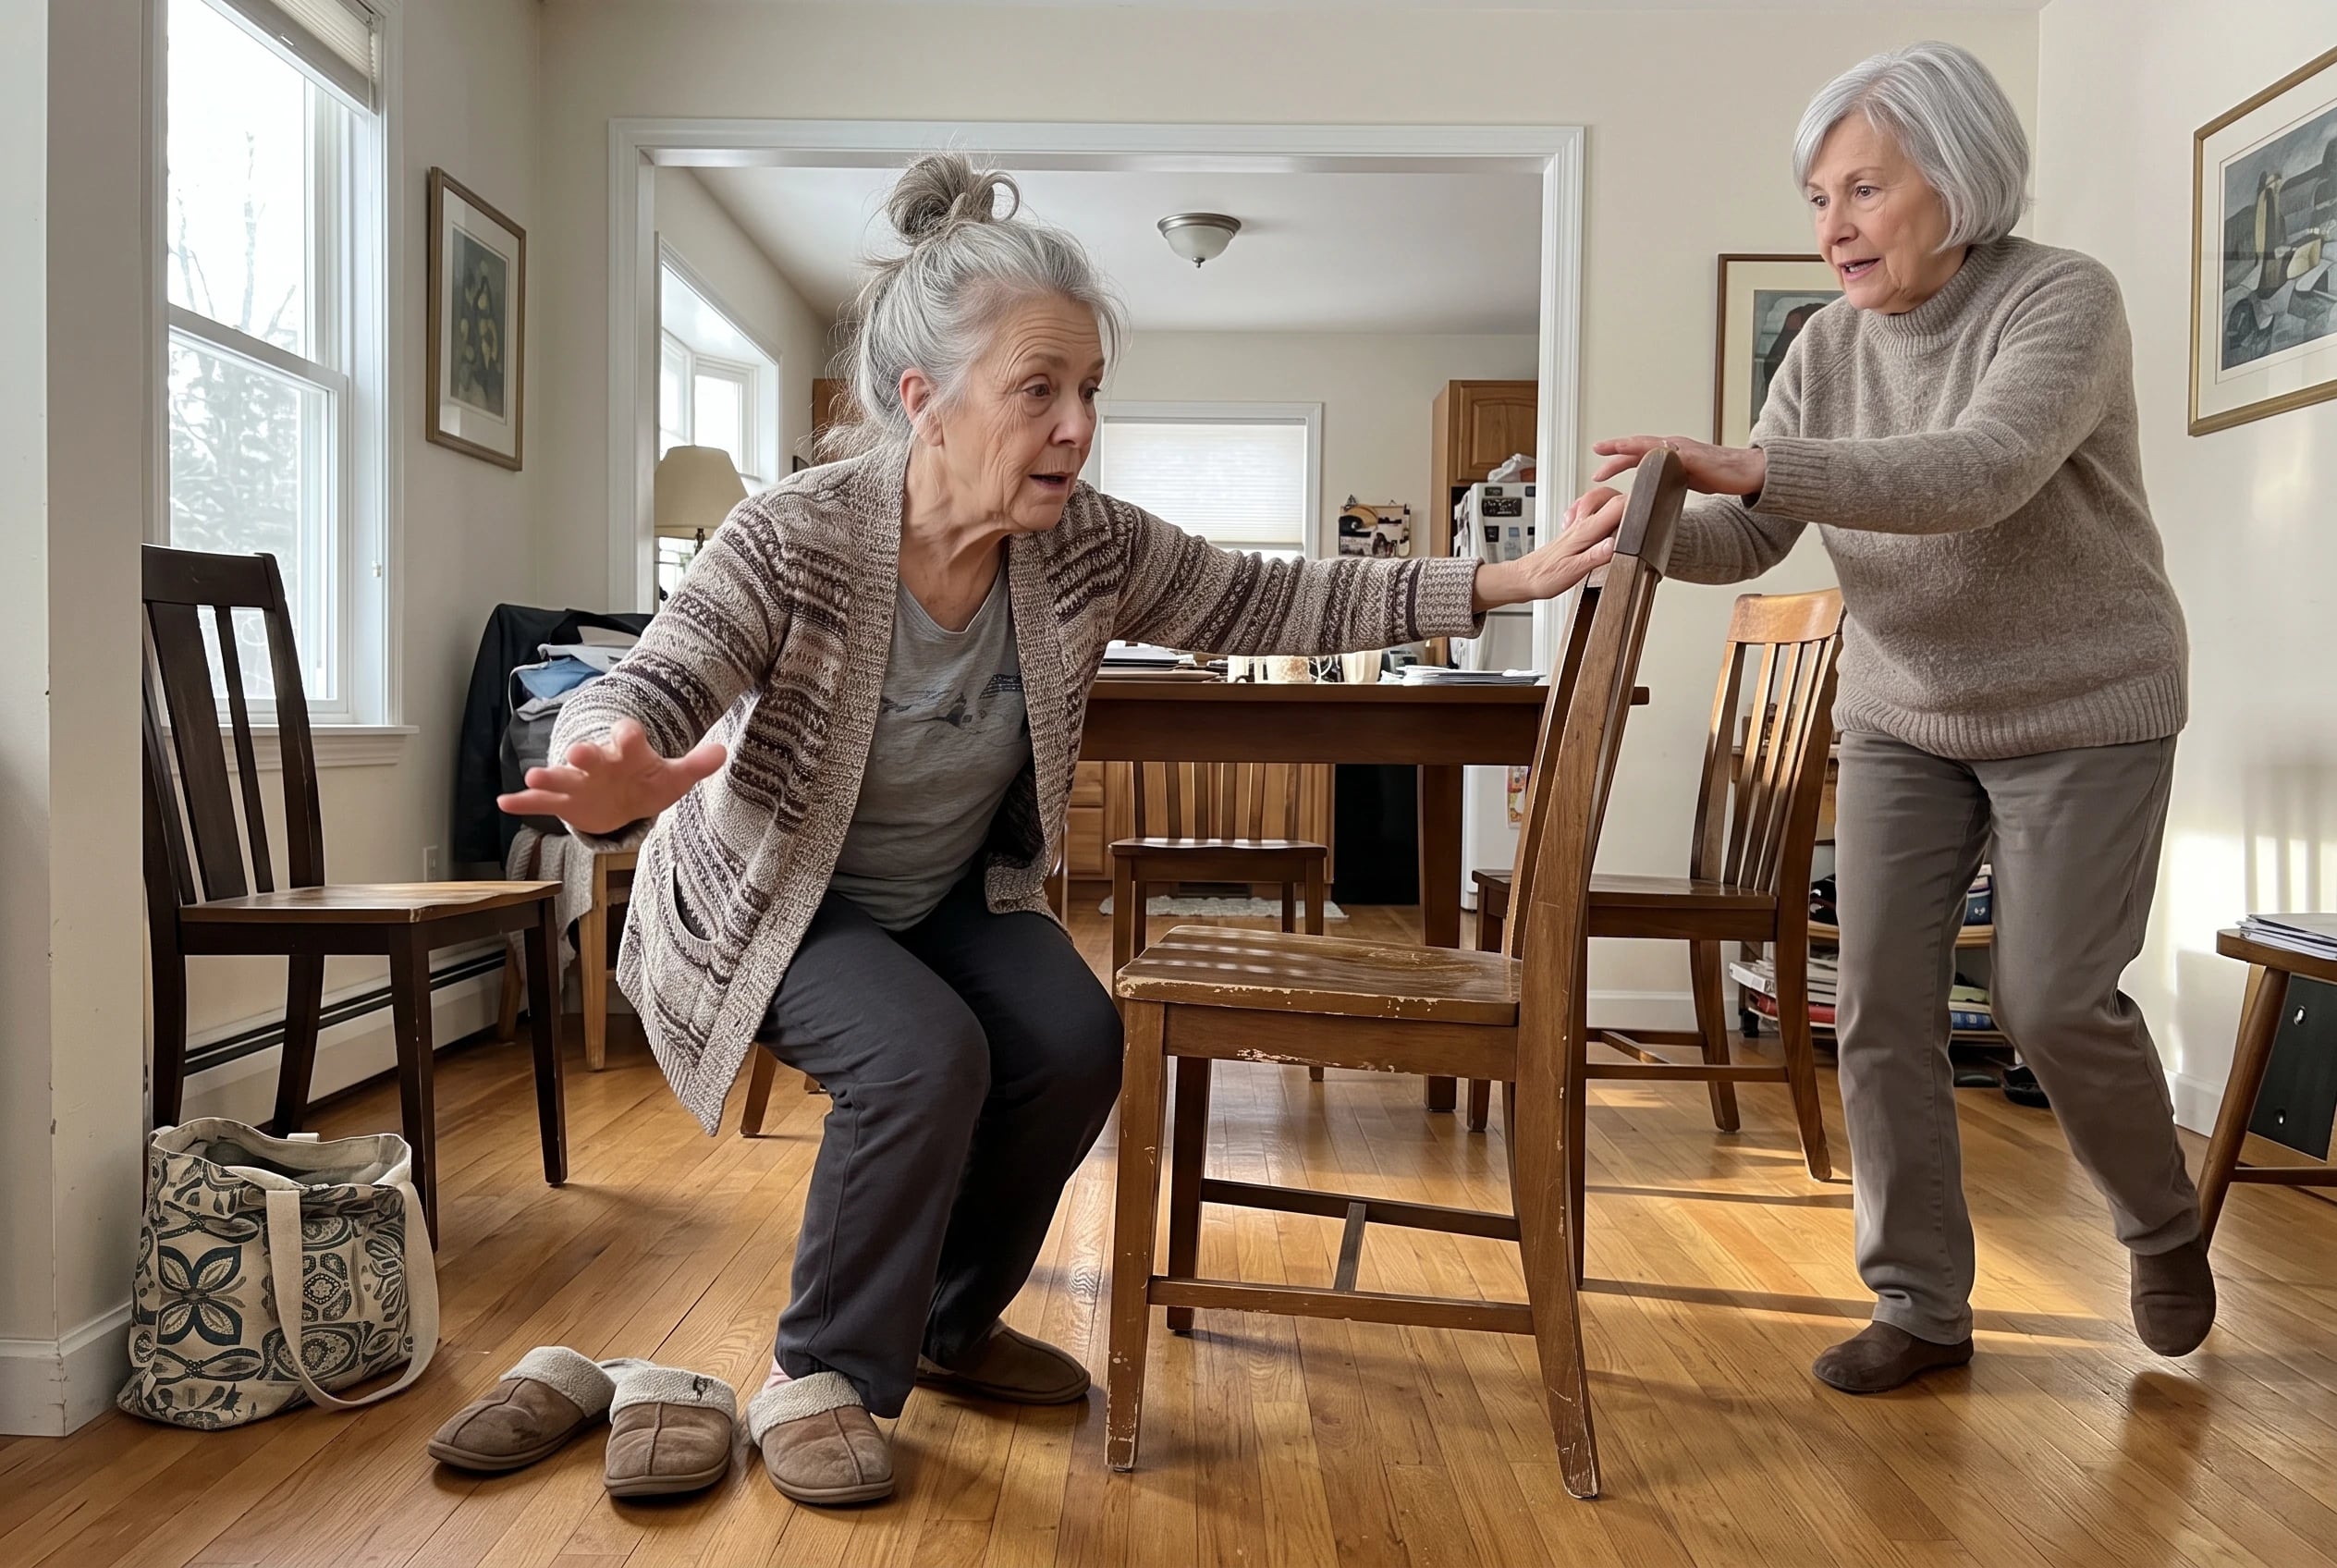
Think about rising from a chair with a grocery bag in hand. Your legs do the obvious work. Keeping your trunk controlled matters, too. That’s why squats belong with direct core drills, even though they’re primarily a strength move for your legs.
Stand near a stable chair. Bend at your hips and knees as though you’re going to sit. Then stand again. Choose a depth you control.
Prefer a clearer starting point? Sit down, then stand without dropping back into the seat. Notice whether you throw your shoulders forward to rise. A higher chair and smaller bend give you another starting position if your knees object.
The National Institute on Aging includes bodyweight squats among strength moves tied to daily tasks, including getting up from a chair. Its chair-stand testing also treats rising from a seat as a way to observe functional strength.
That makes this one of the best core exercises for women over 50 to pair with a dedicated trunk exercise. Keep the chair nearby, and pay attention to whether standing becomes smoother.
16Farmer’s Carry Exercises For Belly Fat After 60
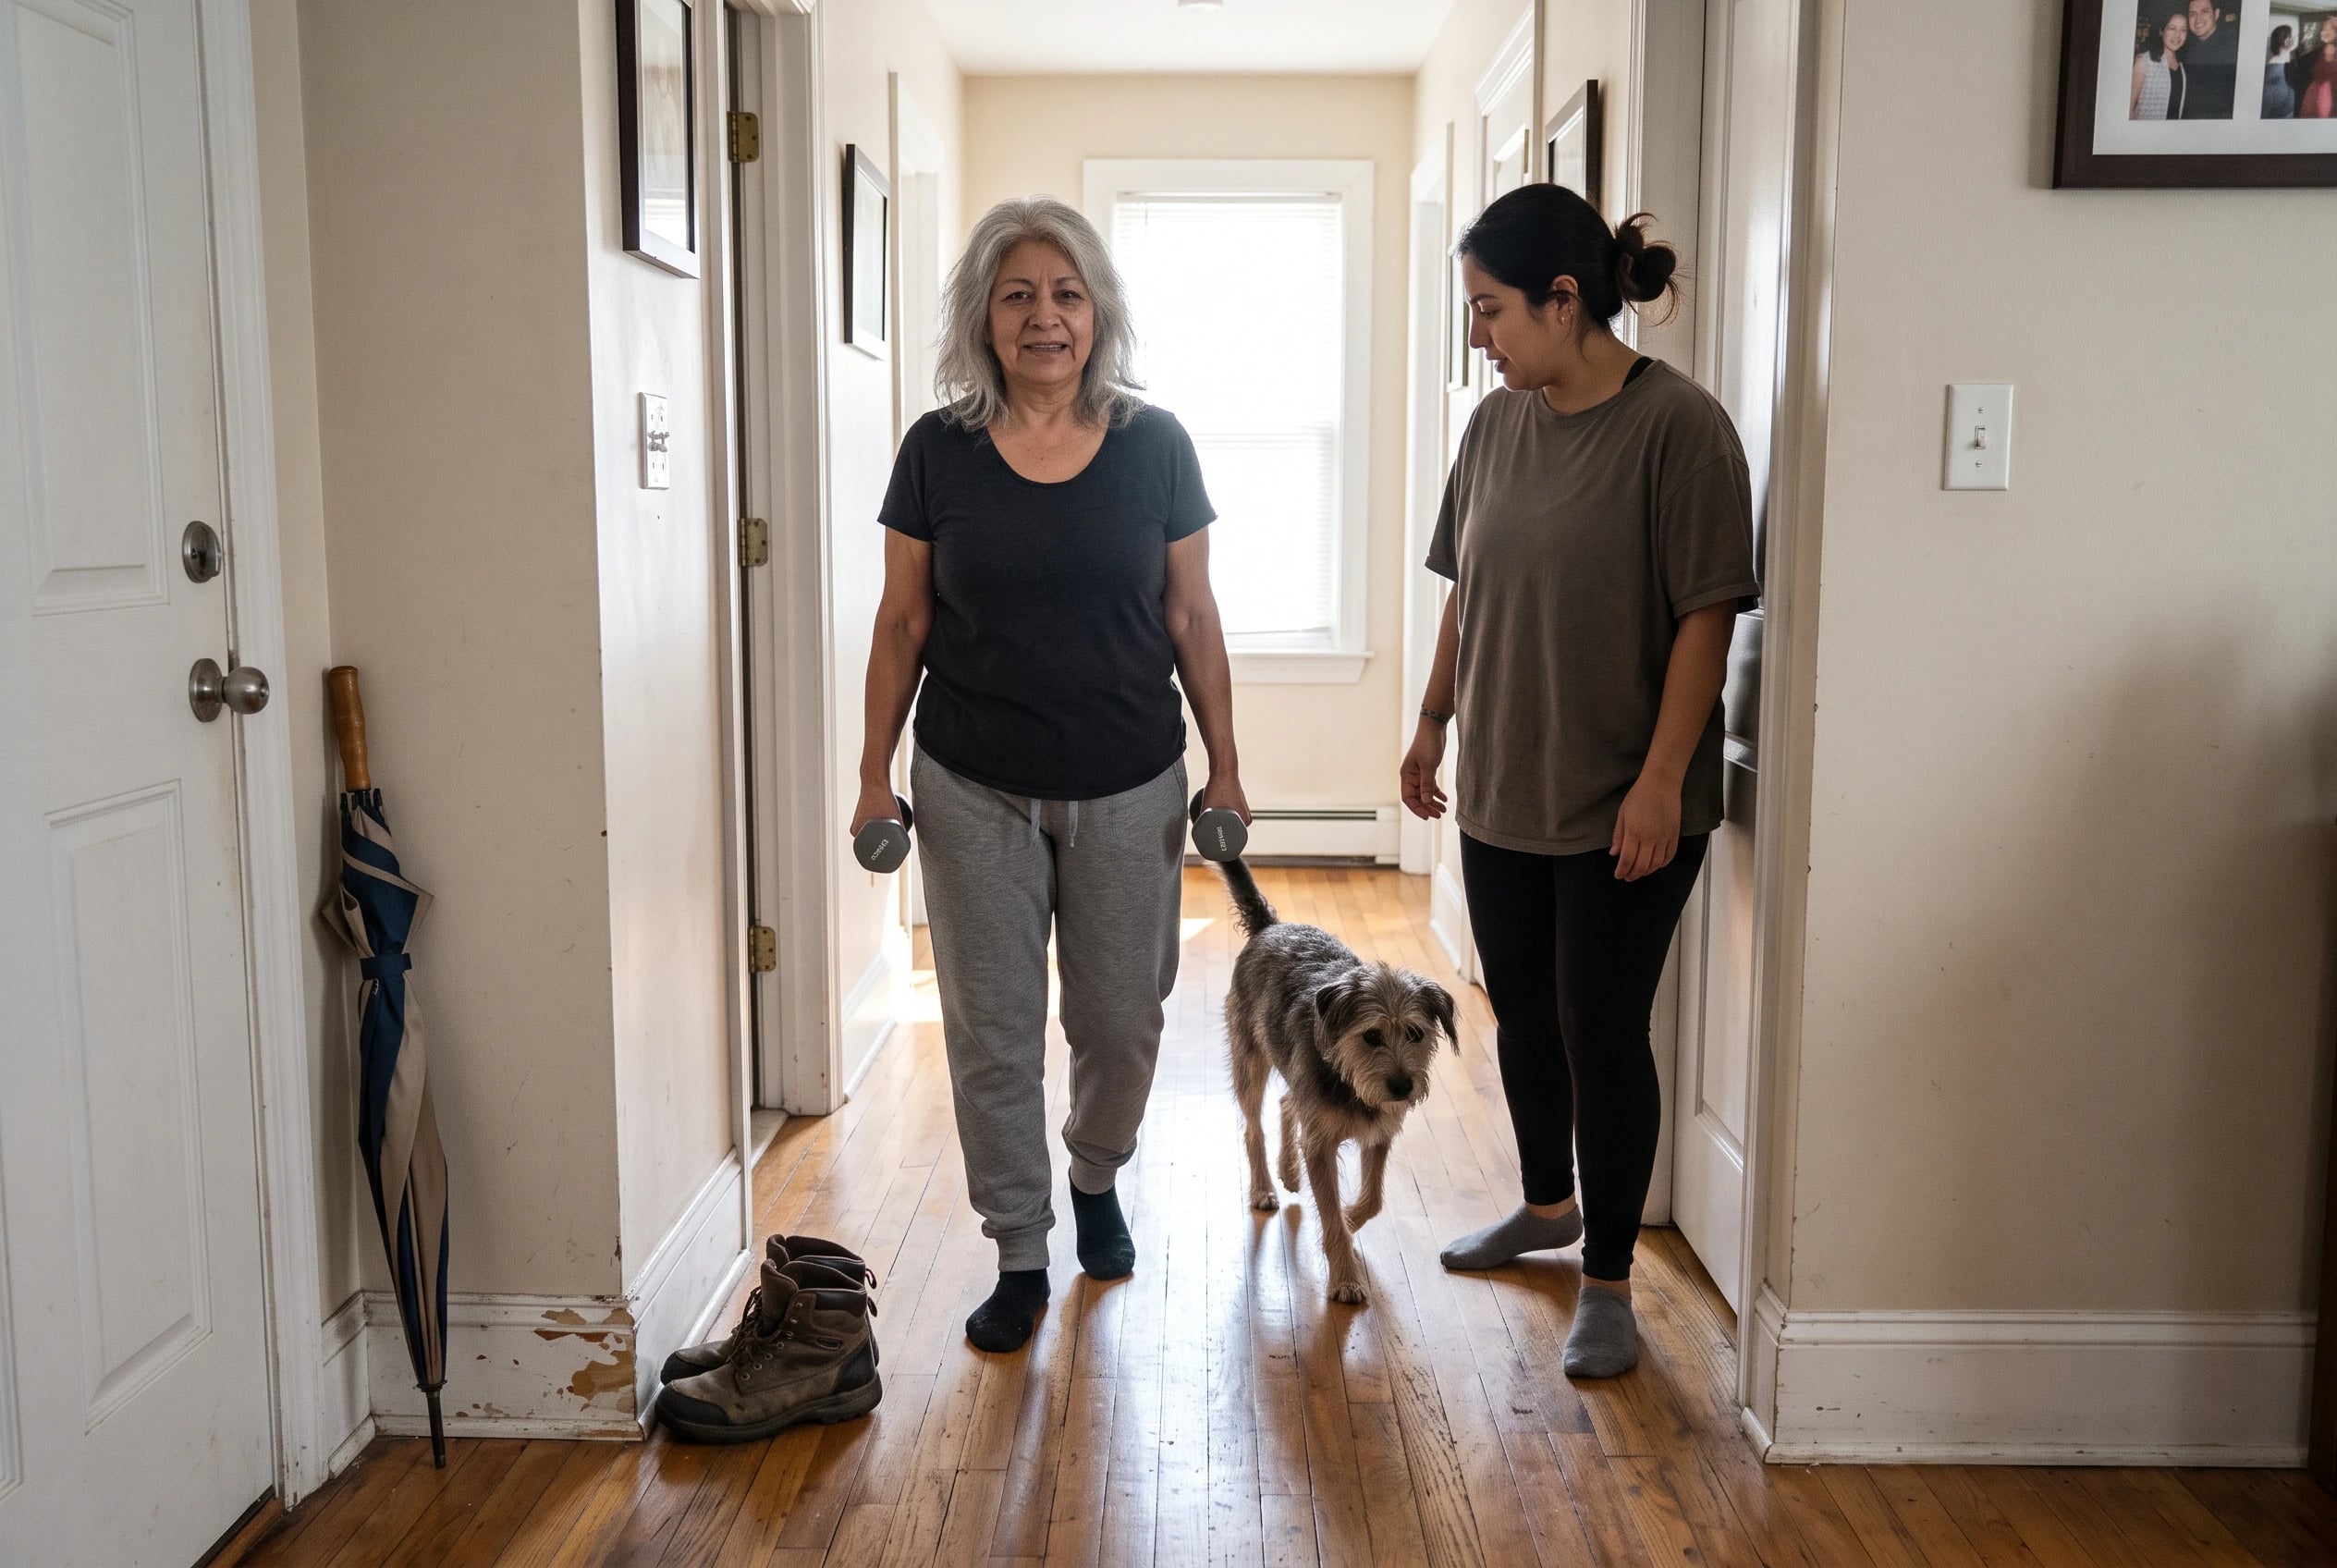
Pick up a dumbbell in each hand and walk a clear stretch of floor. Keep the weights beside you rather than swinging them. Set them down when your shoulders tip or your steps become hurried.
Next time, choose a distance you can cover with steady posture from start to finish. There’s no need to make the load heavier to make the walk count.
The farmer’s carry trains grip and core stability, according to the American Council on Exercise. It resembles carrying things across a room without letting the load pull you sideways.
If you came looking for exercises for women over 60 to lose belly fat, keep the goals separate. A carry builds strength; it doesn’t remove fat from one chosen place. A six-week abdominal-exercise trial found no reduction in abdominal fat from ab work alone.
Walk with control. Leave the promise of spot reduction out of it.
See more: 23 Habits of the Happiest Retirees →
15Wood Chop For Strength Training After 60
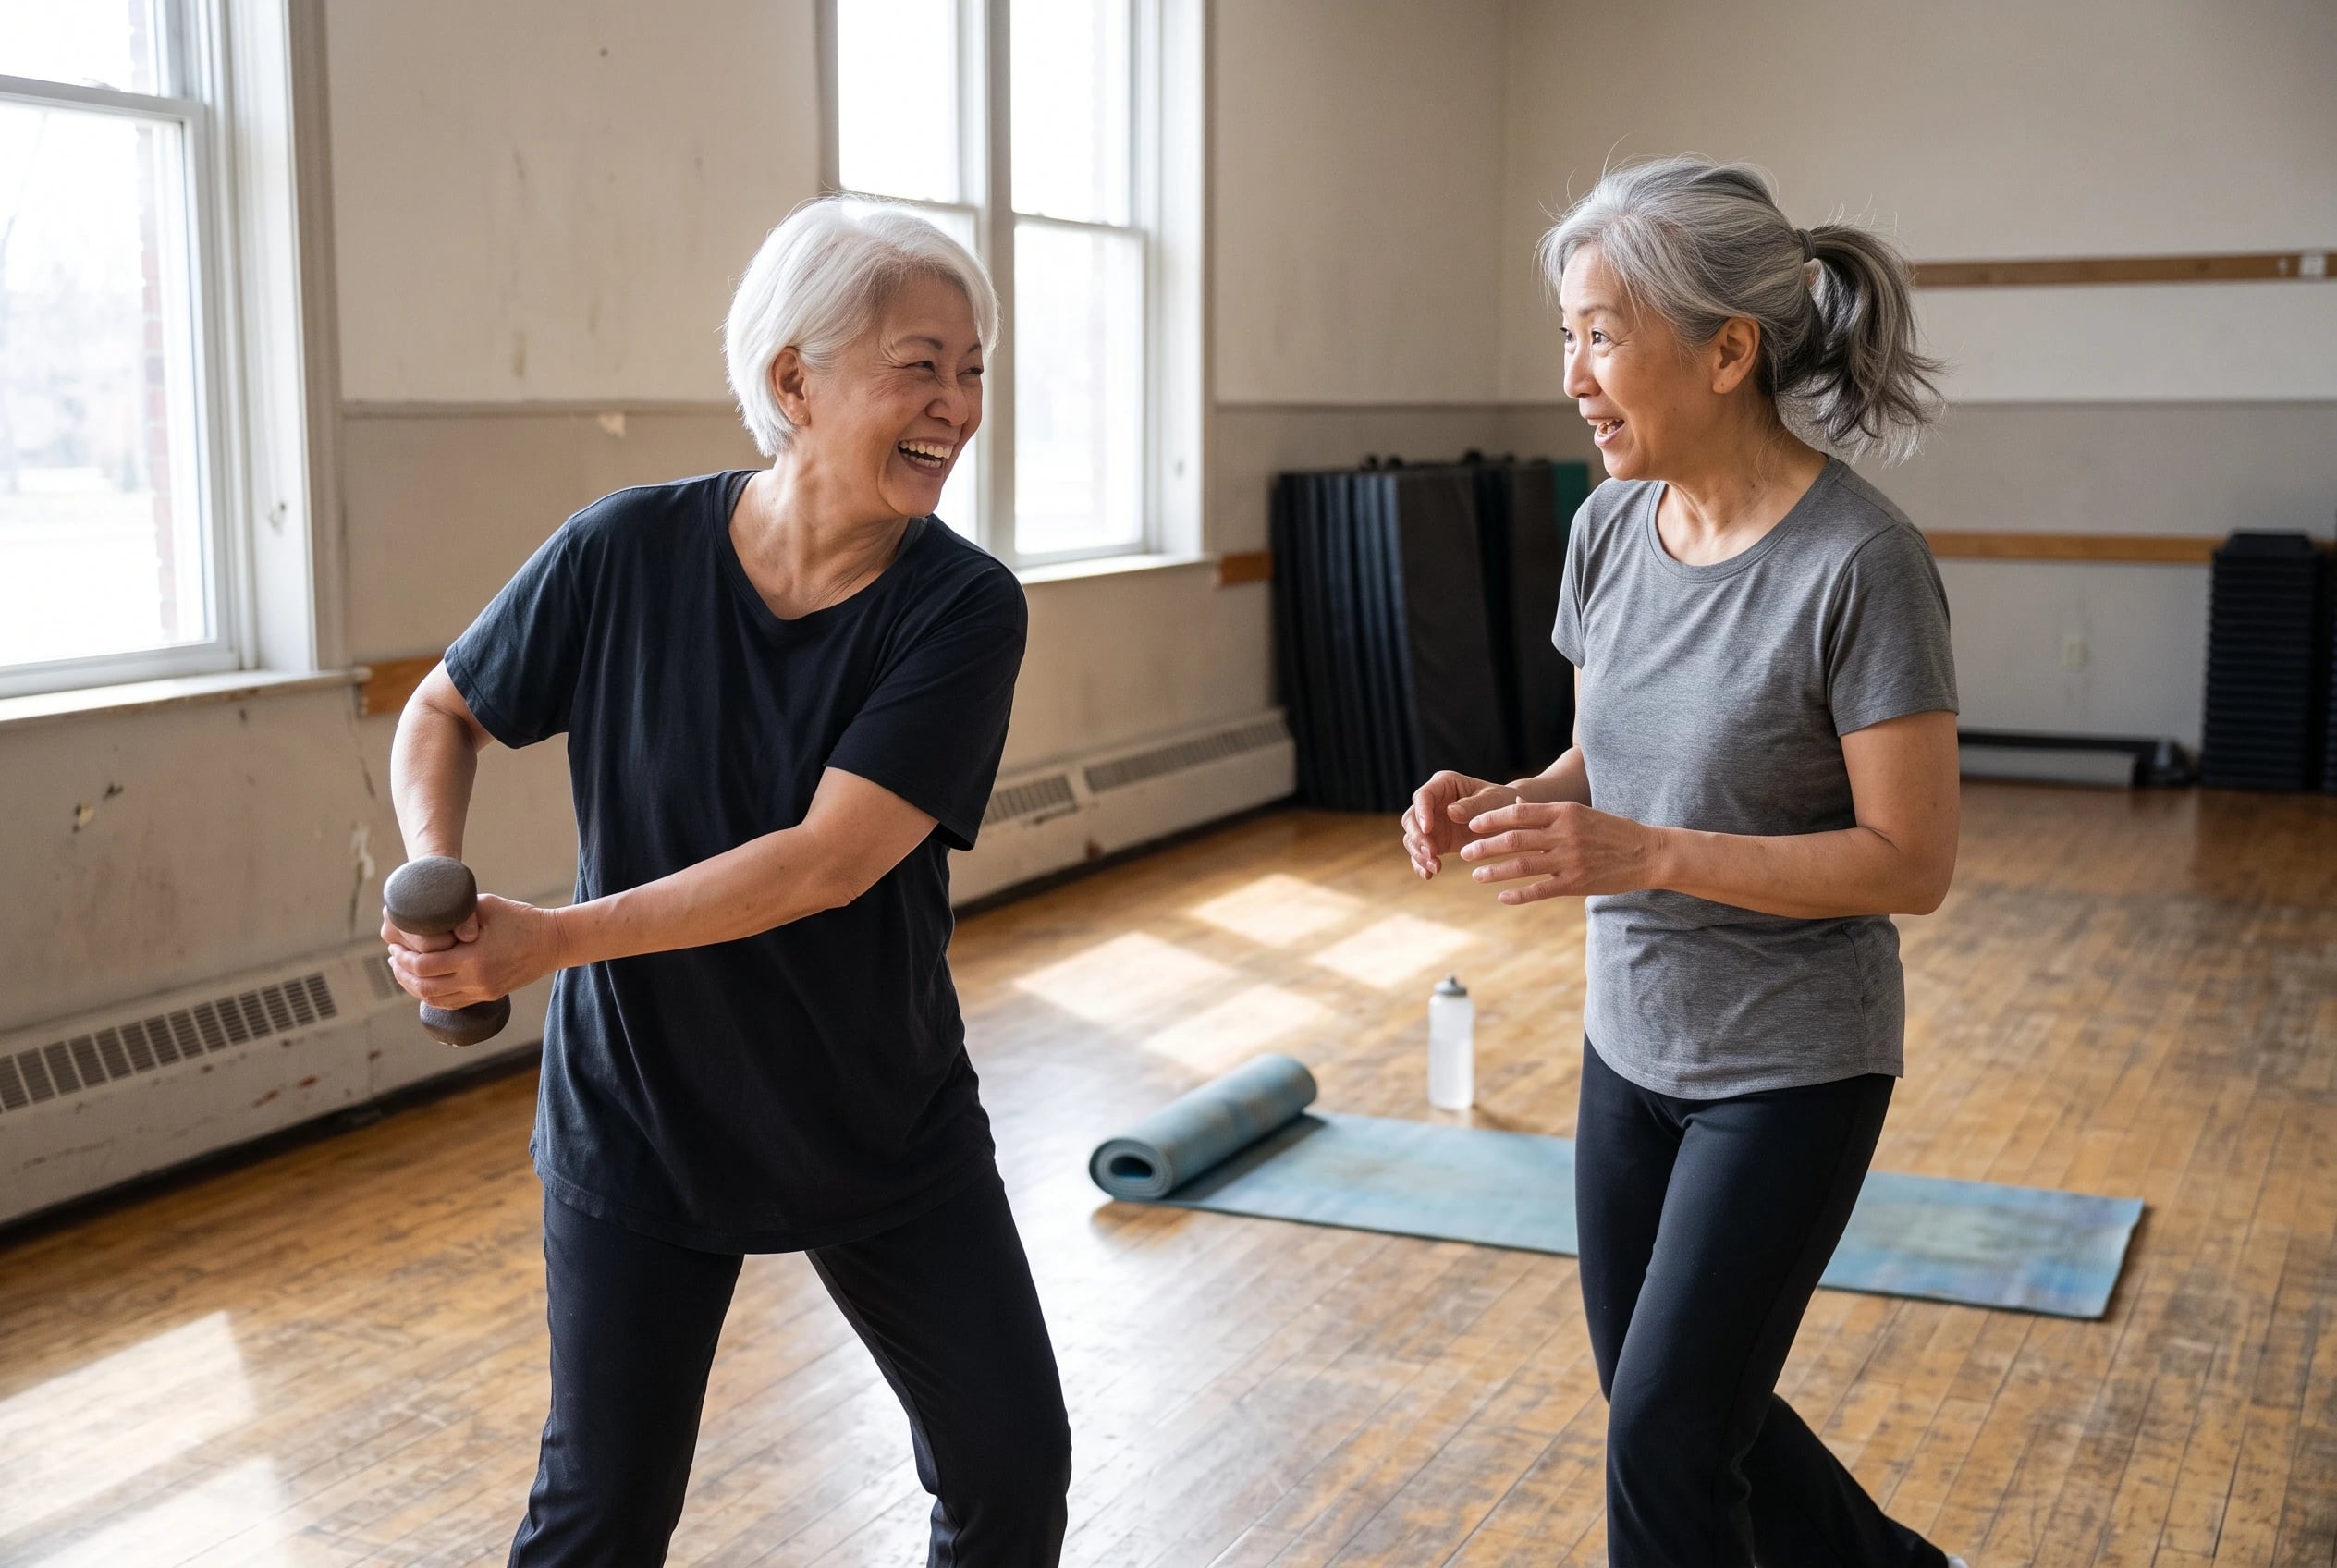
A wood chop follows a diagonal path across your body. It’s a way to practice controlled rotation, not a race to swing a weight.
Learn the path with empty hands first. Stand with your feet planted and move your hands across your body on a diagonal. Keep the movement smooth. Then try a light weight if you can maintain that control.
ACE’s standing wood-chop guide shows the weighted movement. ACE also describes a kneeling variation. Those are different positions, not steps you have to reach.
The best strength training for women over 60 includes more than abdominal drills. A chop adds diagonal movement to a routine with leg work and carries.
If you have osteoporosis, skip forceful twisting. Ask your clinician which movements fit your bone health. The Bone Health & Osteoporosis Foundation cautions against twisting the spine with strain.
14Superman Pose For The Lower Back
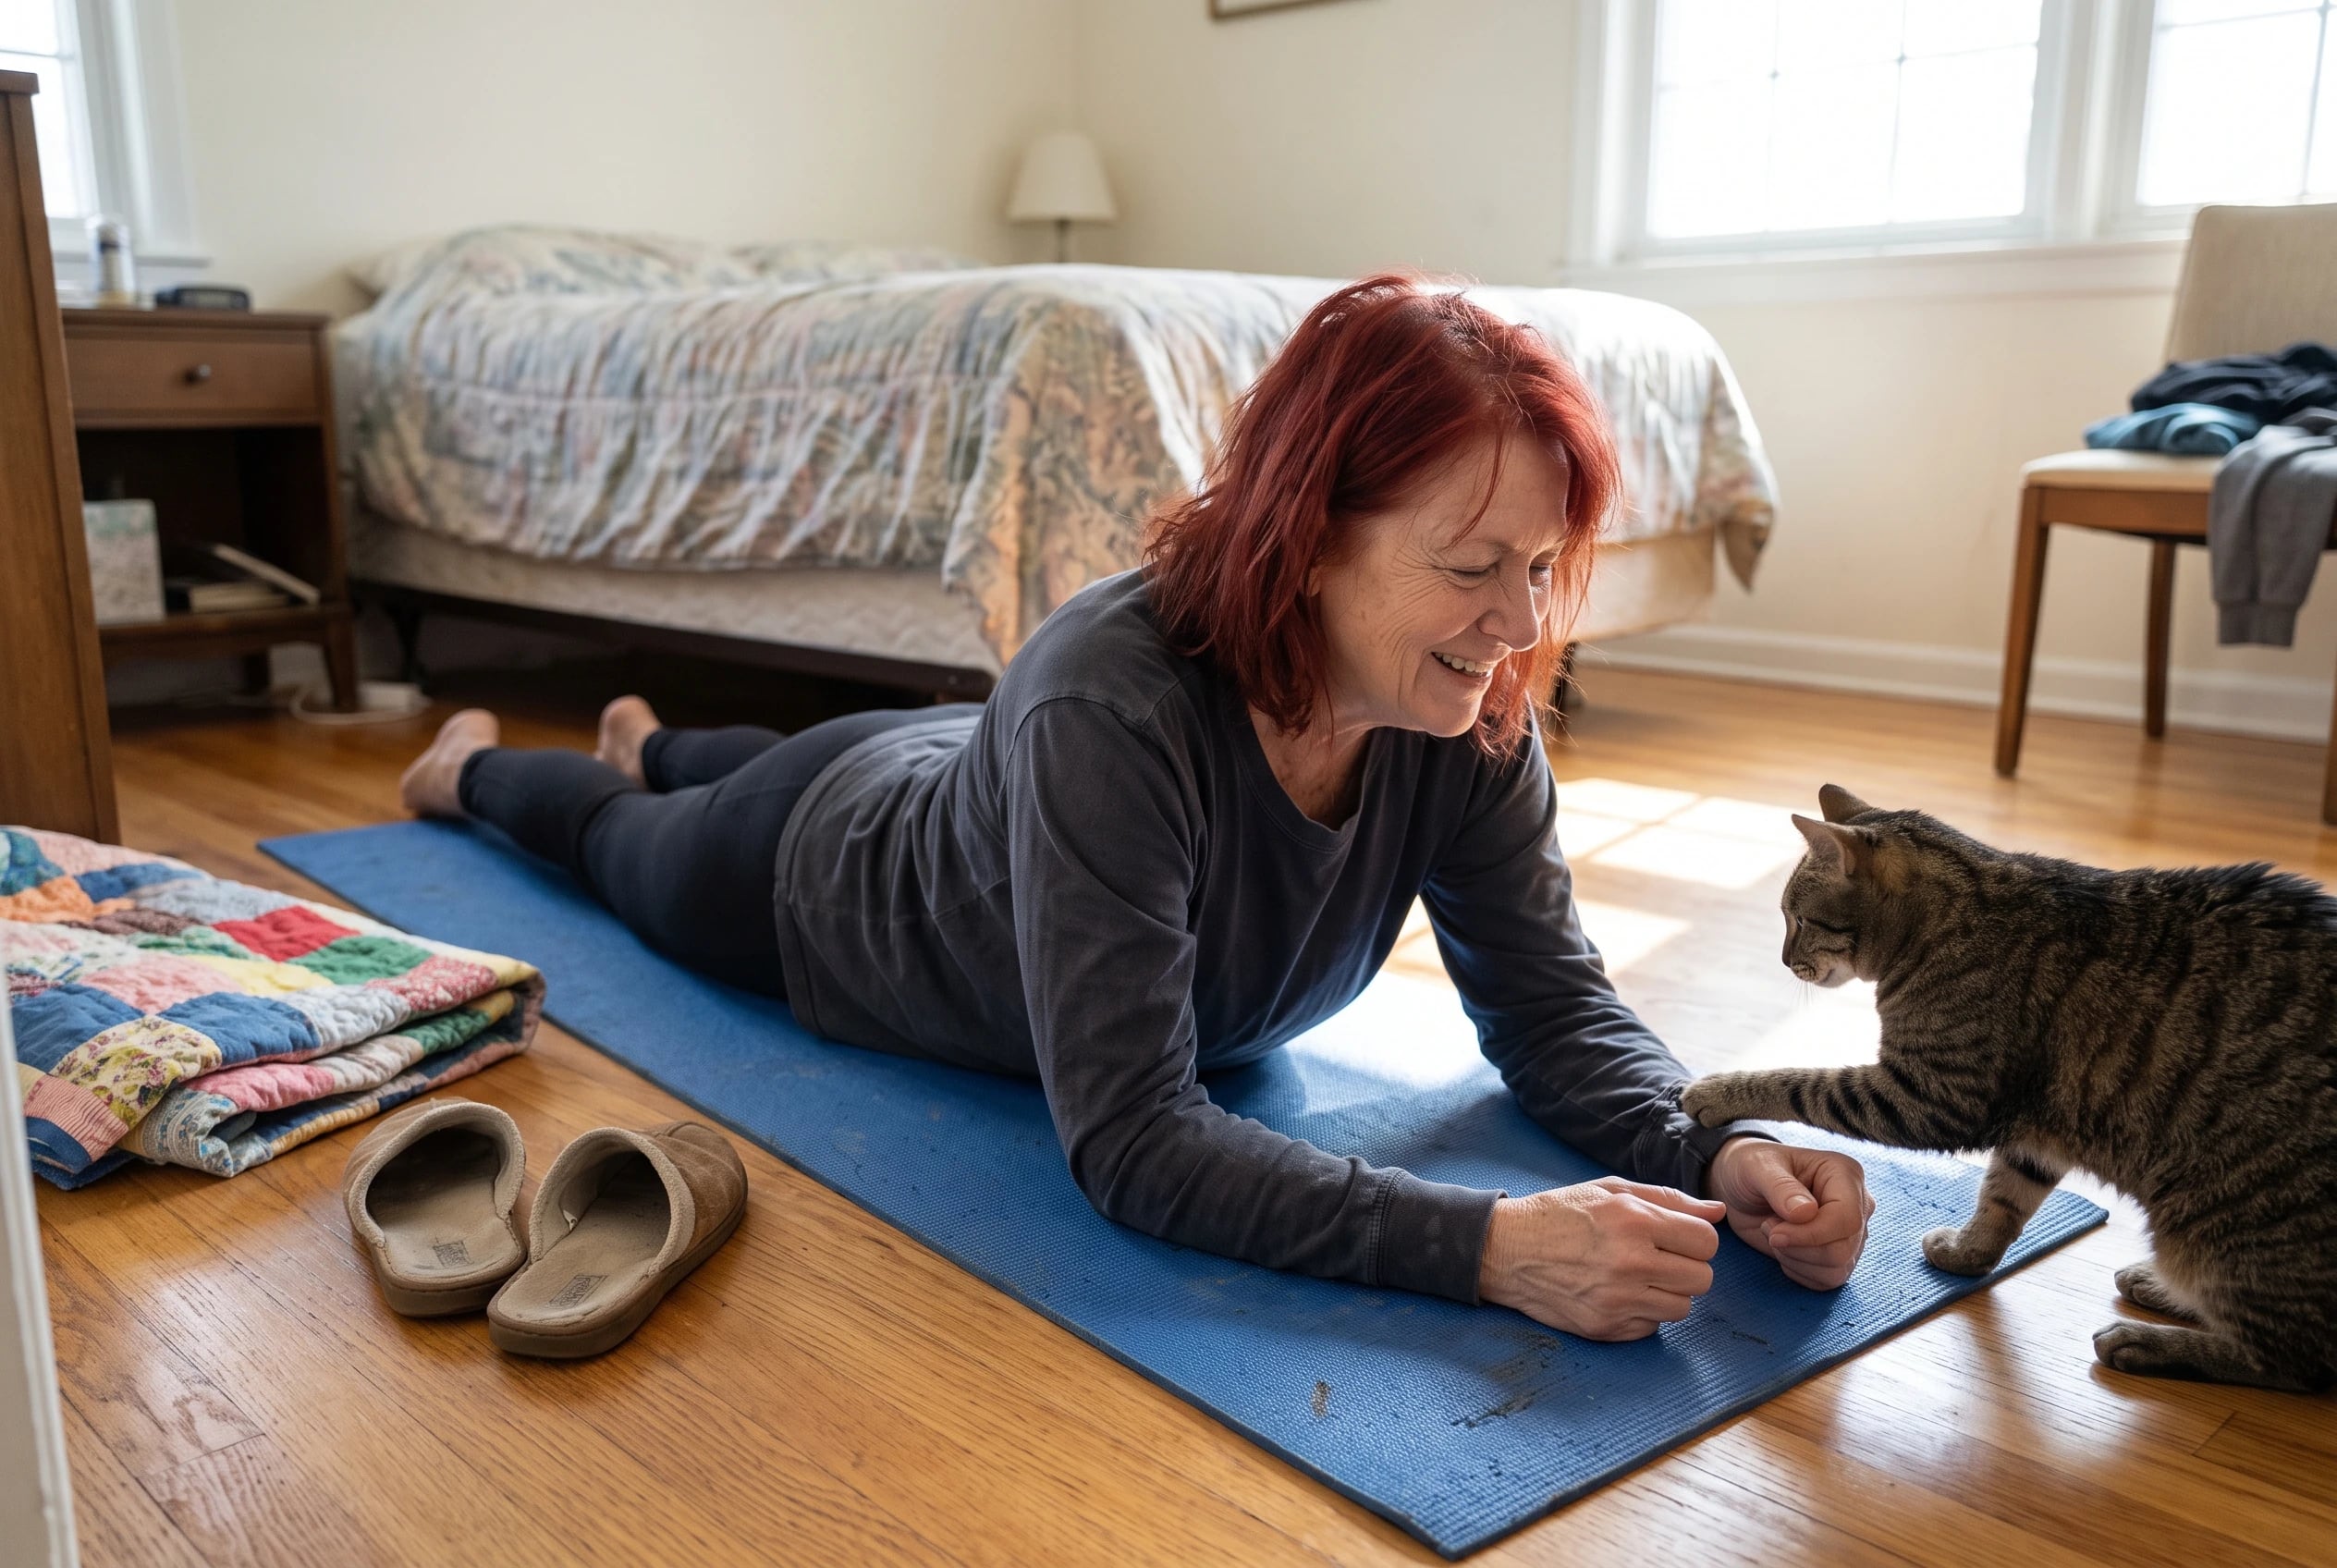
You get onto the mat, lie facedown, and realize the floor feels farther away than it looked. There’s no prize for lifting your arms and legs high.
Start with a small lift. Don’t throw your head back or force a deep arch. Lower, then notice how your back feels before repeating.
UCSF Sports Medicine lists the Superman in its back and core exercise collection as an extension move. The work is in controlling the lift and return, not making the pose dramatic.
Getting onto and off the floor is part of choosing an exercise. If that’s the hard part today, use a wall or chair move instead. The next one keeps you standing, with a chair close enough to hold.
13Standing March With Knee Lifts By A Chair
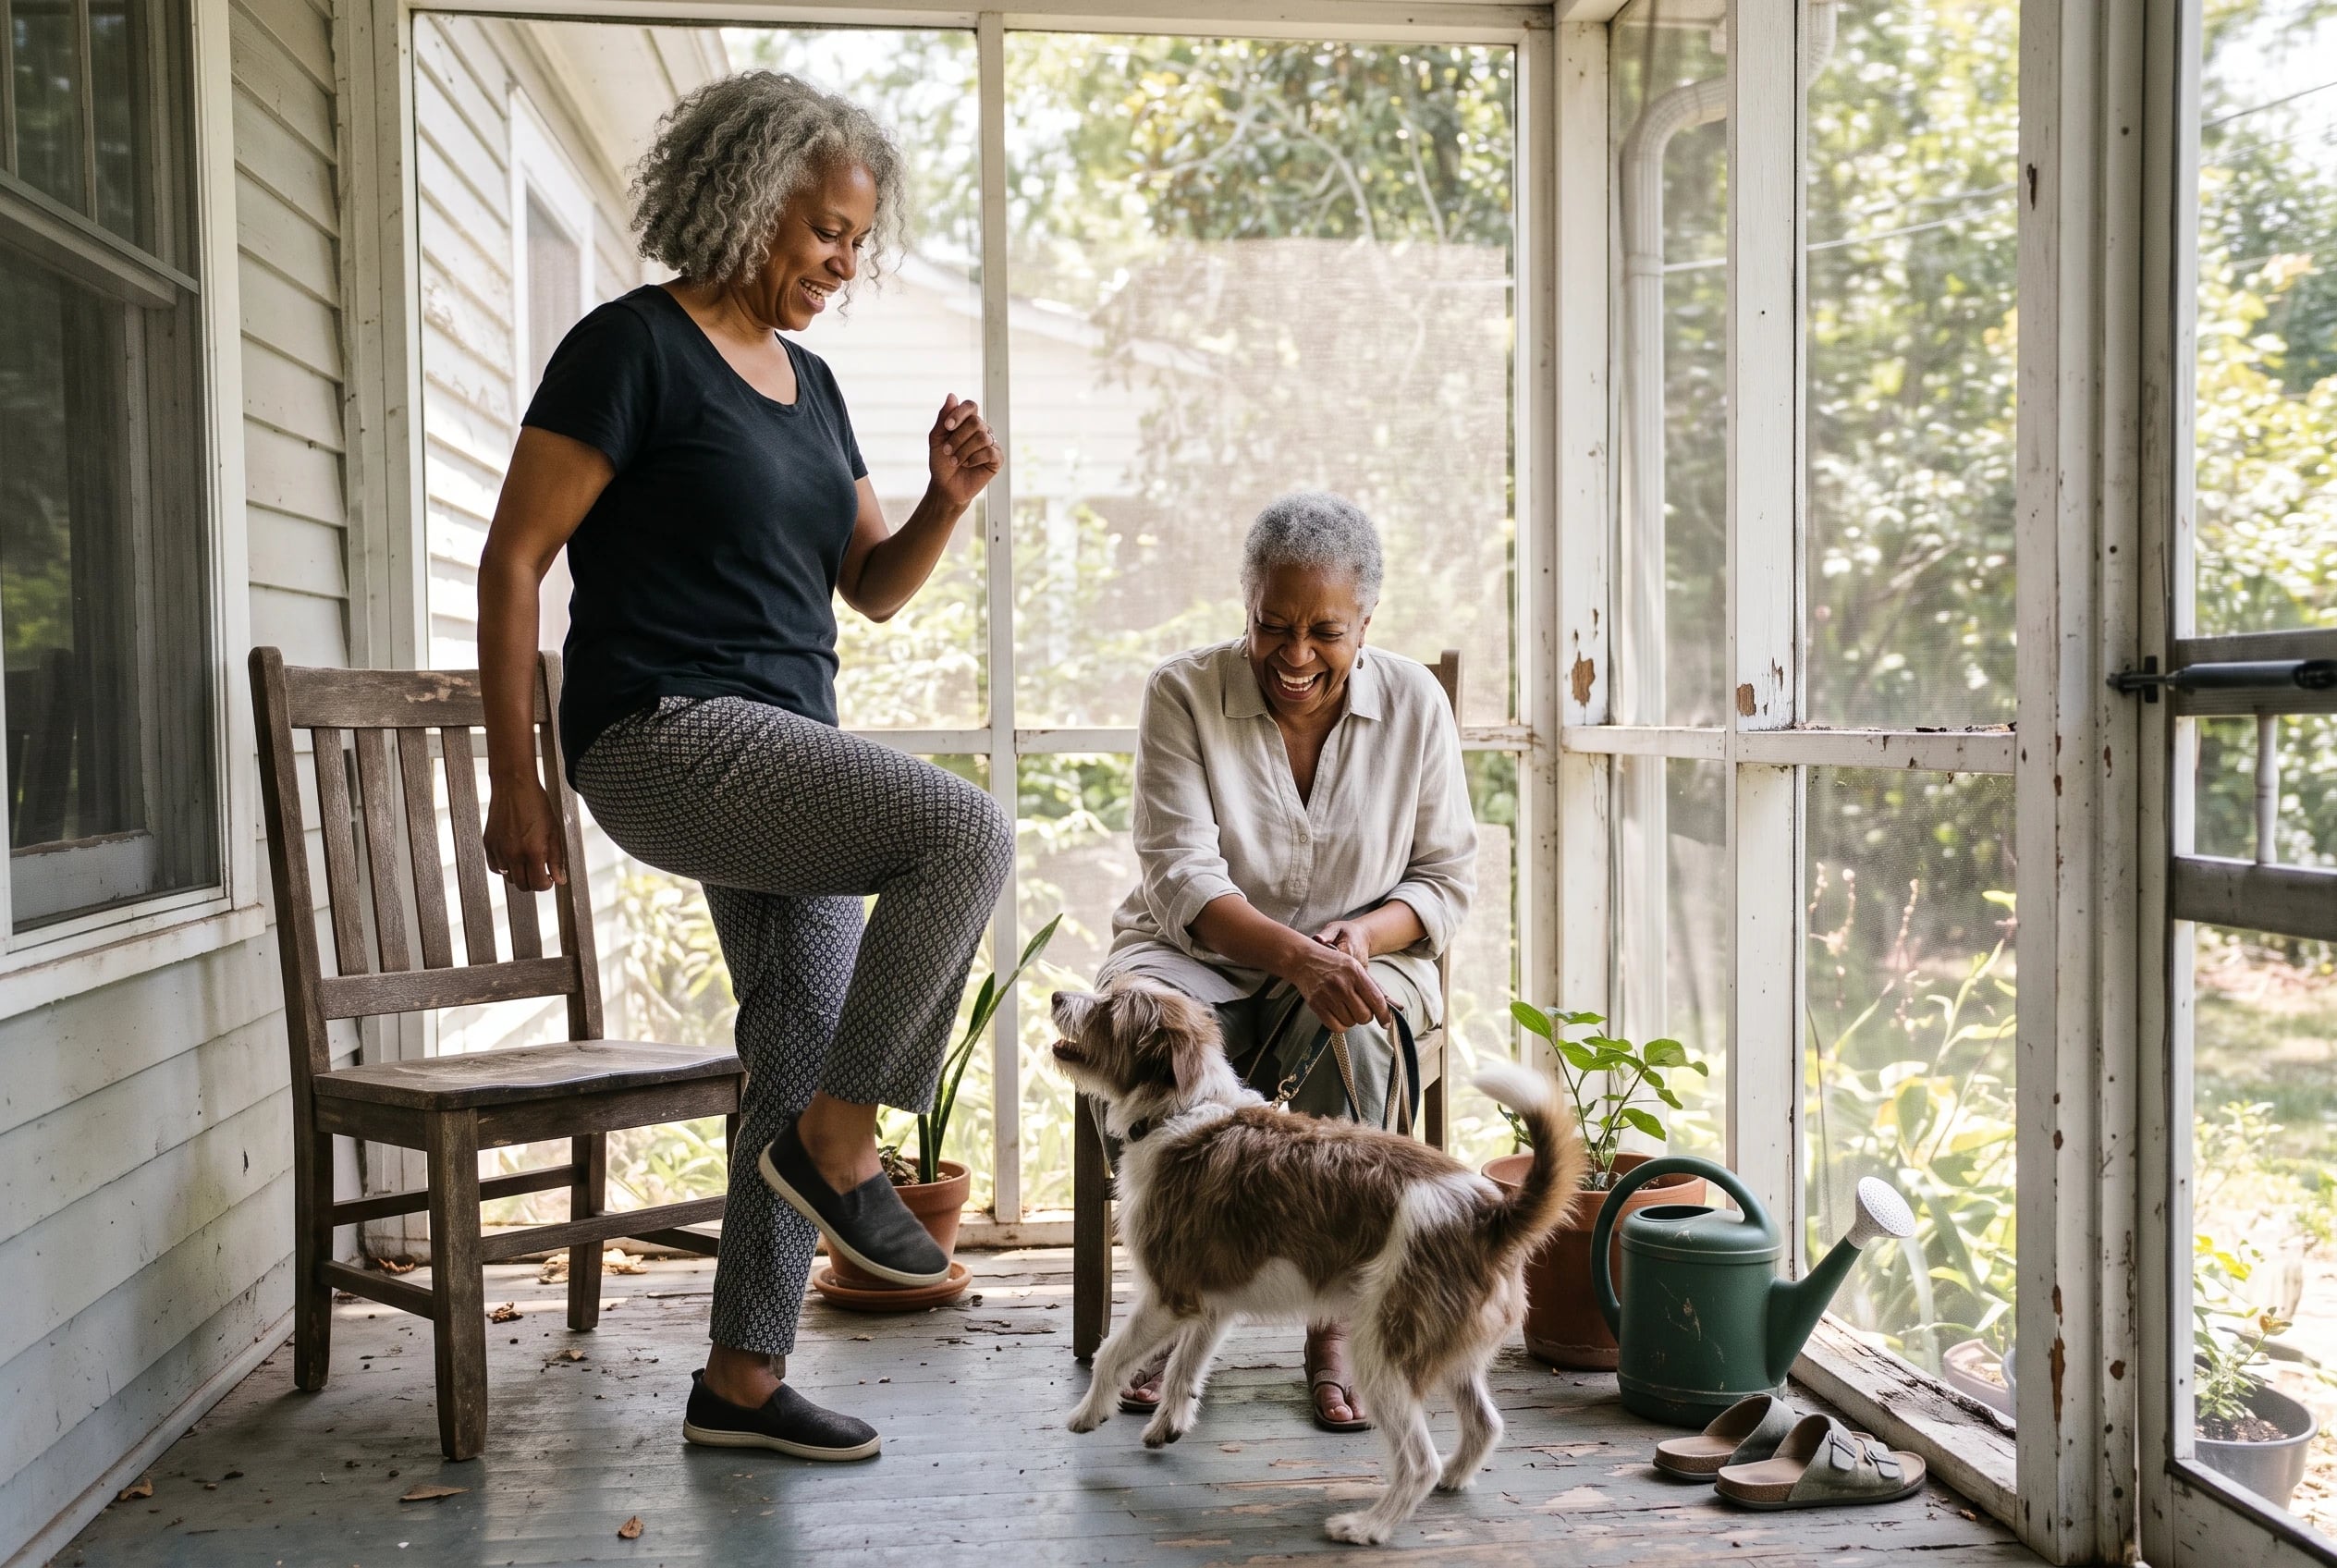
Set a sturdy chair beside you and hold it. Lift one knee, put the foot down, then lift the other. Keep your steps deliberate rather than chasing a high knee.
The CDC’s fall-prevention exercise compendium includes marching on the spot while holding a chair, with 10 steps for each leg. The chair is there to be used.
Notice what happens to your upper body when a foot leaves the floor. If you lean far to one side, lift the knee less.
Does the chair shift? Stop and find a more stable support. A standing drill loses its point when you spend the whole time worrying about what you’re holding.
12Chair Plank Using A Sturdy Seat
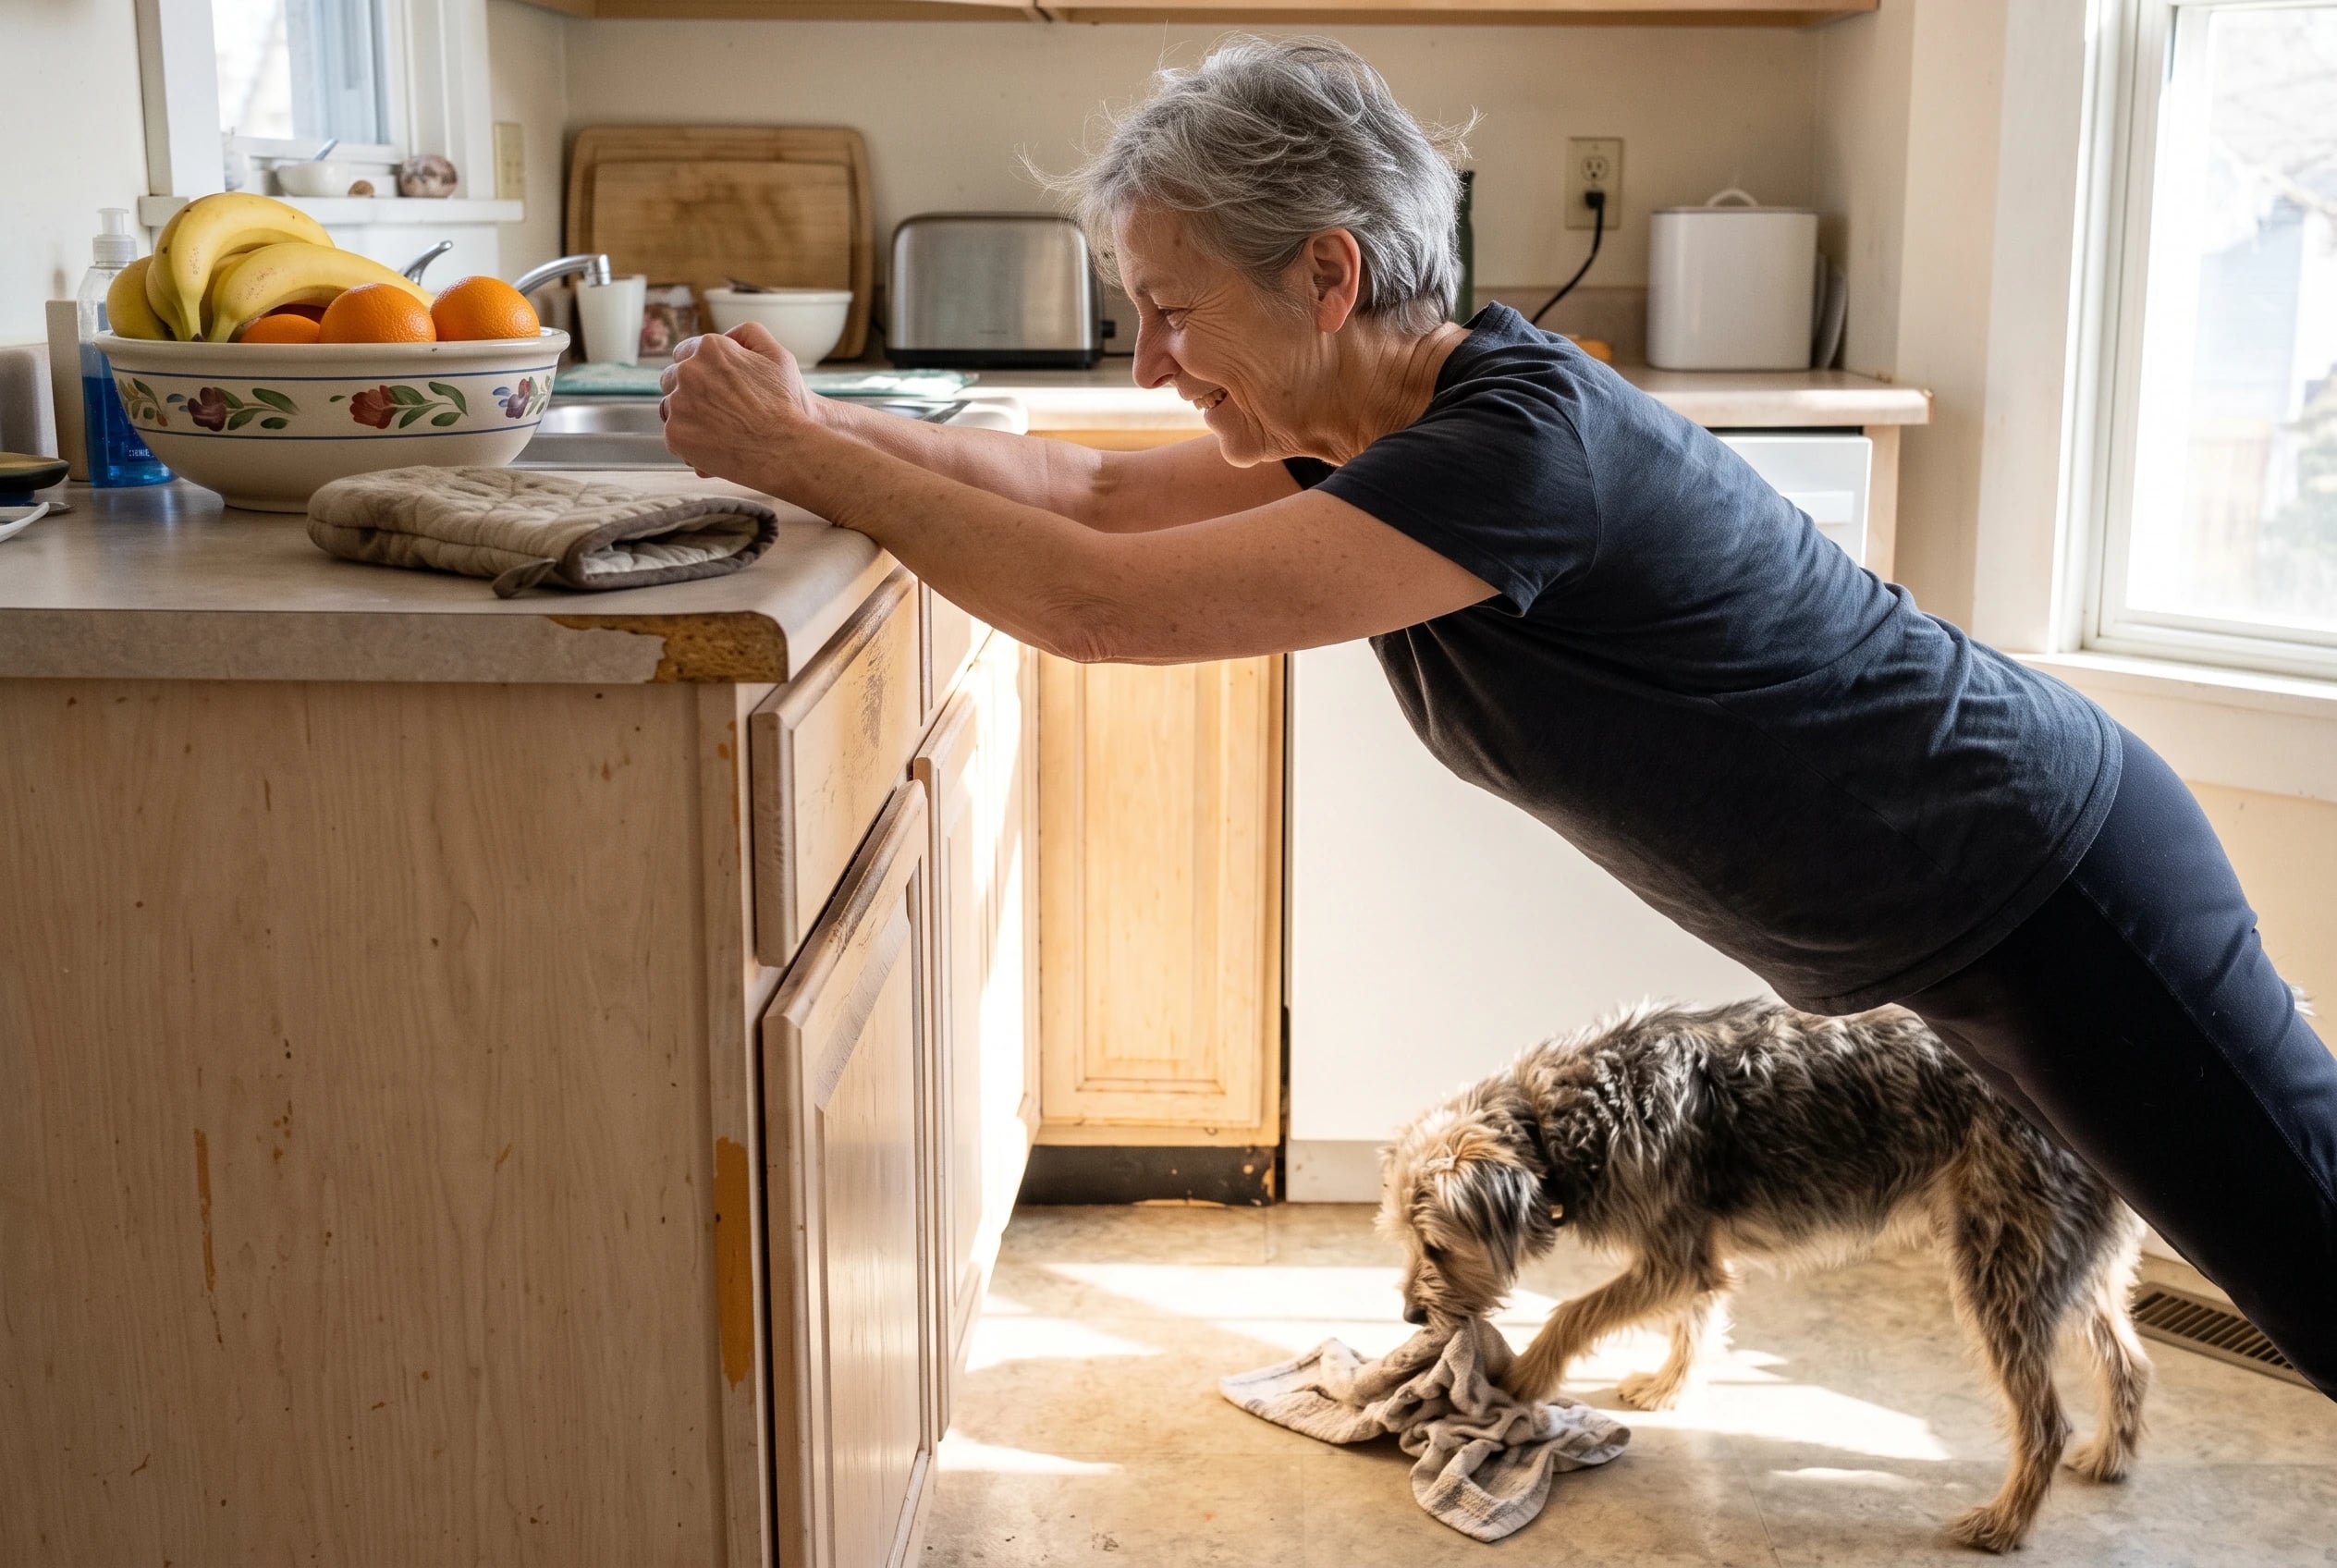
A lower support changes the angle of a wall plank. That also makes your choice of support matter more. Use a sturdy seat only if it won’t slide or tip under pressure. If you’re unsure, choose a fixed counter.
Face the support and put your hands on it. Step back until your body makes a straight line from head to ankles. Hold without dropping your hips.
Raise the surface if you lose that line or feel strain in your wrists. Mass General Brigham’s hip rehabilitation protocol describes supported planks against a stable counter or bench. UCSF’s core protocol also uses stable surfaces to scale a plank.
The seat itself earns no extra credit. If it moves, the fixed counter is the better choice.
See more: 20 Best Recliner Chairs for Seniors →
11Seated Side Bends For Mobility Limits
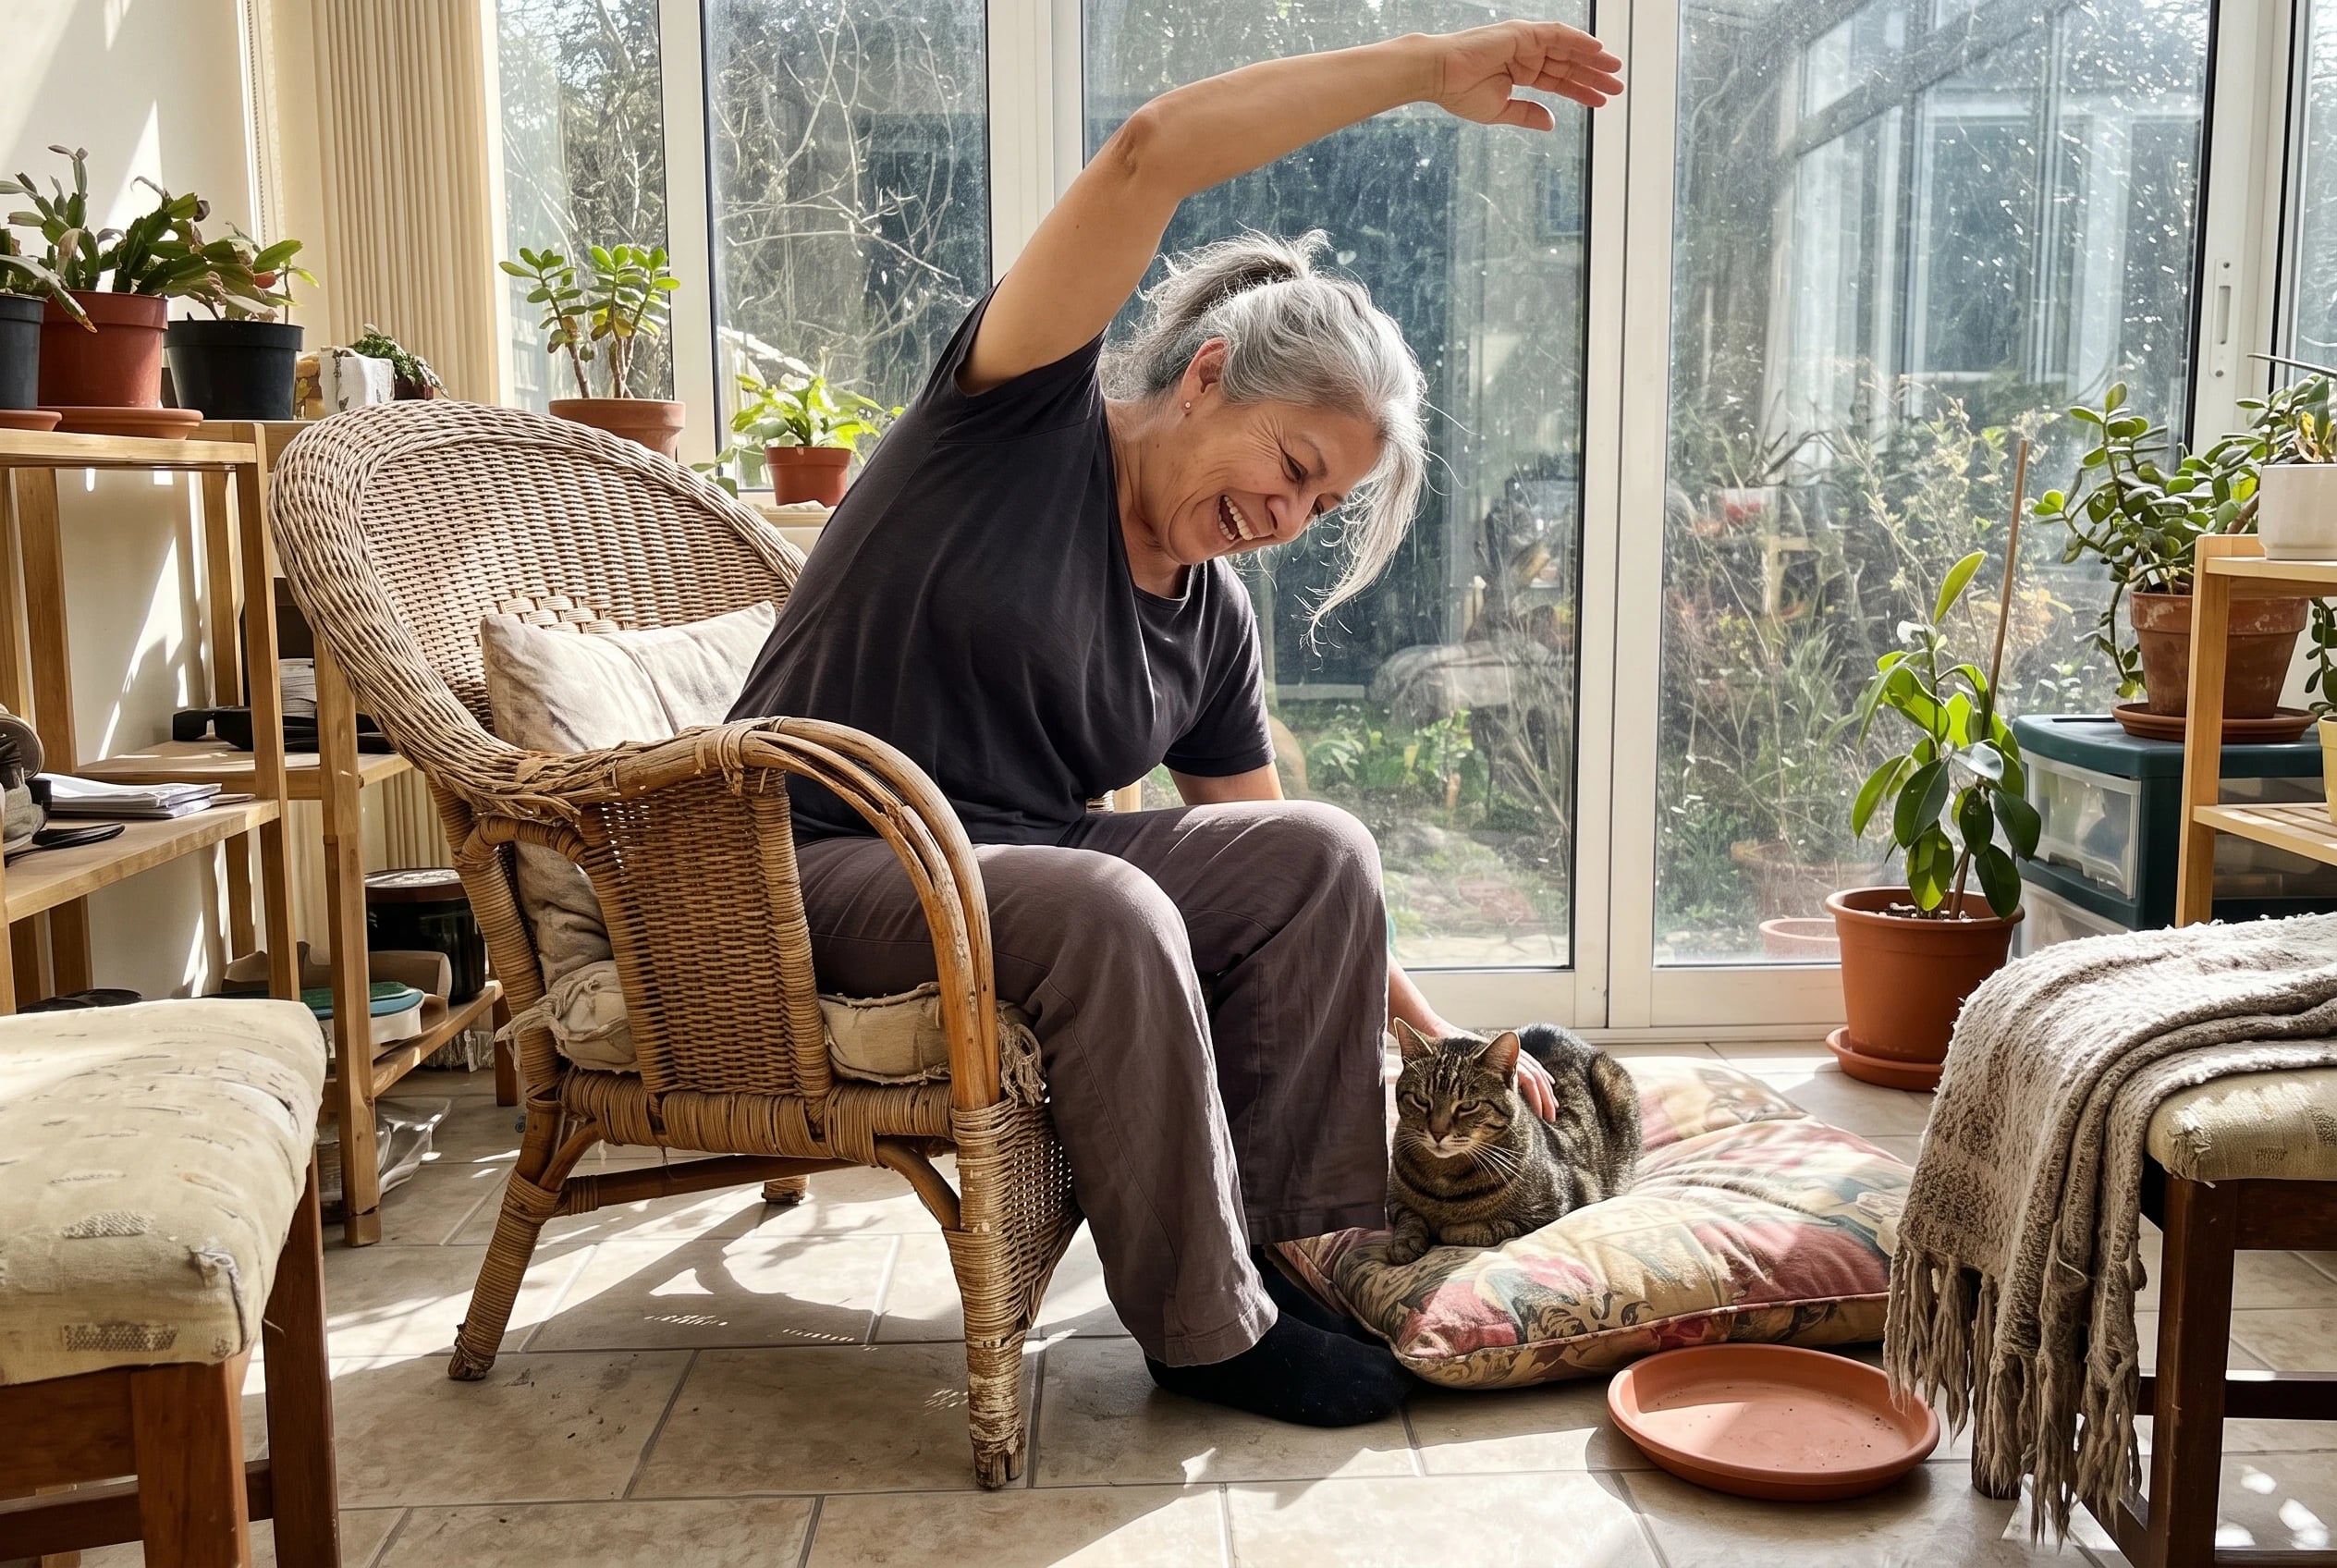
Standing is the obstacle today? Stay in the chair. Plant your feet, raise one arm, and bend a little toward the other side. Return upright before changing arms.
This version gives you seat support throughout the movement. It differs from #9, where you stay steady on your feet while reaching. Here, the job is a controlled side bend without having to manage standing balance.
A University Hospital Southampton posture handout gives seated options with one arm raised or both arms crossed overhead. Choose the arm position that feels comfortable at your shoulders.
Keep the bend small enough that you stay planted on the seat. Treat it as a mobility move, rather than a heavy strengthening exercise. If standing or kneeling isn’t practical, that’s reason enough to make room for a chair-based choice.
10Pelvic Tilt To Activate Deep Abdominals
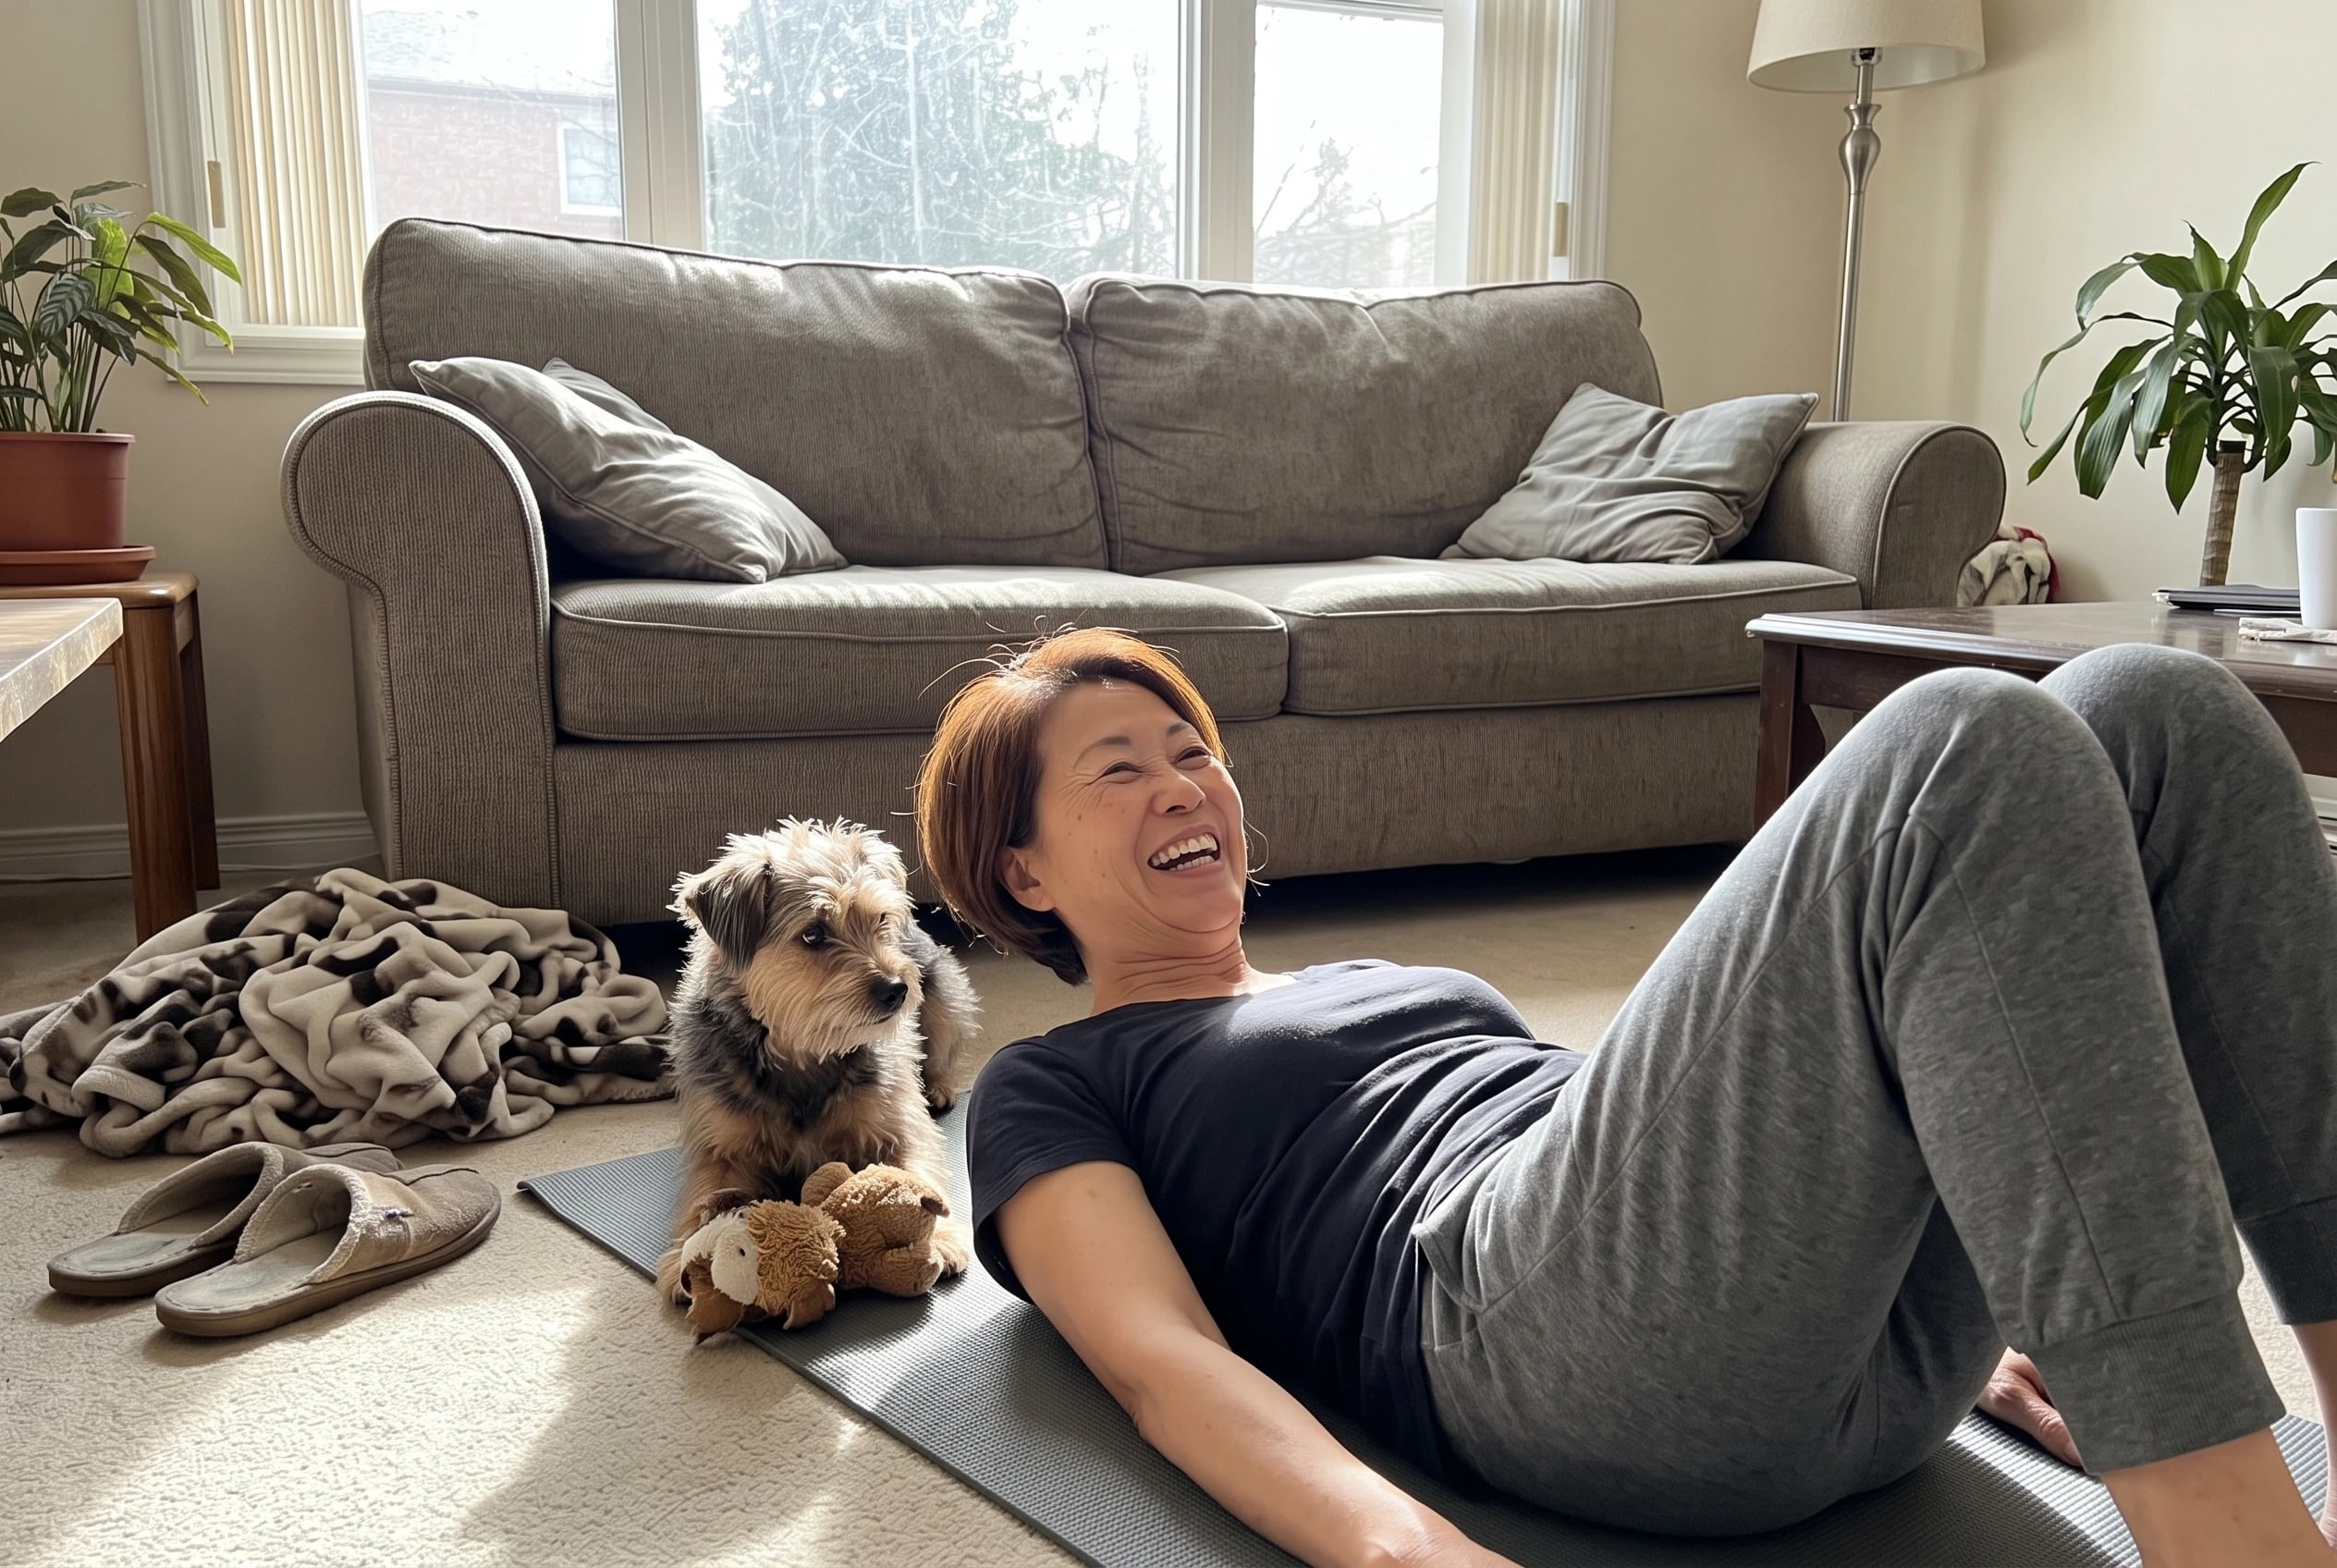
Lie on your back. Draw your navel toward your spine and flatten your back against the surface beneath you. Hold, then release. That small change in your pelvis is the exercise.
UCSF’s core protocol gives pelvic tilts a 5 to 10 second hold. Its plan lists 2 to 3 sets of 10 repetitions. Start with a hold you can manage while breathing.
If your neck tightens, let it rest. Put your attention back on your pelvis and the surface under your back.
The motion looks small from across a room. From the mat, you’ll feel whether you’re repeating it. Once you can do that without lifting your head, you have a clear starting position for moving-leg drills.
9Standing Side Bend With Overhead Reach
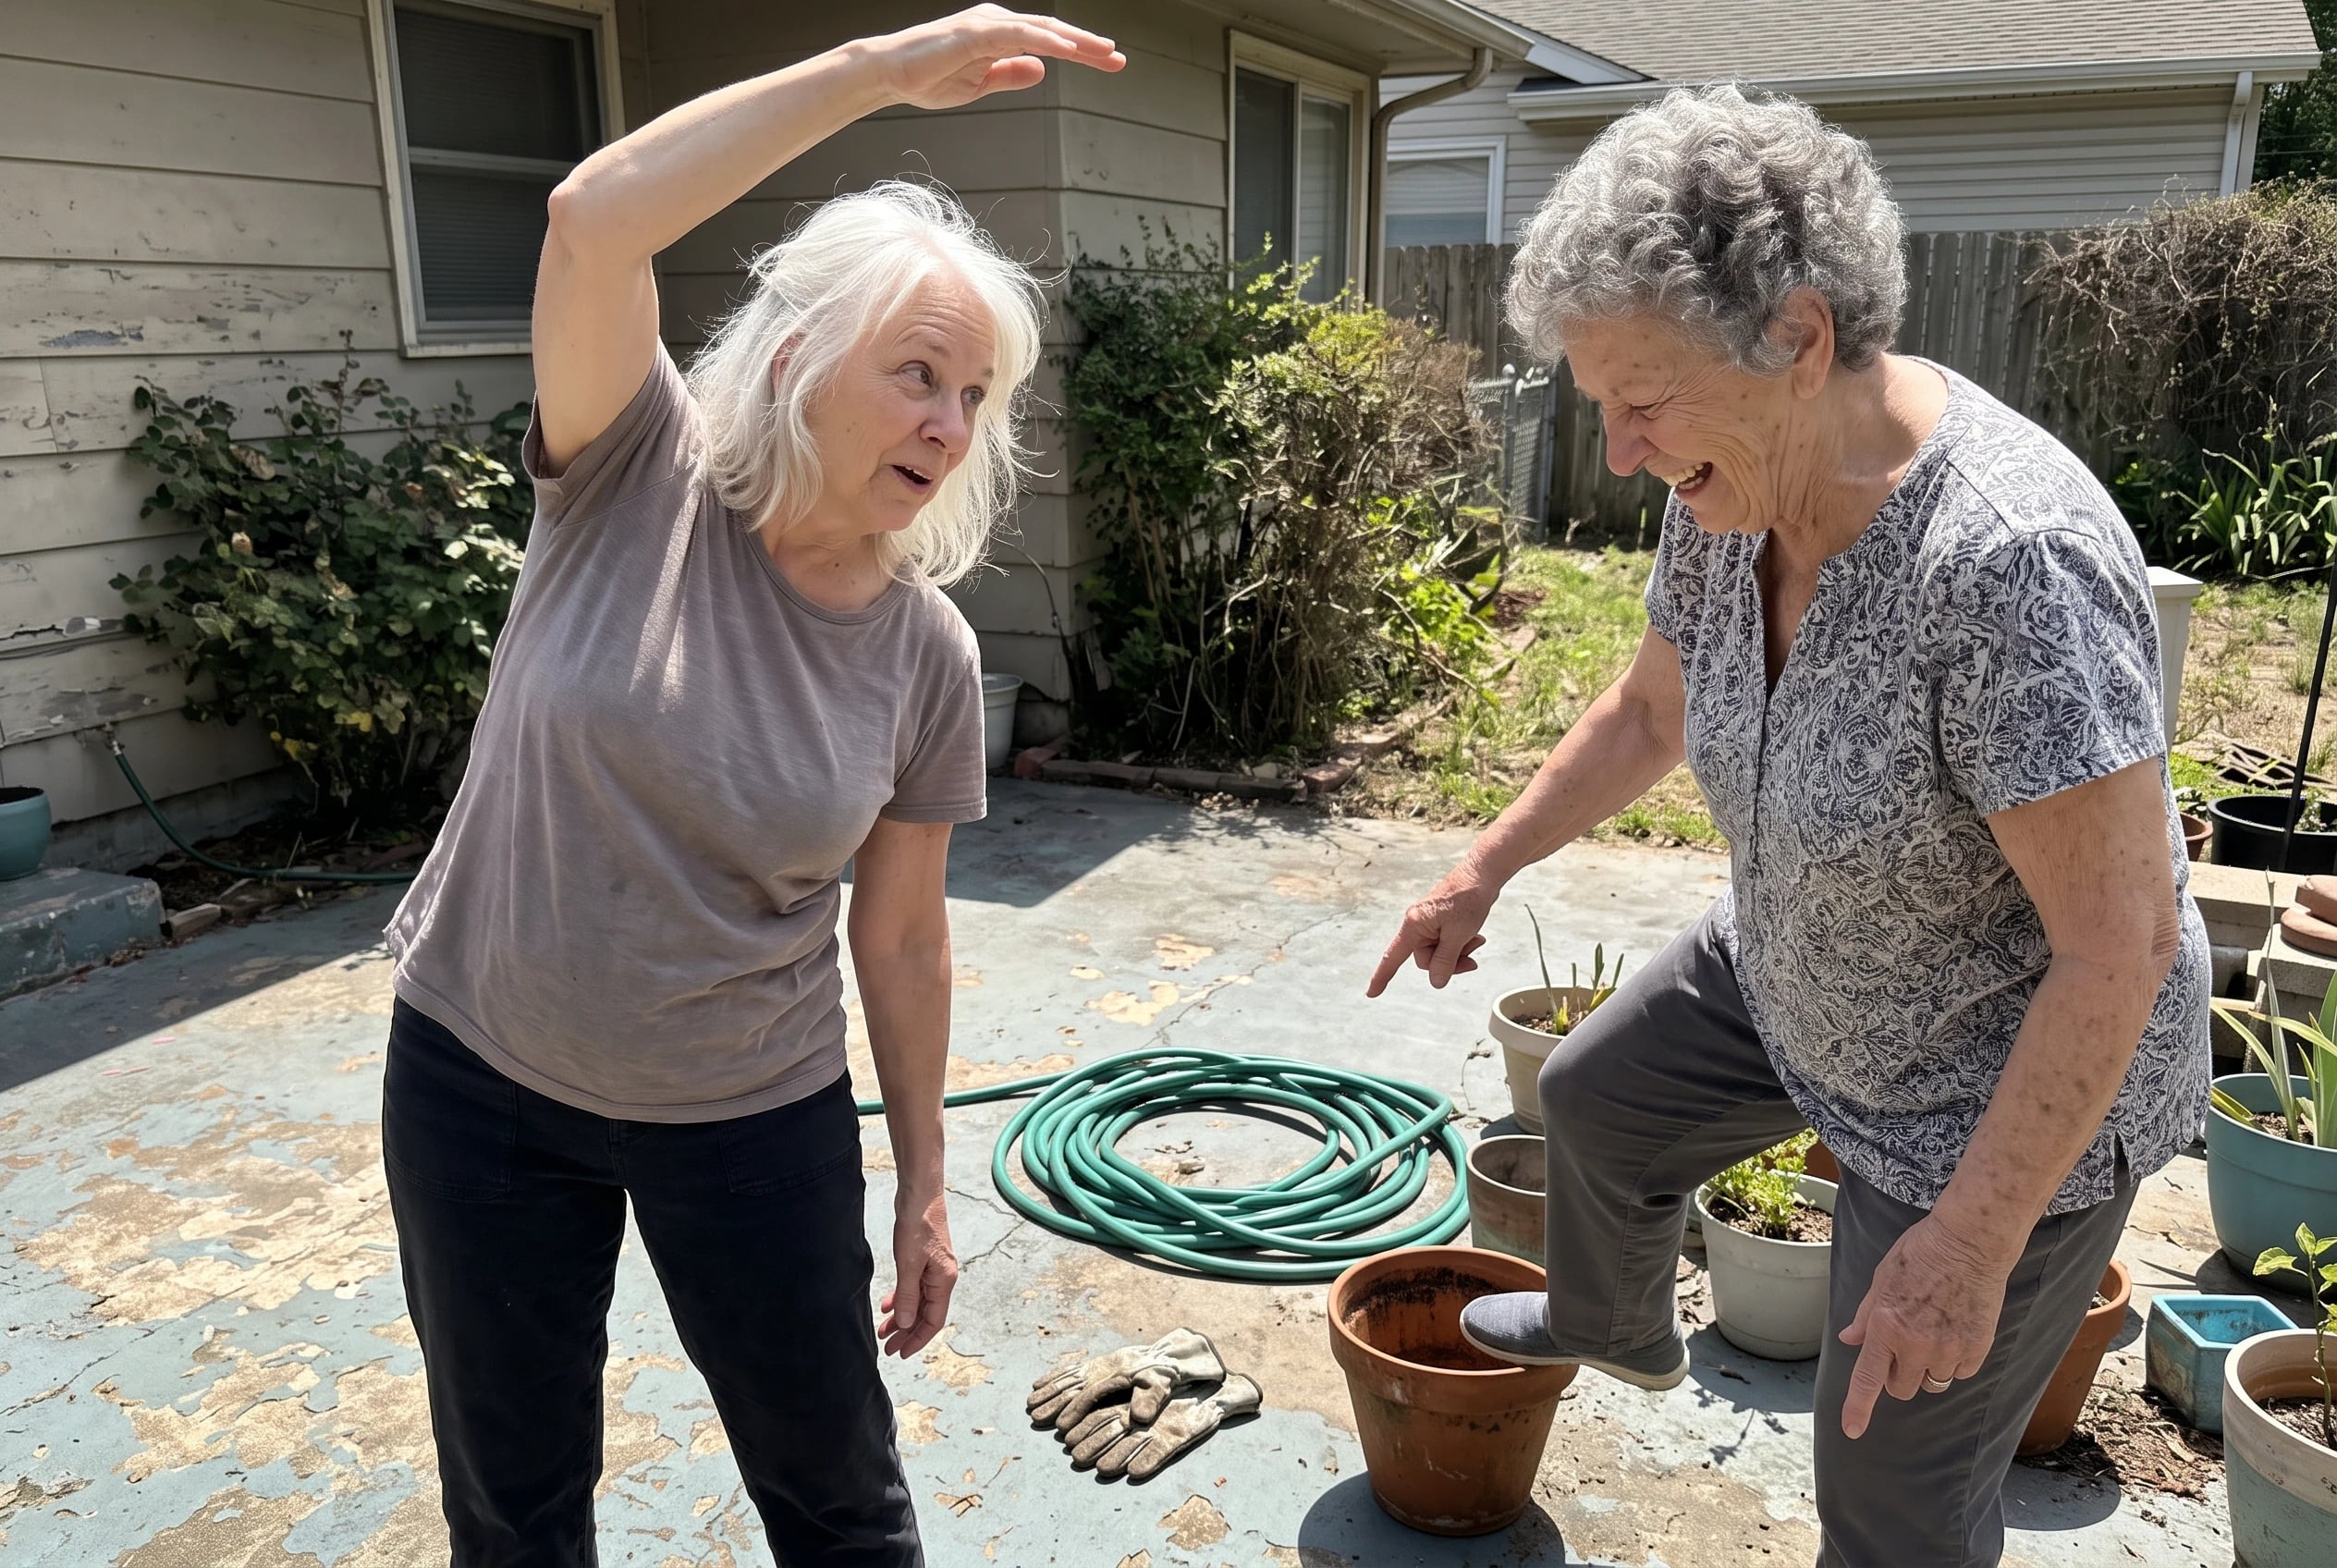
After time at a counter, try a reach without moving your feet. Raise one arm overhead and lean toward the opposite side. Come back upright before changing arms.
Let the reach be long rather than deep.
The University Hospital Southampton NHS posture guide includes this side bend standing or seated. Try the standing version near a stable support if balance is on your mind. Keep both feet down and stop before you need to grab something to recover.
Unlike #11’s chair-supported bend, this version asks you to remain steady on your feet while your arm and trunk move. It needs no weight and no impressive range of motion.
8Seated Torso Twists For Obliques
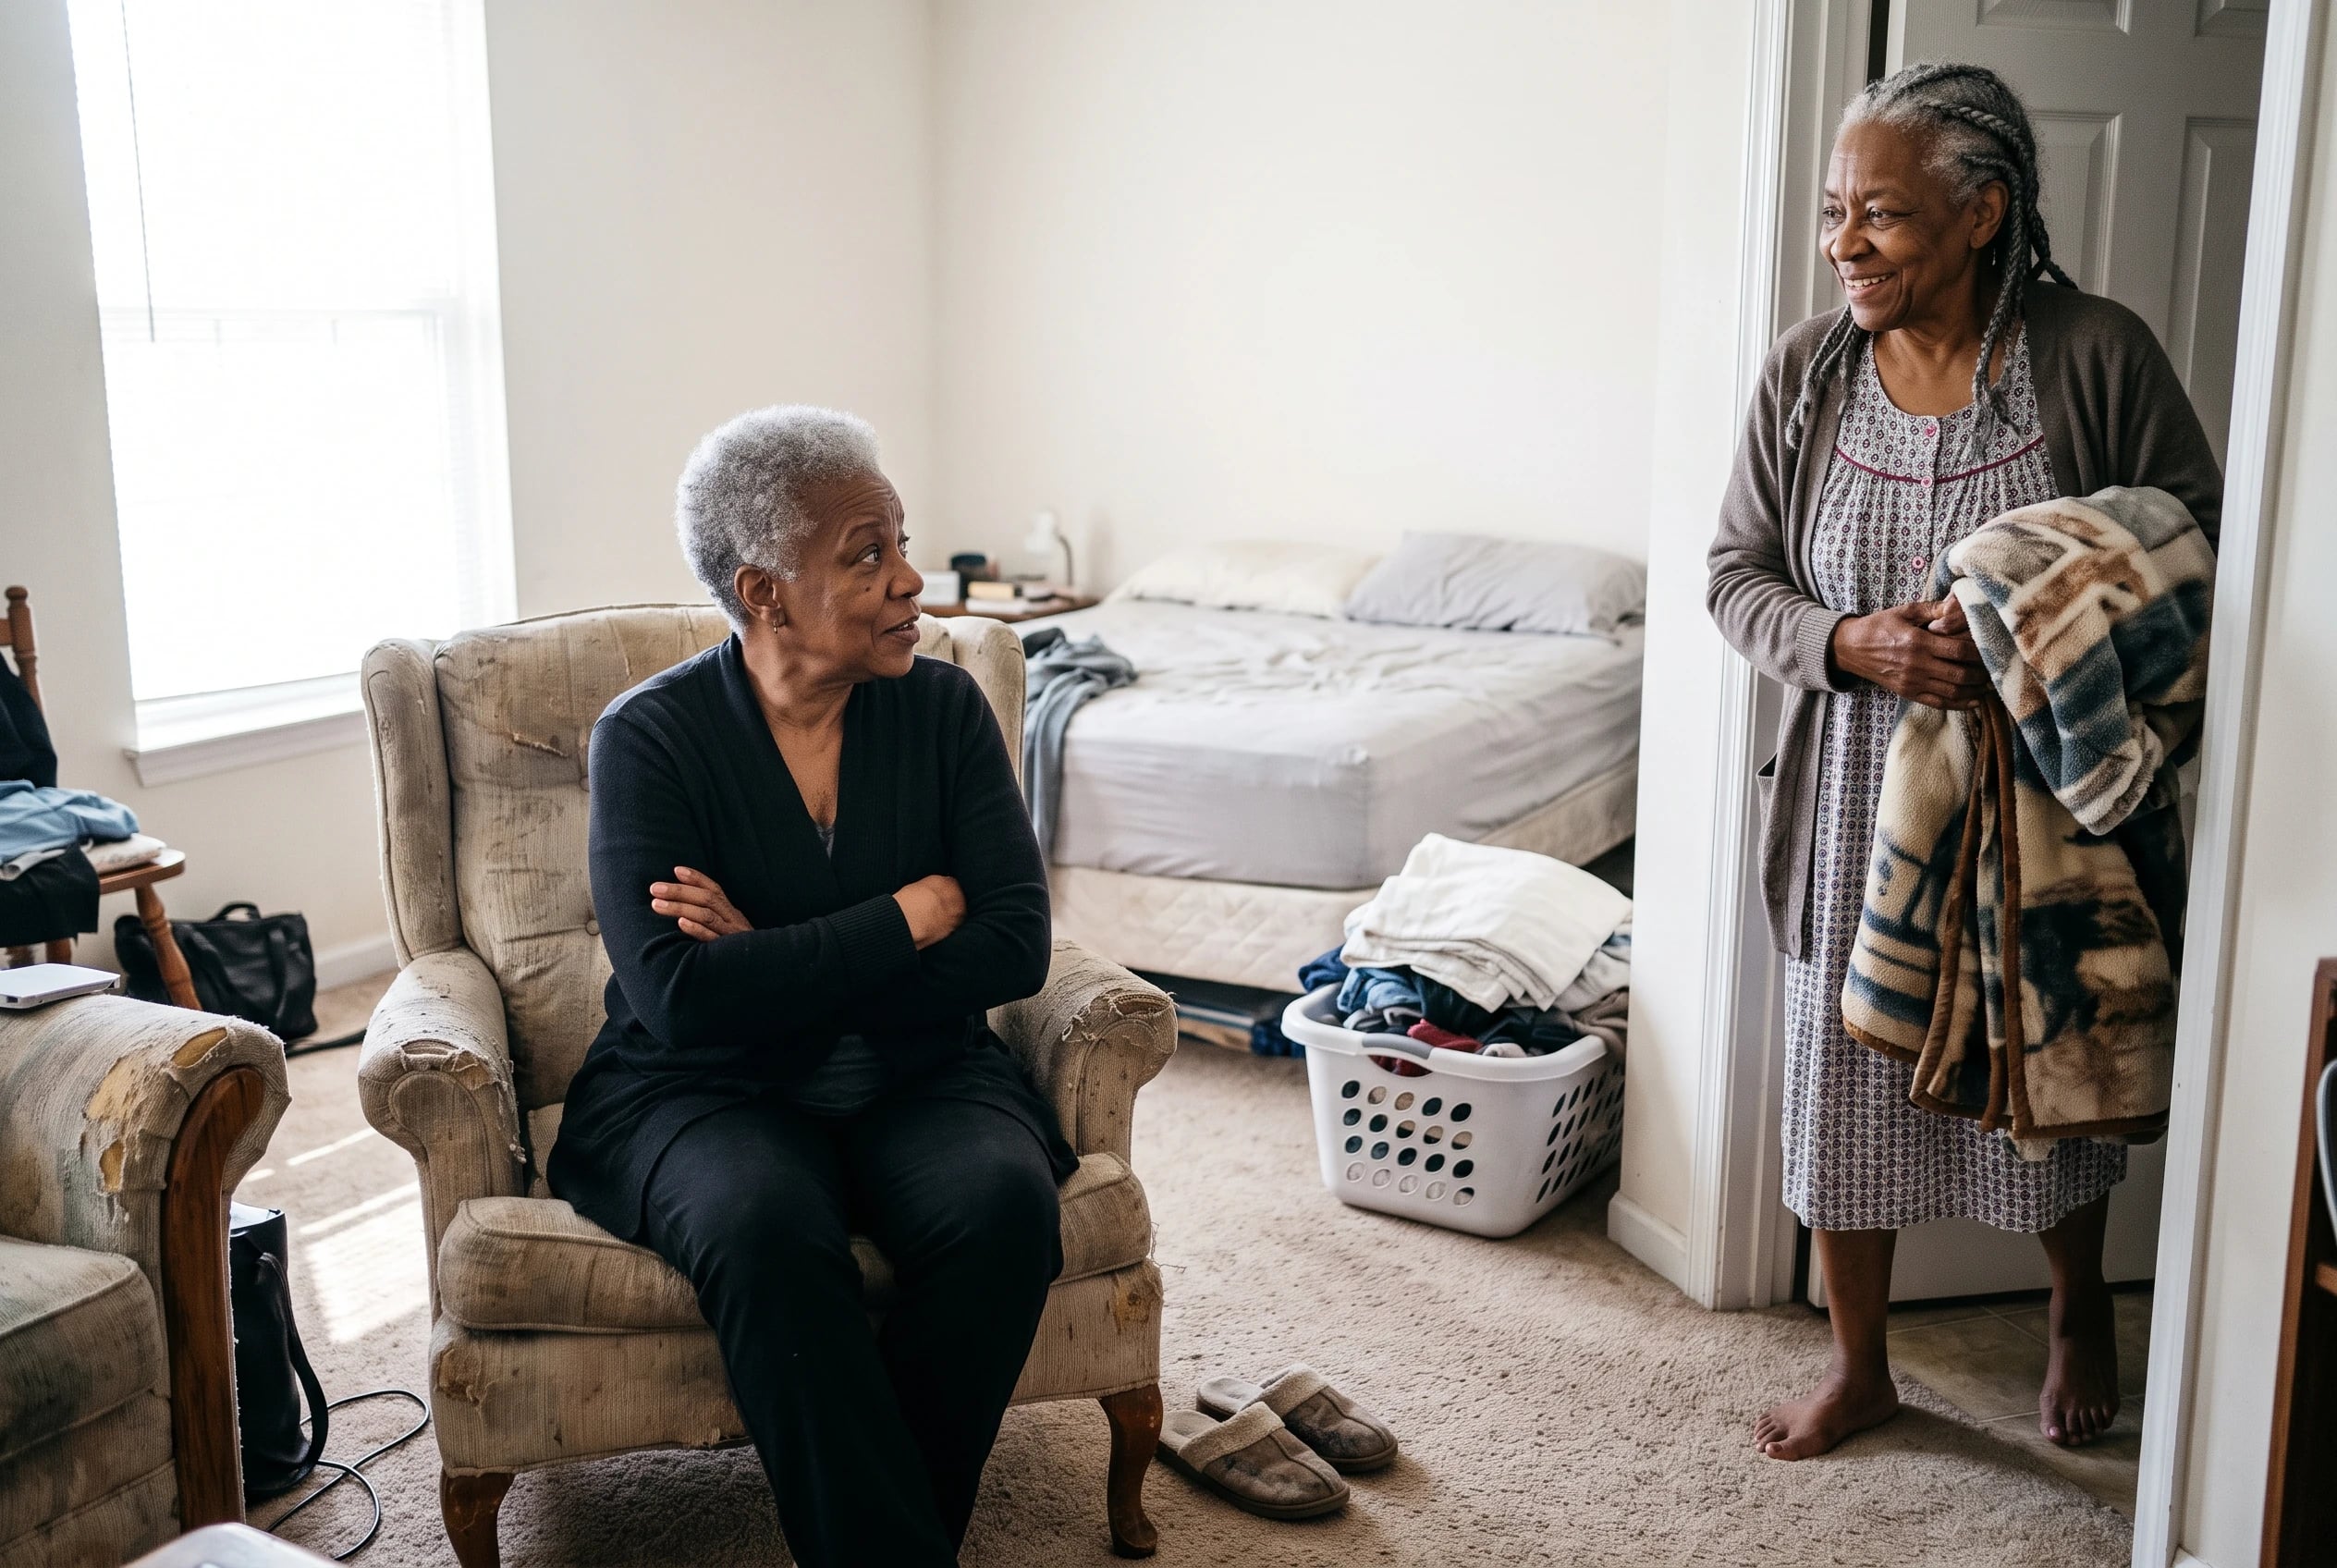
Your chair gives you another direction to explore. Sit with both feet down and cross your arms over your chest. Turn your upper body to one side, pause, and return to center. Then turn the other way.
Move through your upper back instead of wrenching your lower back around. University Hospital Southampton’s posture exercises describe this as seated thoracic rotation.
“Twist” doesn’t mean turn as far as possible. If you have osteoporosis, the Bone Health & Osteoporosis Foundation cautions against spinal twisting with strain. Ask your doctor or physical therapist whether this move suits you.
A smaller turn, or leaving it out, beats forcing the range.
7Seated Knee Lifts In A Chair
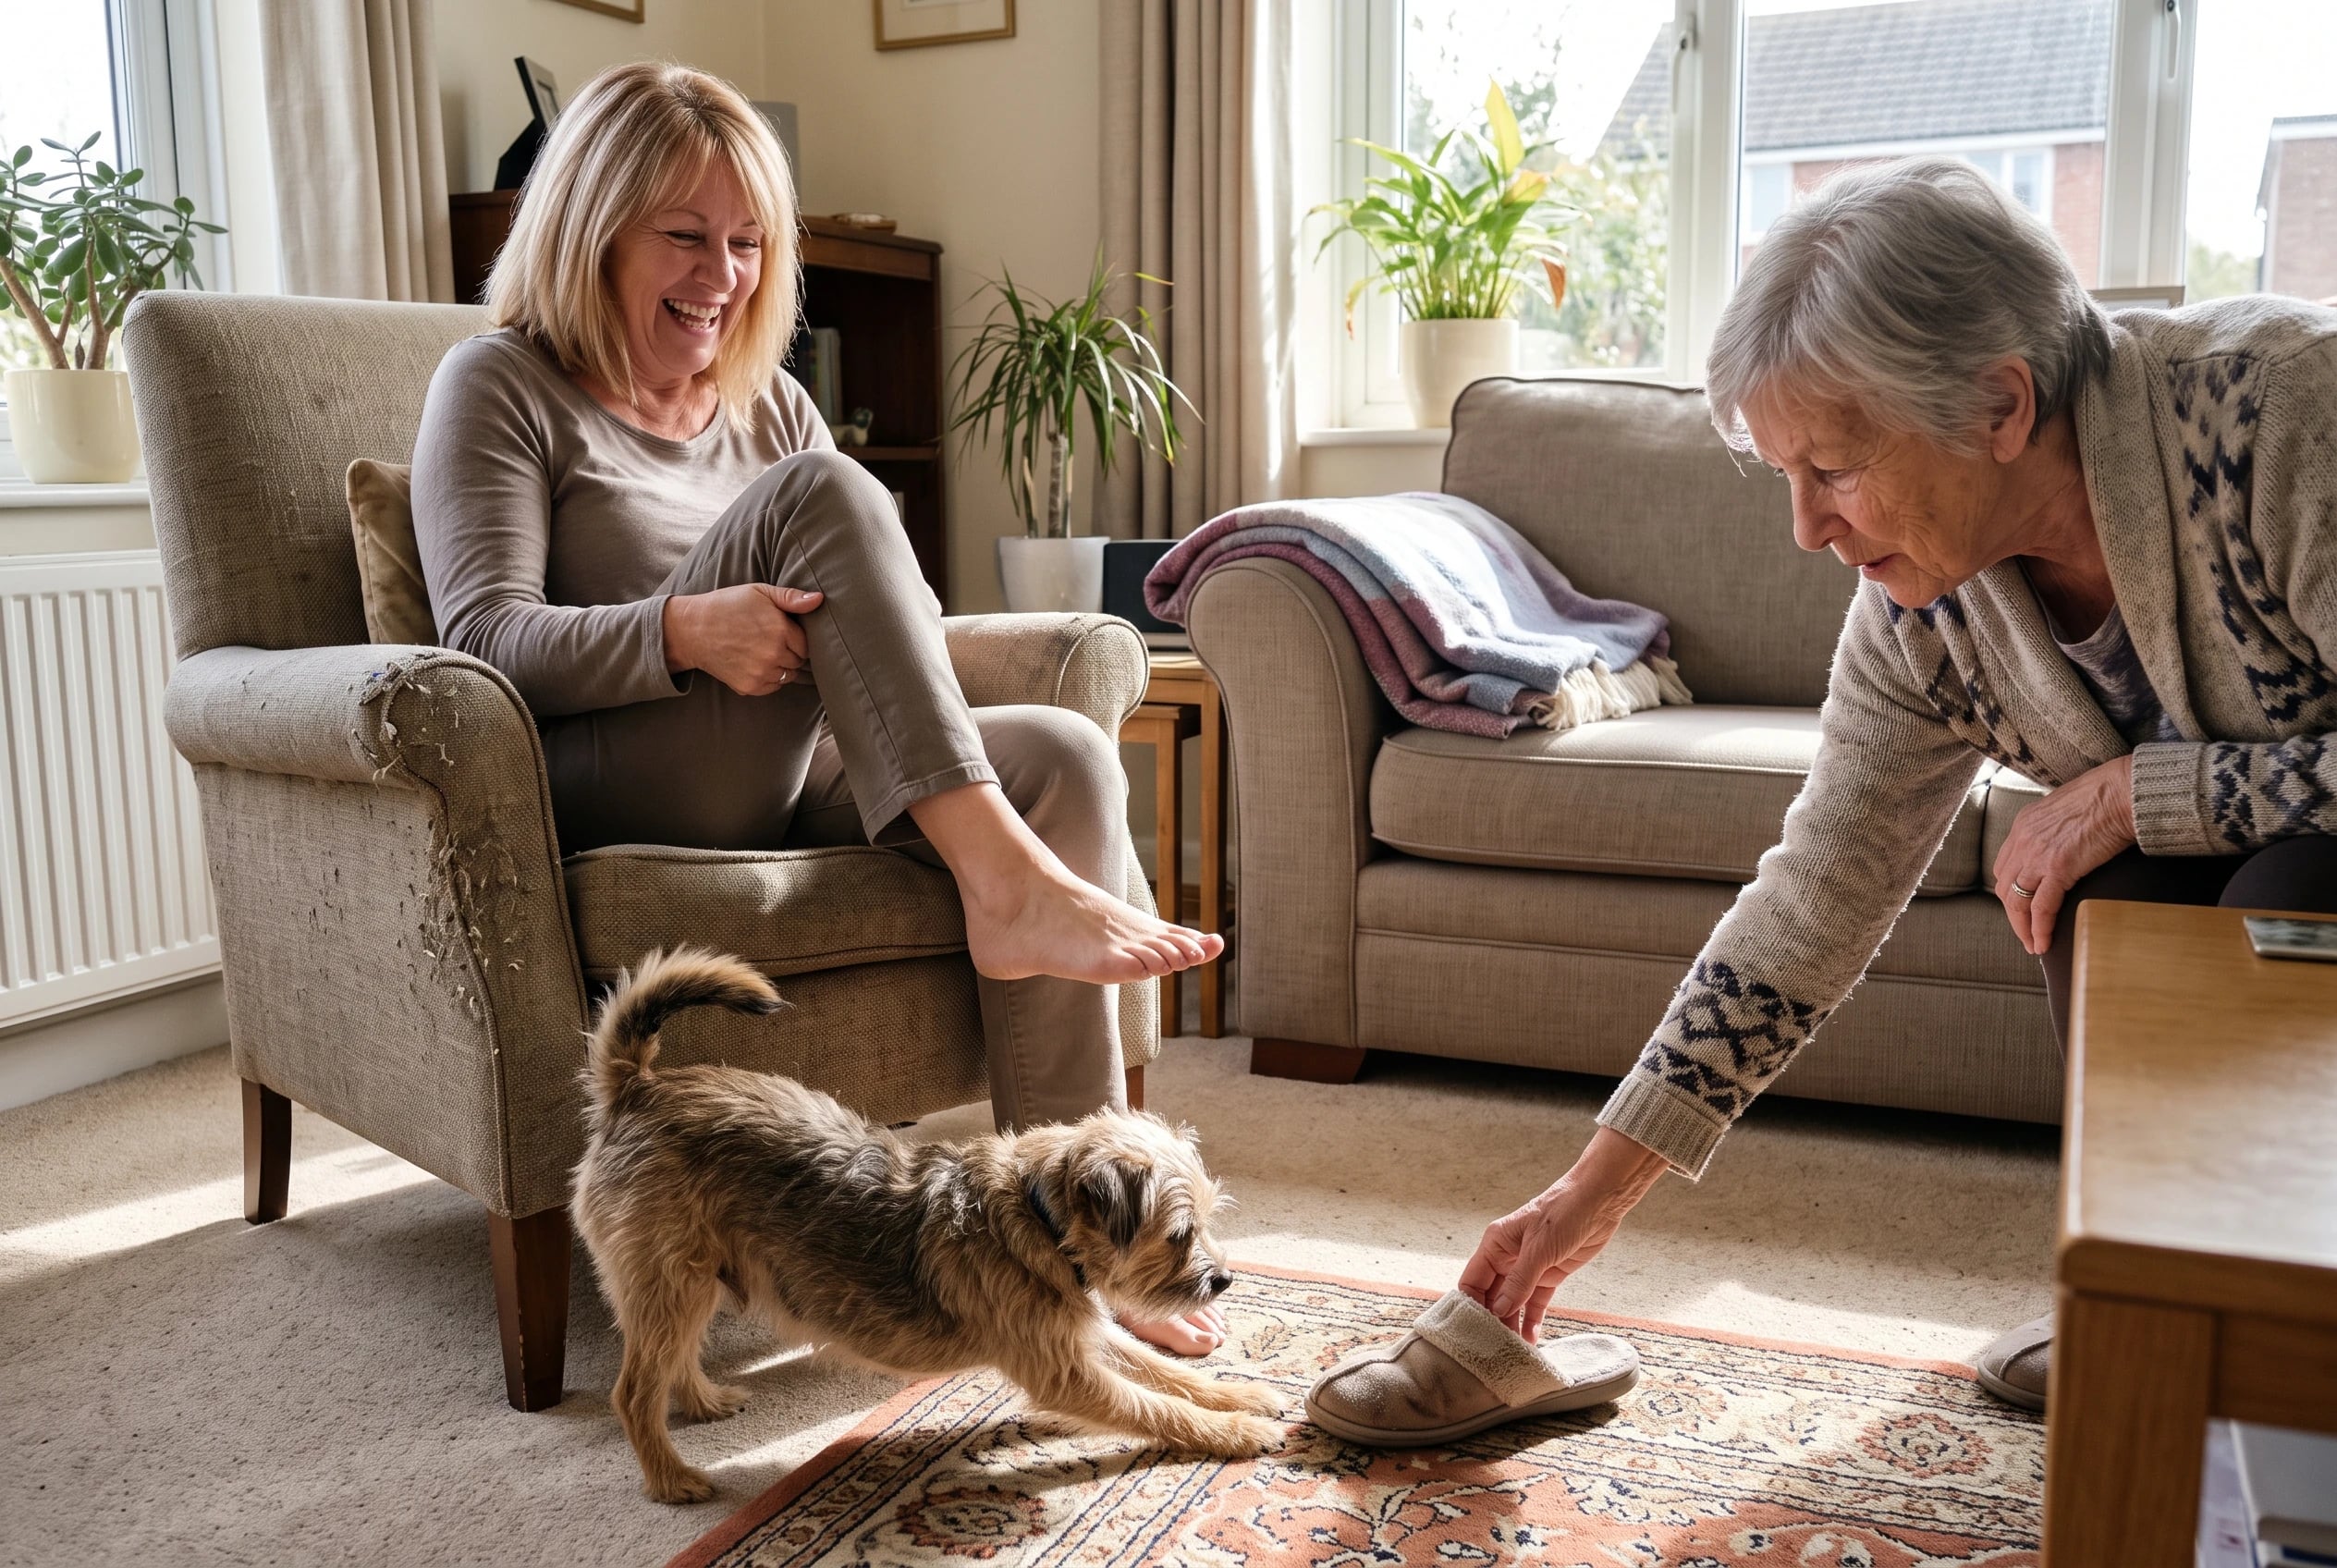
No mat. No need to get down and back up.
Sit with both feet on the floor. Lift one foot until its knee comes toward your stomach. Put it down, then switch legs. Keep the chair steady.
Those steps follow the University Hospitals Sussex chair-exercise guide. You choose how high the knee travels. If lifting it makes you lean sharply back, make the lift smaller.
This differs from the standing march: the chair supports you while you lift each leg. On a day when standing balance is your concern, you still have a way to practice the motion. Put both feet down between lifts whenever you need a pause.
6Side Plank Against A Wall
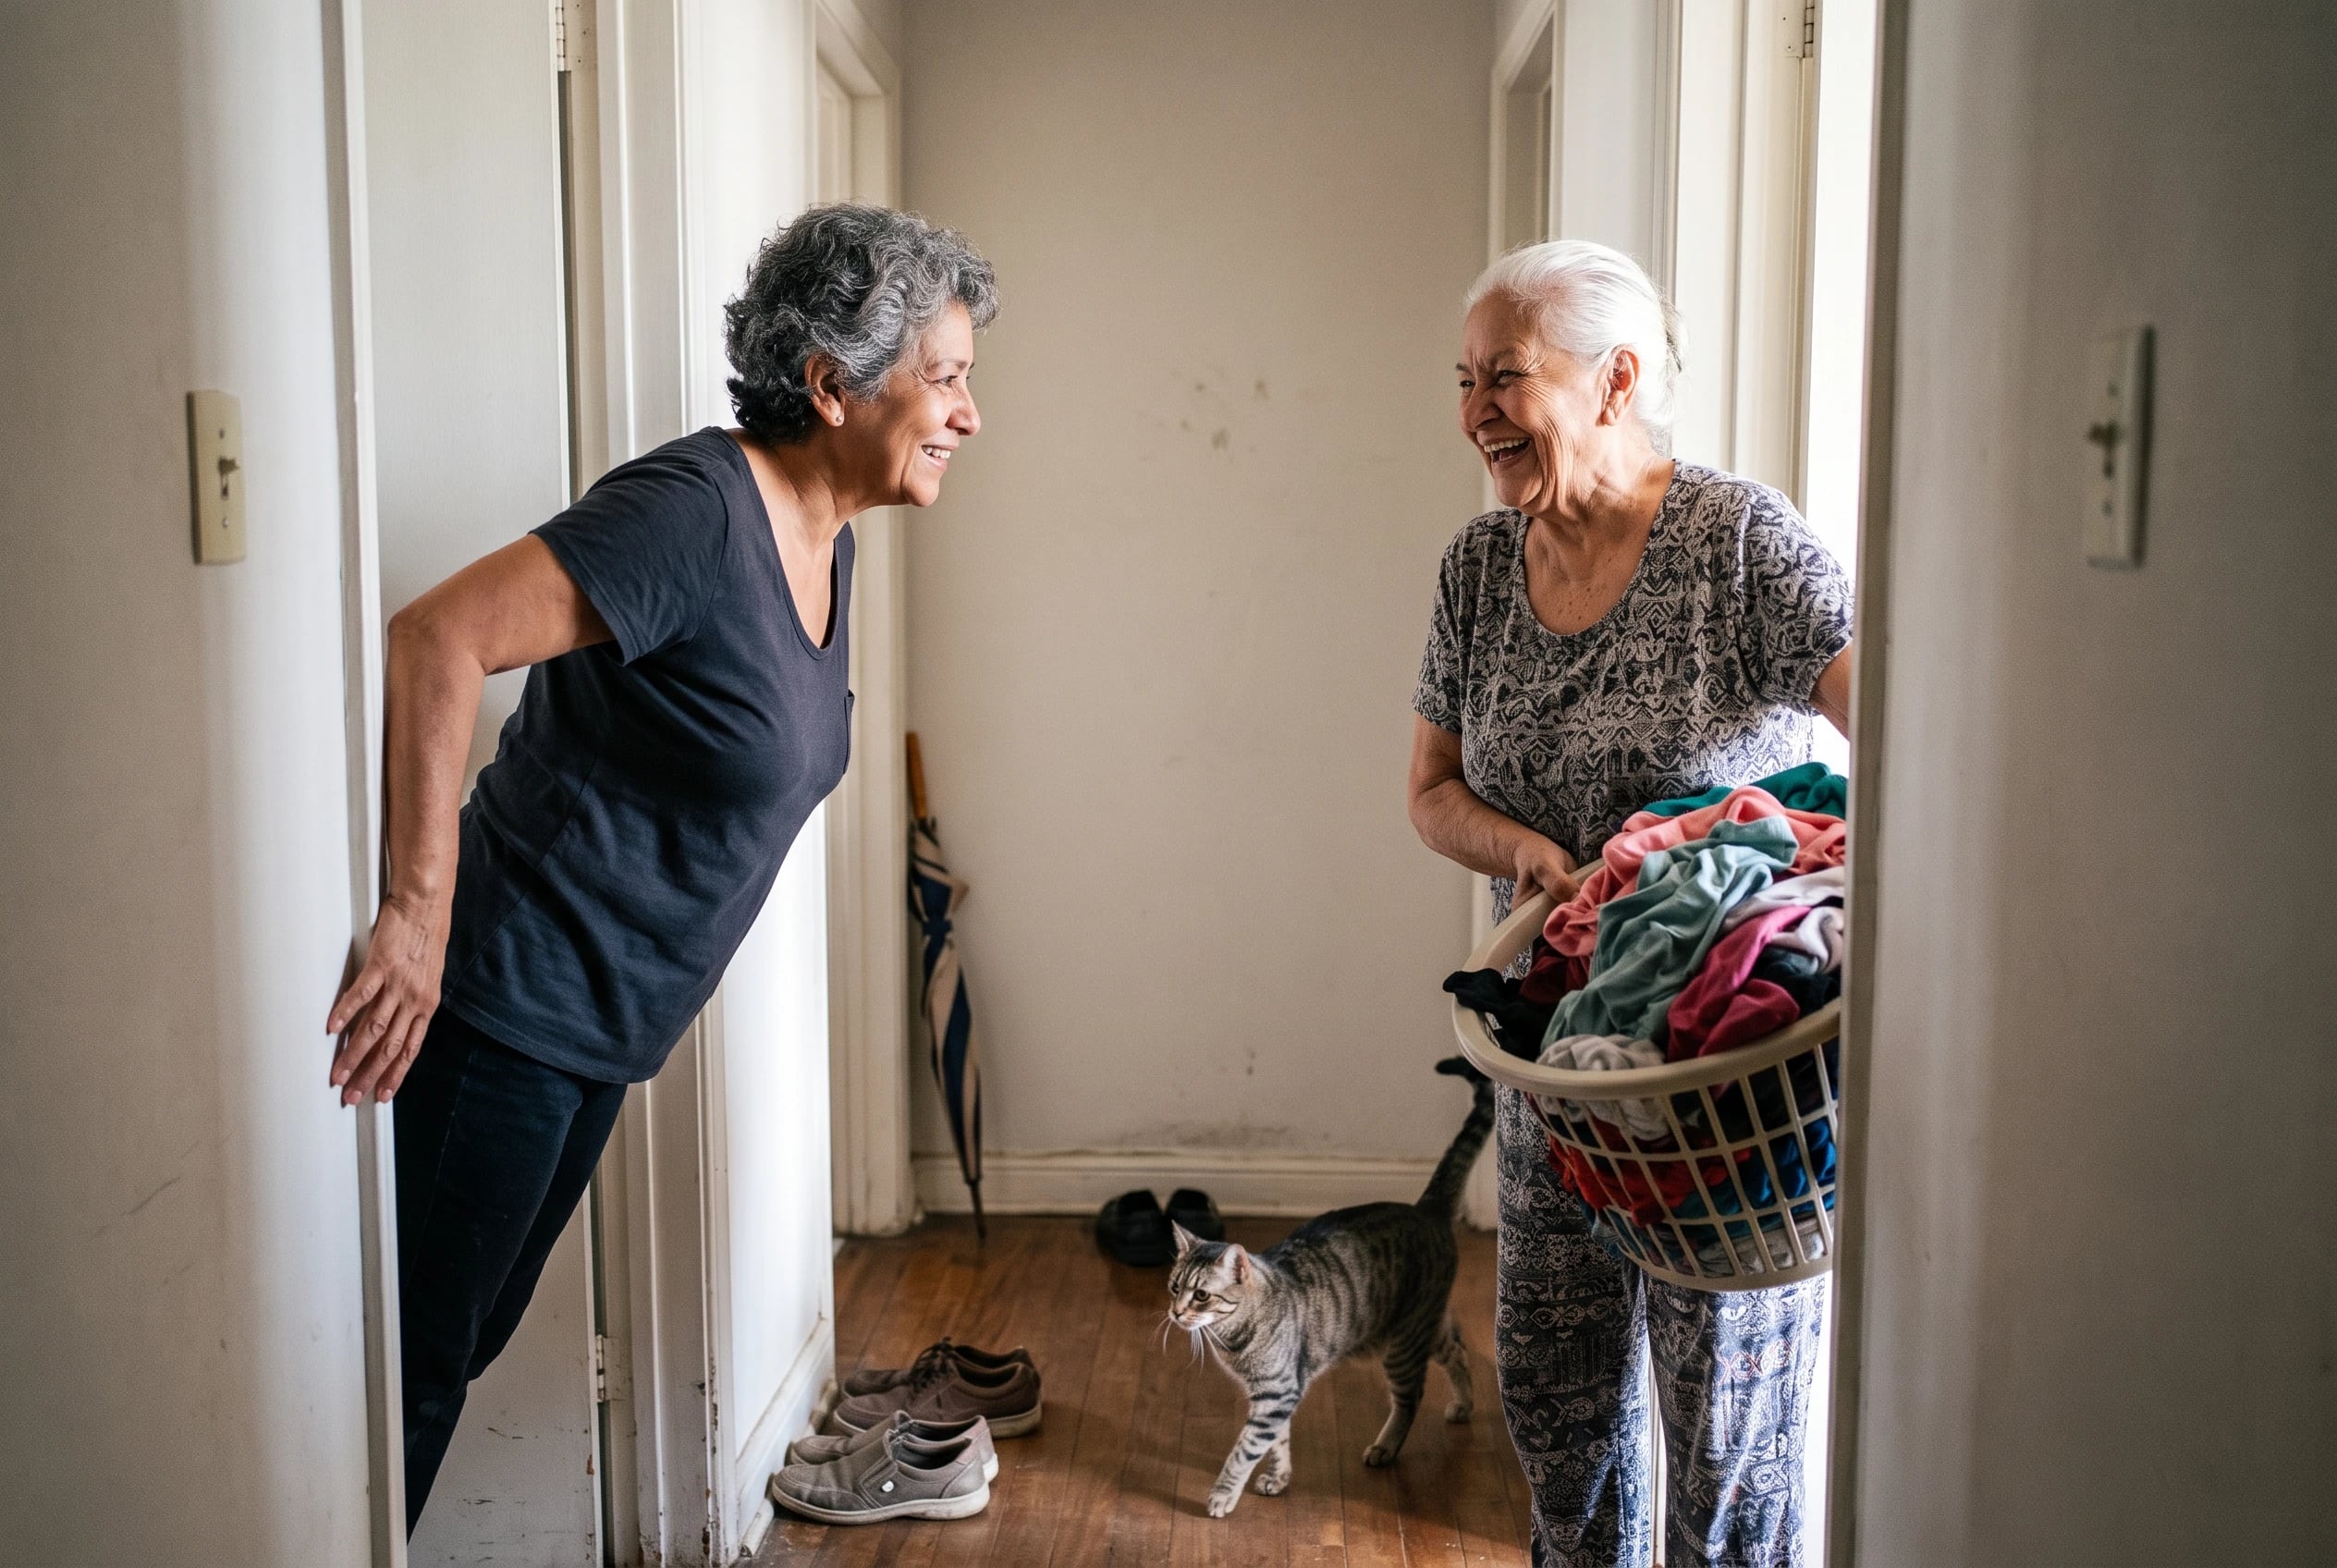
A side plank asks you to resist folding sideways. The National Academy of Sports Medicine describes the floor version as an isometric exercise for that job.
For a wall adaptation, stand side-on and rest the nearer forearm against a stable wall. Lean in only as far as you can while keeping your body aligned. Hold without letting your hip drift toward the wall. Turn around to work the other side.
Find your position before watching a clock. The American Academy of Orthopaedic Surgeons’ spine program gives a 15-second hold for its modified *floor* side plank on knees and forearm. That time does not belong to your first wall attempt.
If pressure through your forearm or shoulder feels wrong, stop. Choose a front-facing wall plank instead of forcing a side position.
5Modified Knee Plank On The Floor
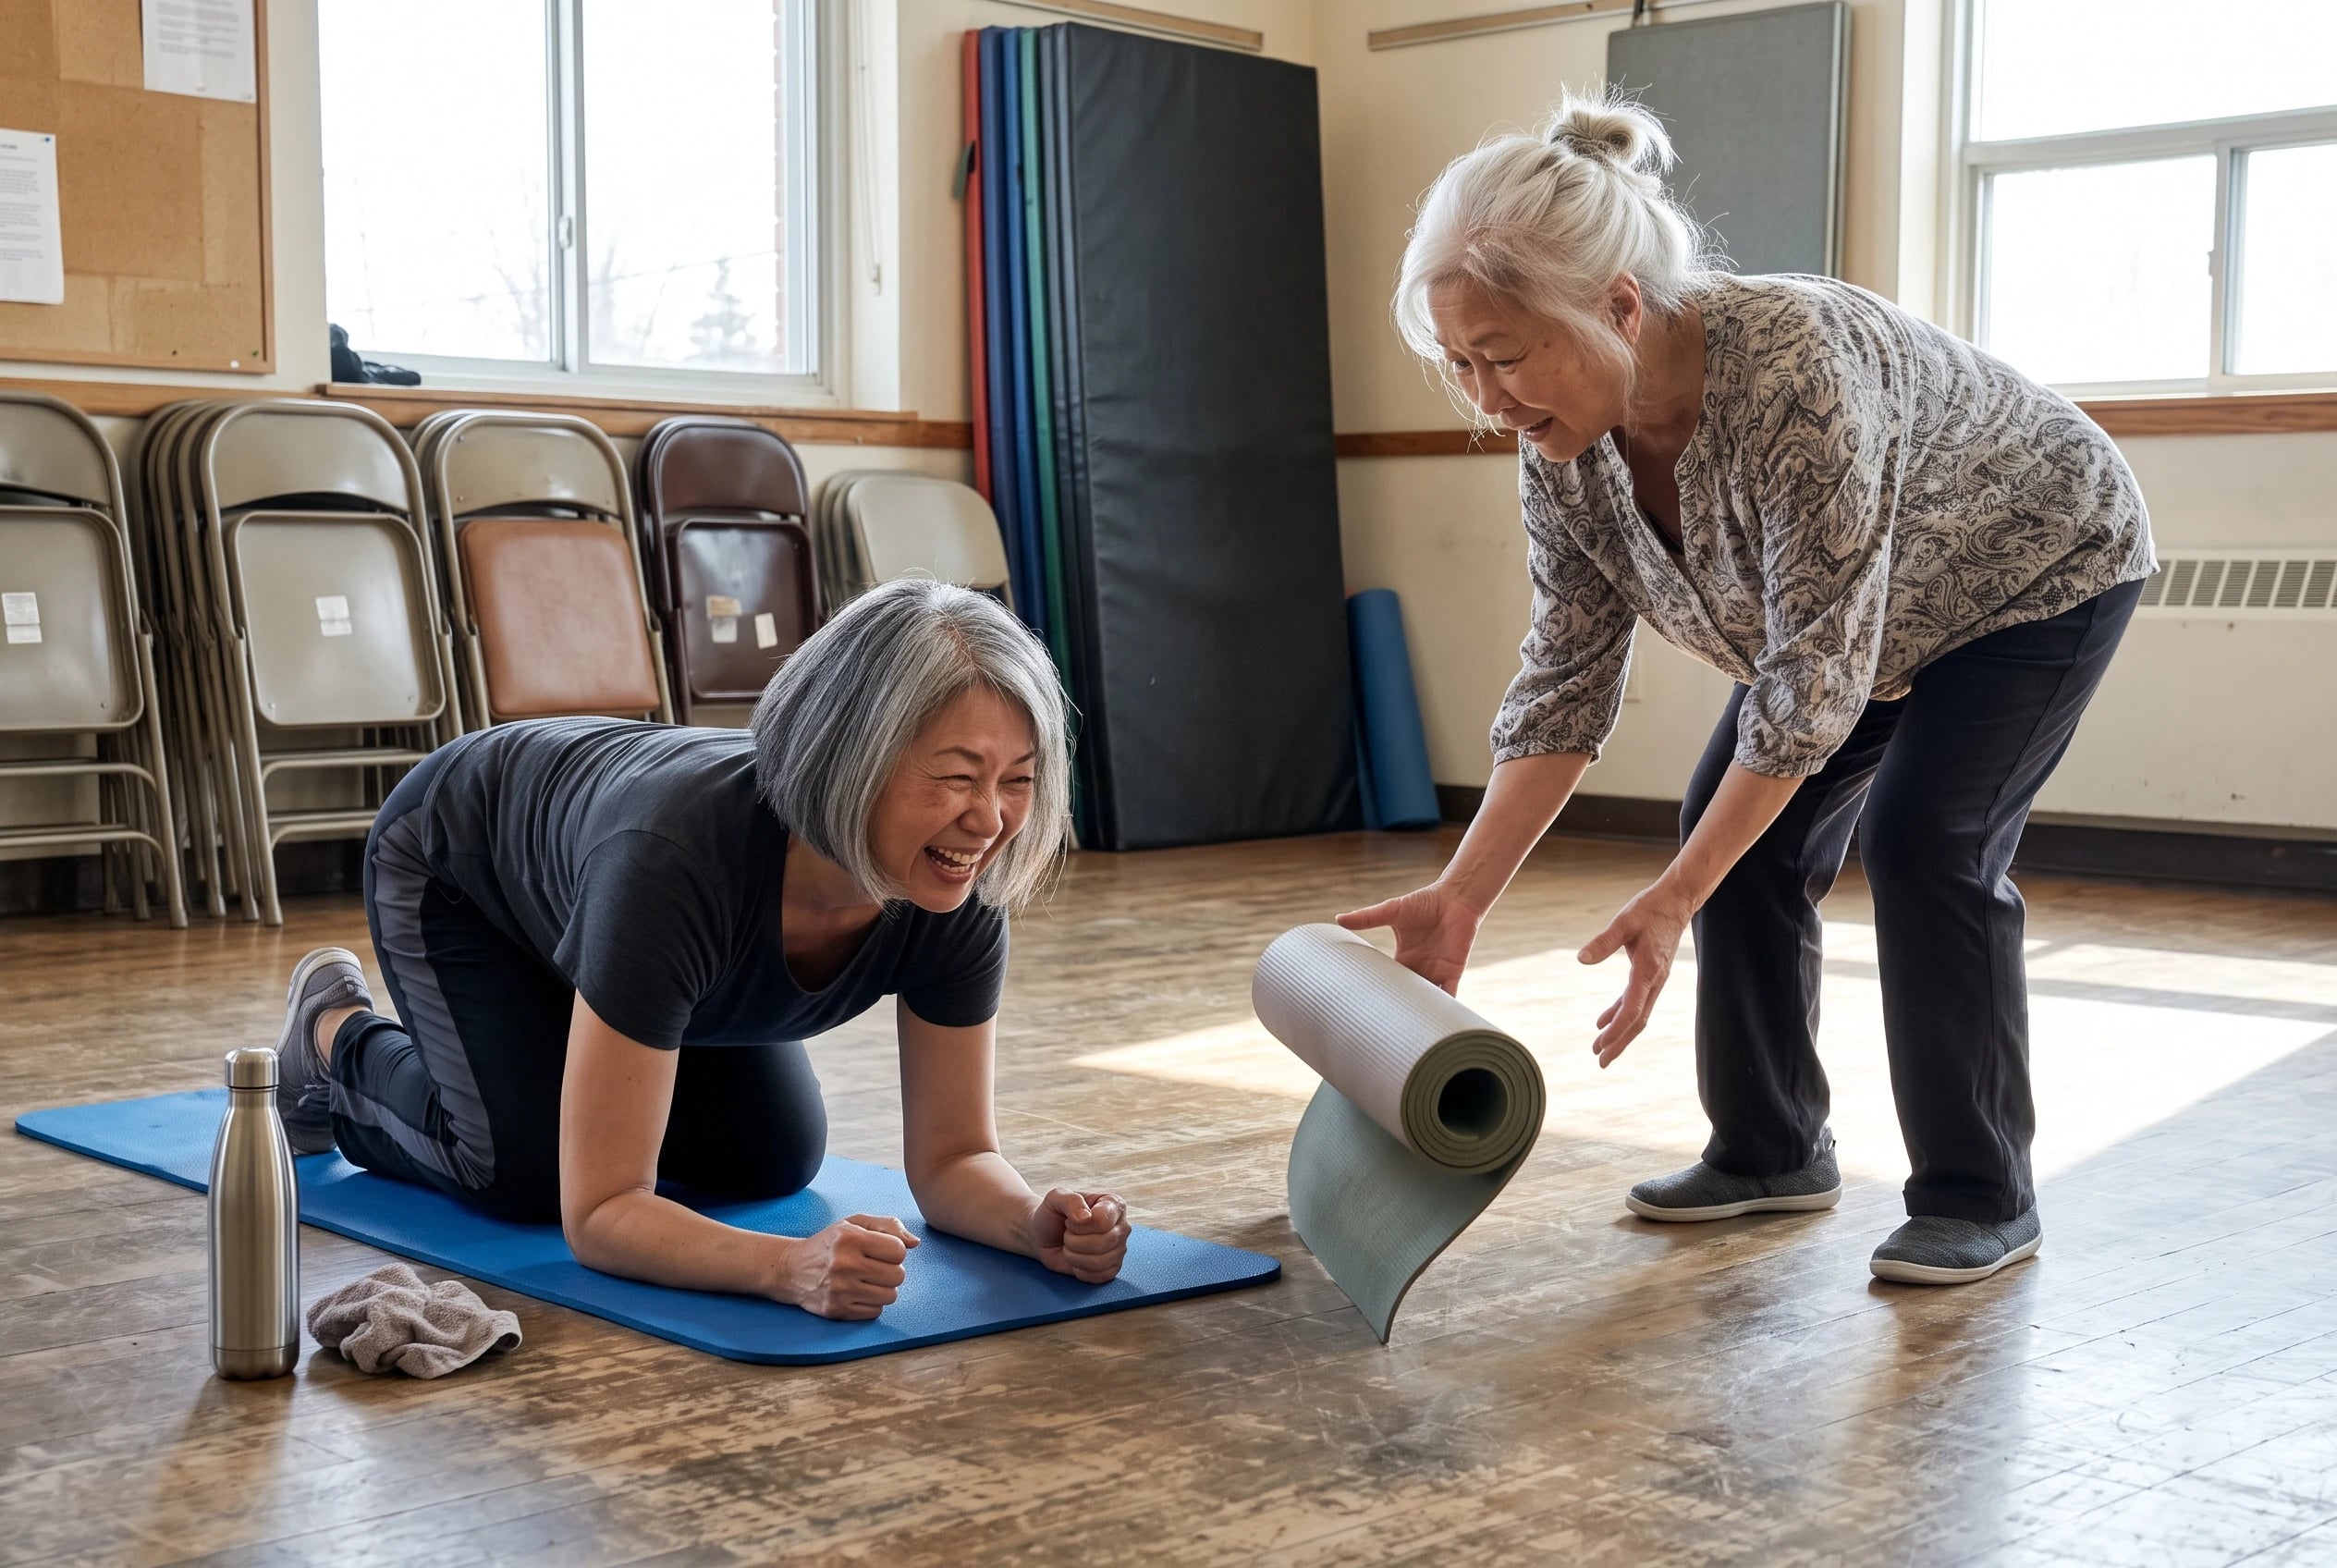
Place your forearms and knees on the floor. Lift your hips until your trunk makes a straight line toward your knees. Hold only while you can keep that line, then lower. You don’t have to balance on your toes.
A North Tees and Hartlepool NHS exercise program uses a 10-second goal and builds gradually. Its schedule lists 5 sets of 5 repetitions every other day. That’s a program example, not a demand to finish it on day one.
Check your back before checking a clock. If your hips sag or your lower back arches, come down and reset. Choose a wall plank when pressure on your forearms or knees makes this position unpleasant.
4Wall Plank For Beginners
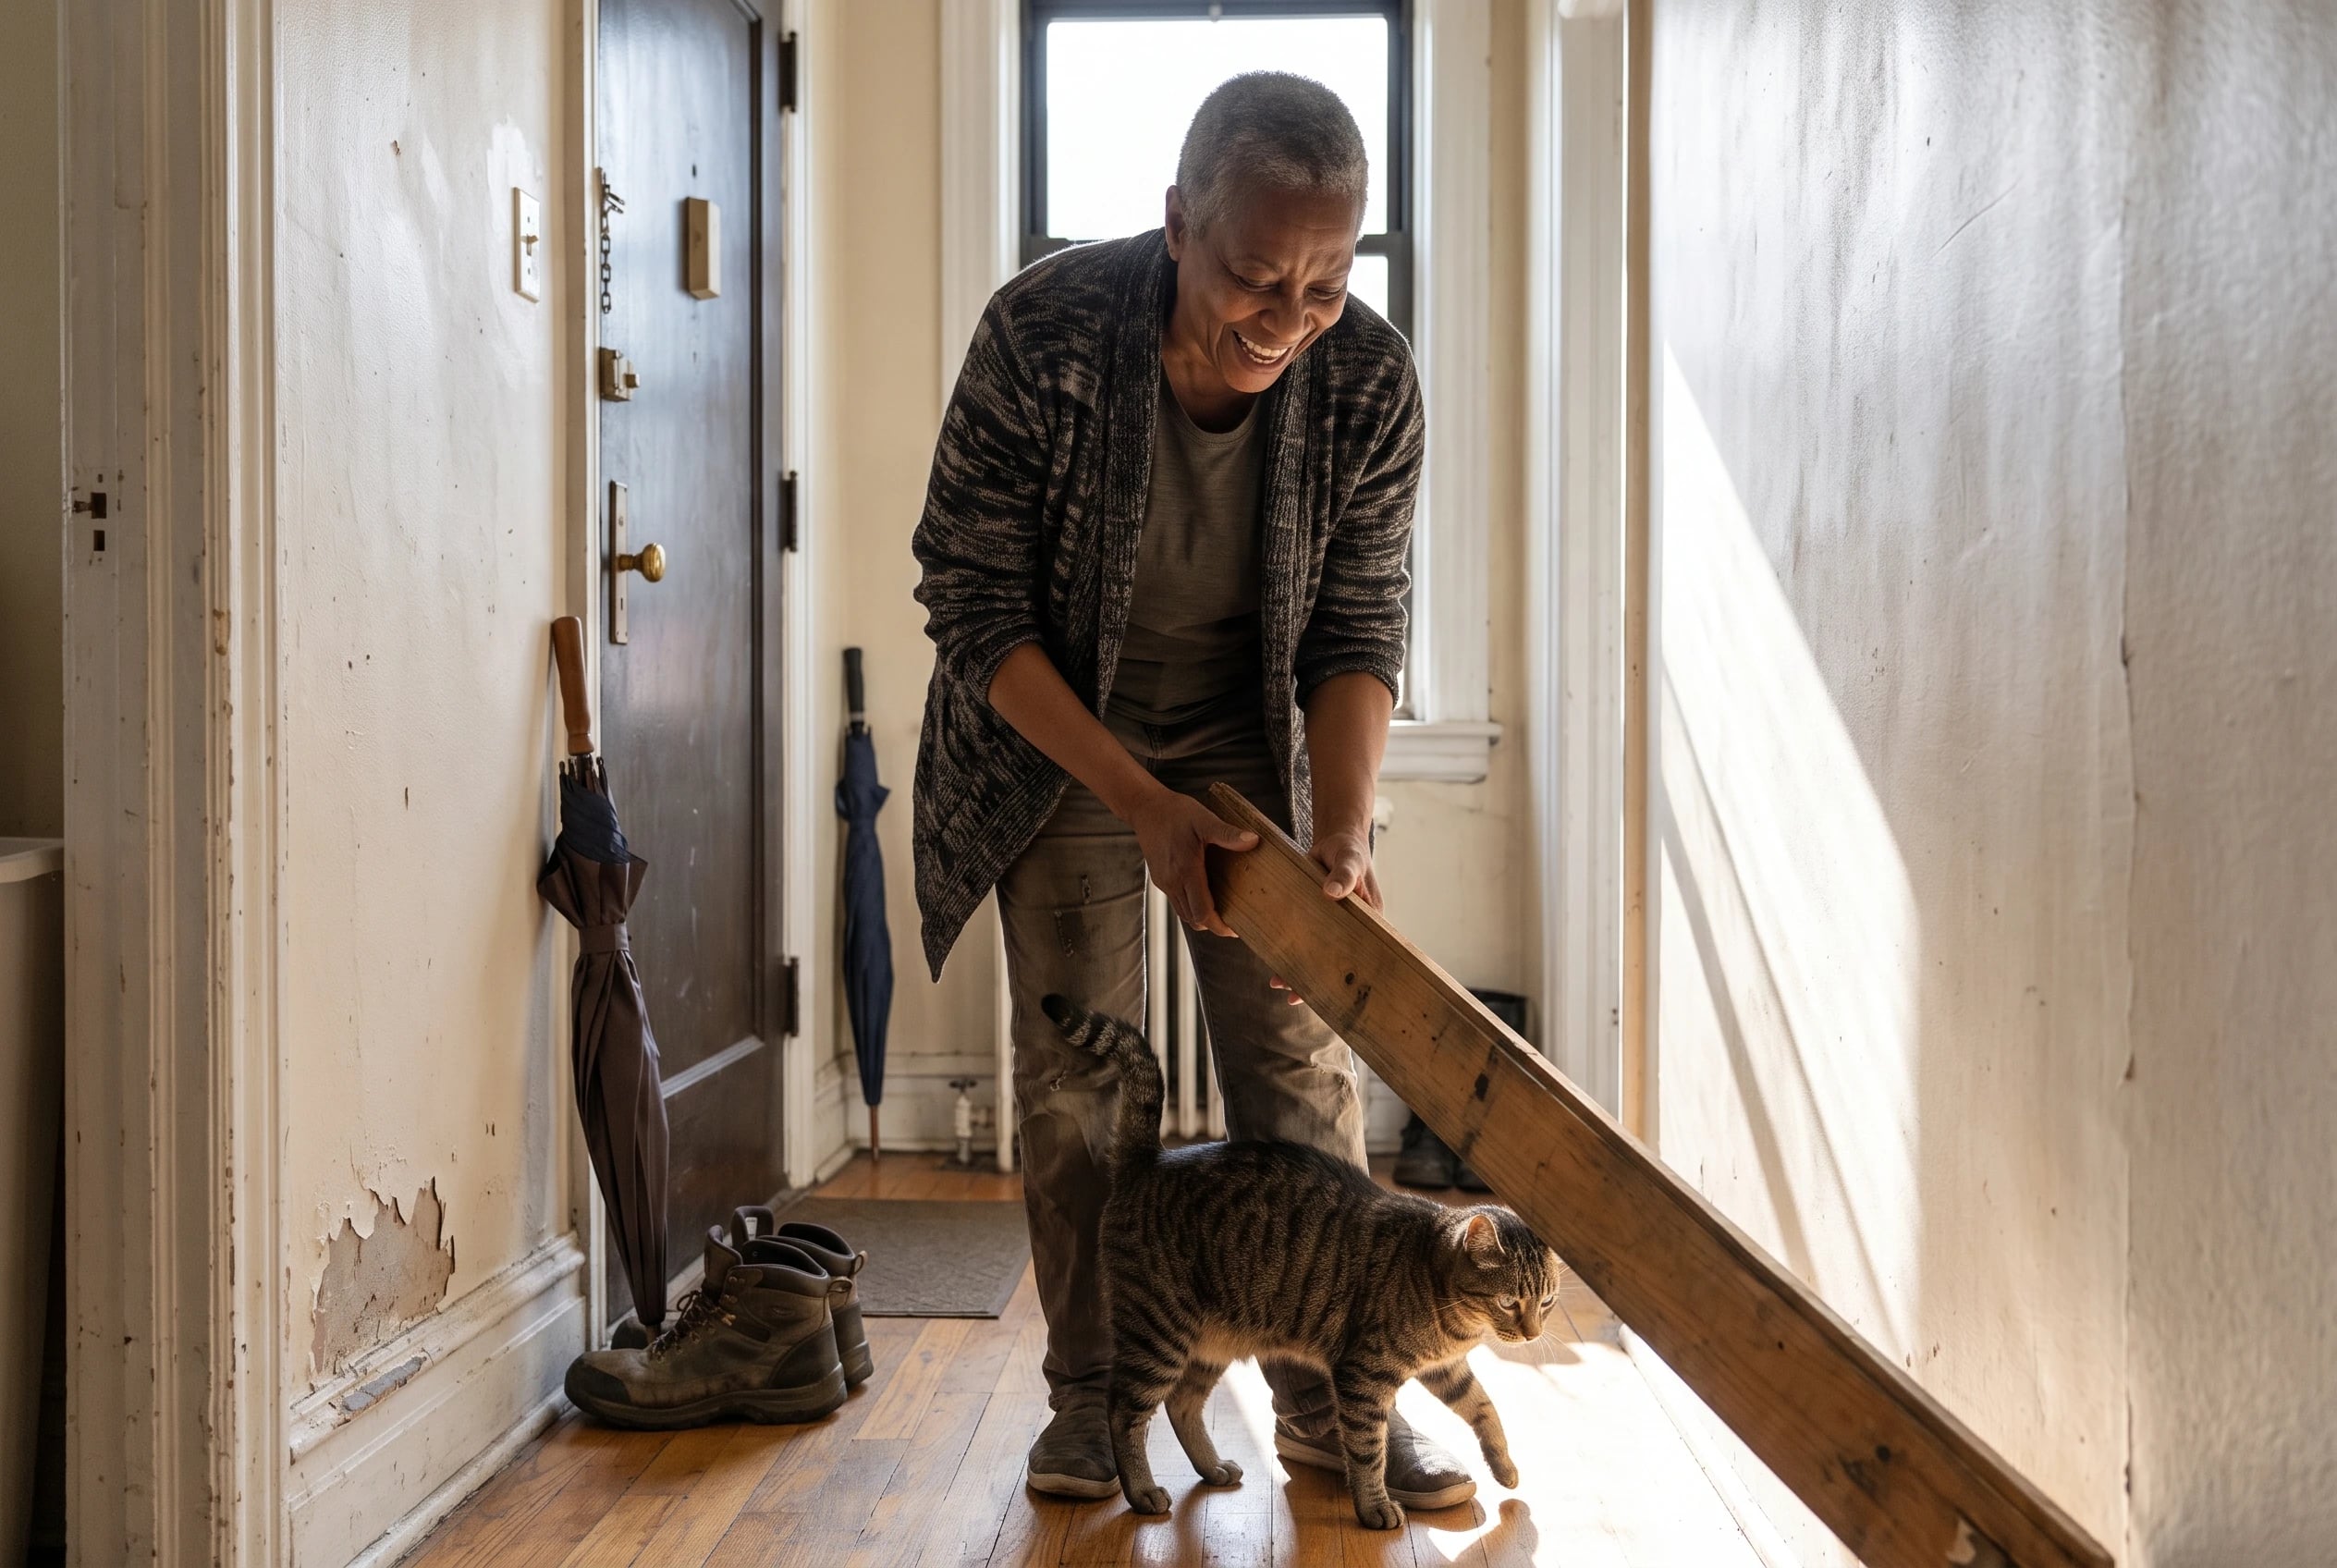
Face a wall and set your hands against it. Step your feet back until your body leans toward the wall in a straight line. Keep your head, shoulders, hips, knees, and ankles aligned.
Brace your middle. Hold while breathing.
UCSF Sports Medicine’s core protocol calls for 2 to 3 holds of 20 seconds. Use a shorter hold while learning the shape. If your hips drop or your lower back arches, step closer to the wall and reset.
Let your neck follow the line of your back instead of straining upward. NASM’s plank progression guide includes incline planks as a way to reduce the load while keeping the position. Leave the floor for later. A fixed counter is another surface to consider once the wall feels steady.
3Dead Bug Lying On Your Back
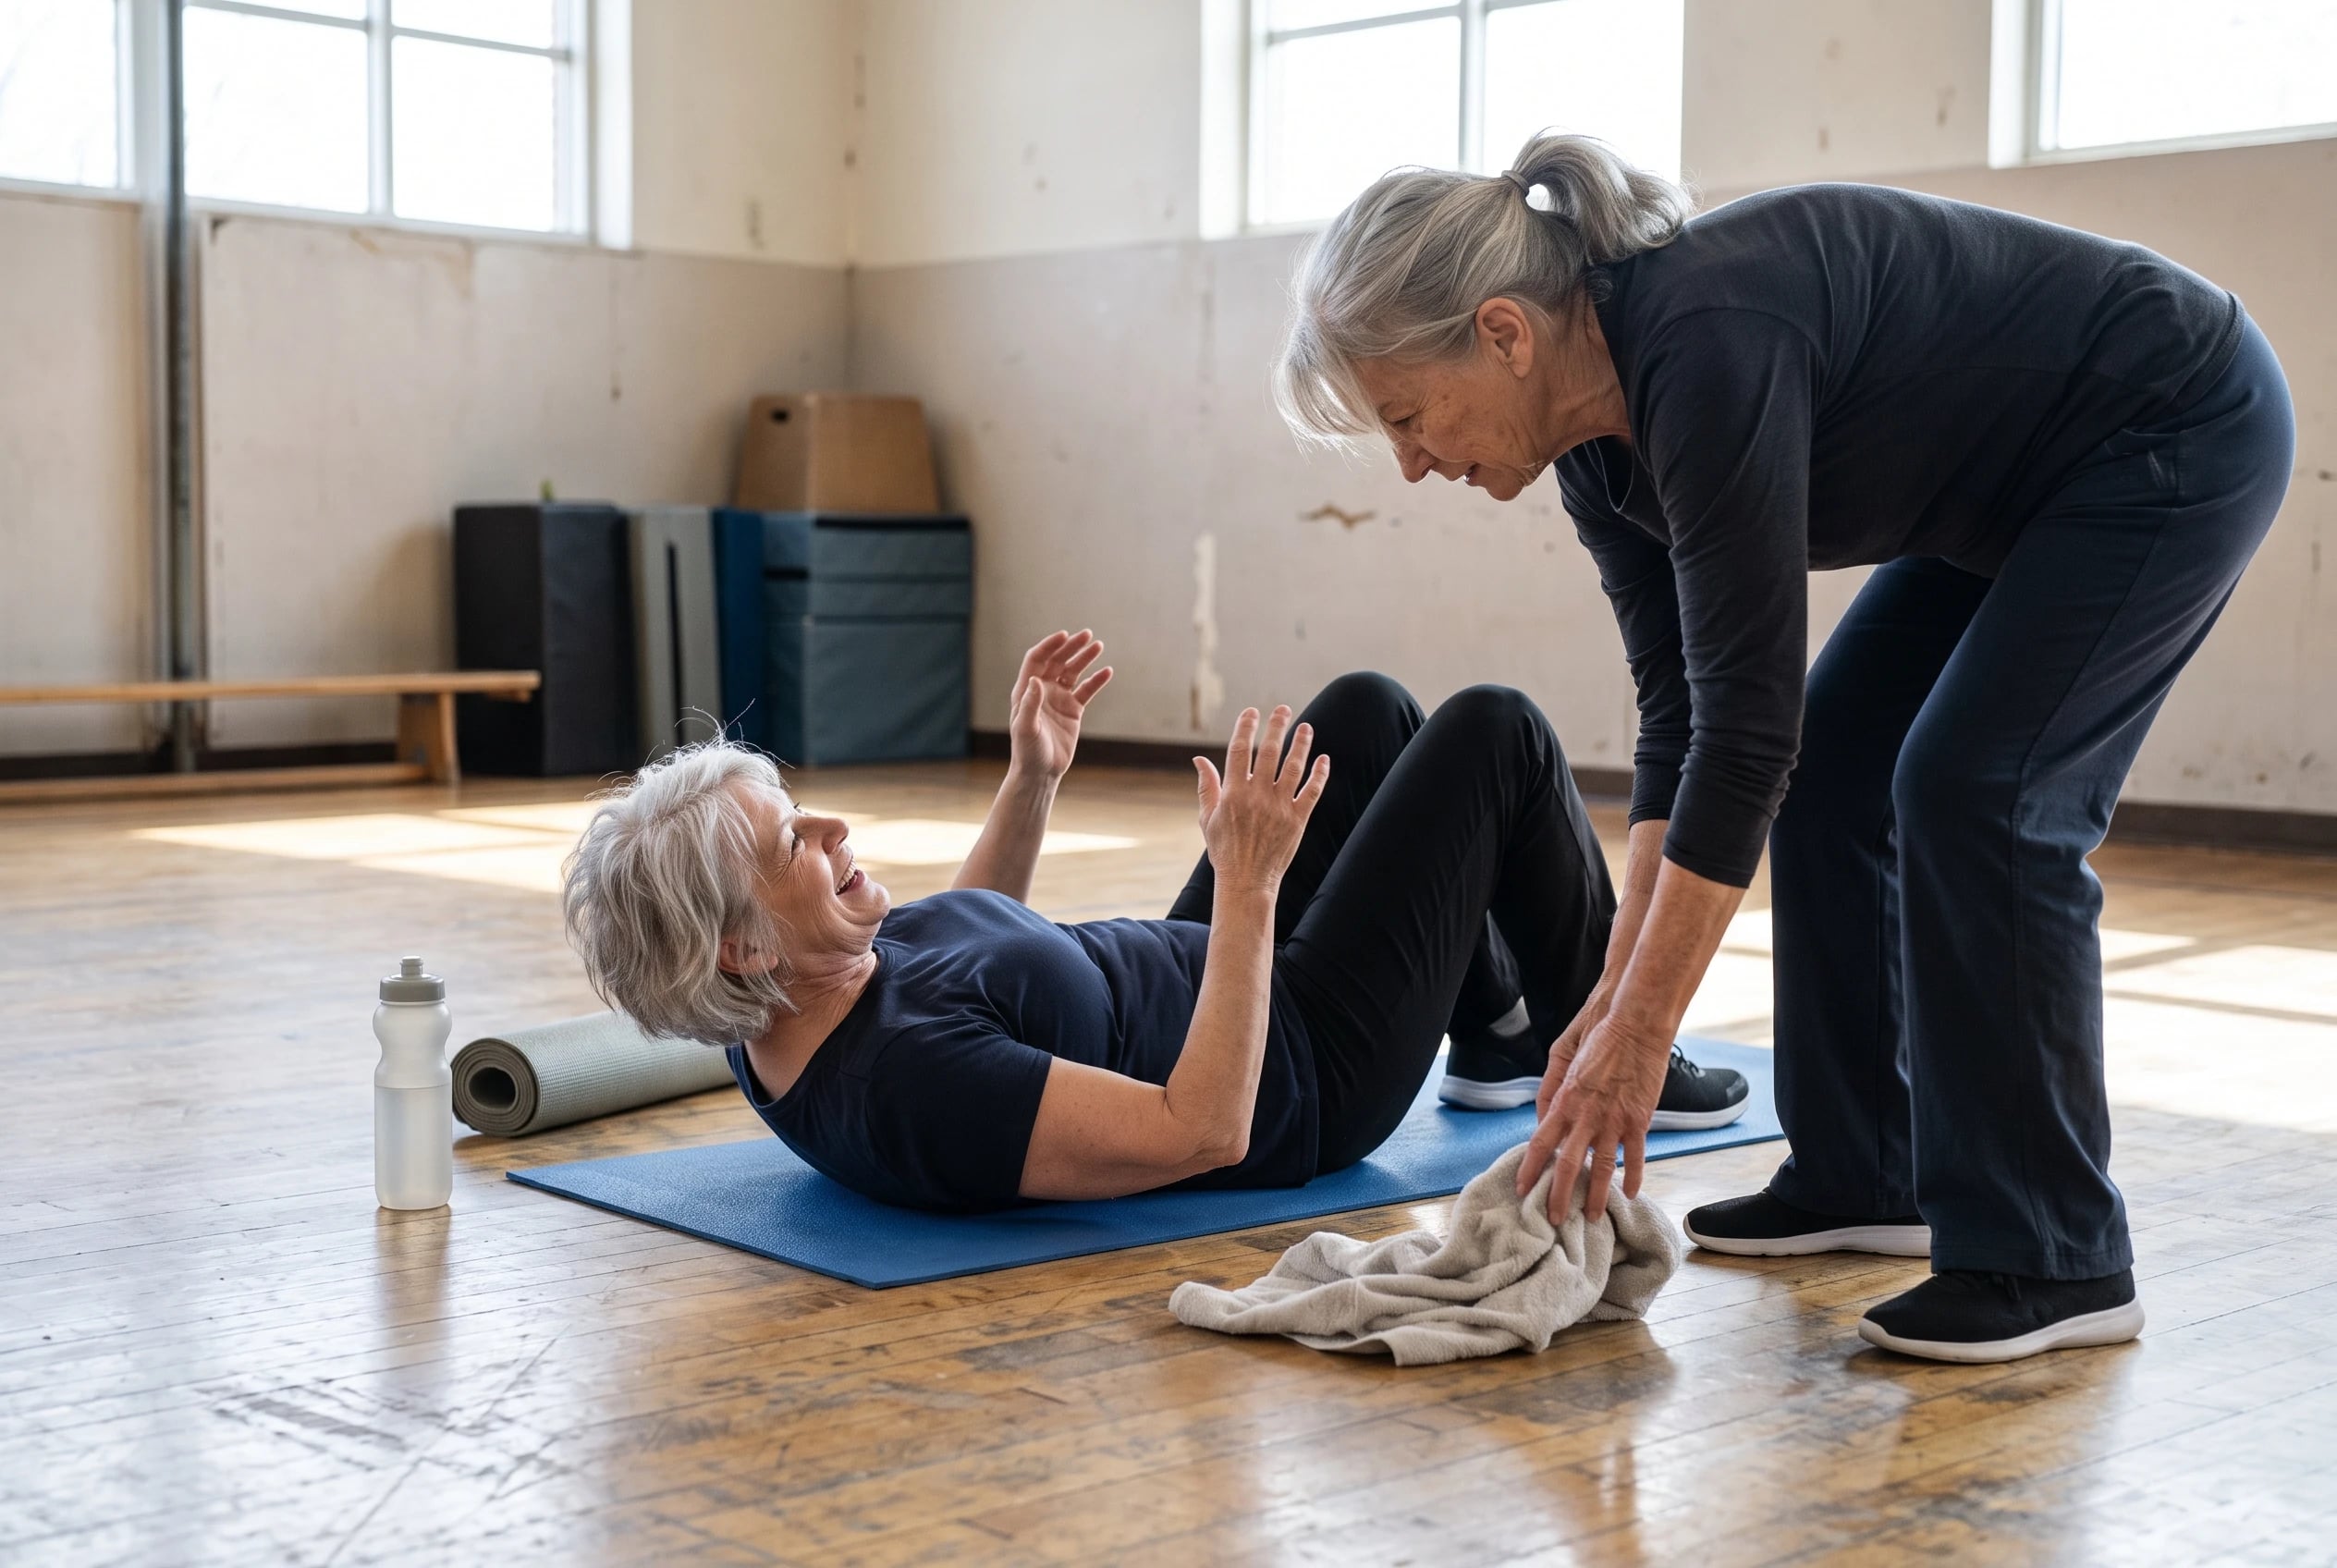
Lie on your back and raise your arms. Bring your knees up until your hips and knees form a 90/90 position. Keep your back flat.
Stay with that setup before moving anything else. If your back arches just holding the position, put your feet down and reset.
UCSF’s dead bug holds use 2 to 3 sets of 10 repetitions. The dead bug also appears in low-back stabilization exercise overviews.
Once the setup feels steady, move a limb a short distance and return it. Notice when your back starts to lift from the floor. Make the next movement smaller. If holding both knees up is too demanding, return to leg slides with your feet down.
The better repetition is the one you control.
2Modified Bird Dog On Hands And Knees
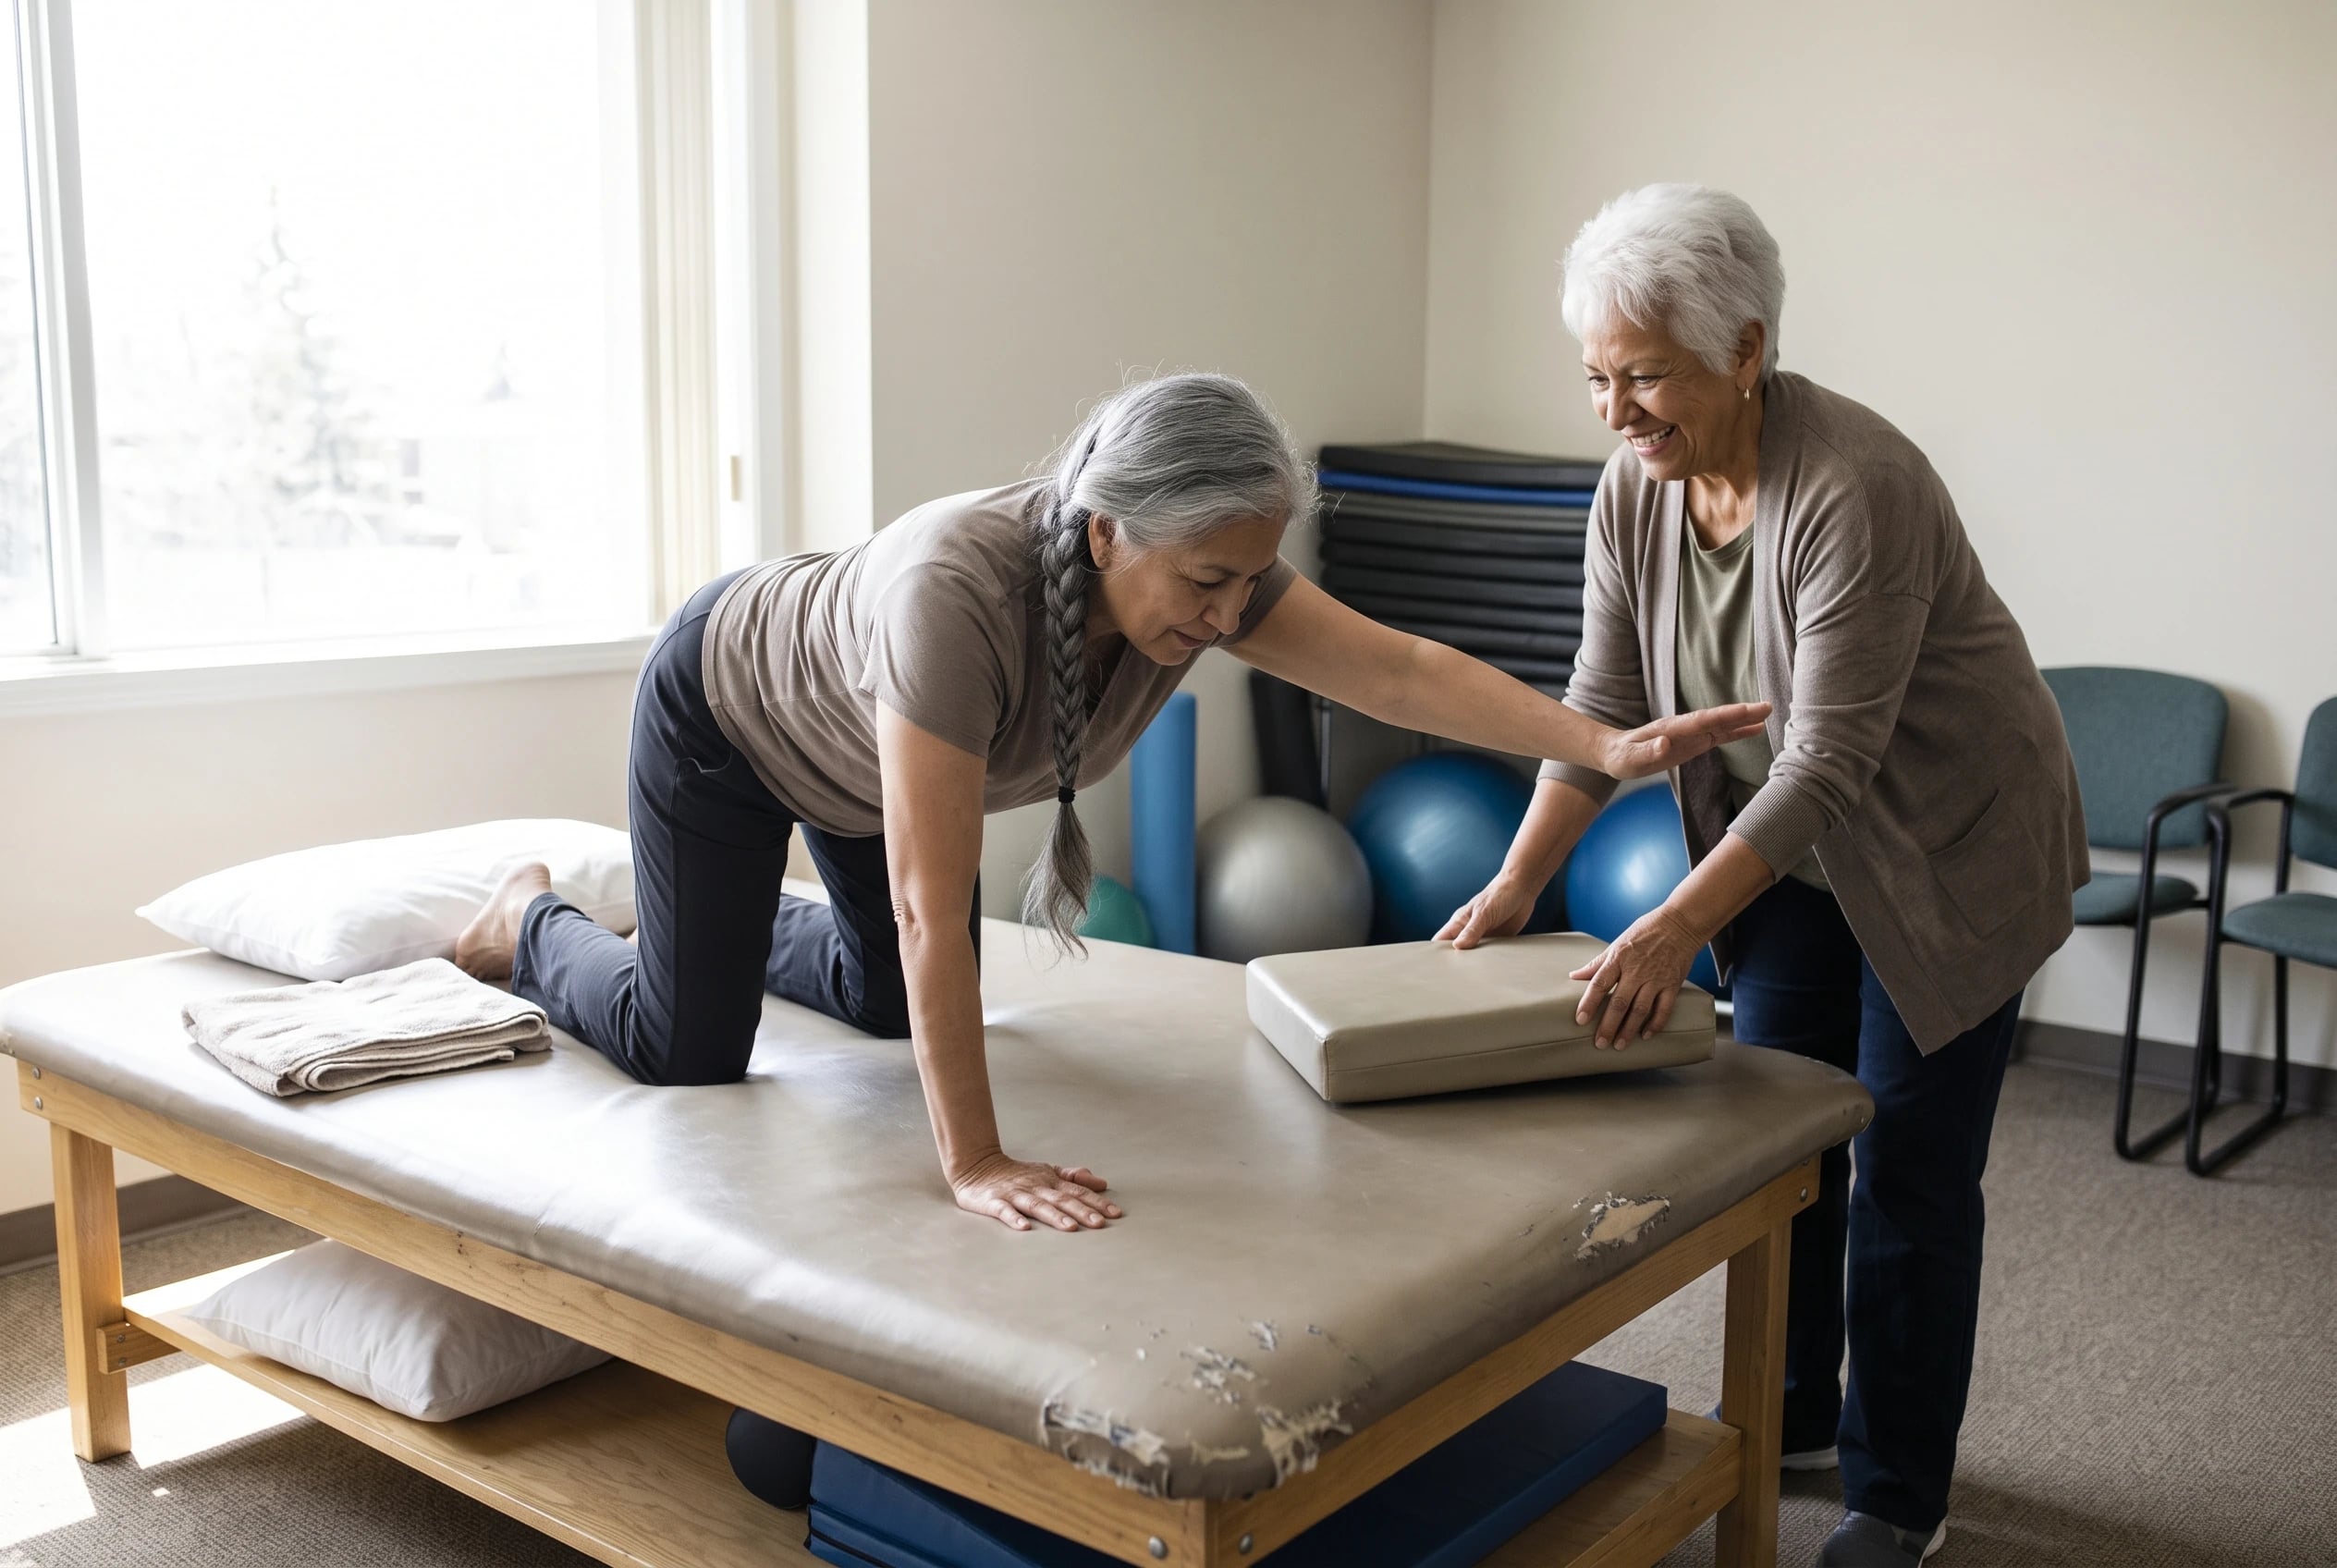
Begin on hands and knees. Reach one arm forward, set it down, then extend one leg back and return it. Once each separate movement feels steady, try one arm and the opposite leg together. Bring both back before changing sides.
That opposite arm-and-leg reach is the bird dog. NASM’s exercise guidance includes it among foundational stabilization moves. Lumbar stabilization programs also use it for core endurance.
Imagine a glass resting on your lower back. Keep your trunk from rolling instead of trying to lift your hand or foot high. Shorten either reach when your back twists.
Check your breathing before the next attempt. If kneeling or pressure on your hands is the problem, return to the arm-only version in #22. These steps build toward the full reach without asking you to balance on fewer points of contact at once.
1Glute Bridge, A Best Core Exercise For Women Over 60
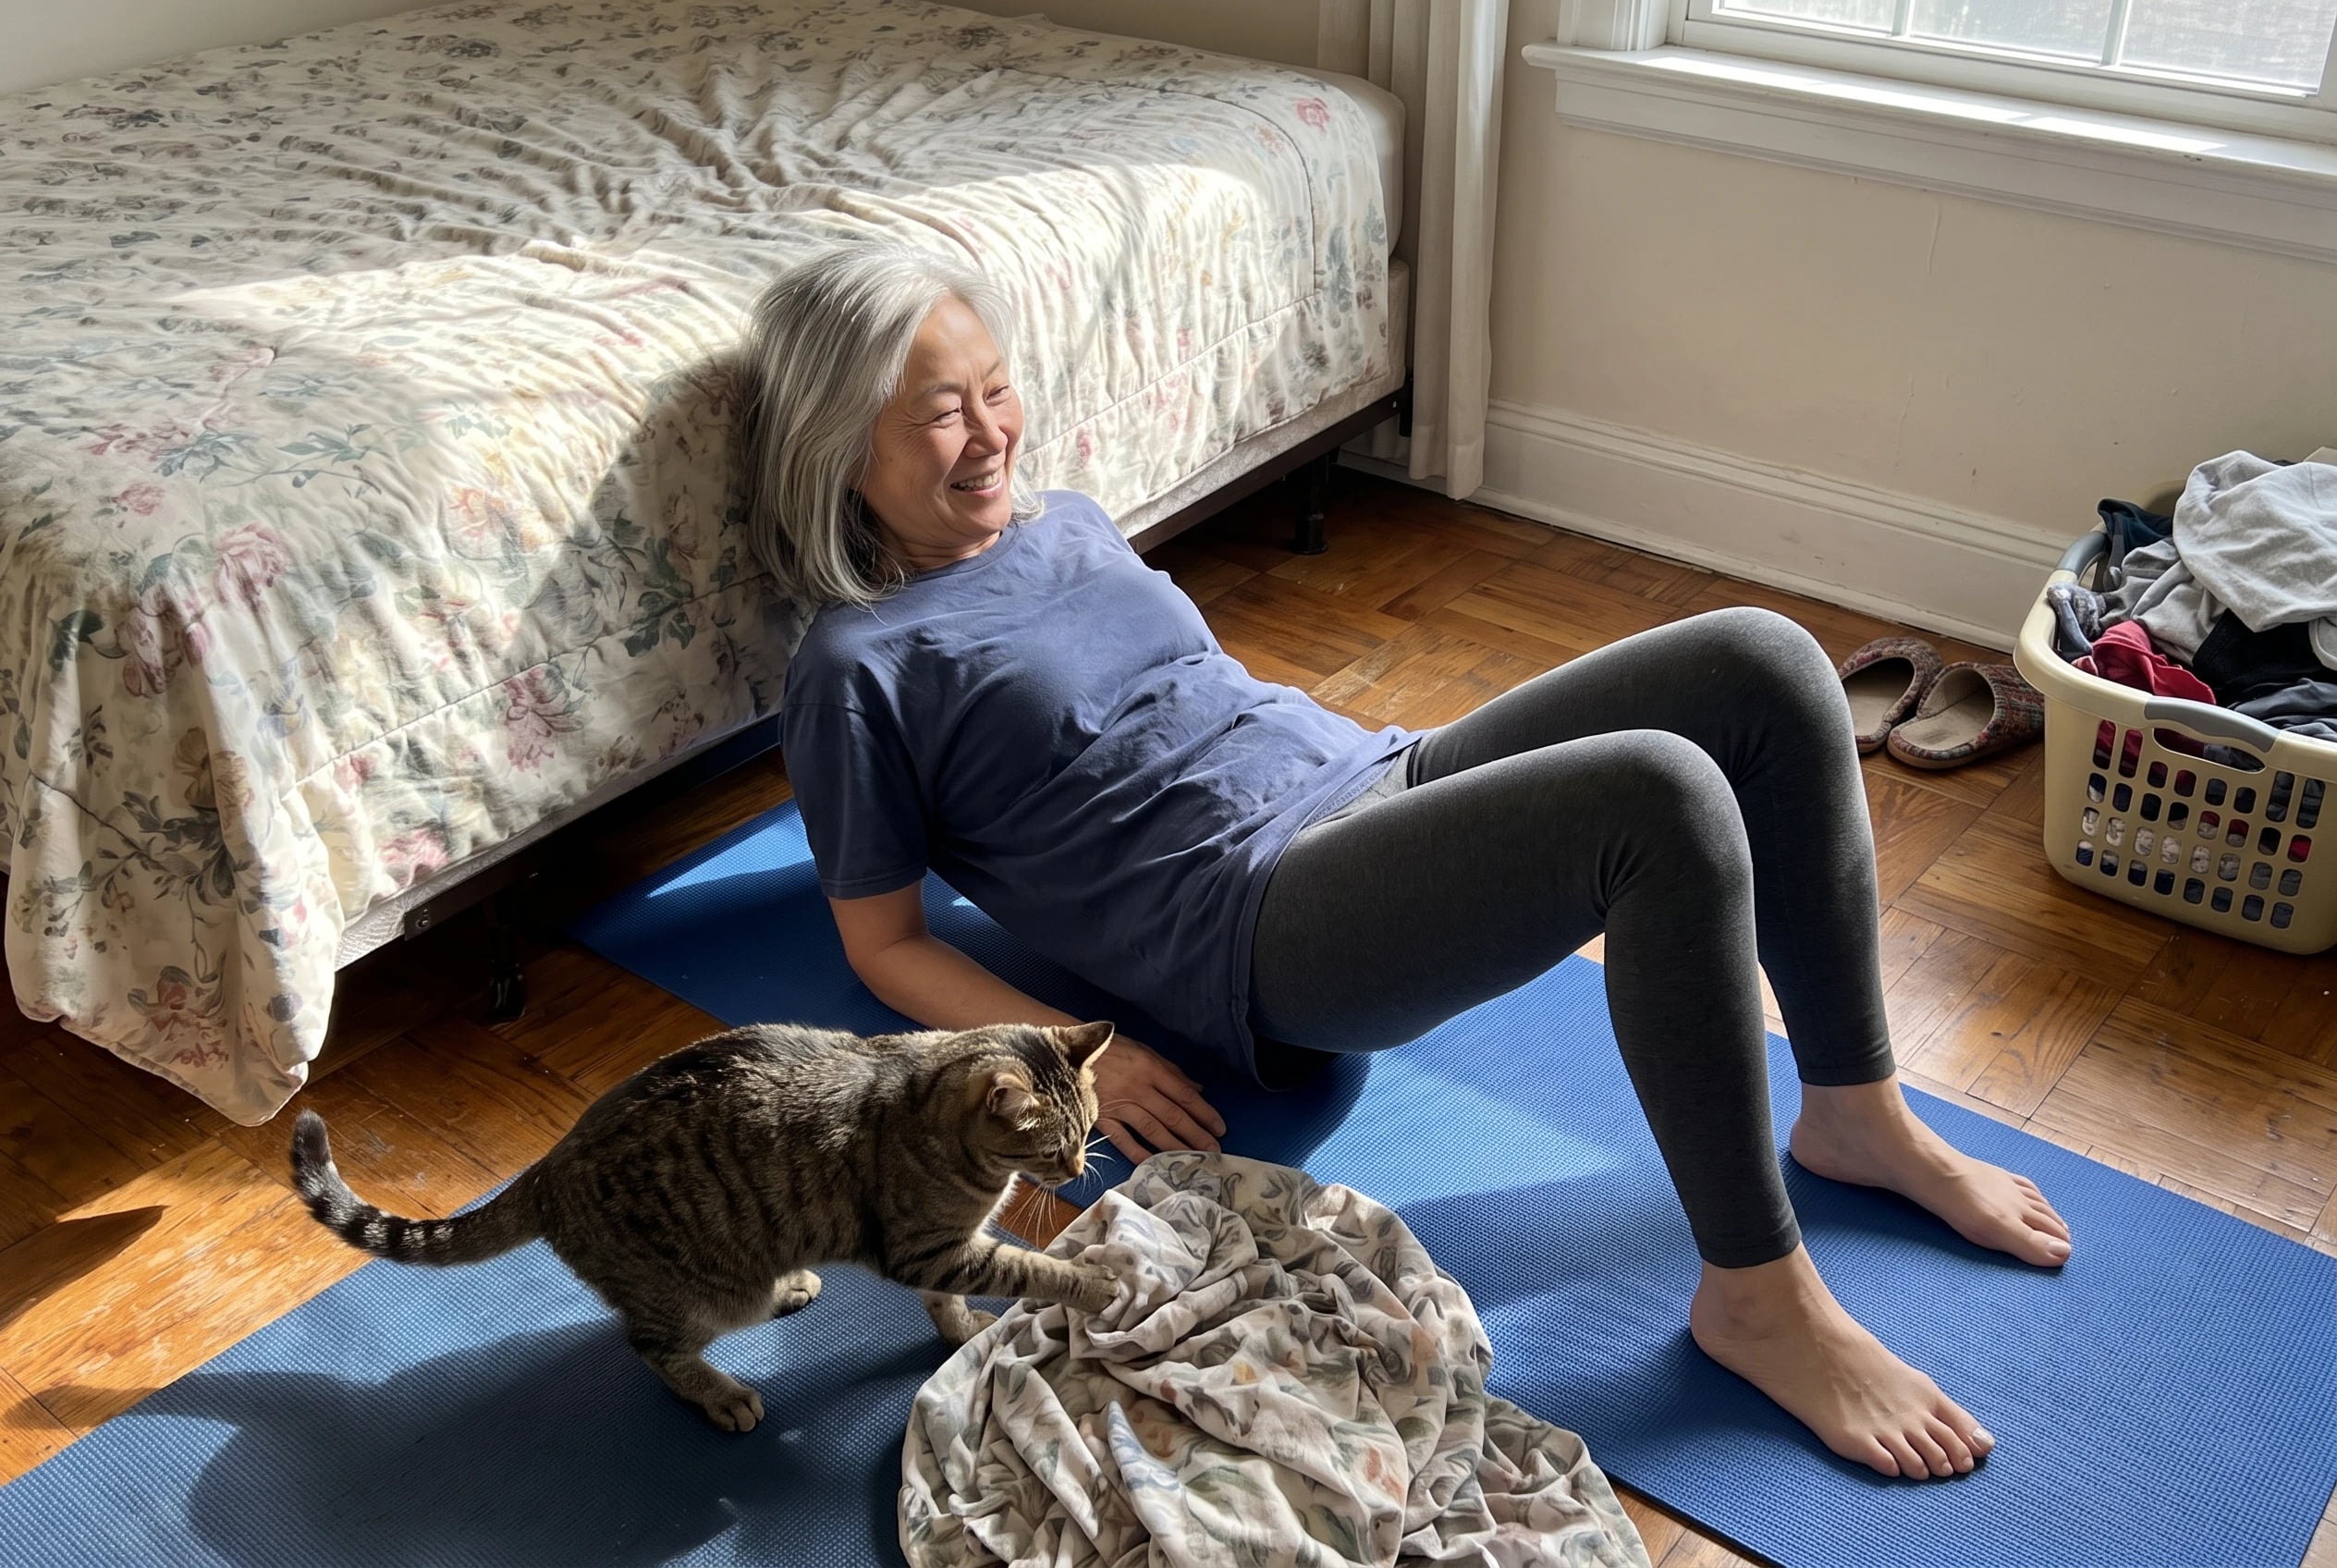
Lie on your back with your knees bent and feet on the floor. Press through your feet and lift your hips. Pause where you remain in control, then lower slowly. Keep your spine neutral instead of pushing your lower back into a high arch.
The Cleveland Clinic bridge guide identifies your glutes, hamstrings, core, and lower back as muscles at work. It gives a goal of 2 sets of 15 controlled repetitions. Cleveland Clinic’s glute exercise guide also describes 8 to 12 repetitions.
Start with an amount you can repeat without rushing or arching. If your hips barely rise, that’s enough for a first attempt. Notice whether the effort stays around your hips or shifts into a strained lower back. Lower, reset your feet, and try a smaller lift.
This move earns the top spot because its form check is easy to feel. Your head stays down. Your wrists don’t hold you up. You decide how high to lift, then control the trip back to the mat.
Choose the rest of your routine before you begin, so you aren’t deciding what comes next while lying on the floor.
The bottom line
Control is the pattern behind the list. Keep the position you chose, breathe through the effort, and shorten a movement when your back, wrists, or balance tell you the setup is too hard.
The prepared version of you has picked a stable chair or wall. She’s chosen a few moves she can repeat. She’s also checked with a clinician about any back, hip, balance, or bone-density concern.
The chart is a plan, not a test you have to pass. Which position has felt steadier for you so far: standing, seated, or on the floor?
Up next
26 Five-Minute Exercises for Seniors
A head-to-toe menu of 5-minute exercises for seniors using a sturdy chair, a kitchen counter, and, if you want one, a soft ball.
Read the list →

Reader quiz
Did you catch the details?
5 questions from this article.
What should you do if your back arches before your heel reaches the floor during heel taps?
Questions people also ask
How can a 60 year old woman strengthen their core?
Choose controlled moves such as a glute bridge, a scaled plank, and bird dog for 2 to 3 core sessions a week. Seated bracing or knee lifts give you options without floor work. Cleveland Clinic suggests building toward 1 to 2 sets of 10 to 15 repetitions.
What are the big 3 exercises for the core?
There is no official medical “big three.” Bridges, scaled planks, and bird dog make a practical trio drawn from the UCSF core protocol and NASM’s exercise guidance. Pick a version of each that you can perform with control.
What are three physical signs of a weak core?
There’s no official three-sign checklist. Slouched posture, back discomfort during daily tasks, and trouble staying steady are reasons to look at strength and balance, but they do not diagnose a weak core. Cleveland Clinic discusses posture and back comfort, while the National Institute on Aging addresses strength and balance.
How can a 60 year old woman flatten her stomach?
Core exercises strengthen muscles but do not spot-reduce belly fat. A six-week trial found that abdominal exercise alone did not reduce abdominal fat. For weight management, NIDDK discusses eating habits alongside aerobic and strength activity.
Can core exercises help with incontinence after 60?
Pelvic floor muscle training helps reduce leaks; a plank is not a substitute for it. NIDDK’s bladder-control guidance says a pelvic-floor physical therapist can help with core strength as part of care. Ask for an assessment if leaking is changing what you do.
How often should women over 60 do core exercises?
Cleveland Clinic recommends core work 2 to 3 times a week. Leave recovery time between harder sessions and fit core work alongside other strength exercises. The CDC’s older-adult activity guidance calls for muscle-strengthening activity at least 2 days a week.
Did any of these feel familiar?
Know someone who needs this?
 Prime Journal · Free printable
The Everyday Health Readiness Checklist
- A clearer path from bed to bathroom
- A medicine list ready for the pharmacist
- A symptom story and follow-up plan you can use
Free printable: The Everyday Health Readiness Checklist. Enter your email and it is yours.
Sources cited in this article
This article links to 15 outside sources, listed here so you can read them yourself.
- National Institute on Aging www.nia.nih.gov/health/four-types-exercise-can-improve-your-health-and-physi…
- UCSF Sports Medicine’s core protocol sportsrehab.ucsf.edu/sites/g/files/tkssra10961/files/doc/Core_Strengthening_…
- Cleveland Clinic’s bridge guide health.clevelandclinic.org/glute-bridges
- Back and core exercise collection sportsrehab.ucsf.edu/spine
- General exercise program www.med.umich.edu/1libr/PMR/GeneralExerciseProgram.pdf
- Mass General’s strength-training packet www.massgeneral.org/assets/MGH/pdf/heart-center/cardiovascular-disease-preve…
- American Council on Exercise www.acefitness.org/resources/pros/expert-articles/7099/strongman-exercises-t…
- Six-week abdominal-exercise trial pubmed.ncbi.nlm.nih.gov/21804427
- ACE’s standing wood-chop guide www.acefitness.org/resources/everyone/exercise-library/108/standing-wood-chop
- CDC’s fall-prevention exercise compendium www.cdc.gov/falls/pdf/Steadi_Compendium_2023_508.pdf
- Bone Health & Osteoporosis Foundation www.bonehealthandosteoporosis.org/patients/treatment/exercisesafe-movement/p…
- Chair-exercise guide www.uhsussex.nhs.uk/resources/chair-exercises
- National Academy of Sports Medicine www.nasm.org/resource-center/exercise-library/side-plank
- Cleveland Clinic health.clevelandclinic.org/best-core-exercises
- Cdc.gov www.cdc.gov/physical-activity-basics/adding-older-adults/what-counts.html
Dr. Alan Pierce, PT, DPT
Health Reviewer
Alan is a physical therapist who specializes in helping adults over 50 stay strong and mobile.
More from Dr. Alan Pierce