







23 Things Your Mother's Garden Taught You That Nobody Teaches Now
A forkful of soil, a seed packet, and an old frost date explain why she waited when everyone else rushed to plant.
By June Marlow, Garden Editor
Updated · 16 min read
- Written by our garden editor
- Cited 8 sources
- How we review
Read to the end: #1 is the one garden-planning action that turns her remembered lessons into instructions for your own yard, and almost nobody writes it down.
The kitchen table had seed packets at one end and a pencil worn flat at the other. Your mother rubbed a little dirt between her fingers, then looked out the window before deciding whether the tomatoes were ready to go outside. She wrote a date on the packet before putting it away.
It looked like instinct. Much of it was close observation, repeated until she no longer needed to explain each choice. A packet gave her directions for the seed; the yard told her what happened there last spring. When a row failed, she had more to go on than memory.
Here are 23 things worth carrying into yours.
23The crumbly soil beneath her spade
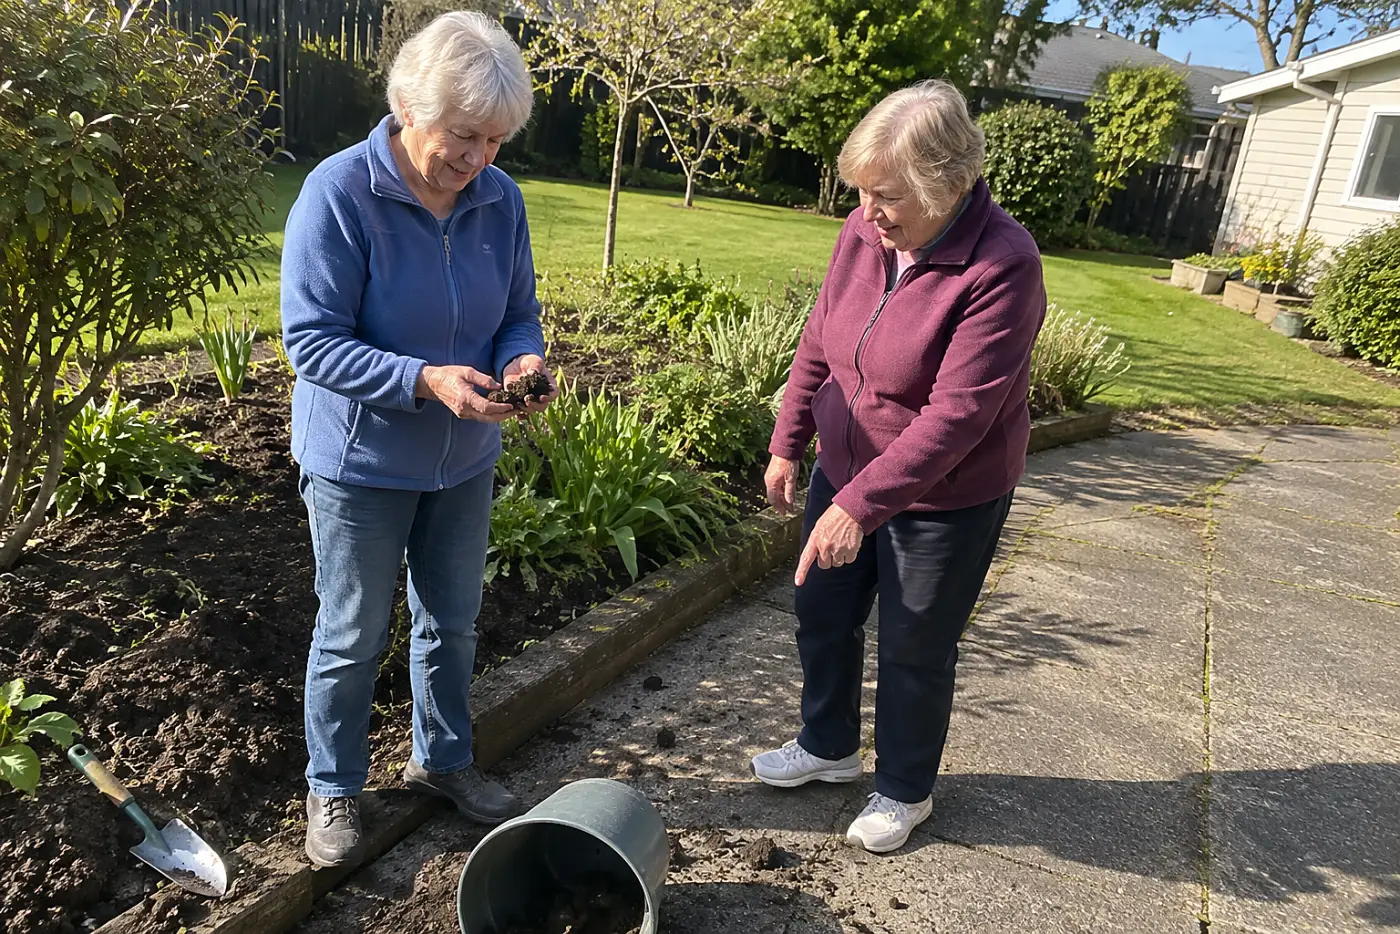
Beautiful leaves start below the part you see.
Roots need water, but they also need air. Soil packed into a hard slab leaves little room for either. A spadeful that breaks into crumbs gives you a better clue than its color alone.
A handful tells you about texture and structure, not which nutrients are missing. Fertilizer bought on a guess leaves the real problem, such as poor drainage, untouched.
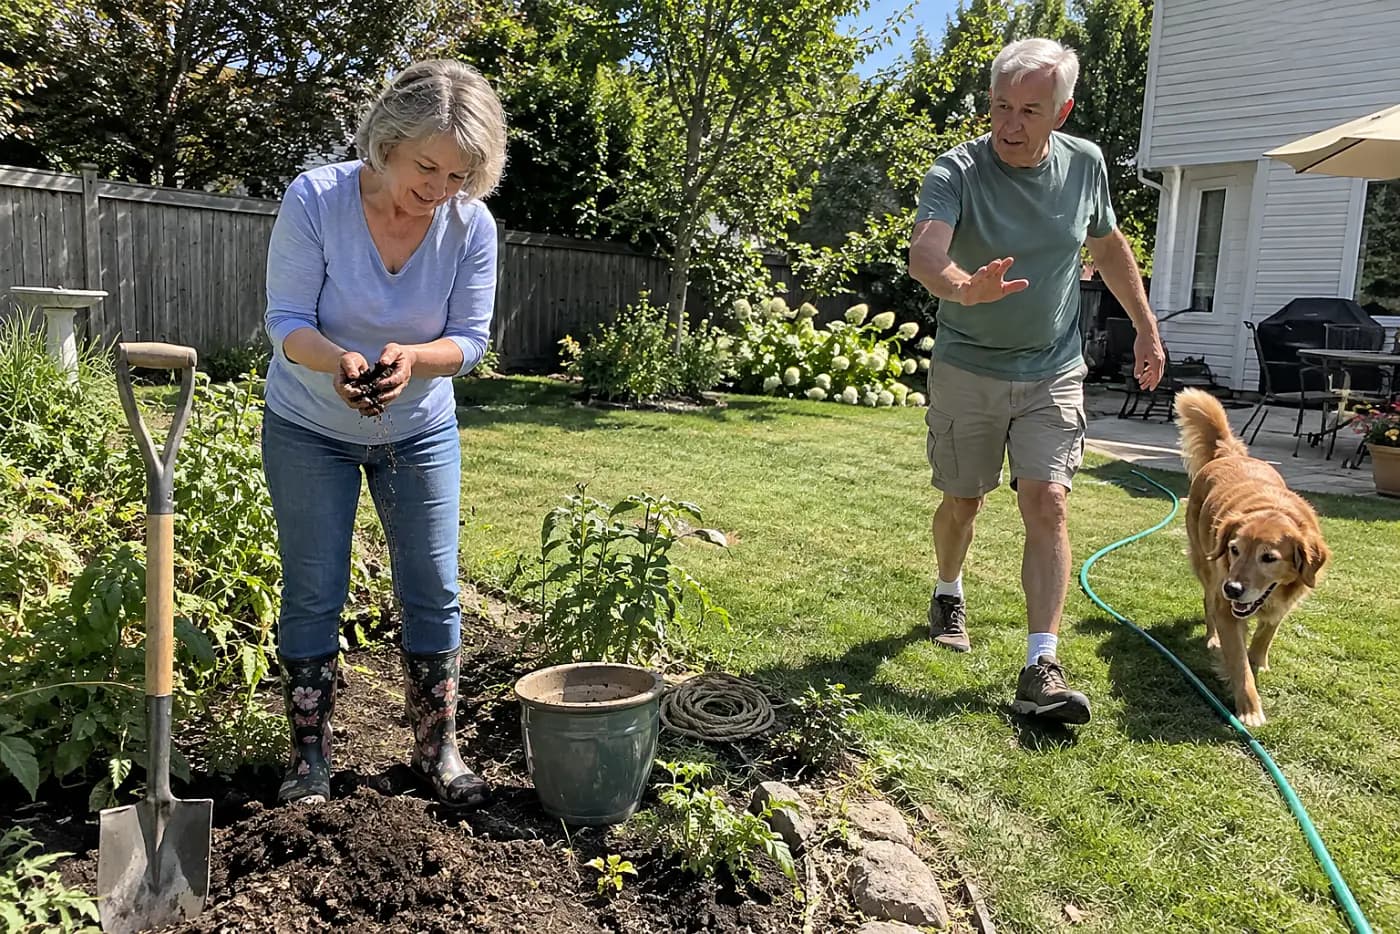
Dig a small hole this week and squeeze soil from below the surface. Let it fall from your hand, then check whether it crumbles or stays in a lump. “I want to see what the roots are growing in,” is enough explanation for the pause. For a lab test, find your local office through the Cooperative Extension System.
What you put on that soil comes next.
22The compost pile behind the shed
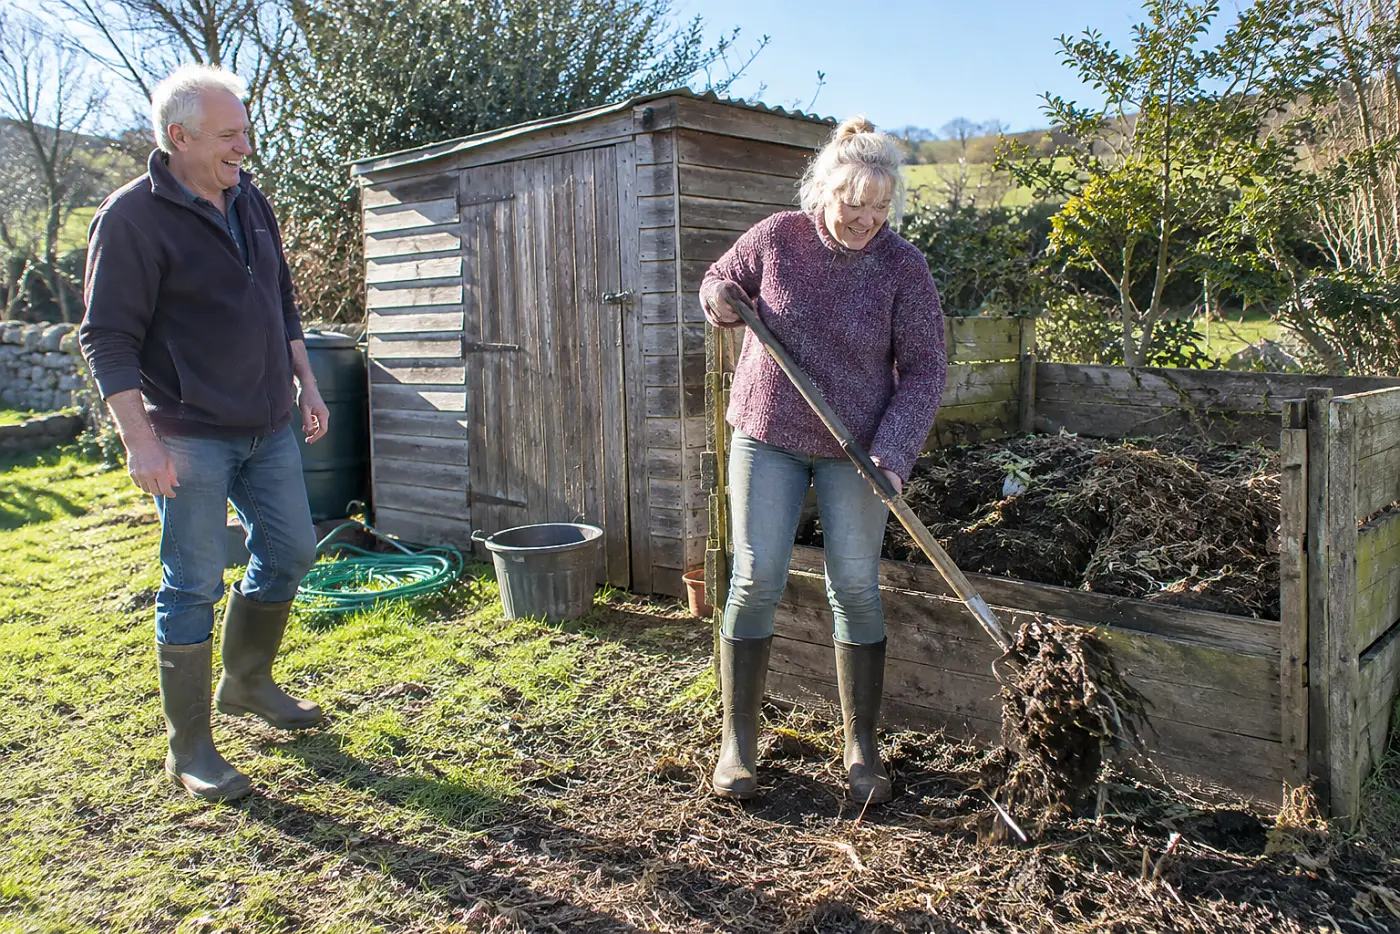
A heap of scraps doesn't become compost overnight.
Leaves and kitchen scraps break down as microbes work through them. Mixing dry leaves with fruit and vegetable scraps gives the pile a better balance than piling scraps alone. Finished compost looks dark and crumbly, without recognizable food in it.
Raw meat and dairy draw pests to an open backyard pile. Weed seeds also survive in a pile that never gets hot enough. Your mother knew which heap was ready because she'd seen the old ingredients disappear.
This week, turn a small pile with a fork and check its center. If the scraps still look fresh, add dry leaves and let it work longer. “This part needs more time,” gives a helper something clearer than a guess about when to spread it. The EPA's composting guide lists materials to keep out.
Then look at what covers the beds themselves.
See more: 29 Signs a Garden Is Loved, Even When It's a Mess →
21The bare patch she covered with leaves
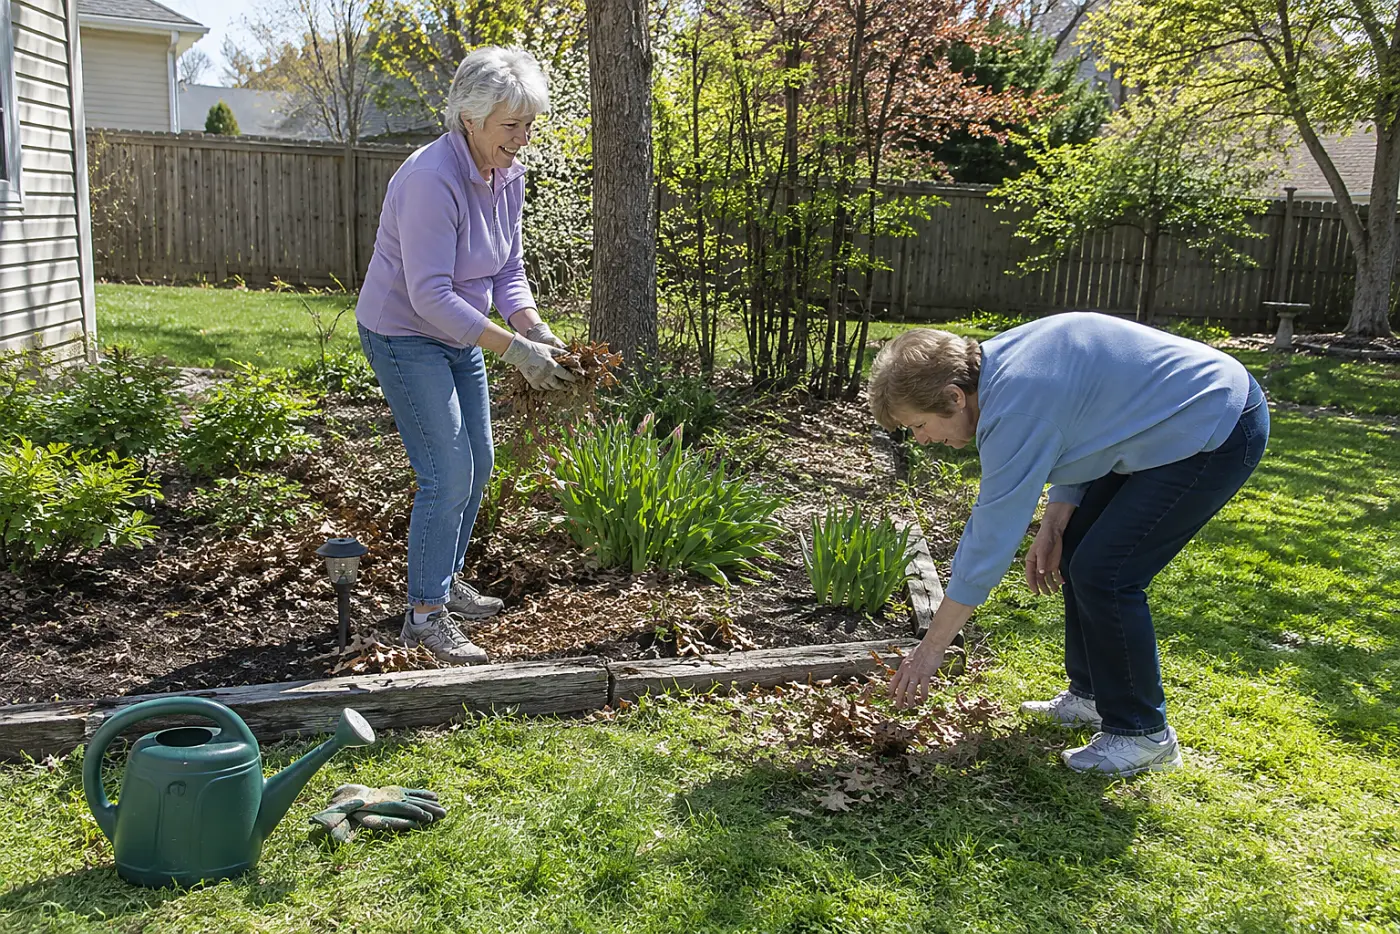
Bare dirt loses water faster under direct sun.
A layer of shredded leaves about 2 to 3 inches deep shields the surface from sun and hard rain. As those leaves break down, their remains join the soil below. Your mother swept them onto beds because they had another job to do.
Piling leaves against a stem holds damp material against it. Leave that small gap now, before the layer settles and hides where each plant begins.
Rake leaves onto one open bed this week, keeping the stems clear. Check that water reaches the soil beneath the leaves after the next watering. “These are for the garden, not the trash,” is enough explanation for anyone helping.
Before covering every inch, notice who else lives there.
20The earthworms under the stepping stone
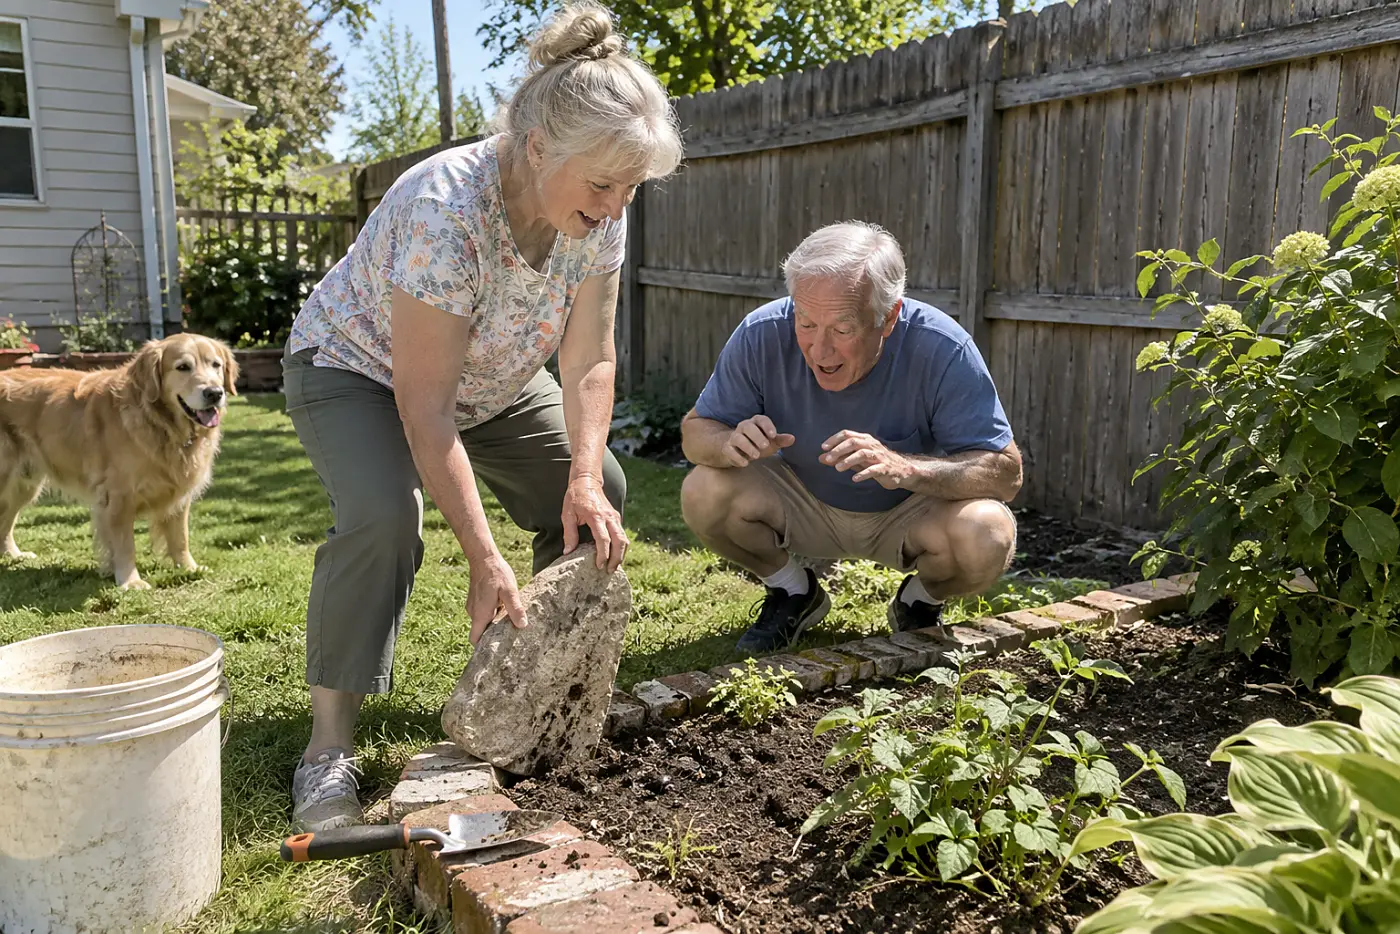
An earthworm isn't a complete soil test.
Worms pull organic matter through the ground and leave tunnels behind. Those passages give air and water another route downward. Still, a bed full of worms tells you nothing certain about its pH or phosphorus level.
Adding fertilizer because growth looks poor guesses at the cause. Excess nutrients wash away instead of fixing a drainage problem, and a bag's directions cannot diagnose your yard.
Lift a loose stone this week and look at the soil underneath. Then ask your local extension office how to submit a soil sample before buying fertilizer. “I found worms, but I still want the test,” keeps the two clues in their proper places. The Natural Resources Conservation Service also explains why soil structure matters.
If water lingers around roots, watch what a drink does next.
19The finger she pushed into dirt
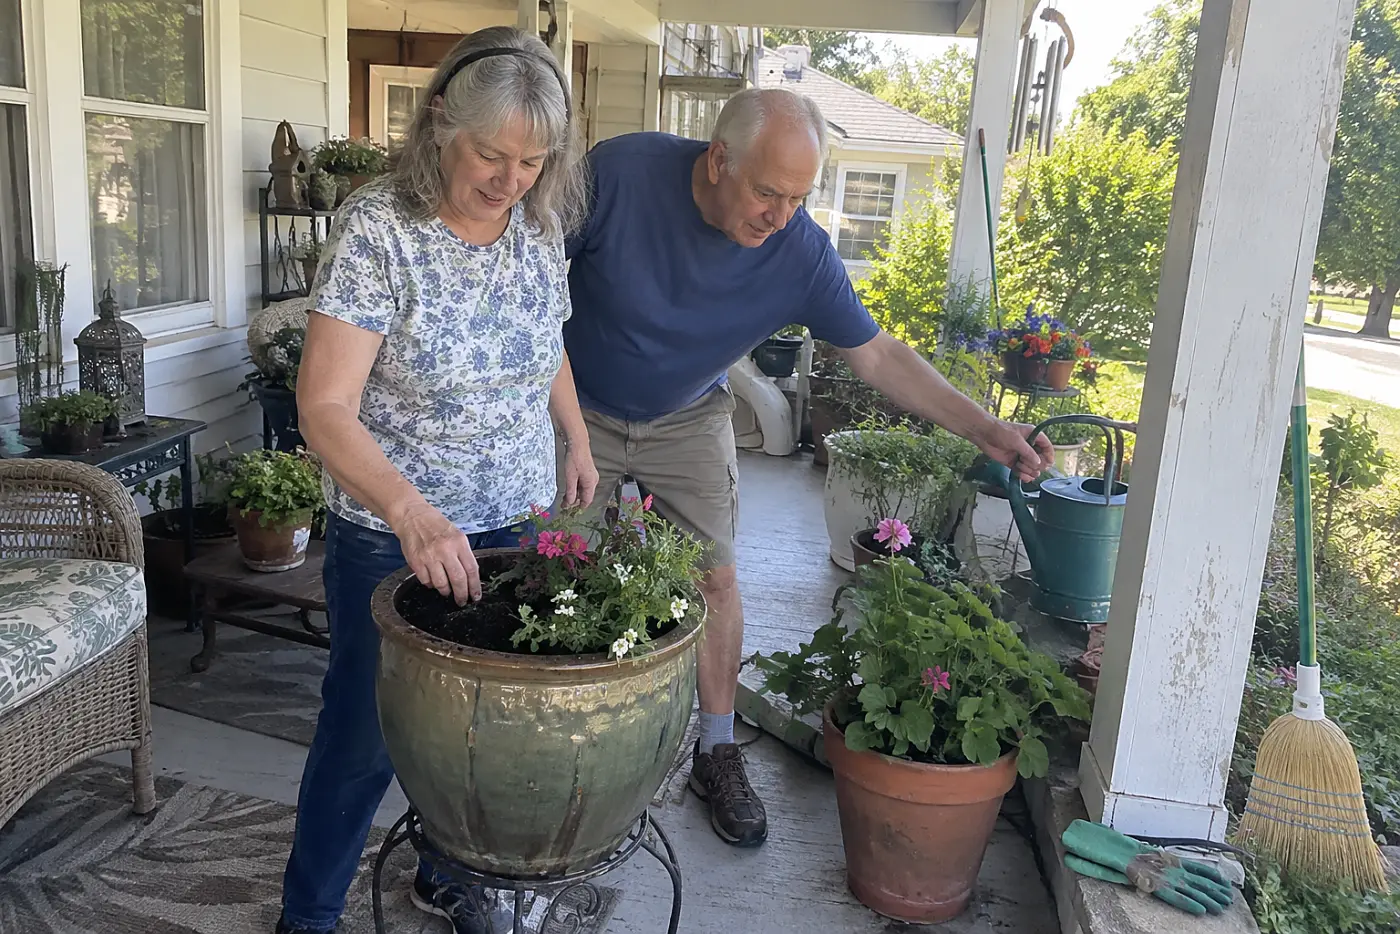
A dry surface doesn't prove dry roots.
Sun and wind dry the top first, while soil lower down stays damp. Your mother pushed a finger below the crust before reaching for the hose. That small check kept a thirsty-looking surface from making the decision for her.
Watering a pot on sight alone leaves roots sitting in soggy mix. Repeating that mistake pushes air from the spaces roots need, even while the surface looks dry again.
Test one pot and one bed this week before you water. Push a finger beneath each surface, then feel the soil rather than trusting its color. “Let's check underneath first,” is a useful answer when someone offers to water for you.
The next question is where that water lands.
18The hose laid beside tomato roots
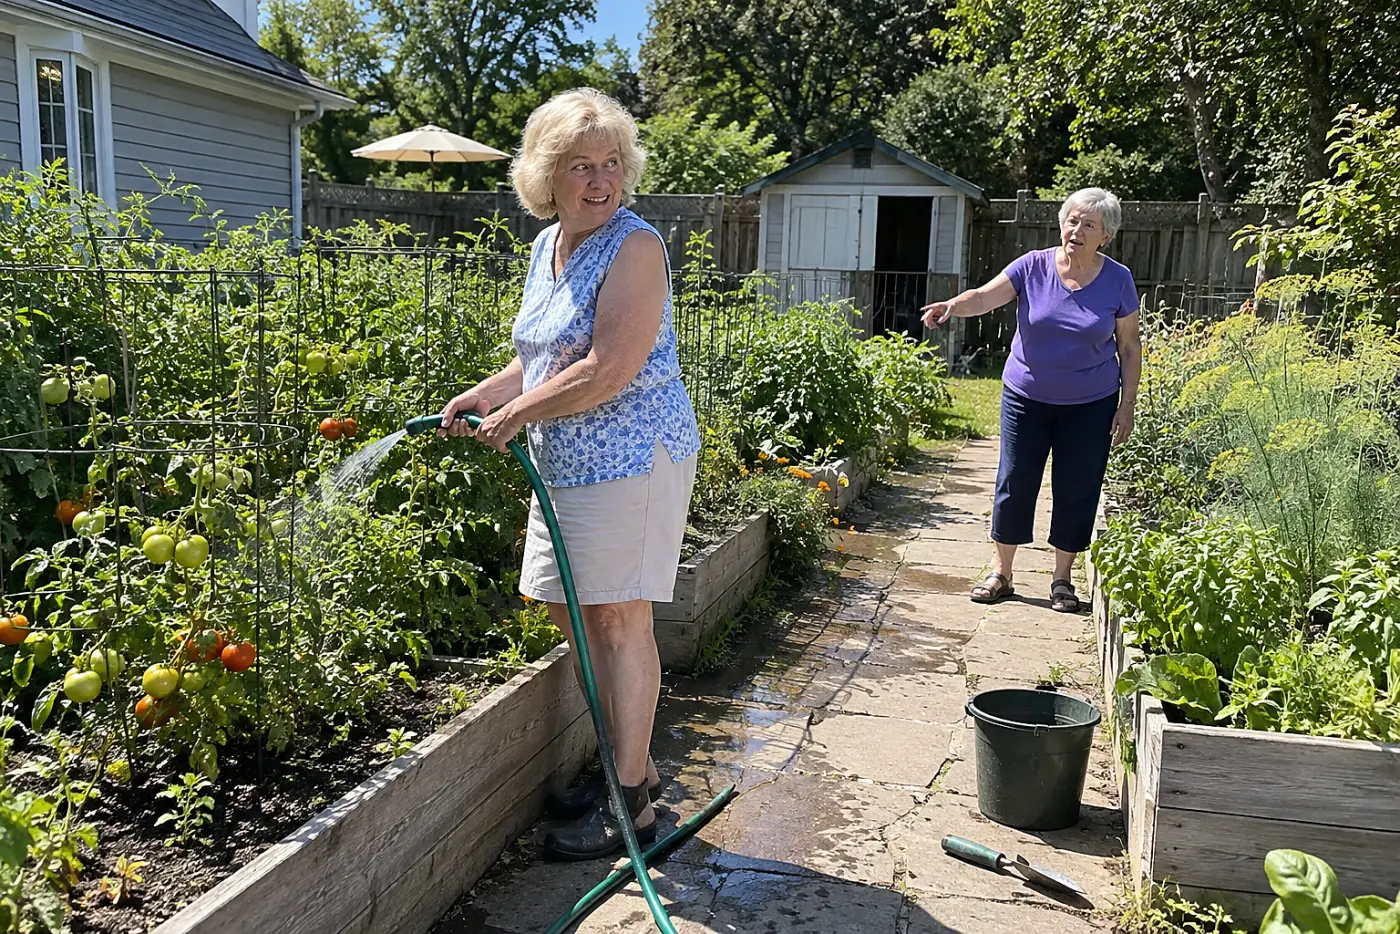
A quick sprinkle feeds the dust first.
Water has to move through the soil to reach deeper roots. A slow soak near the plant's base puts it there instead of spraying across the leaves. When the hose moves on too soon, a dark surface hides dry soil underneath.
Midday heat takes water before roots get their share. EPA WaterSense points to early morning watering, when less of your work disappears into evaporation.
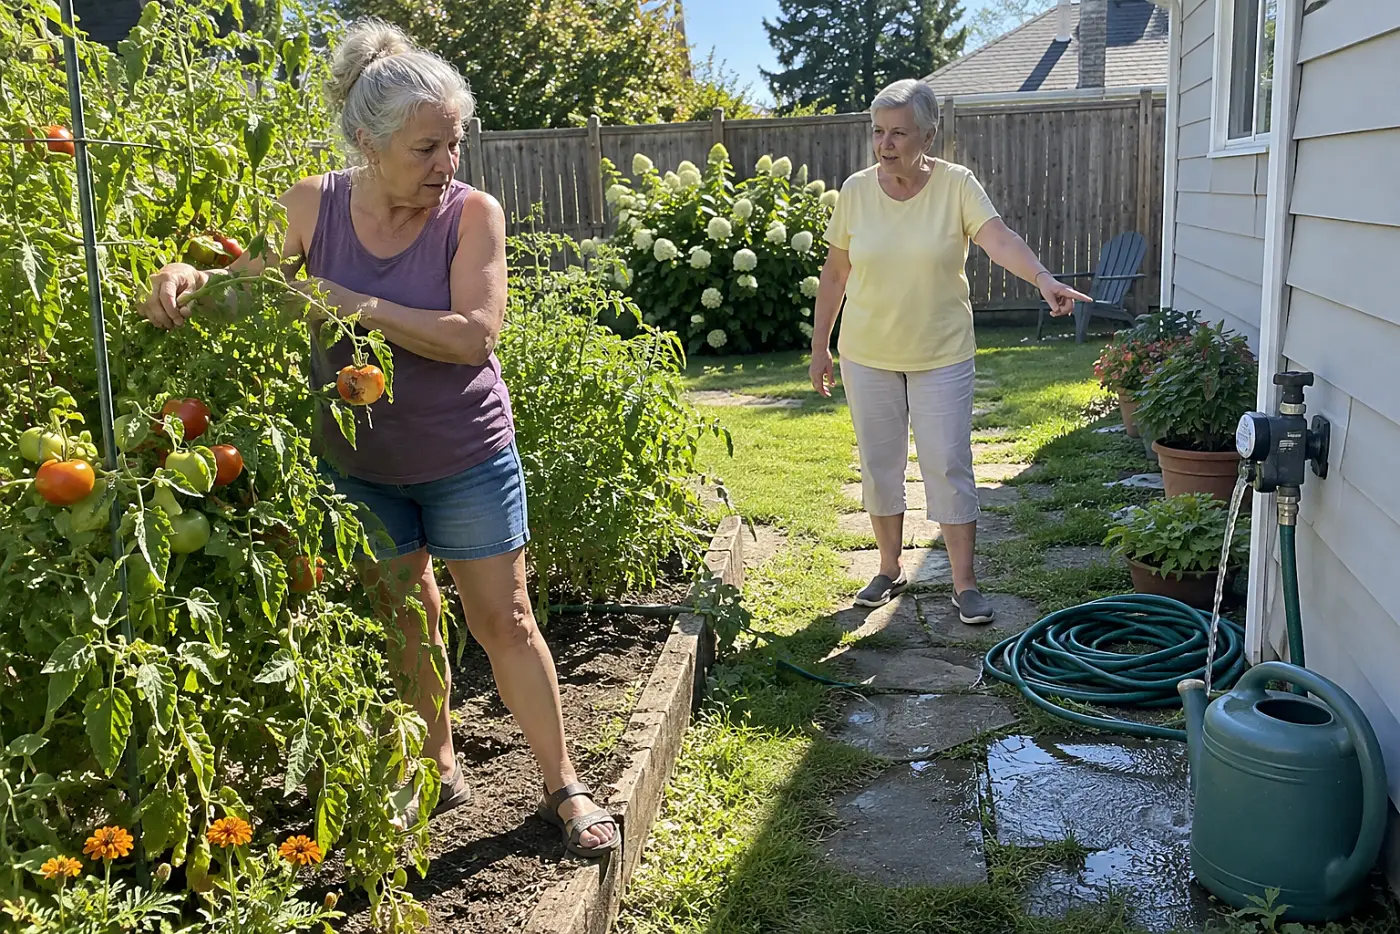
This week, move the hose to the base of one plant. Water slowly, pause, then dig beside the root area to see how far the dampness reached. “I want the water in the soil,” tells a helper exactly what you're doing.
That habit changes once water has nowhere to drain.
17The drain hole beneath a clay pot
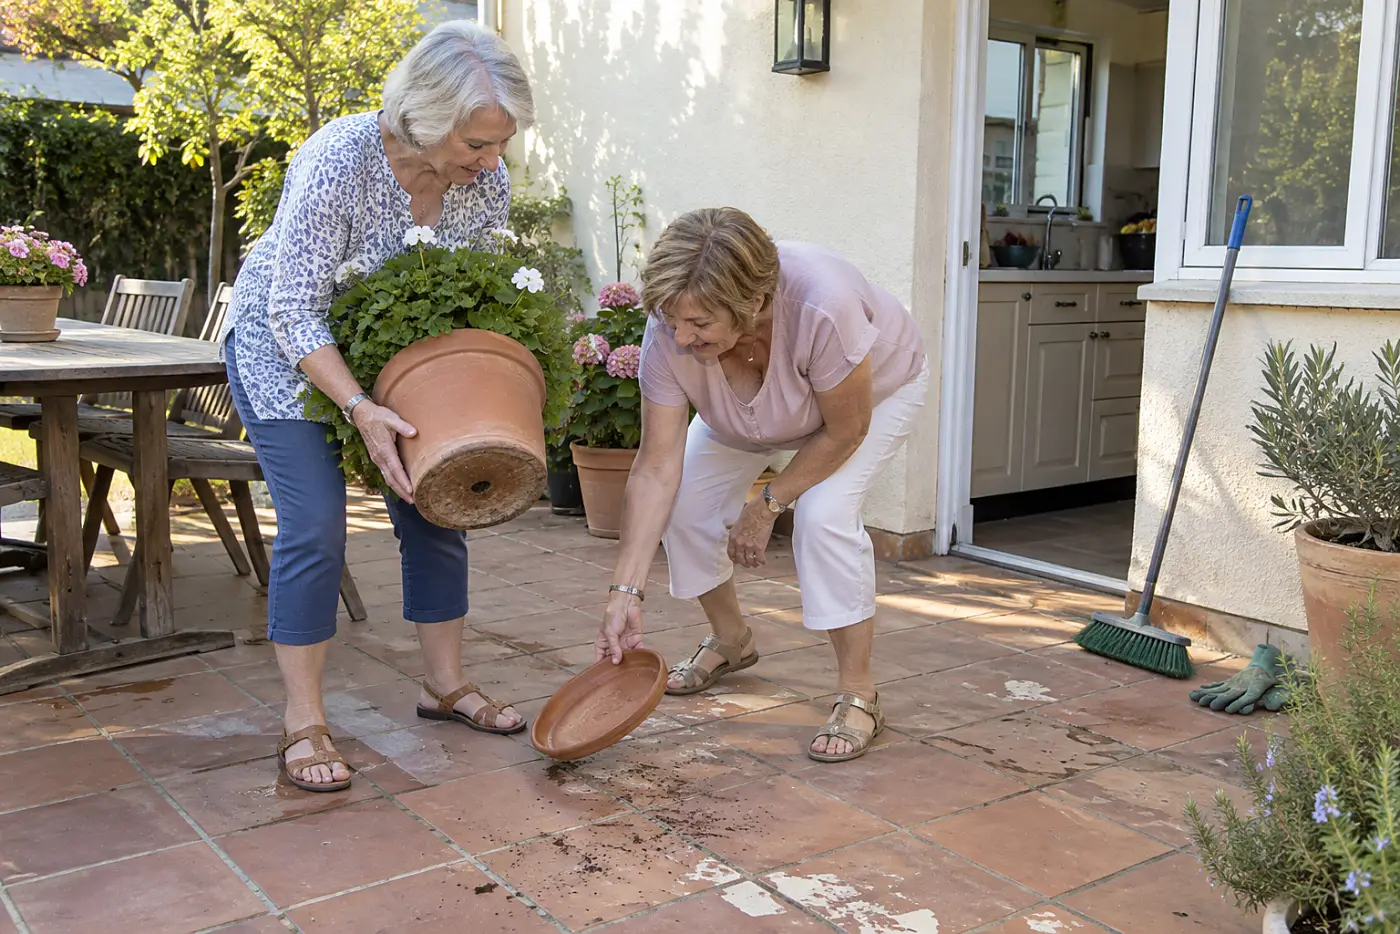
A pot without an exit holds trouble.
Roots take up oxygen from spaces in the potting mix. When water fills those spaces and stays there, roots suffer. Gravel at the bottom doesn't replace an open drain hole, no matter how carefully you layer it.
A decorative pot full of standing water also gives mosquitoes a place to breed. Your mother tipped the saucer for a reason, then checked that the pot itself had drained.
Check the pots by your door this week. Lift each one, find its drain hole, and empty standing water from its saucer. “This one needs a hole,” is clearer than calling the plant fussy.
Even a draining pot has limits of its own.
16The crowded roots inside the flowerpot
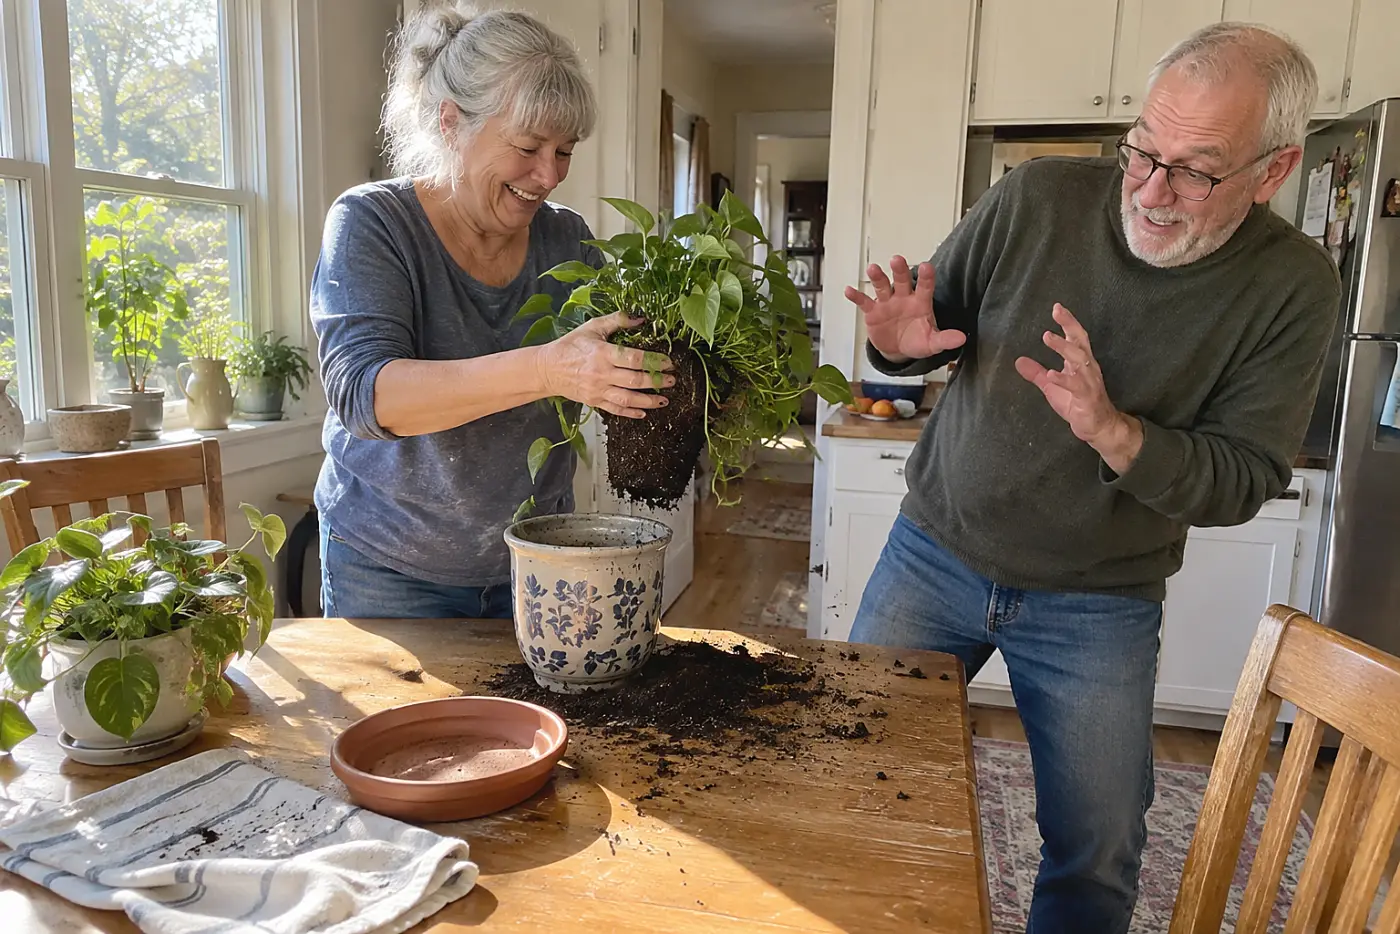
Roots eventually run out of room.
Slide a plant from its pot and look at the outer edge of its root ball. Roots circling tightly around the sides signal that fresh mix alone won't give them much growing space. The roots need room to grow outward into new mix.
A huge replacement pot creates a different problem: excess mix stays wet beyond the reach of a small root system. That old coffee can your mother used wasn't chosen for its charm alone. It had space for roots, with a drain hole in the bottom.
Pick one struggling houseplant this week and ease it from its pot. If roots circle the outside, loosen them and choose a slightly wider pot. Set the plant at the same depth in fresh mix, and leave room at the rim for watering. “Let's look at the roots before buying another pot,” keeps the decision tied to what you see. The University of Minnesota Extension has houseplant care guidance for the plant on your table.
Set it back where the light fits, rather than where there's an empty shelf.
See more: 27 Ways a Small Garden Beats the Big One You Used to Have →
15The sunny patch beside the back fence
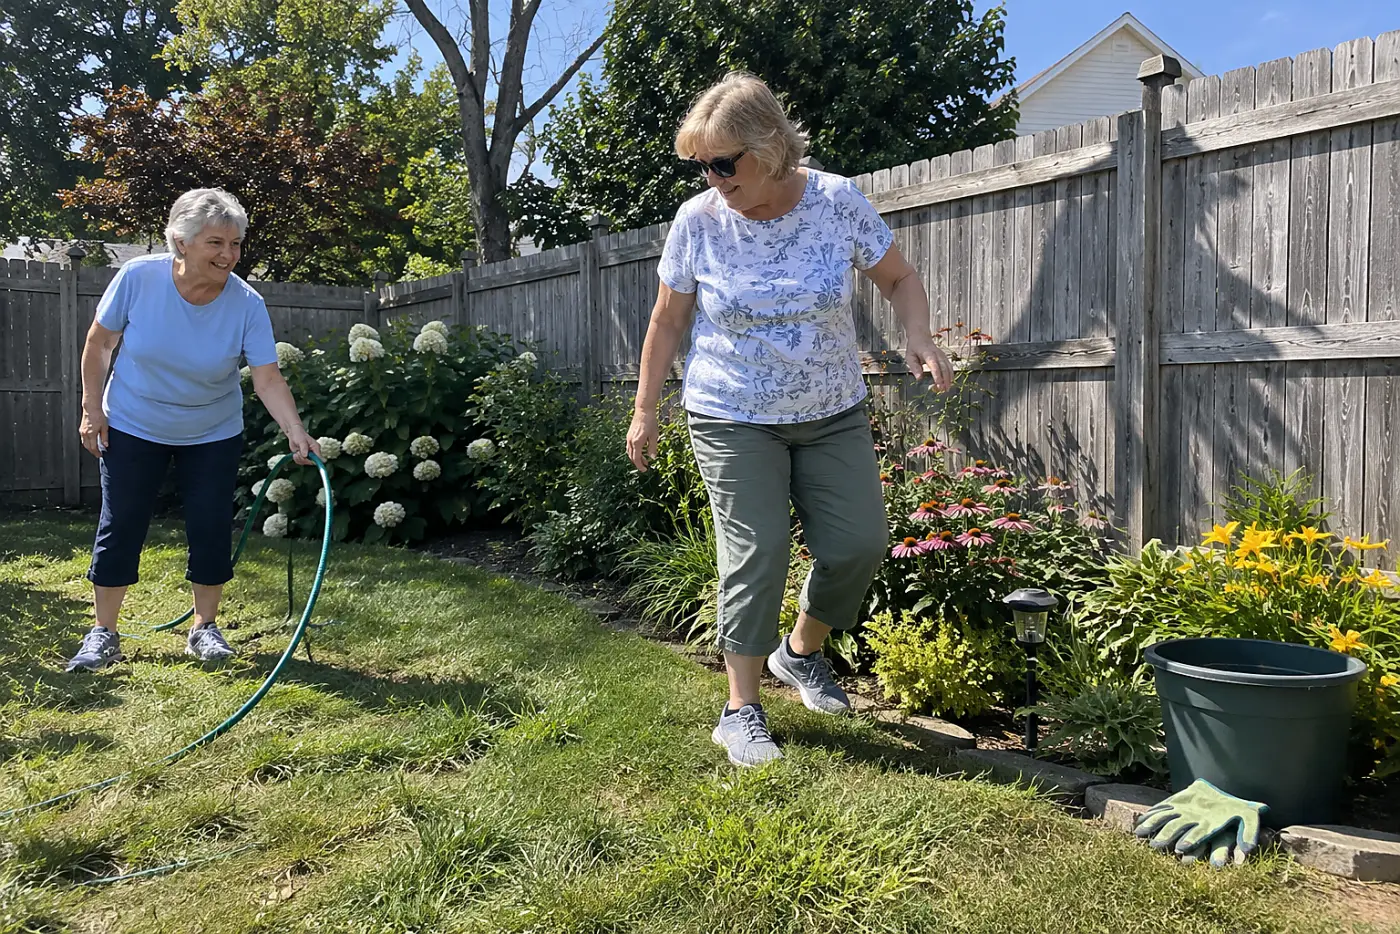
A bright yard has more than one climate.
Buildings cast shadows that move across a bed, and trees take light as their leaves fill in. Your mother watched that fence through the day before putting tomatoes there.
A seed packet's “full sun” instruction means at least 6 hours of direct sunlight, not a spot that looks bright from the kitchen window. Put a sun-loving crop in shade and you'll spend the season waiting for fruit.
This week, photograph the same planting spot in morning, midday, and late afternoon. Compare the pictures before choosing a plant. “That corner loses the sun after lunch,” settles more than a hopeful guess.
Light isn't the only thing a plant label asks you to notice.
14The seed packet turned over
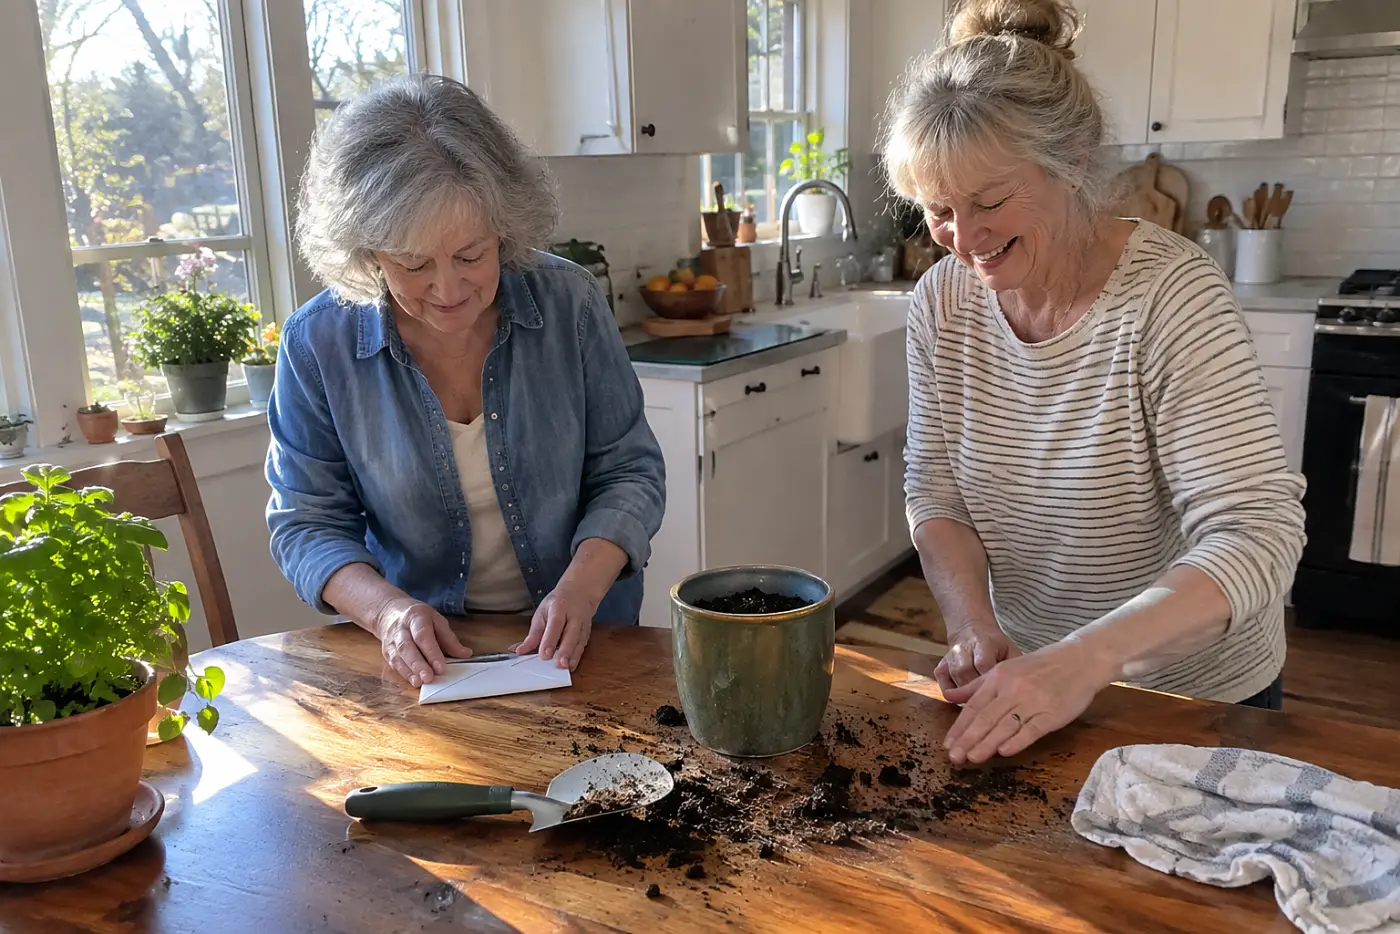
The front sells the flower; the back grows it.
The back of a seed packet tells you planting depth, spacing, and the conditions for germination. Bury a tiny seed too deep and its shoot has farther to travel before it reaches light. Crowd seedlings and their roots compete before the leaves look cramped.
Packet directions describe the variety in your hand. Your mother's old rule for peas won't answer every question about a different crop, and the pretty picture won't give you a planting depth.
Choose one packet this week and read the back before opening it. Mark its planting depth on a ruler and use that mark as you sow. “What does this packet say about depth?” is a better question than where last year's row went.
The next step happens while the seedlings are still small.
See more: 29 Things to Plant Now So You Have Something to Look Forward To →
13The extra seedlings she pulled out
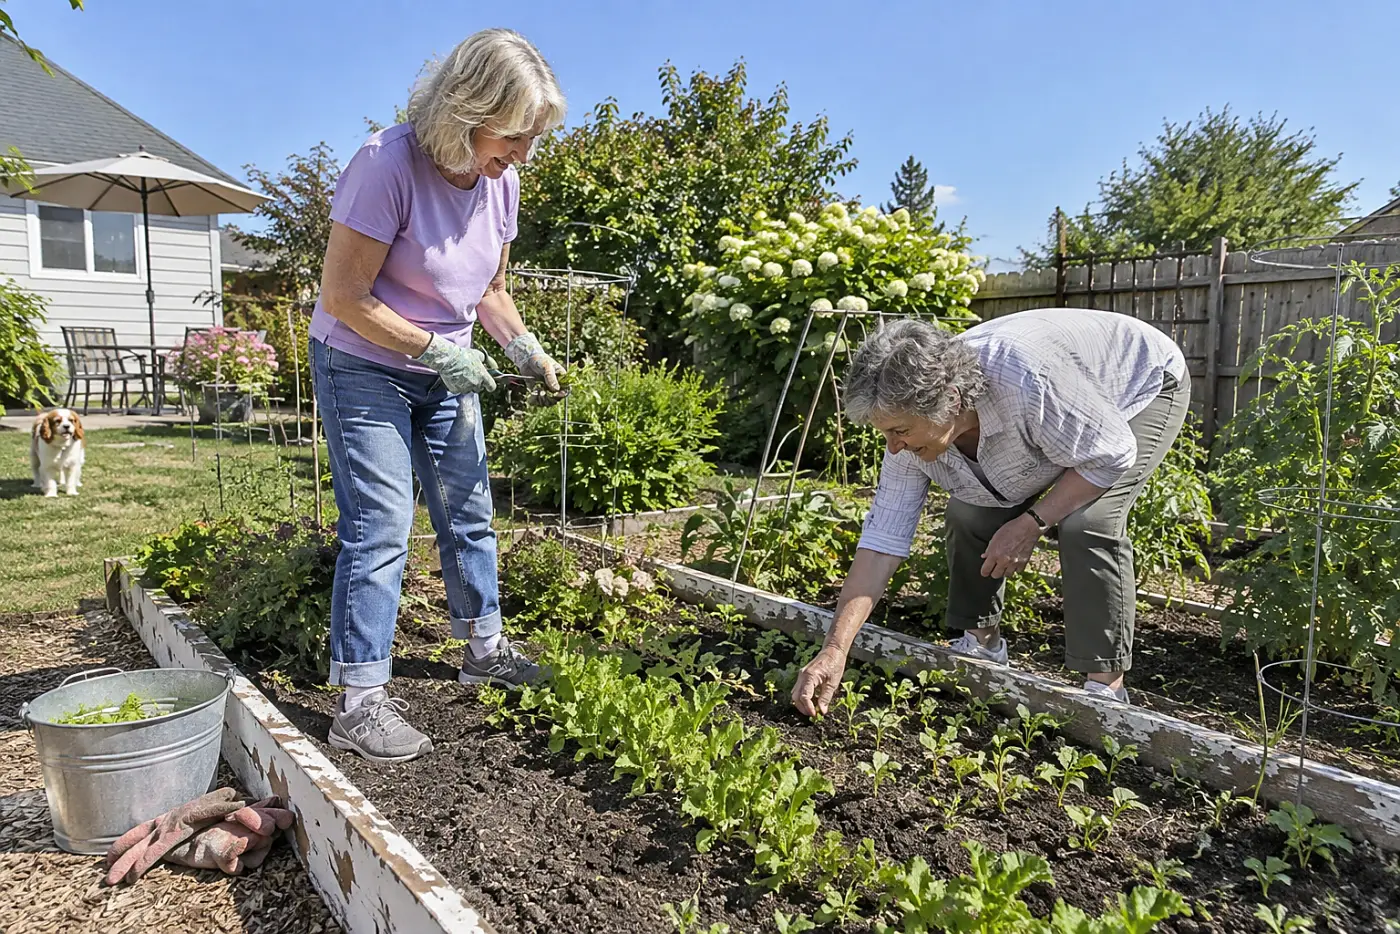
Keeping every sprout isn't kindness to plants.
Seeds sprout close together because you sow enough to allow for failures. After they emerge, the spacing on the packet applies to growing plants, not bare seeds. Thinning gives the remaining roots room.
Leave a crowded row untouched and small seedlings compete for light and water. Your mother removed healthy sprouts because she wanted a healthier row.
Check one seed row this week against its packet spacing. Snip extras at soil level if pulling them would disturb their neighbors. “We planted for luck; now we thin for room,” gives the task a plain reason.
Those survivors still need time before facing the yard.
12The seedling tray carried onto the porch
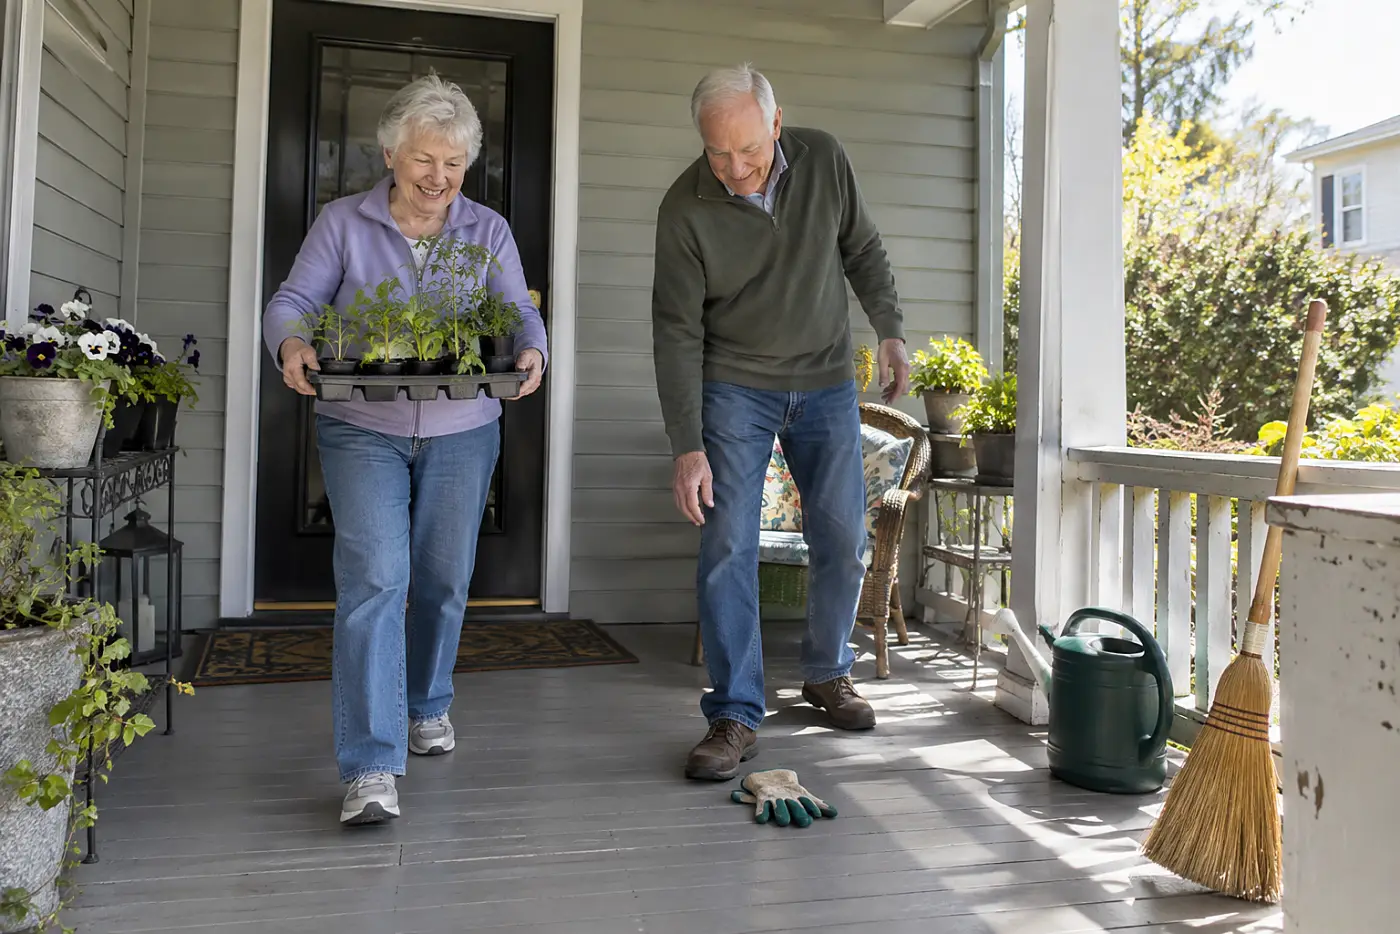
Indoor seedlings don't know outdoor wind.
A plant raised under steady indoor light meets stronger sun and moving air outside. Sudden exposure scorches leaves or bends tender stems. Give seedlings about 1 to 2 weeks of gradually longer outdoor visits before they stay out overnight.
Your mother carried trays in and out because a warm afternoon wasn't proof of a warm night. One cold night can end the work of several weeks.
This week, set a tray outside in a sheltered spot for a short visit. Bring it in, then lengthen its outdoor time over the following days while watching the forecast. “These aren't staying out tonight,” explains why the tray is back by the kitchen door. The University of Maryland Extension calls this process hardening off.
Even a sturdy seedling has to fit where it goes.
11The garden path she refused to plant
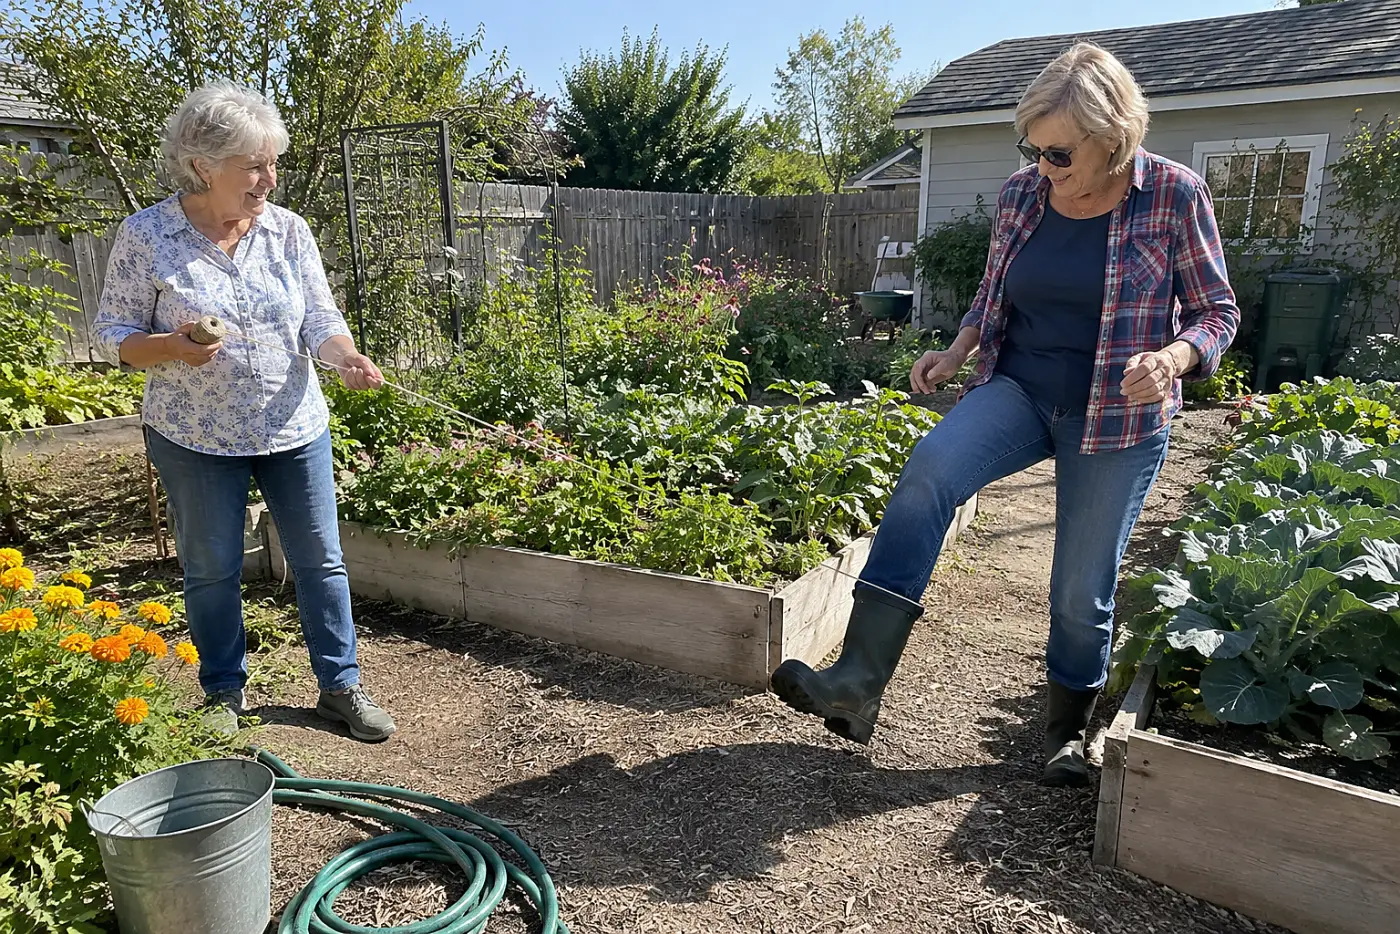
An extra row steals room from your feet.
Your mother kept a path wide enough to reach the beds. That gave her a place to stand while weeding, watering, and harvesting, so she wasn't stepping on the soil around roots.
Plant every open strip and the work changes. You have to stretch across the bed or walk through it, packing down the ground you took care to prepare.
Mark a path with string this week before setting out plants. Walk it carrying a watering can, then adjust the edges while the bed is still empty. “I need to reach the far side,” makes its purpose plain.
That path helps only when the ground beside it is ready.
10The fistful of wet spring soil
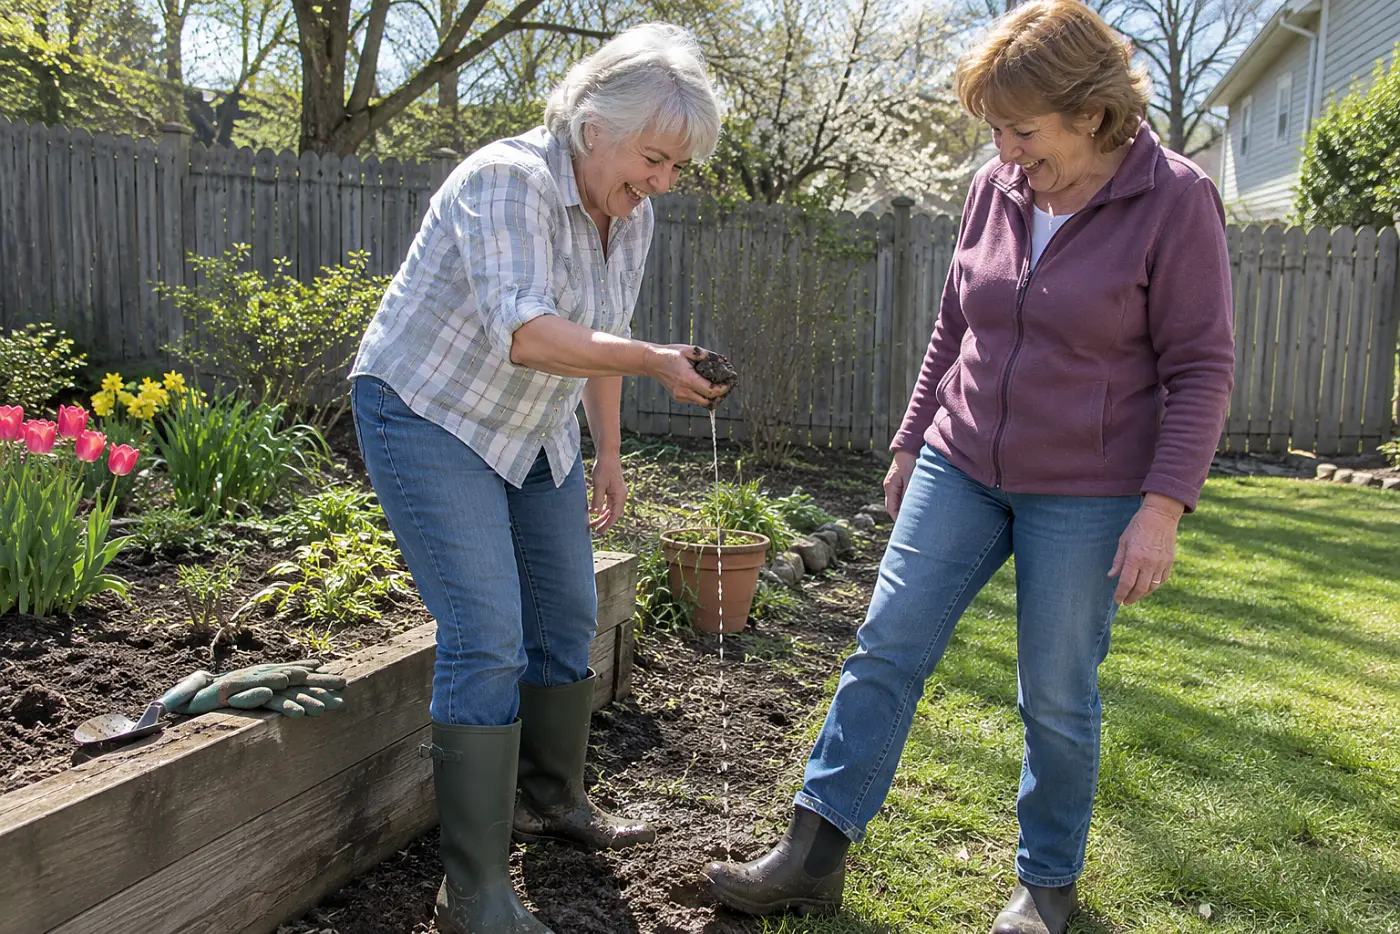
Working wet soil makes lumps that last.
Squeeze a handful from the bed. If it smears or holds as a sticky ball, digging and walking compress the spaces plants need. Wait until it crumbles readily before turning the bed.
Your mother didn't wait because she lacked time. She knew one impatient afternoon with a spade could leave a planting bed hard to work after it dried.
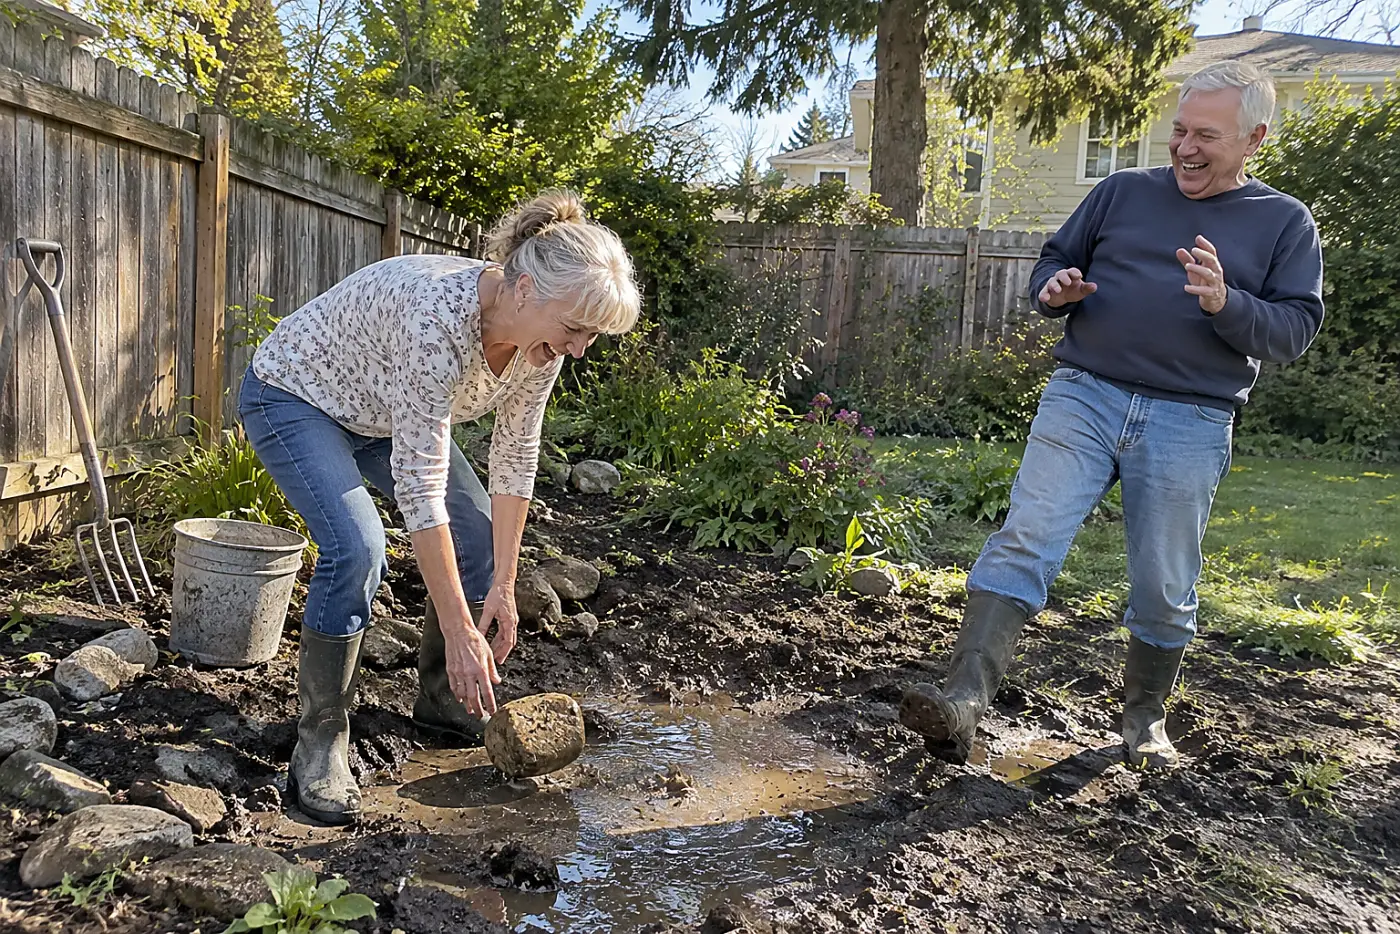
Take a handful from the bed you plan to plant this week. Squeeze it, open your hand, and check what stays together. Leave the spade by the shed if the soil smears, then try the same bed again after it dries. “I'm waiting until it crumbles,” gives the decision a reason anyone helping can see.
When the ground is ready, look above it for another clue.
9The flowers left for visiting bees
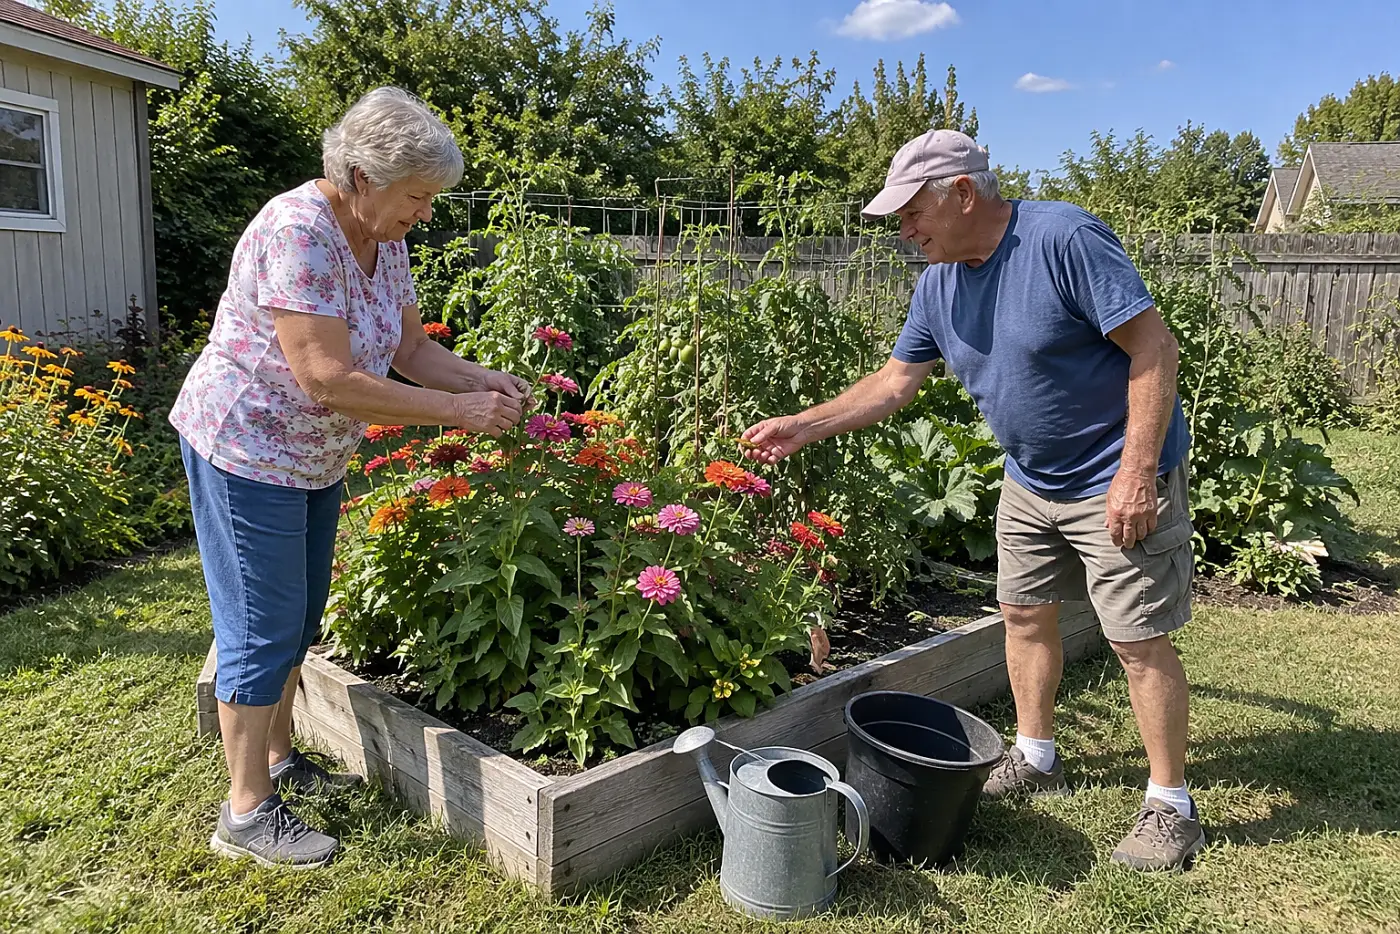
A tidy bed can become a hungry bed.
Bees and other pollinators visit flowers for food. Flowering plants available through the growing season give them places to feed beyond one brief bloom. Your mother left room for flowers beside the vegetables.
Many fruits form after flowers are pollinated. Strip every flowering plant from the yard and you remove food for the visitors doing that work.
Leave one flowering patch standing this week and note when it blooms. Choose a different blooming period for your next plant. “Leave those flowers for the bees,” tells a helper why the patch stays. Pollinator Partnership has regional planting guides.
Visitors also need you to notice what's eating the leaves.
See more: 29 Flowers Your Grandmother Grew That Are Hard to Find Now →
8The chewed leaf turned upside down
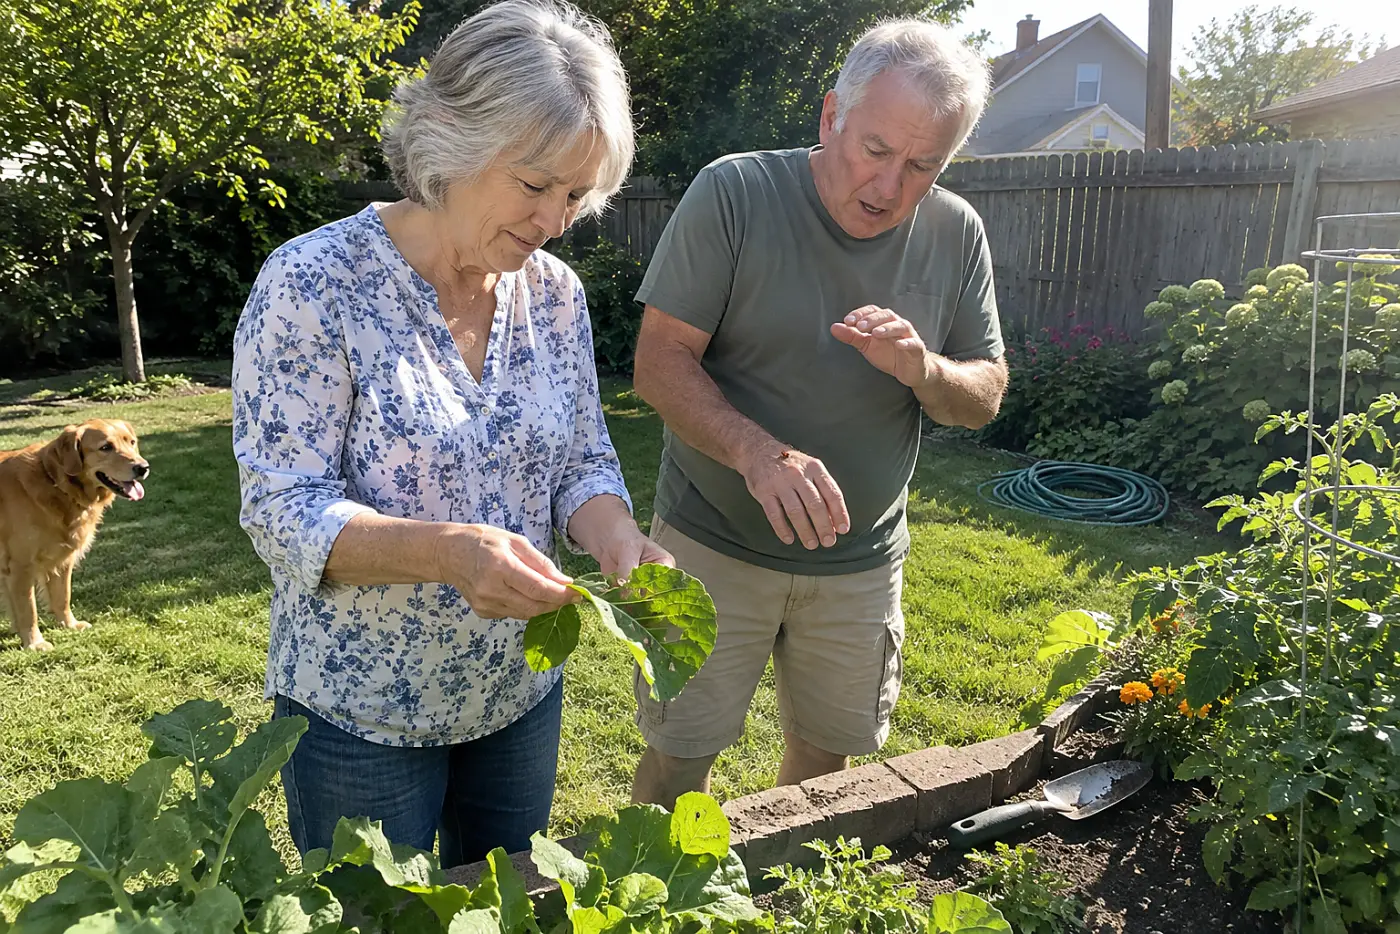
A hole in a leaf isn't a diagnosis.
Turn the leaf over before reaching for a spray. Caterpillars, beetles, and other insects leave different clues, including eggs and droppings. Some insects on the plant are hunting the ones doing damage.
Spraying without identifying the insect risks killing those hunters, too. A product label sets where and how that product is used; a familiar brand name isn't permission to spray every crop.
Inspect three damaged leaves this week, including their undersides. Photograph what you find and compare it with your extension office's pest guides. “I want to know what's here first,” gives you a reason to put the bottle down. Read the EPA's pesticide safety pages before using a pesticide.
Your mother's first response was to look closer; her second was to make space.
7The gap between her tomato plants
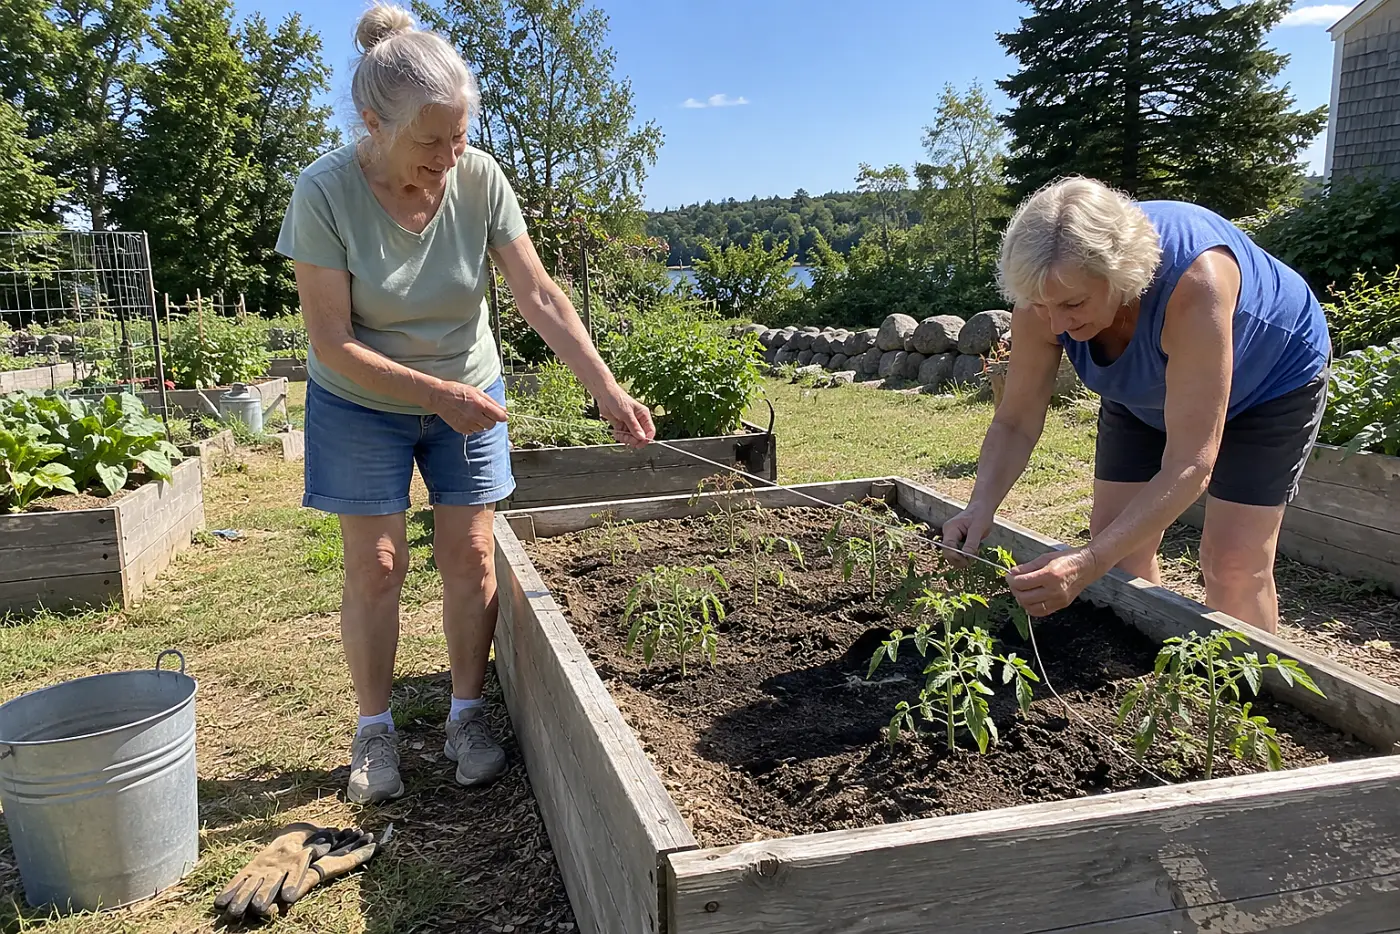
Air needs a path through leaves.
As tomatoes grow, branches fill the space between plants. Close planting holds dampness around foliage longer after rain. The spacing on a plant tag allows for the plant it becomes, not the little transplant you bought.
Crowded leaves make it harder to spot damaged growth early. They also make harvest a reach through a thicket.
Measure the gaps before putting new plants in this week. If the bed is already crowded, remove a few low leaves without stripping the plant bare. “Leave room for August,” explains why today's empty space belongs there.
Some growth deserves a different kind of cut.
6The clean pruners in her apron
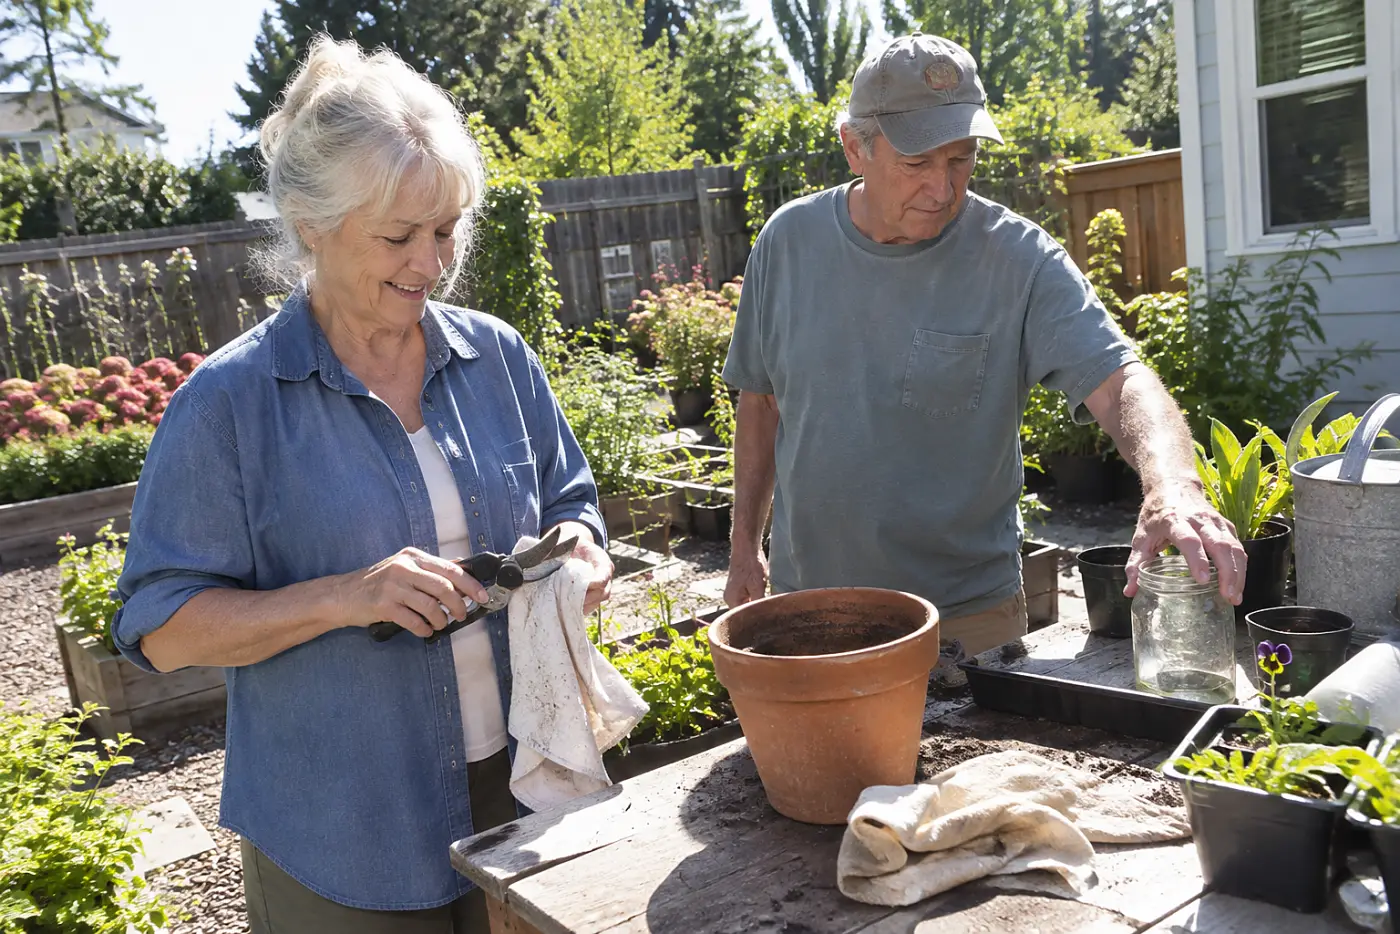
A ragged cut gives damage another opening.
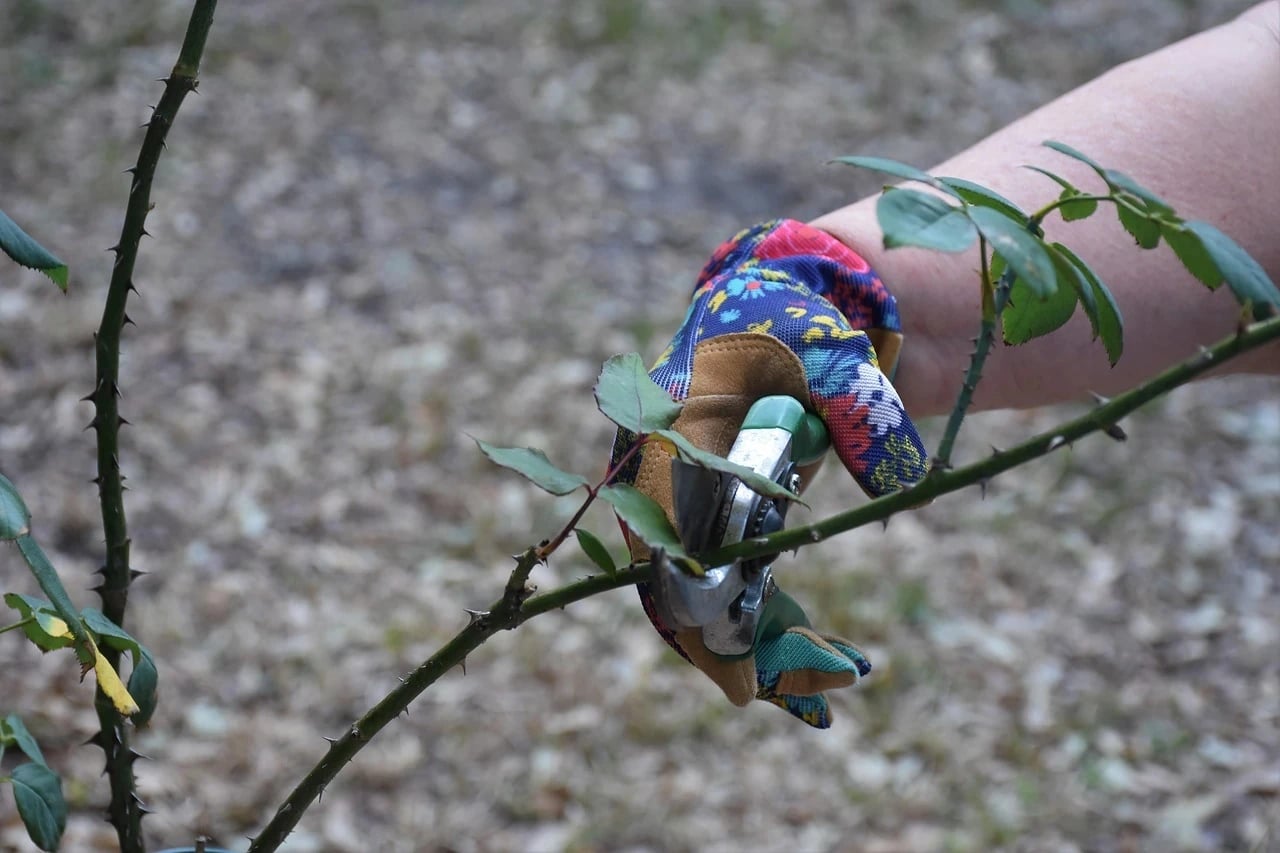
Sharp pruners make a cleaner cut than blades that crush a stem. Dead or broken wood comes off first, so you see the plant's shape before deciding what else goes. Between diseased plants, clean the blades before moving to the next one.
Timing matters, too. Cut a spring-flowering shrub before learning when it sets flower buds, and you risk removing next year's display.
Inspect your pruners this week and clean the blades. Cut dead or broken wood, then look up the species before taking live branches. “Let's find out when this blooms before cutting more,” keeps the job from growing with each snip. The Missouri Botanical Garden Plant Finder gives plant-specific details.
A cut branch isn't the only thing that should leave the bed.
5The fallen tomato left off the compost
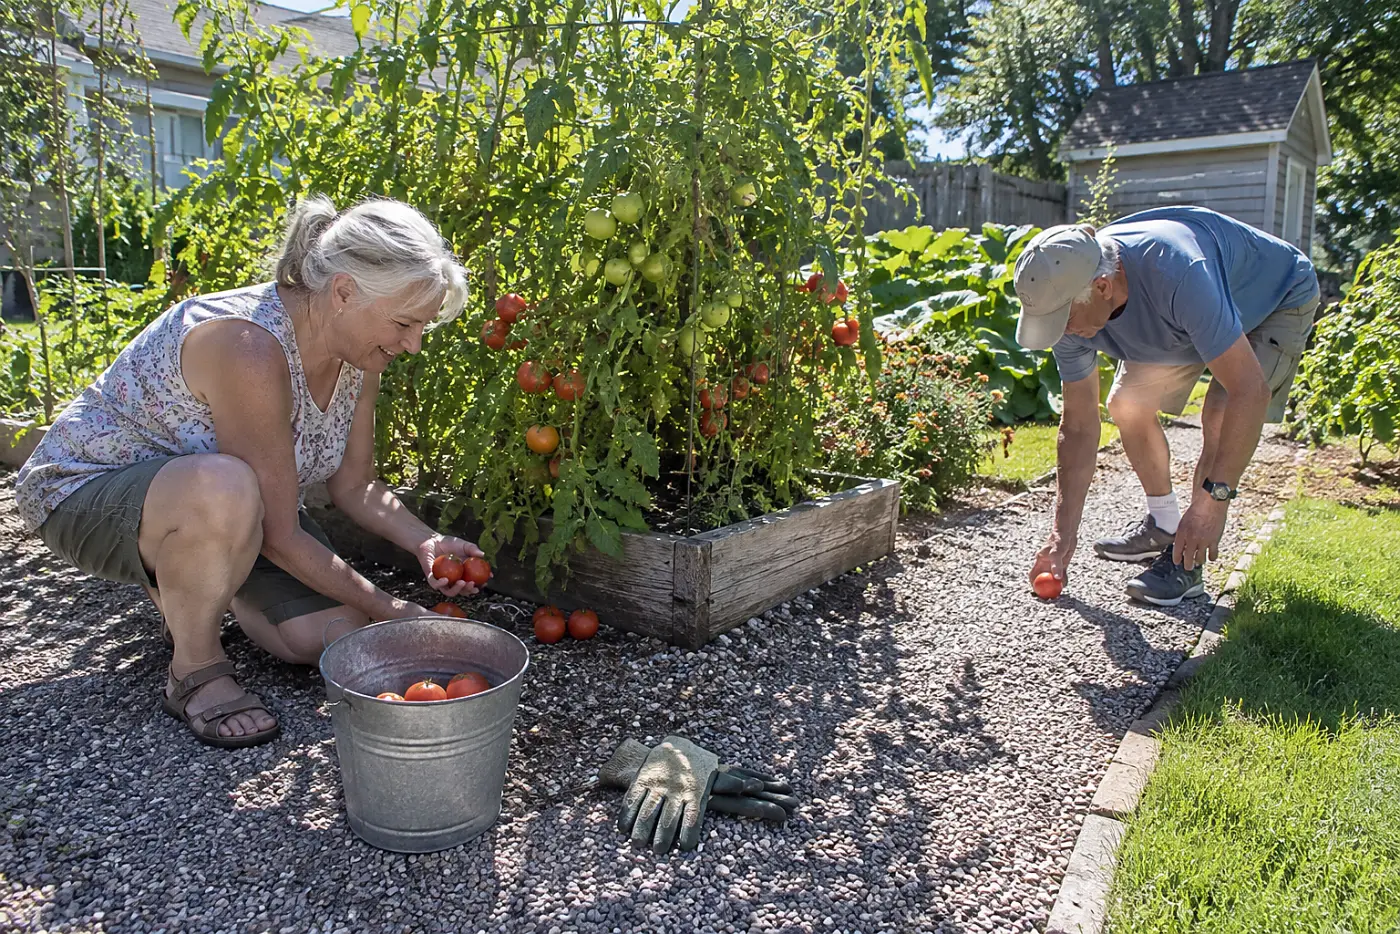
A fallen fruit doesn't disappear by itself.
Fruit left to rot in a bed draws insects and leaves seeds behind. Some seeds sprout next season where you never meant to plant them. Your mother picked up fallen tomatoes as part of harvesting.
If the fruit shows signs of disease, adding it to a cool backyard pile risks carrying that problem forward. A pile that never heats thoroughly won't solve it.
Collect fallen fruit this week before it breaks down in the bed. Put suspect fruit in the trash rather than your home compost. “I don't want this back next spring,” is reason enough.
Next spring's work also starts with what you save.
4The bean seeds drying on newspaper
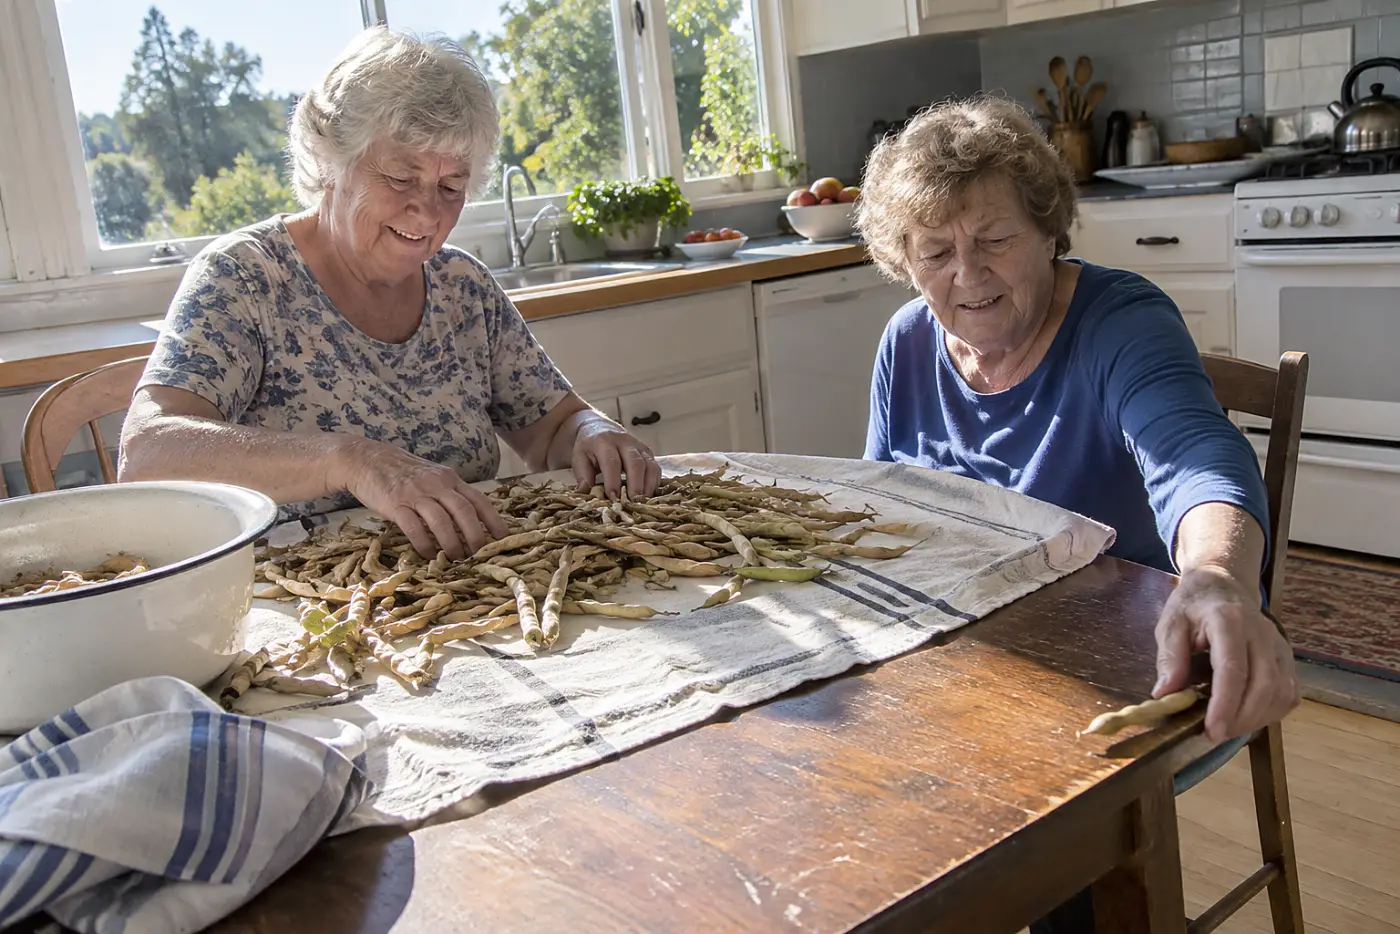
Saved seed carries a plant's history forward.
Let bean pods mature and dry on the plant before collecting them. Once the seeds are fully dry, store them in a labeled envelope somewhere cool and dry. A name and collection year keep next spring's choices from becoming guesswork.
Seed from a hybrid plant won't reliably produce an identical plant in the next generation. That's why the variety name matters as much as the seeds themselves. Your mother kept the beans she liked, and she knew which envelope held them.
Choose one open-pollinated bean variety this week and find its name on the packet. Keep that packet for the seed envelope later. “These are the beans I want again,” gives the envelope its purpose. Seed Savers Exchange explains seed saving by crop.
An envelope preserves a choice; a label in the bed preserves a place.
3The plant label buried beside the rhubarb
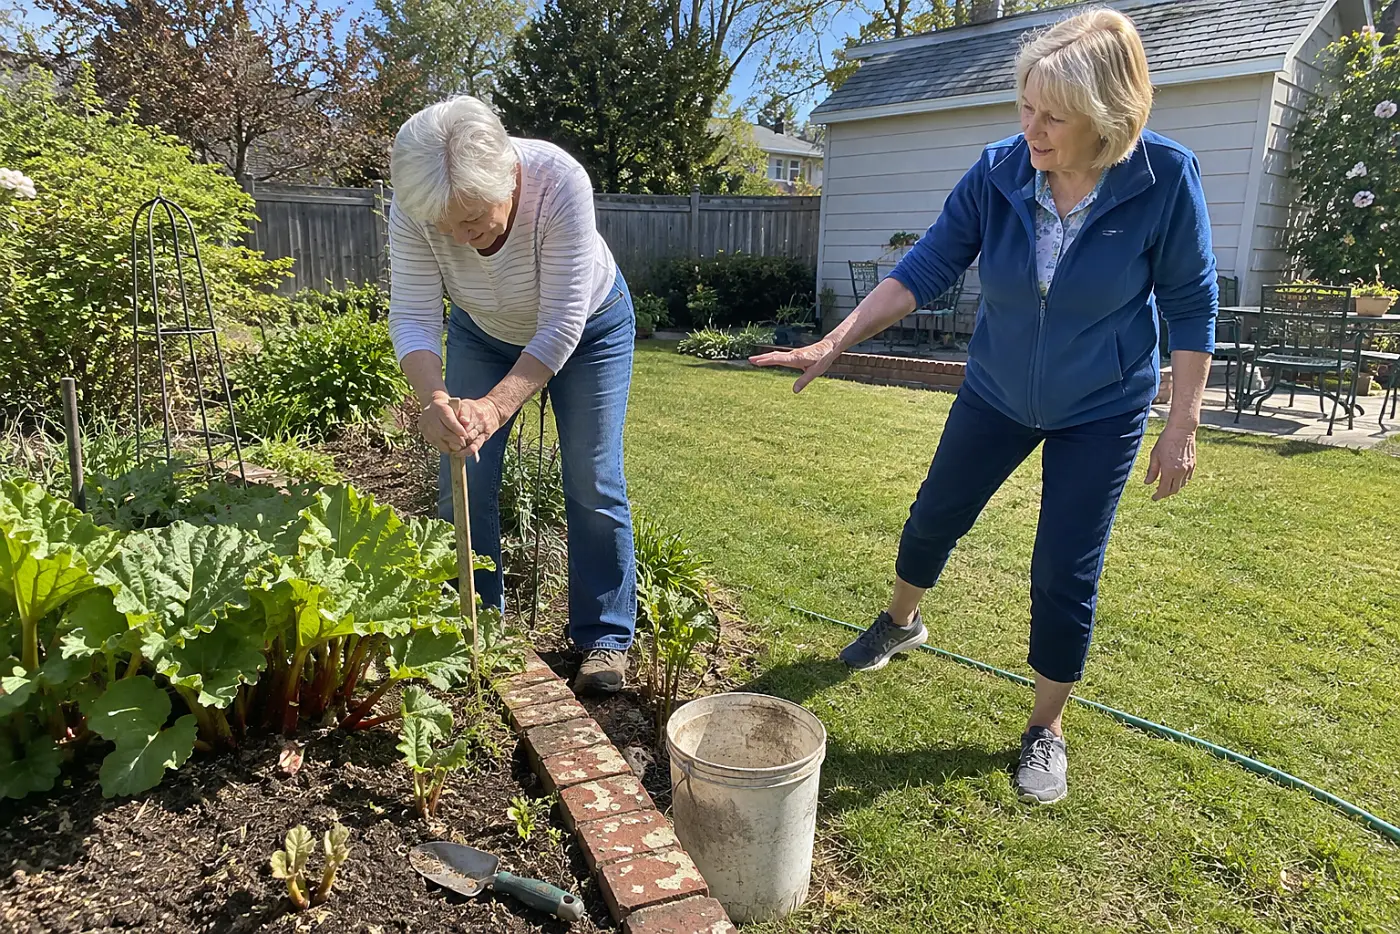
Winter makes an established plant easy to forget.
A perennial dies back above ground and grows again from its established roots. Once the leaves vanish, bare soil gives no warning about where to dig. Your mother left markers because she expected the plants to return.
Digging into a crown or root while planting something new can damage the plant you meant to keep.
Mark one perennial bed this week with weatherproof labels. Write the plant name and its spot on a simple sketch, too. “Don't dig here,” is a useful note for anyone sharing the yard.
A sketch holds the place; the next clue needs a date.
2The pencil marks on her garden calendar
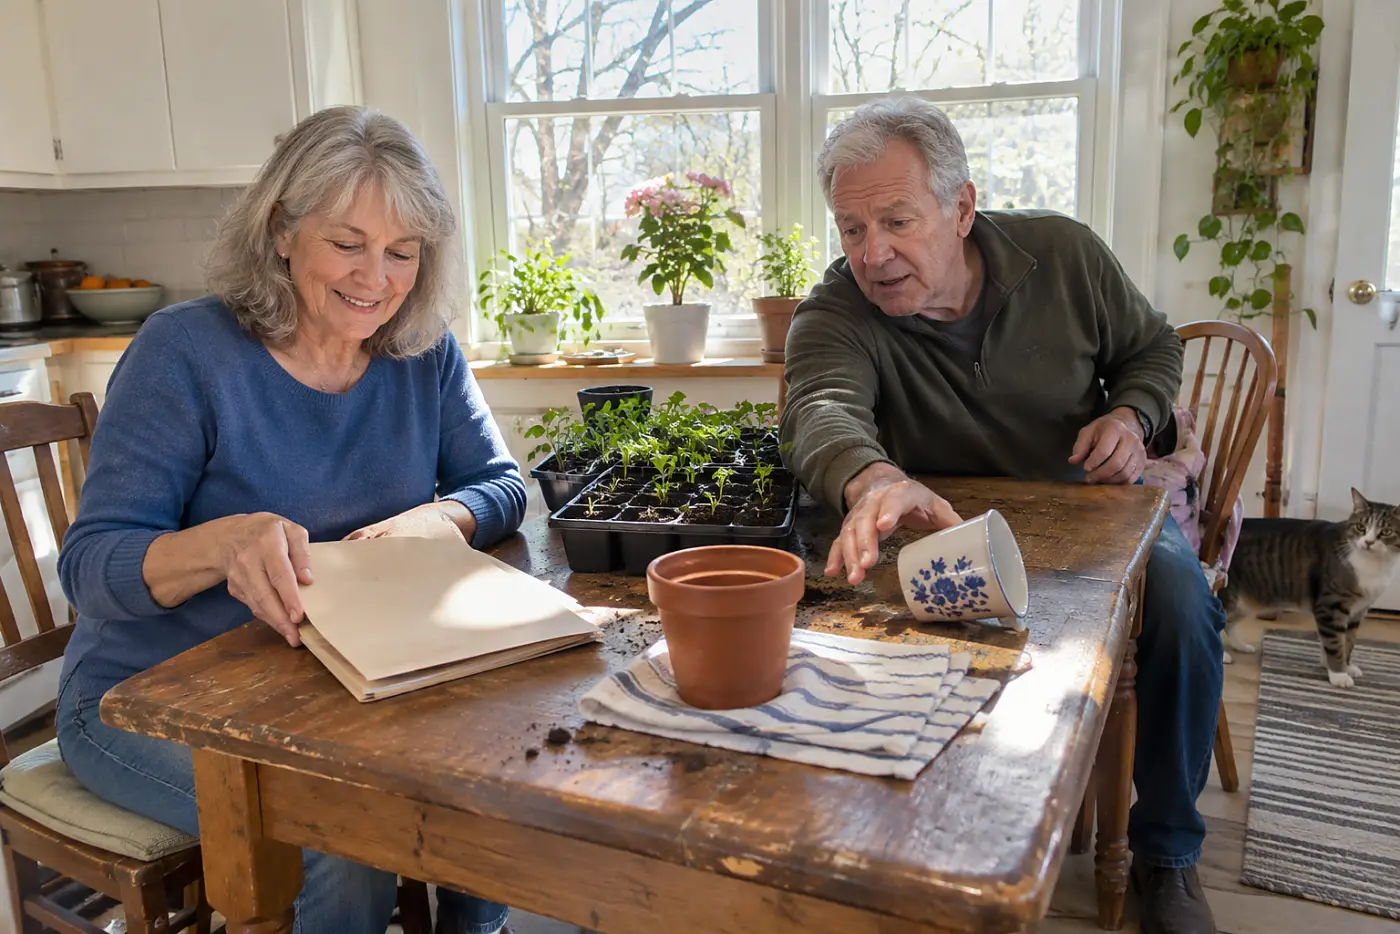
A date on paper beats a perfect memory.
The same crop behaves differently when spring is cold or the bed gets new shade. Recording when you sowed, when seedlings appeared, and when harvest began lets you compare seasons. Your mother wasn't keeping records for a grade; she was leaving herself instructions.
Without those dates, next year's decisions lean on the season you remember best, not the one you actually had.
Write down one planting date and one thing you observed this week. Keep the note on your phone or on the calendar by the door. “That bed stayed wet after rain,” will matter when you choose where to plant again.
Now give those scattered notes a place to meet.
1The yard page she wrote before planting
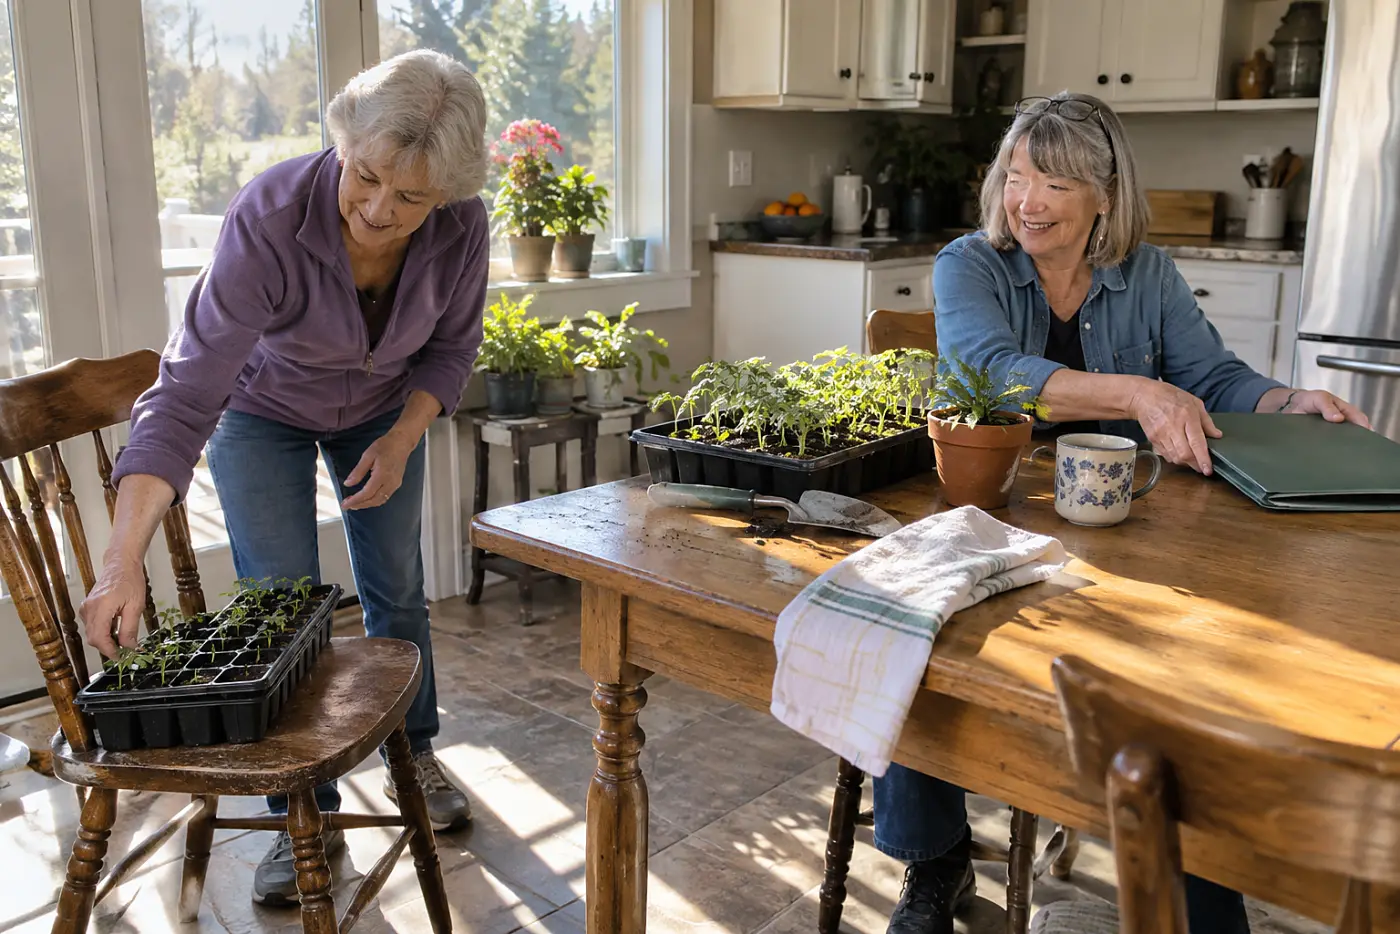
Scattered clues won't help when the spade is ready.
Your mother brought the packet, the forecast, and last year's notes together before choosing a bed. Each answered a different question: what the seed needed, what weather was coming, and what had happened in that spot. A single page let her compare them.
The USDA Plant Hardiness Zone Map describes winter cold, not a last frost date. Use frost guidance from your local extension office and check the National Weather Service forecast before putting tender plants outside. Without those separate checks, a sunny afternoon gets mistaken for the start of a whole season.
Make one yard page this week, on paper or on your phone. Give each planned bed a line for its crop, packet directions, local frost guidance, forecast check, and one observation from your own yard. “I'm checking this bed, not the first sunny day,” is a complete answer when someone asks why you haven't planted.
Keep the page where you can add what this season teaches you.
The bottom line
Your mother checked what was in front of her, made a choice, then remembered what happened. That pattern runs through all 23 lessons.
The best-prepared version of you has tested a bed and read a packet. She has also put what she saw somewhere she'll find it next spring.
Which of these has already happened in your family?
Up next
24 Old Garden Habits That Turned Out to Be Right All Along
A shovel test, a seed packet, and bare soil explain why several old garden routines still earn their place.
Read the list →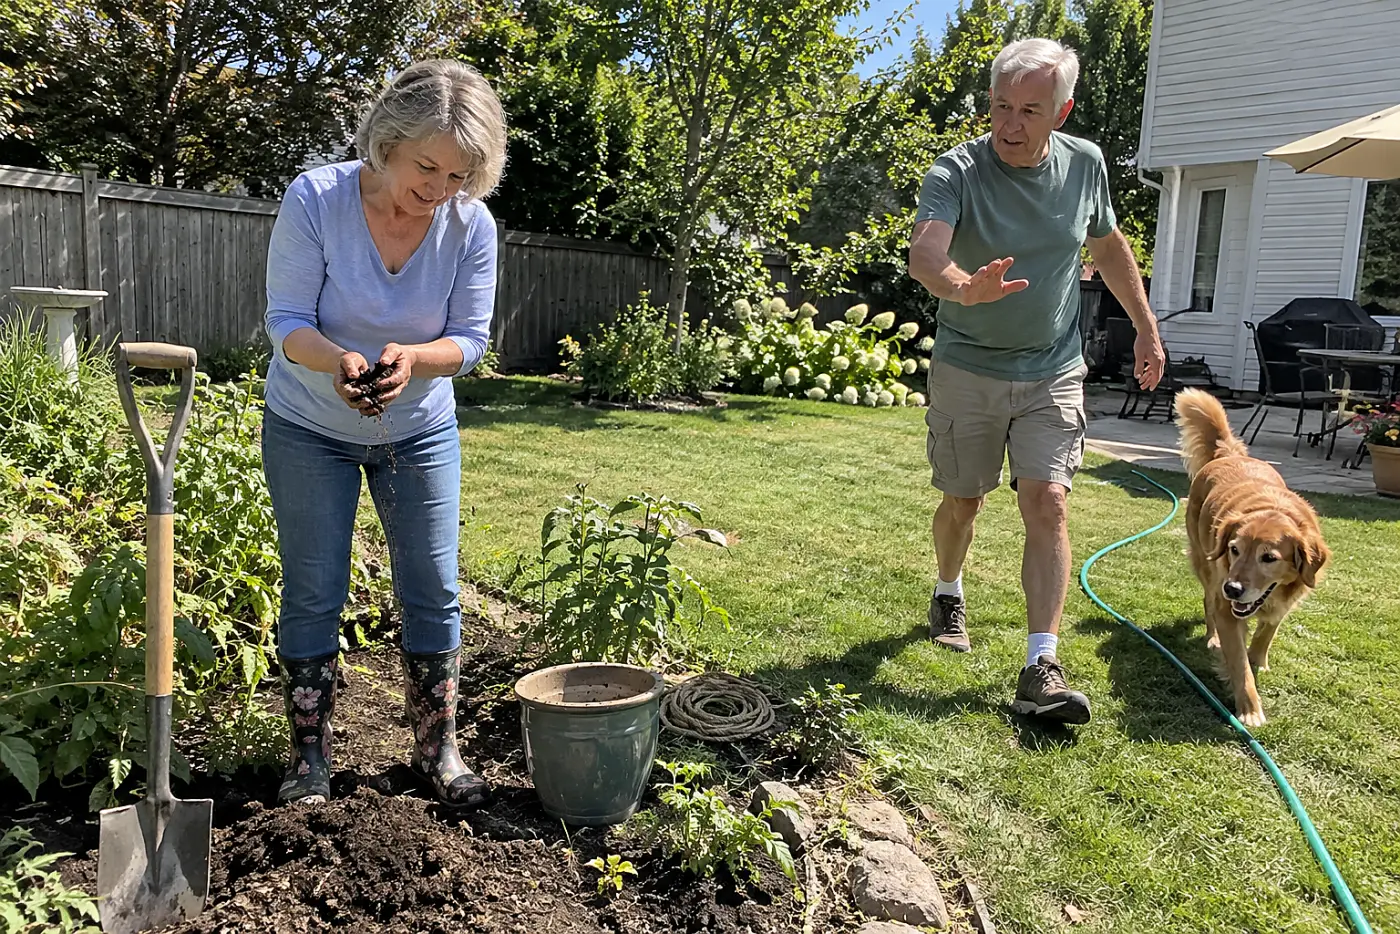
Reader quiz
Did you catch the details?
5 questions from this article. Finish them all to unlock the editor's bonus tip.
What should you do before watering when the soil surface looks dry?
Did any of these feel familiar?
Know someone who needs this?
Sources cited in this article
This article links to 8 outside sources, listed here so you can read them yourself.
- EPA's composting guide www.epa.gov/recycle/composting-home
- EPA WaterSense www.epa.gov/watersense
- University of Minnesota Extension extension.umn.edu
- University of Maryland Extension extension.umd.edu
- EPA's pesticide safety pages www.epa.gov/safepestcontrol
- Seed Savers Exchange www.seedsavers.org
- USDA Plant Hardiness Zone Map planthardiness.ars.usda.gov
- National Weather Service www.weather.gov
June Marlow
Garden Editor
June writes about gardens you can still manage: what to plant, which jobs matter each season, and the tools that spare your knees and back.
More from June Marlow