









23 Fall Jobs That Save Your Spring, One Weekend at a Time
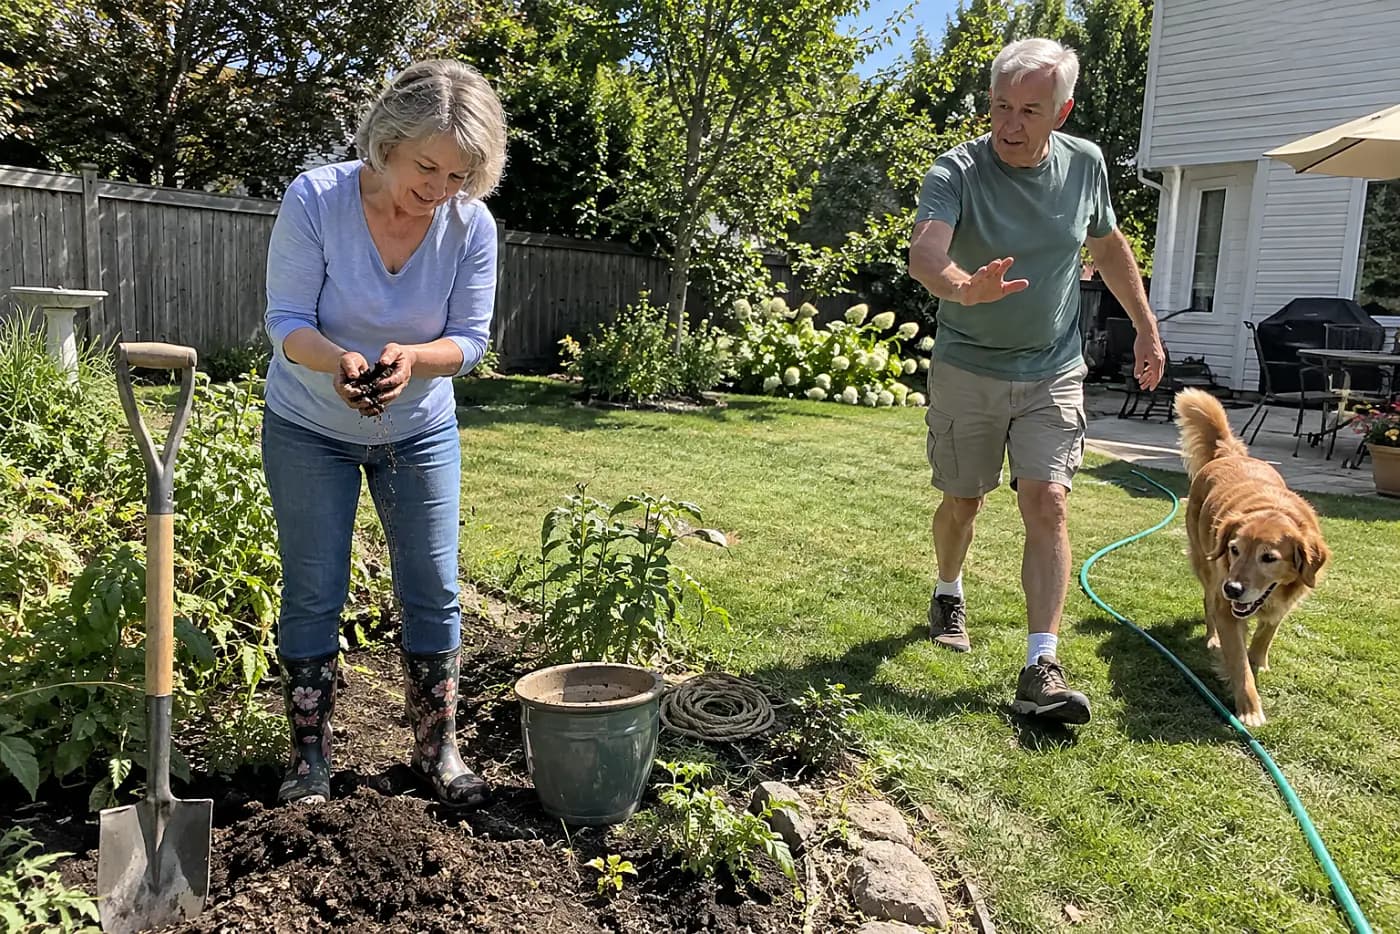
Short fall sessions clear drain holes, protect roots, and mark the puddles that would otherwise greet you on spring planting day.
By June Marlow, Garden Editor
Updated · 15 min read
- Written by our garden editor
- Cited 14 sources
- How we review
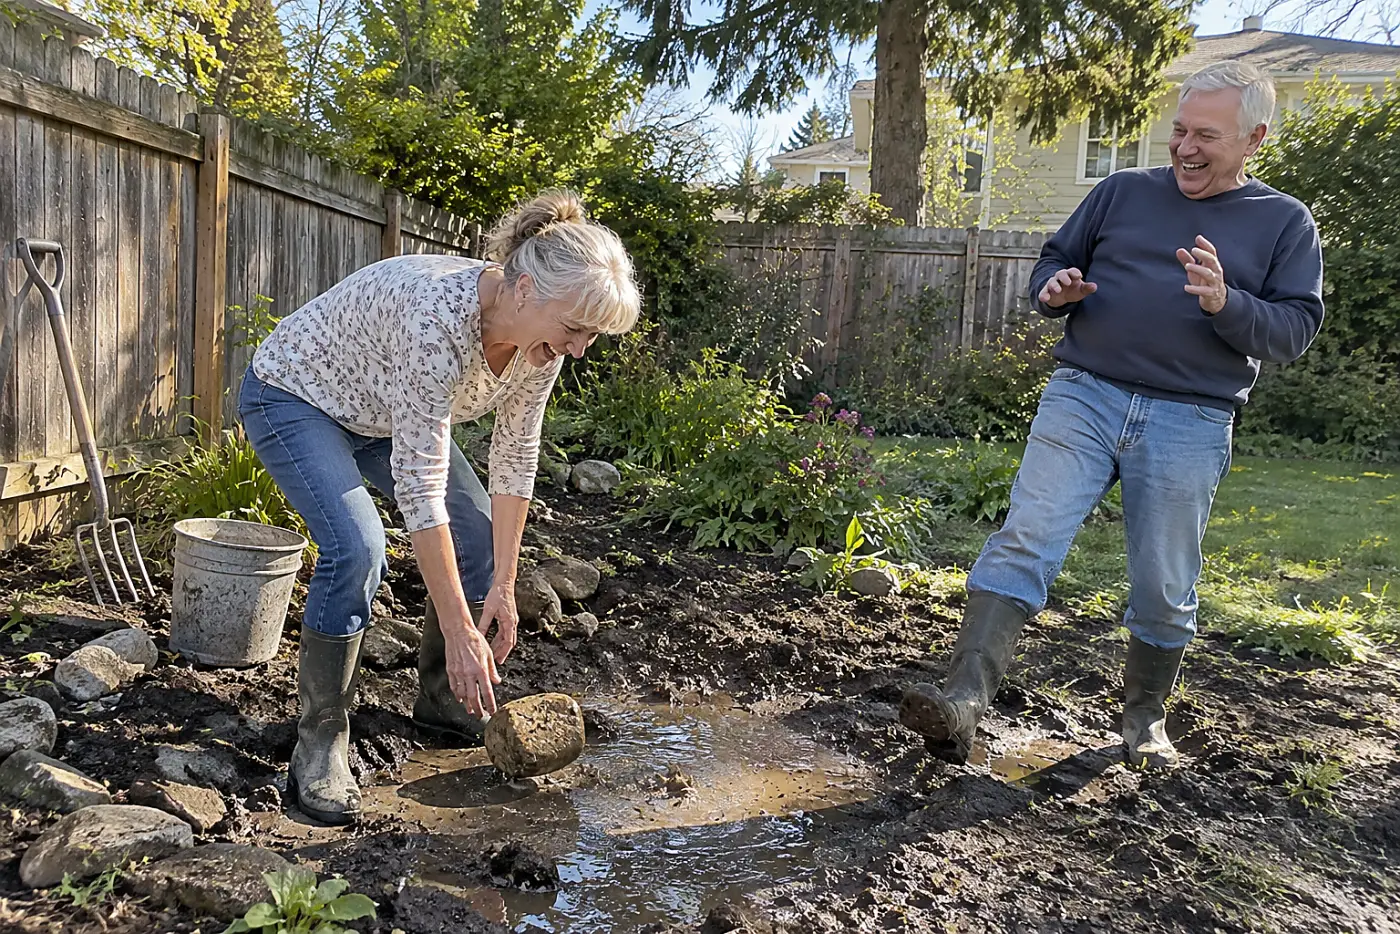
Read to the end: #1 is an overnight puddle check that reveals where planting will fail, and almost nobody does it.
The hose lies across the path, wet leaves cling to your shoes, and the last tomato plant leans against its cage. You have one free Saturday before the weather turns. The whole yard looks like a job that wants three of them.
But spring trouble rarely starts everywhere at once. Water collects in one low spot, a tender root freezes in one pot, or a hose sits full when the first hard freeze arrives.
Here are 23 fall jobs you can take one weekend at a time.
23Wash the pots before stacking them away
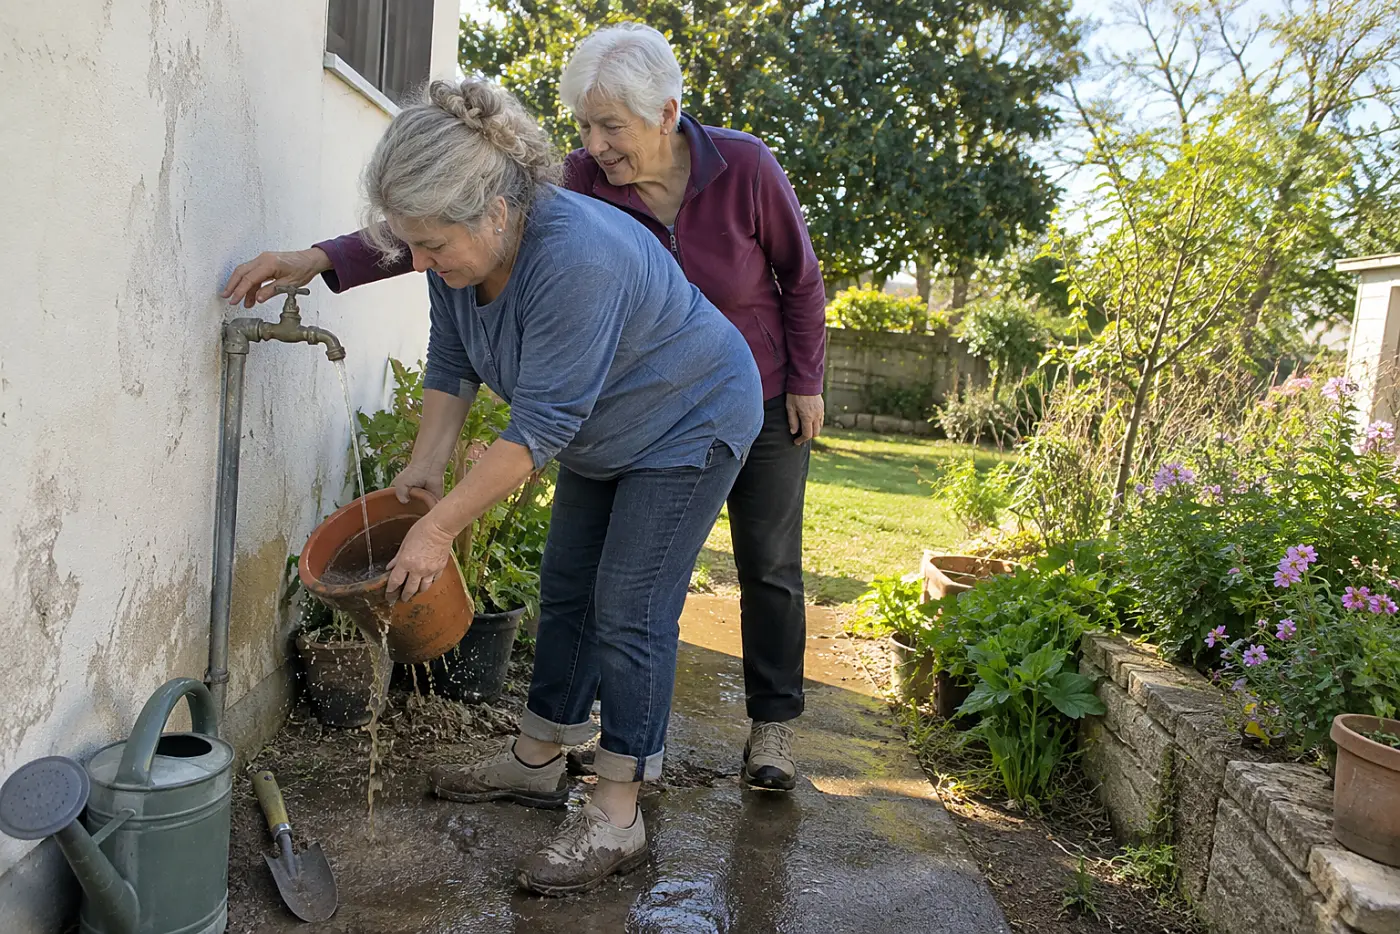
Old potting mix clings to the rim all winter.
Dump used mix, scrub off soil, and rinse the pots before stacking. Clean containers give you one less chore when seedlings need a home. If a plant had a disease, keep its pot apart until you've cleaned it thoroughly.
A dirty stack sends you back to the sink on the first warm planting day. Cracked clay pots also waste shelf space, so inspect each rim and base before it joins the stack.
This week, empty three pots and check each for damage. Then say, “These are clean enough to put away.” Set any cracked pot aside rather than finding it beneath the whole stack in April.
Leave the empty shelf within reach; another spring job belongs there.
22Empty the watering can and turn it over
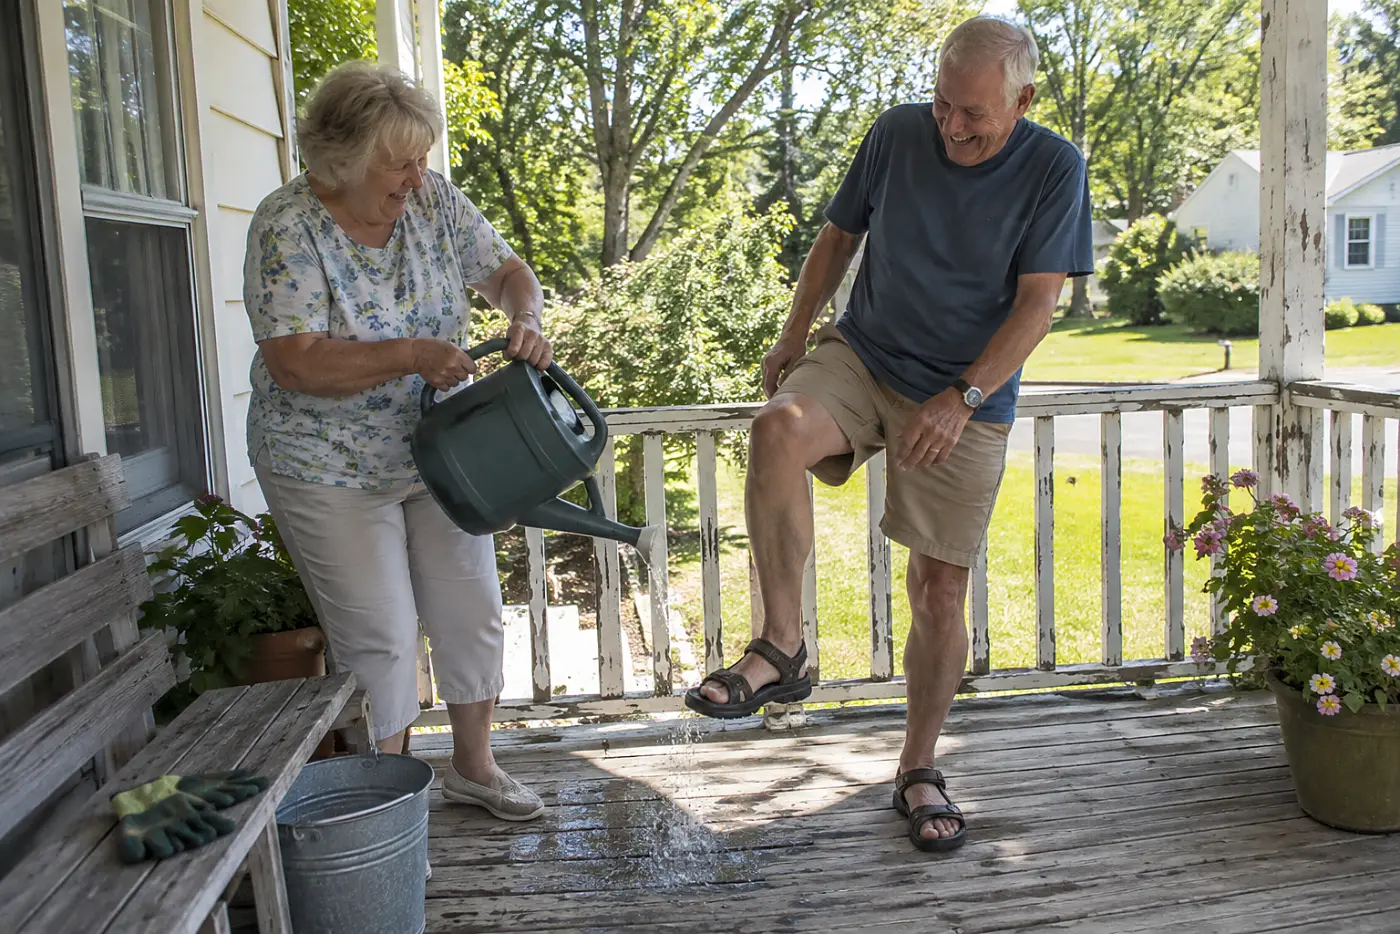
A forgotten inch of water turns into ice.
Water trapped inside a metal watering can expands when it freezes. A removable rose, the sprinkler head, holds water too; take it off and let both pieces dry before storing them.
Come spring, a split seam or broken rose means a trip for supplies instead of a first watering. The National Weather Service posts freeze alerts, but your can needs attention before the forecast sends you outside in the dark.
This week, pour out the can and set it upside down overnight. Say, “That's one thing I won't have to replace.”
The hose beside it needs a longer look.
21Drain the garden hose before frost
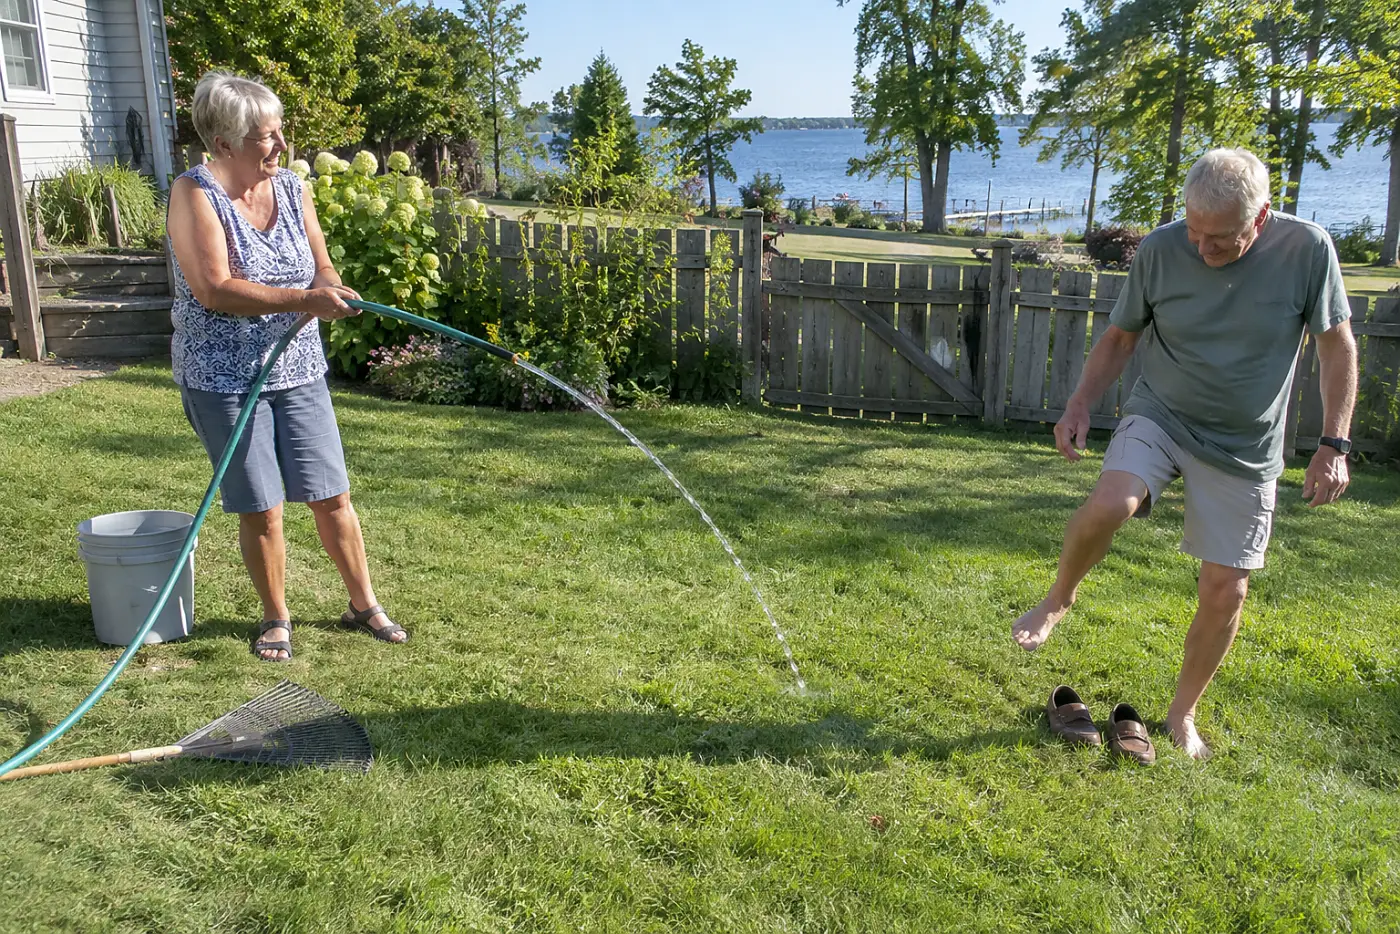
Water left in a hose freezes inside its fittings.
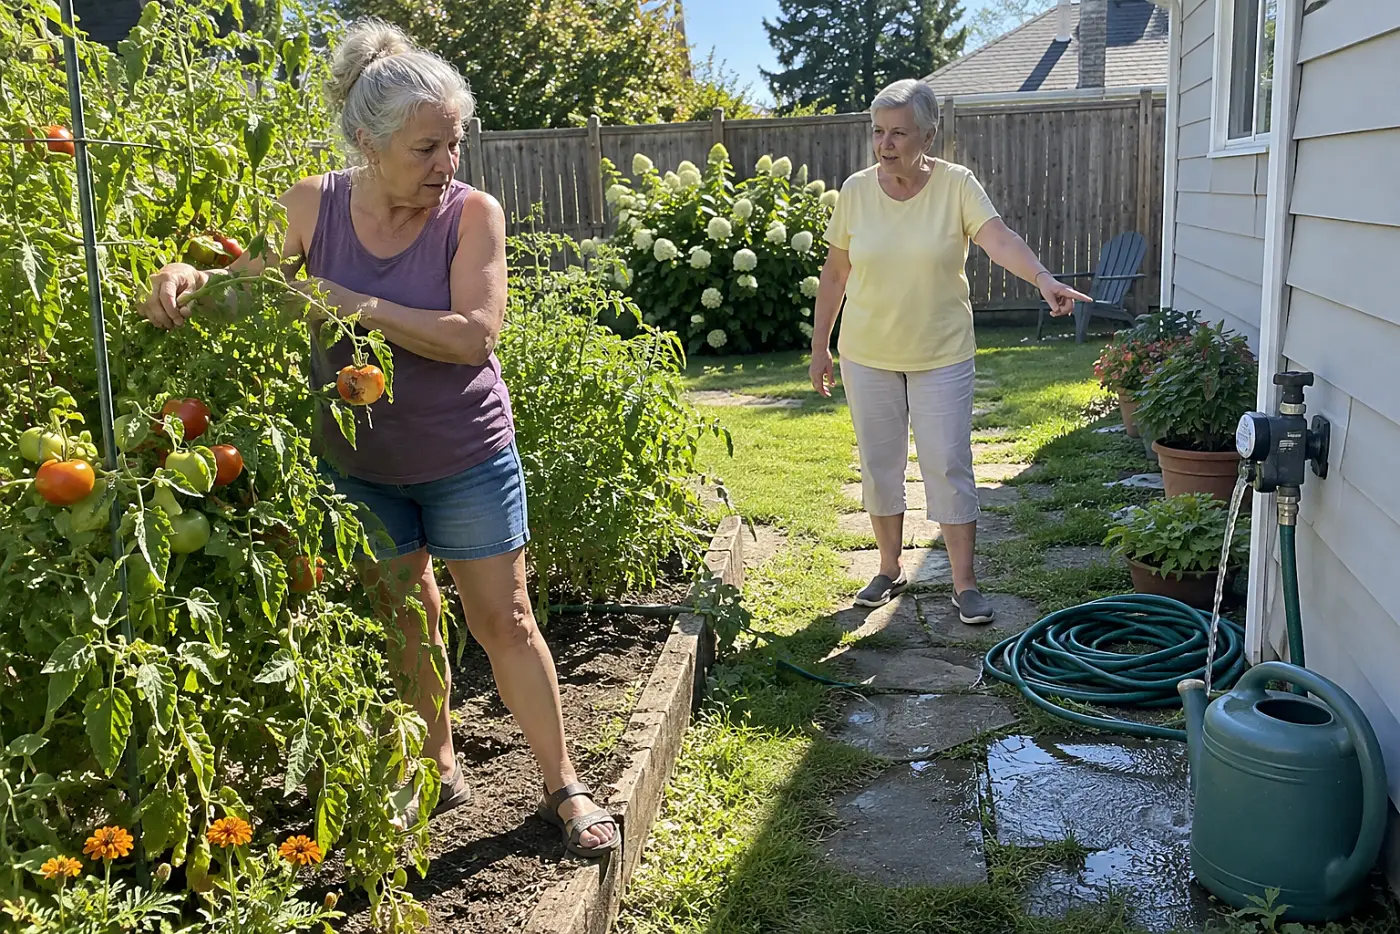
Disconnect both ends, walk the hose toward the open end, and coil it loosely. Store it where the fittings won't sit in a puddle. An attached hose also keeps water close to the outdoor faucet.
A damaged fitting announces itself when you turn the tap on next spring. The first planting day is a poor time to discover a leak. If a hard freeze is forecast within 24 hours, drain the hose now rather than leaving it connected overnight.
This week, disconnect and drain one hose, even if you leave another in service. Say, “I'll bring this one in now.” Check that the faucet is fully off before you leave the wall.
Before you close the shed, look at what's sitting on the tools.
20Scrub soil from the shovel blade
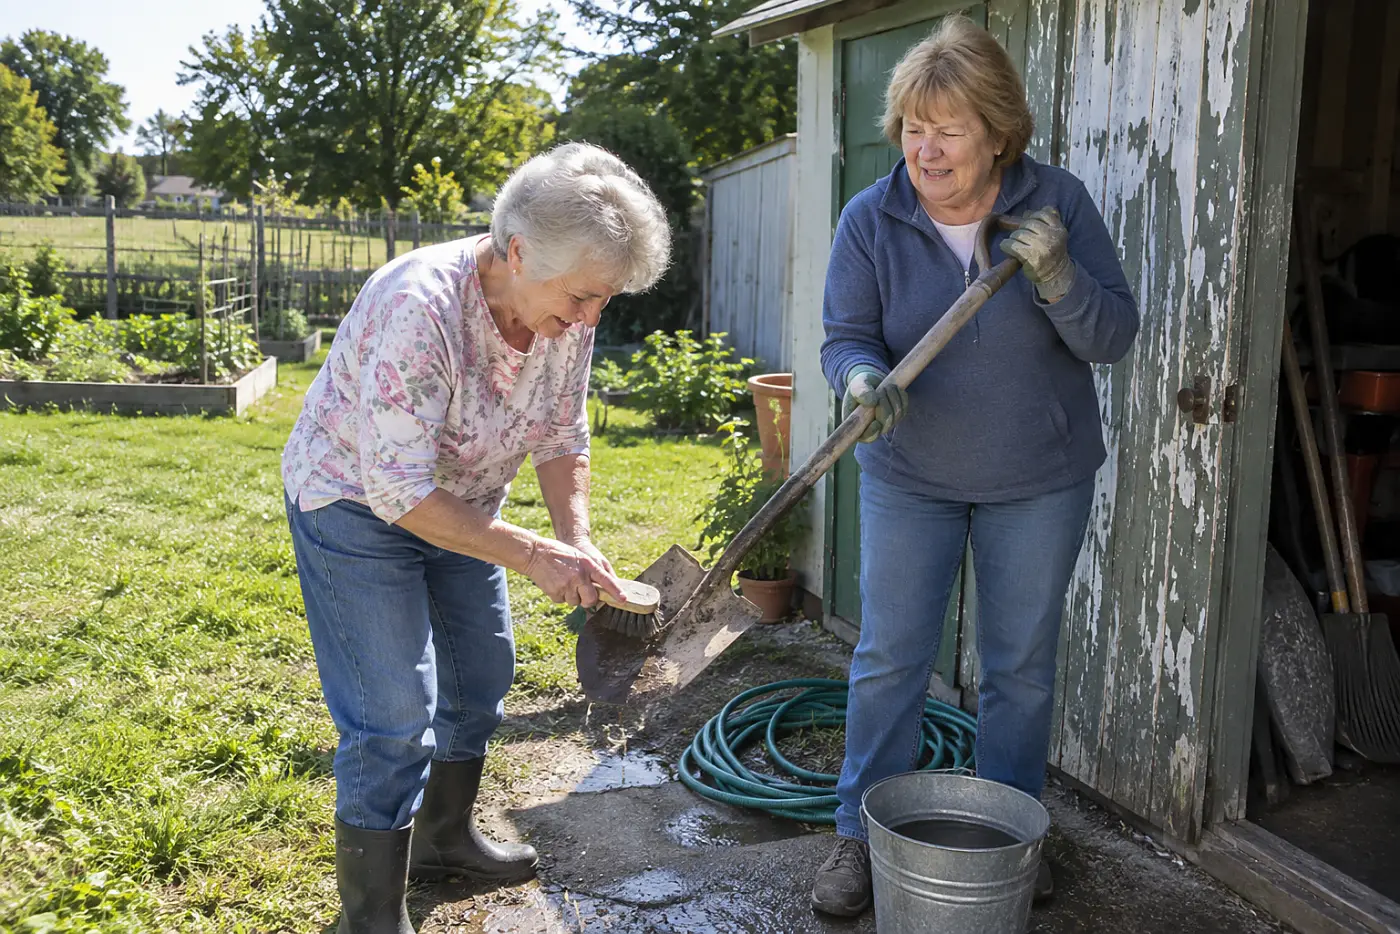
Dried clay hides damage better than clean steel.
Scrape soil from the blade, wash it, and dry it before storage. Check the handle where it meets the metal. If wood has splinters, sand that spot rather than finding it with your palm next April.
A loose handle turns a small planting hole into a repair job. Rust builds where wet soil stays against metal.
This week, clean the tool you used most, then put it somewhere dry. Say, “I'll need this ready before the ground does.”
A clean blade helps, but it won't tell you where to dig.
19Make a spring planting map from photographs
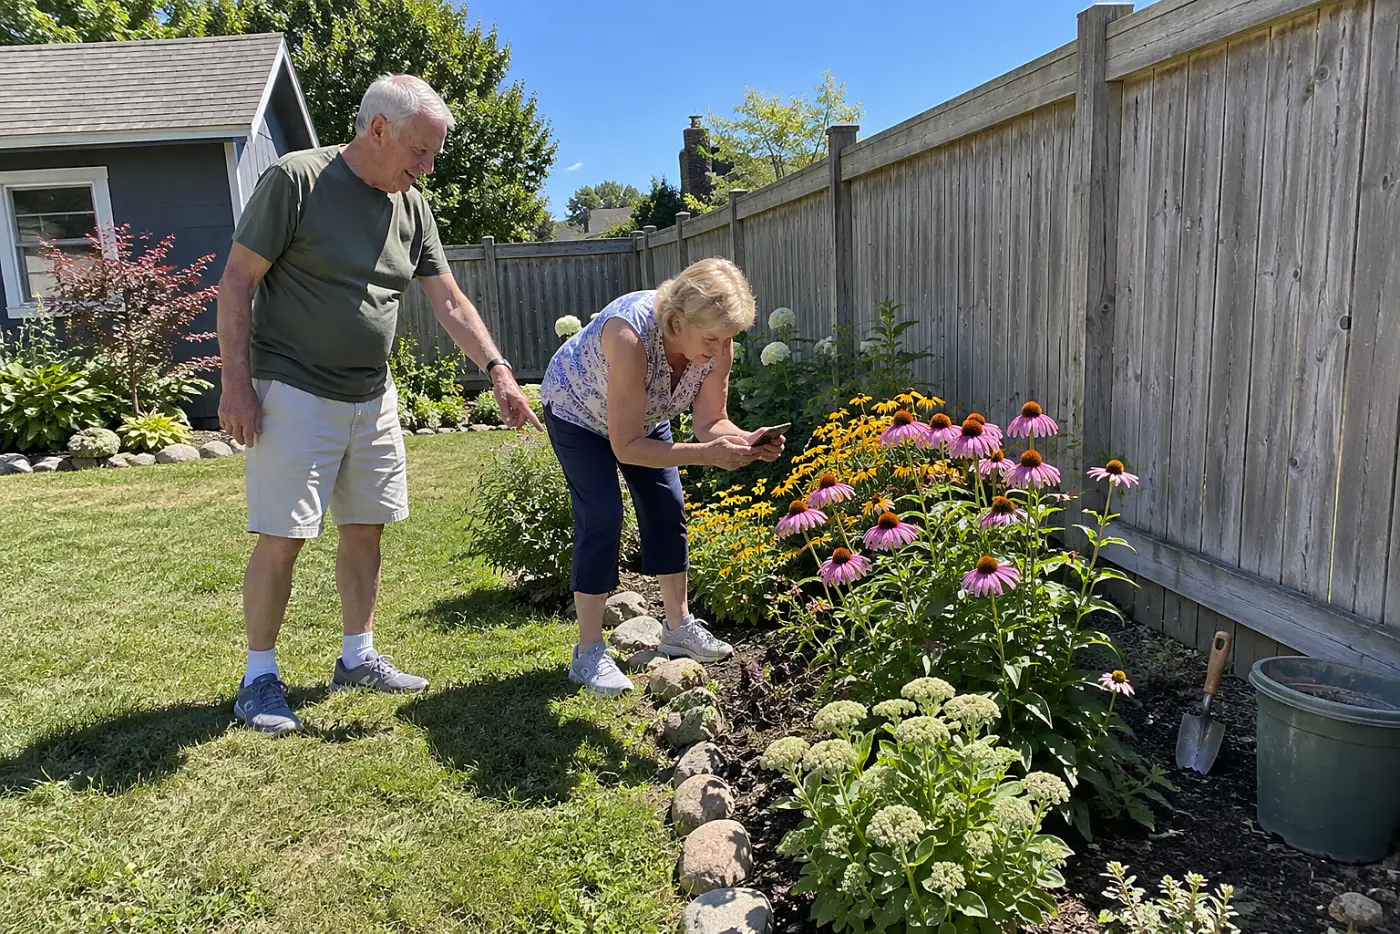
The empty spring bed will look unfamiliar.
Take a wide photo, then a close shot of labels, bulbs, and perennials. Include a fixed point, such as the fence post or back step. Spring growth arrives unevenly, and dormant plants give no warning before your shovel reaches them.
One photograph saves a plant you forgot you had. It also shows which corners held bare soil after summer, when you still have time to cover them.
This week, take those two photos while stems still mark the spots. Save them in a phone album named “Spring beds.” Say, “I'm keeping a map I can actually read.”
Then mark the plants a photograph won't identify from above.
18Label dormant perennials with stakes now
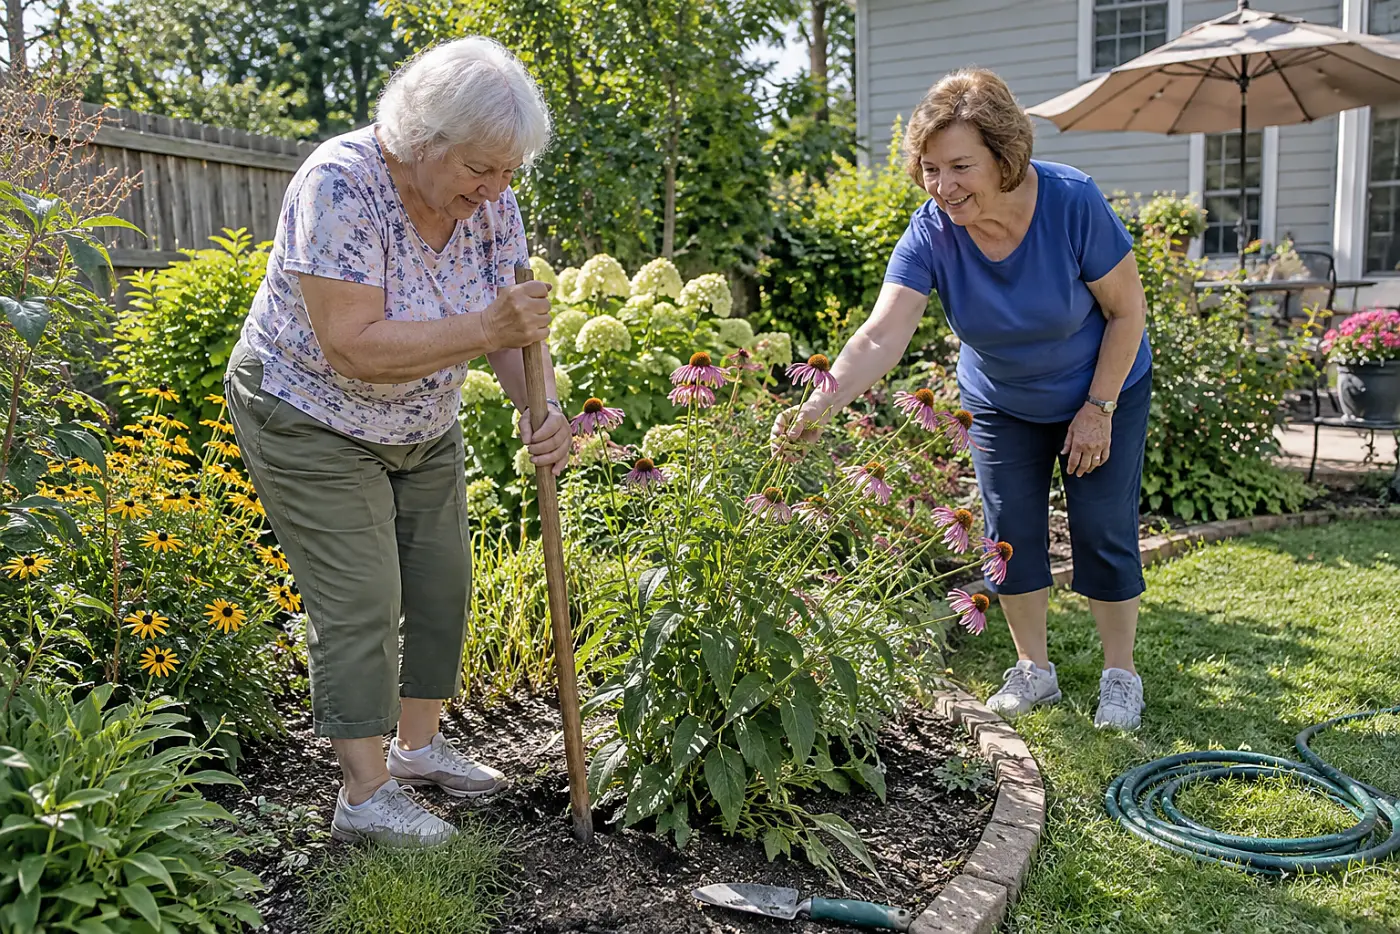
Brown stems disappear under snow and mulch.
Write the plant name on a weatherproof label and push its stake beside the crown, not through it. Put labels on both sides of a crowded bed if that's how you approach it with a shovel. Leave dead stems standing where they help you find the plant.
In spring, an unmarked perennial looks like an open spot just when you're eager to plant. The University of Minnesota Extension has plant-specific guidance if you're unsure whether to cut a stem back this fall.
This week, label the three plants you most often forget. Say, “That's the place I don't want to dig.”
The same bare-looking ground also holds bulbs you meant to move.
See more: 27 Pruning Mistakes That Cost You Next Year's Flowers →
17Lift and replant a crowded bulb clump
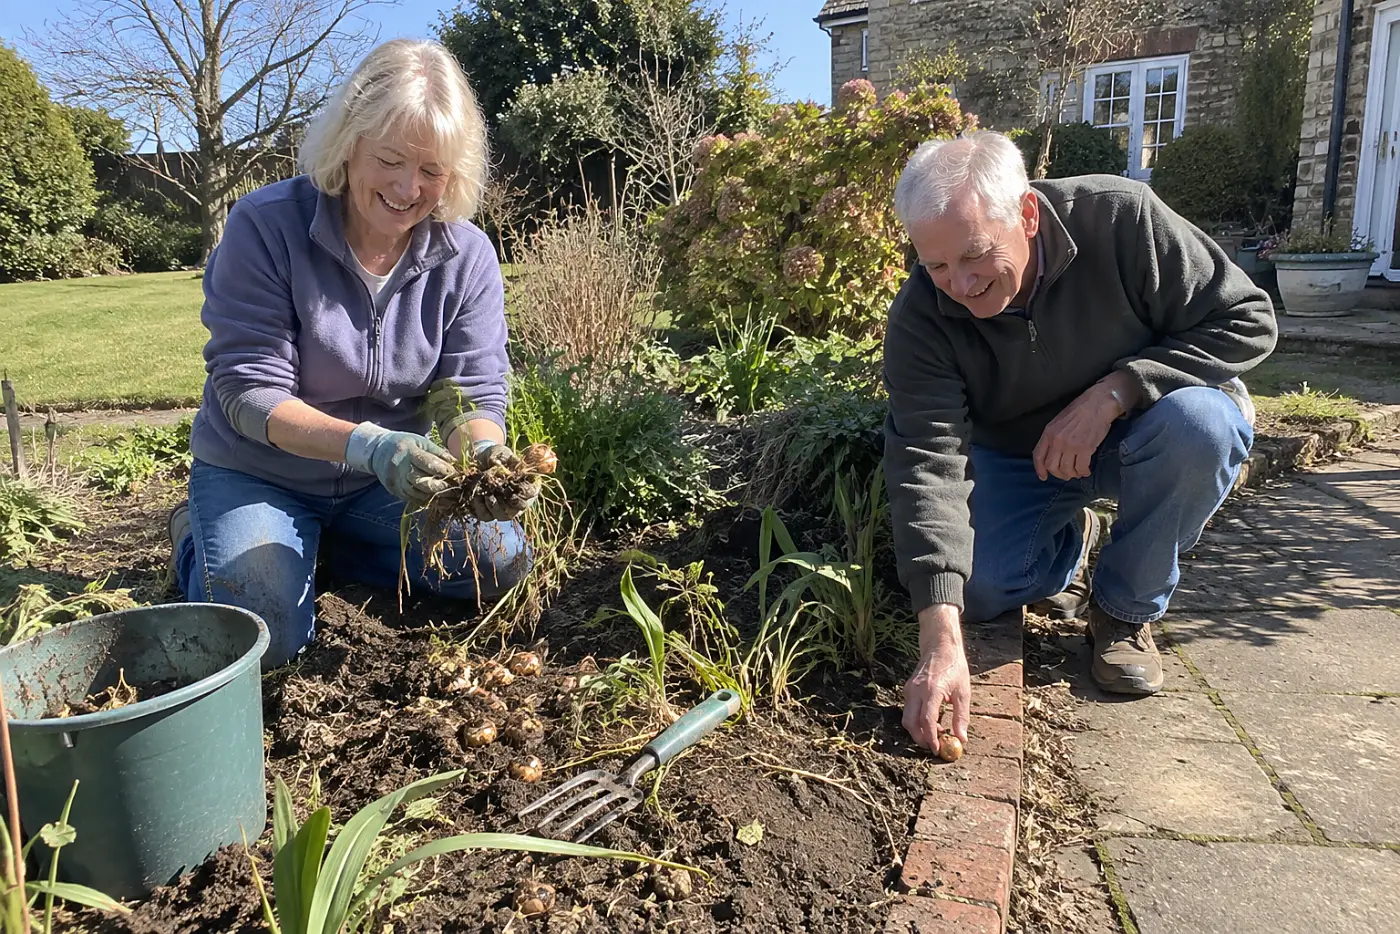
A crowded bulb clump won't sort itself out underground.
By fall, the foliage that marked your spring bulbs has died back. Find the clump you noted during bloom, lift it carefully, and separate sound bulbs. Replant them at the depth recommended for that kind.
Wait until spring, and you'll be working around new shoots. Dig without a marker, and you risk slicing through the clump instead of giving it room.
This week, choose one marked clump and finish the lift and replanting. Say, “I'm fixing this bed before it fills in.” Put any bulbs you can't identify back with the same kind, rather than guessing their planting depth.
Once the bulbs have a place, the soil above them needs cover.
16Spread chopped leaves across bare beds
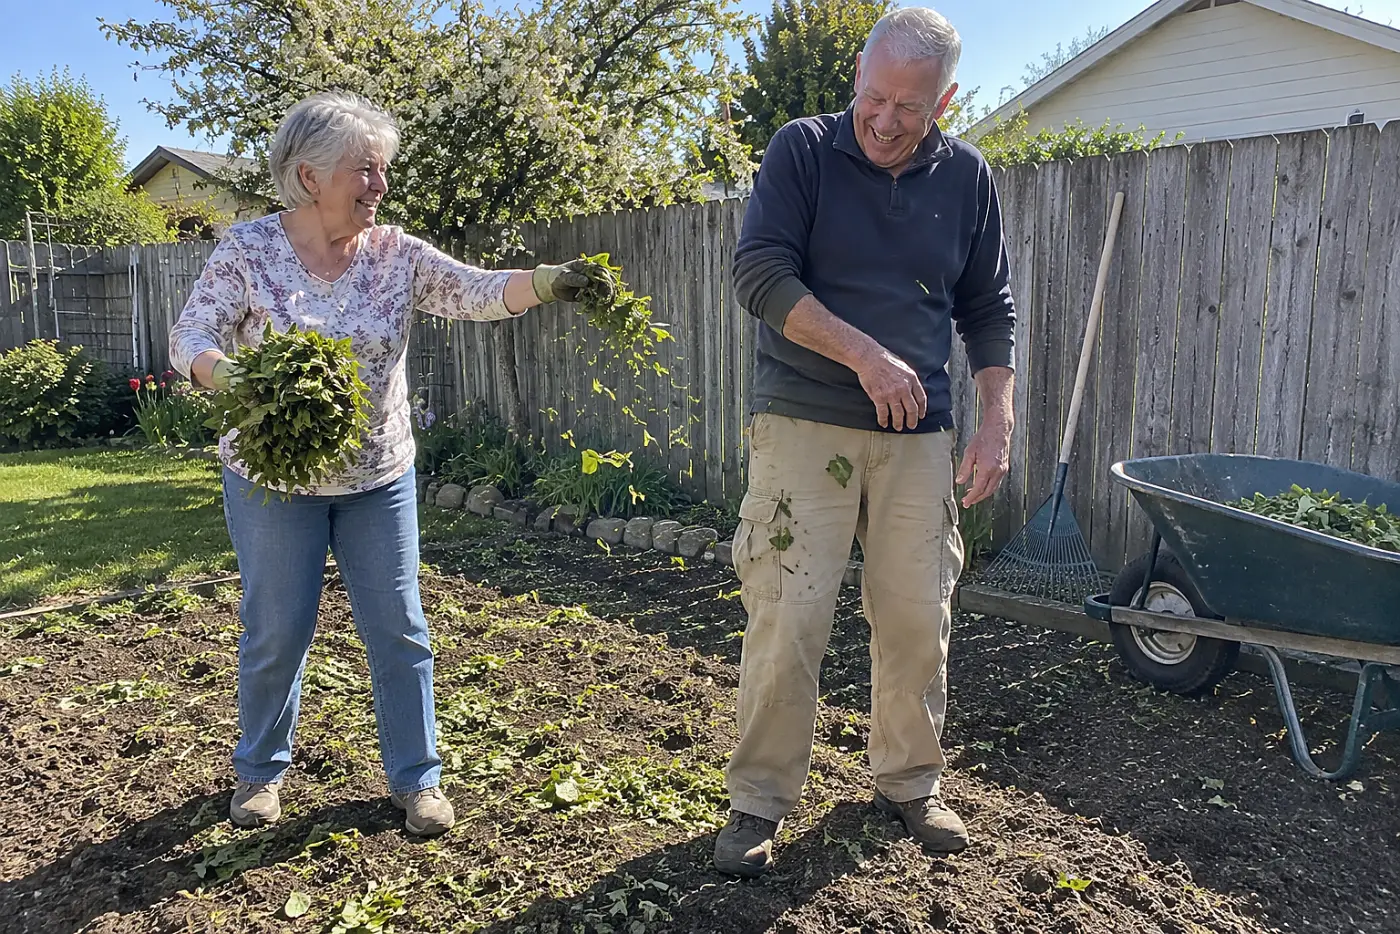
Bare soil takes the force of every hard rain.
Run dry leaves through a mower or shredder, then spread them across open beds in a layer about 2 to 3 inches deep. Smaller pieces settle between plants and break down more readily than a thick mat of whole leaves. Keep the layer off perennial crowns.
Runoff carries loose soil away from the planting spots you've prepared. Covered soil resists erosion better than bare ground, leaving less repair work when you're ready to plant.
This week, cover one bare bed with chopped leaves. Say, “This bed doesn't need to spend winter uncovered.”
Hold back one bag; another patch needs something besides leaves.
See more: 23 Things Your Mother's Garden Taught You That Nobody Teaches Now →
15Sow a cover crop in empty vegetable beds
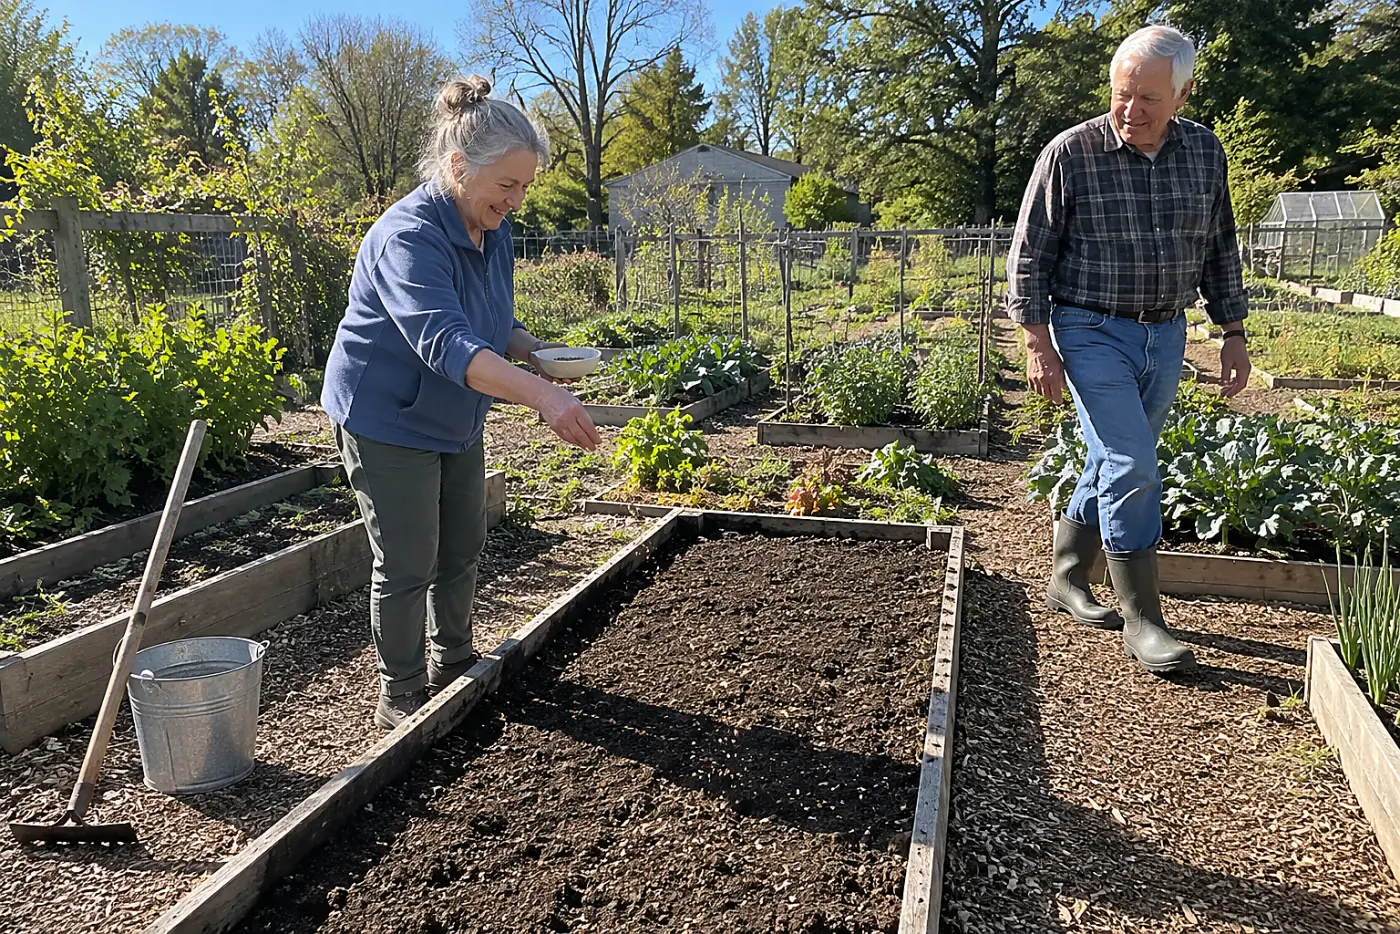
An empty vegetable bed gives winter rain direct access to soil.
A cover crop grows roots while the bed rests. Before buying seed, tell your local Cooperative Extension office what you grow and when the bed must be ready again. Ask which crop fits that schedule and how to end its growth before planting.
Miss the local sowing window, and seed sits there instead of growing. Choose a crop without a spring plan, and you've given yourself another job right when seedlings need the space.
This week, make that call, buy the recommended seed, and sow one empty bed. Say, “What would you sow here if I need this bed for spring vegetables?”
Next, deal with the stems you're removing from that bed.
14Pull diseased tomato vines out separately
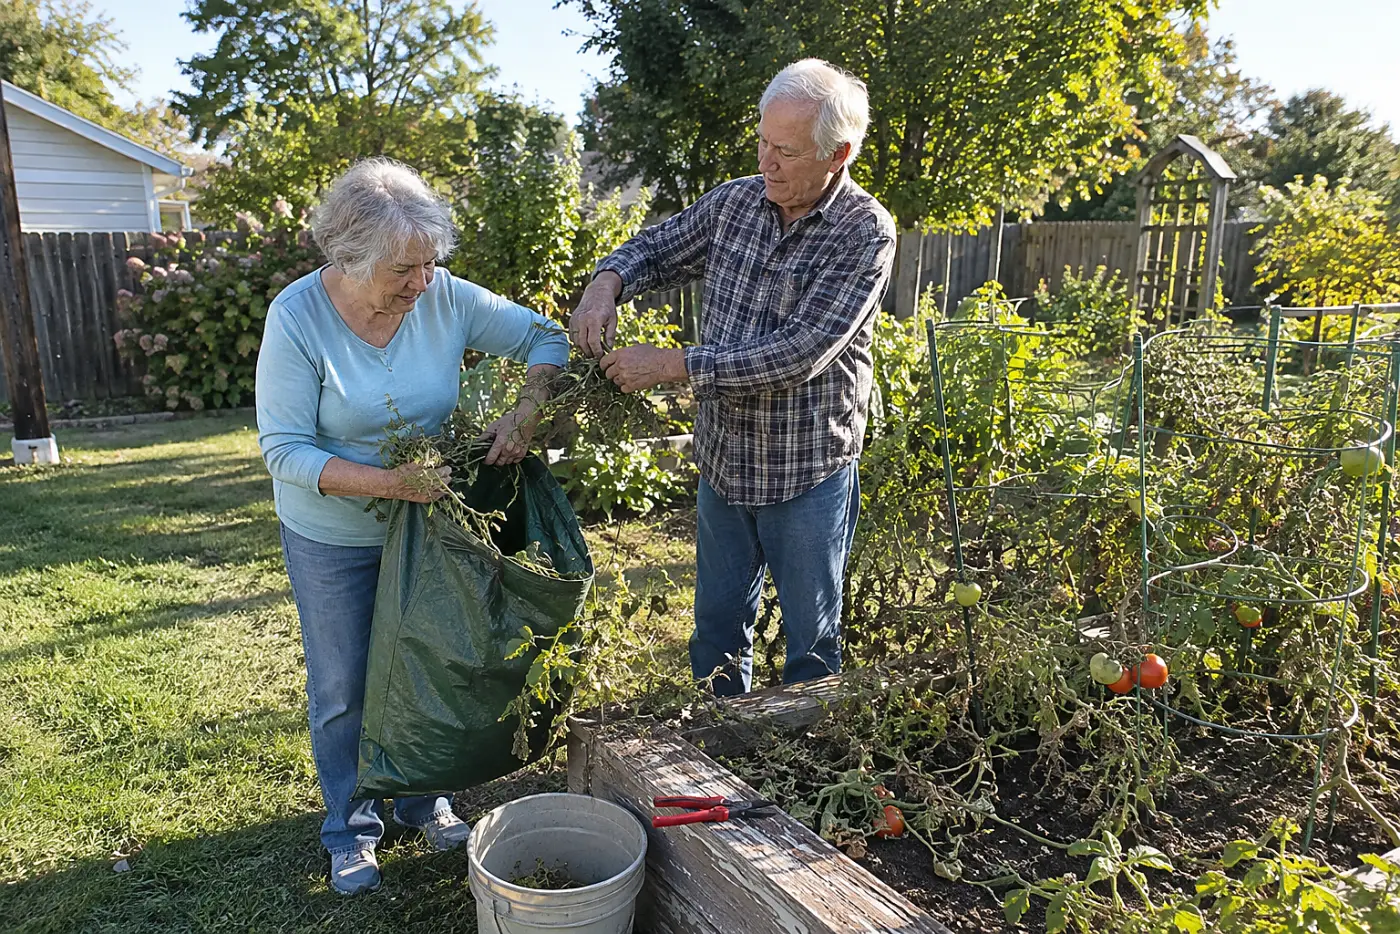
Spotty leaves don't belong in the tidy compost pile.
Remove diseased vines and any fallen fruit around them. Plant diseases survive on infected debris, so keep that material out of home compost unless you know your pile reaches temperatures that kill the pathogen. Ask your town how to dispose of diseased garden waste.
Left in place, infected debris puts the same problem beside next year's plants. The USDA Agricultural Research Service and your local extension office help identify symptoms when leaves look unfamiliar.
This week, bag one clearly diseased plant and clean the cage around it. Say, “This one isn't going back into the bed.”
The healthy material beside it has a different destination.
13Chop healthy stalks for the compost pile
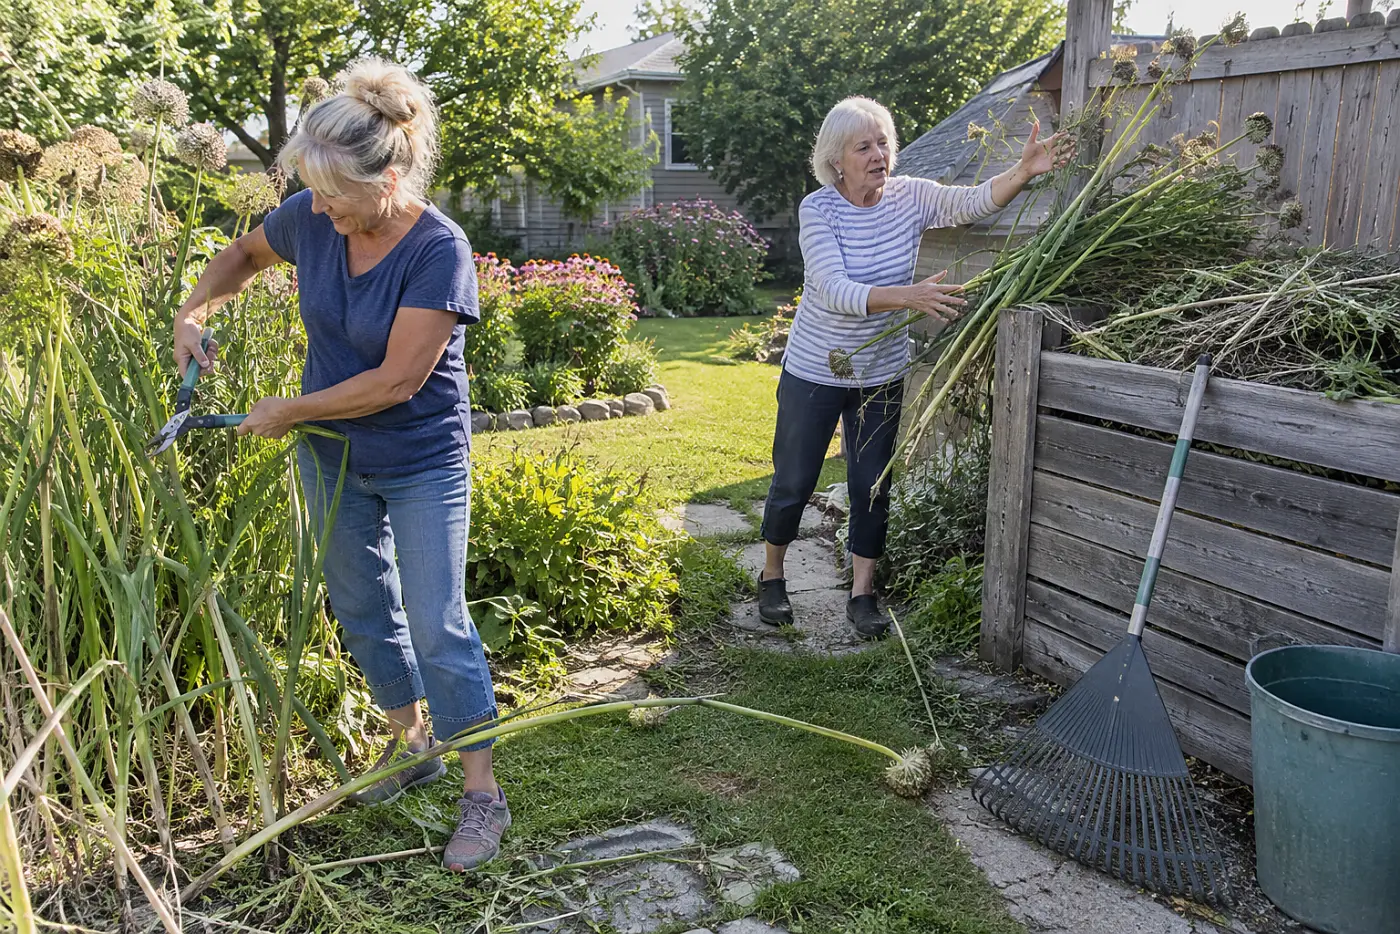
Whole stalks keep their shape long after leaves vanish.
Cut disease-free stems into shorter pieces before adding them to compost. Mix them with fallen leaves rather than packing them into one dense layer. Air needs paths through the pile.
Skip the chopping, and spring brings a stack of stiff stems when you want finished compost. The EPA's home composting guide explains how to combine dry leaves with other material.
This week, cut up one armful of healthy stalks. Say, “These will break down better in smaller pieces.”
Before you add kitchen scraps, check what has been digging nearby.
12Clear fallen fruit beneath the trees
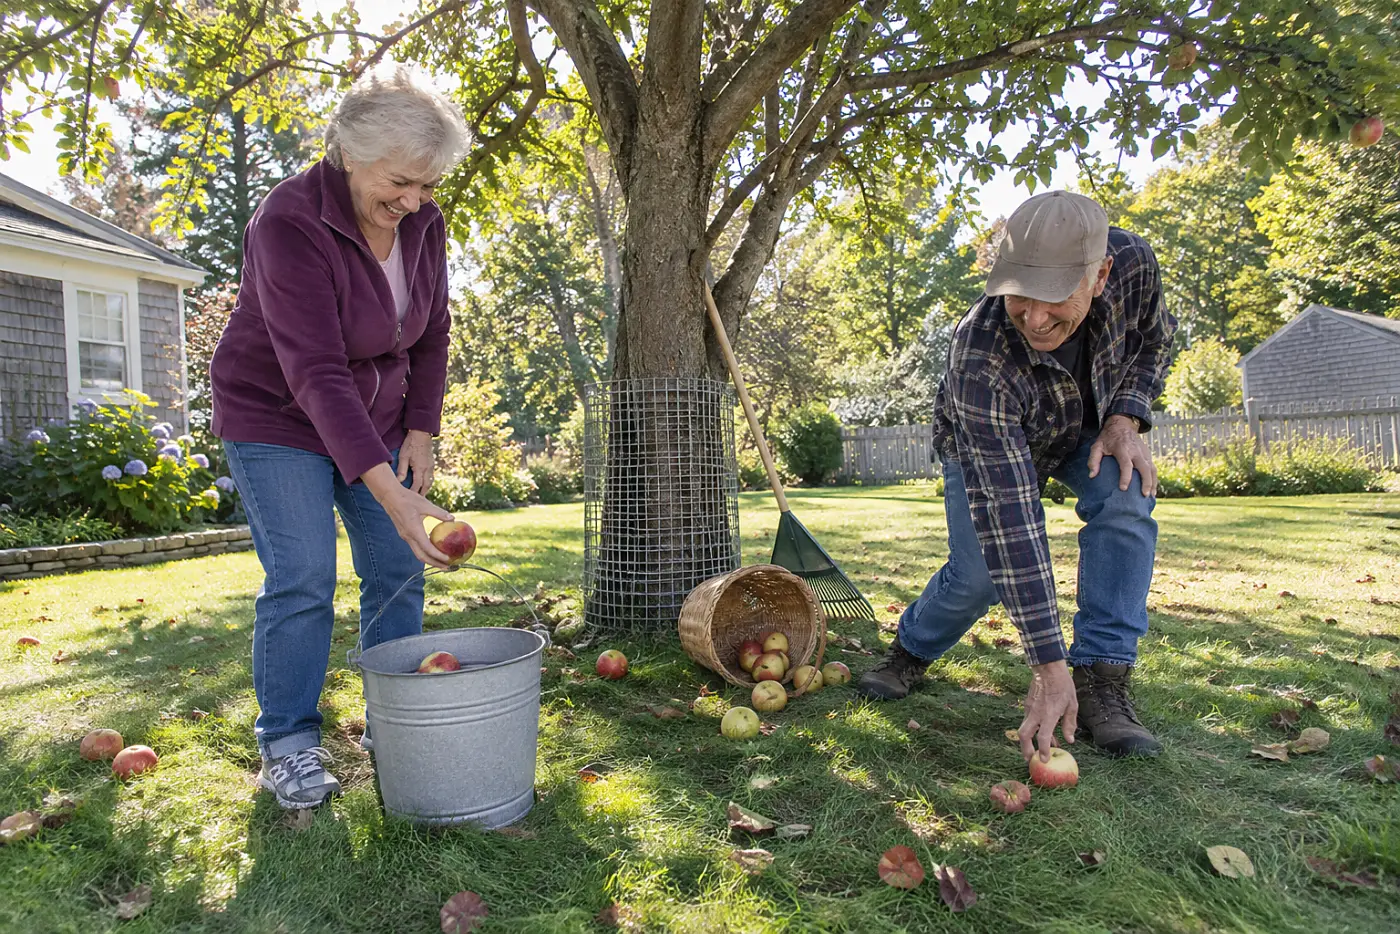
Rotting fruit invites repeat visitors to the same spot.
Pick up fallen apples, pears, and other fruit before they disappear into grass. Put sound fruit to use promptly; discard rotten fruit according to local compost advice. Work from the trunk outward so you don't miss fruit under low branches.
Fruit left on the ground draws insects and wildlife back to an area you want to keep clear. The University of California Integrated Pest Management program includes cleanup in orchard pest management.
This week, fill one bucket from beneath a tree. Say, “I'll finish this patch before mowing.”
Then give the tree a look higher up, where fruit isn't the only thing caught.
11Remove broken branches from reachable trees
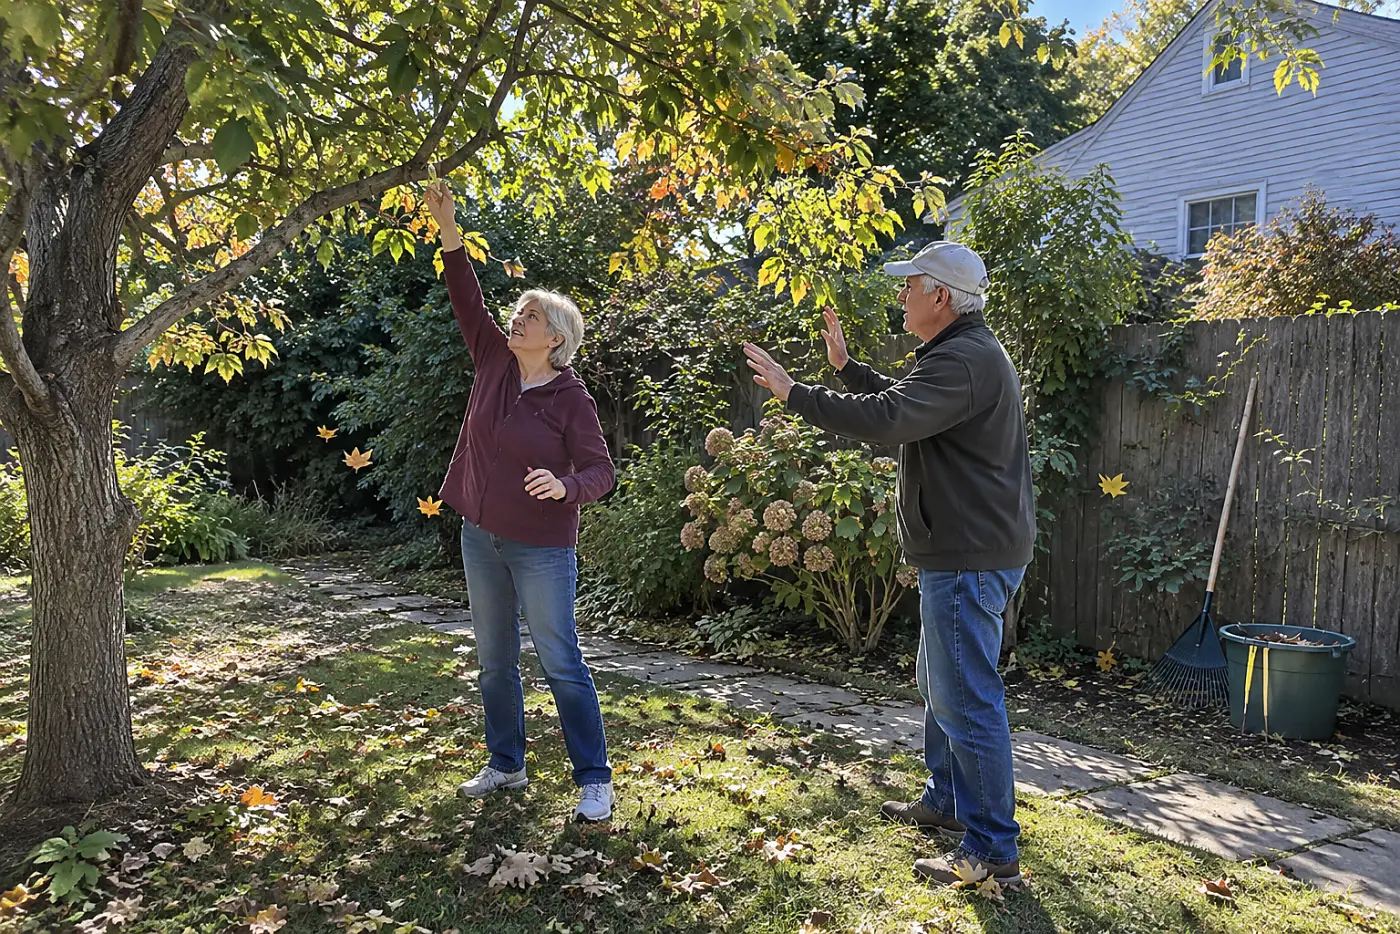
A hanging branch waits for the wrong windy day.
Check trees from the ground after leaves fall. Remove only small, reachable broken limbs with the right tool. Leave limbs near power lines, high branches, and anything under tension to a qualified tree professional.
A spring storm turns a loose branch into a path hazard. The International Society of Arboriculture has guidance on finding a credentialed arborist.
This week, walk one tree line and flag what needs help. Say, “That branch is beyond my ladder.”
Look down before you put the ladder away; the path has its own winter trap.
See more: 25 Ways to Keep Gardening With Bad Knees and a Bad Back →
10Reset loose pavers before freeze and thaw
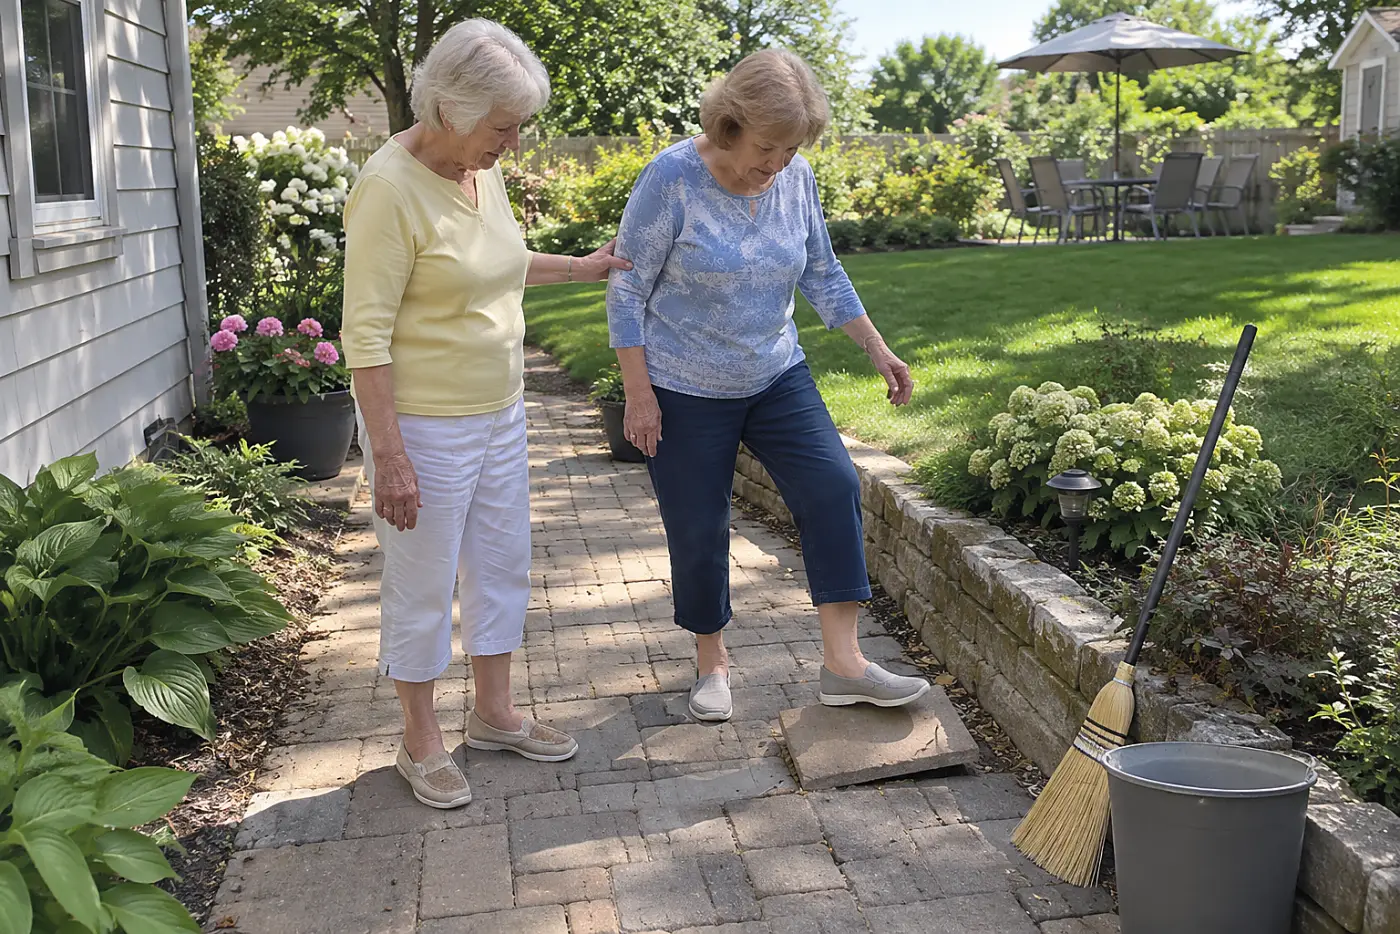
A rocking paver gets worse under winter feet.
Lift a loose paver, clear debris beneath it, and reset it on a firm, level base. Use a straight board across neighboring pavers to spot a raised edge. If the path has a deeper dip, mark it for a proper repair instead of hiding it with soil.
Water enters gaps and freezes; the raised edge becomes a trip point when you're carrying a tray of seedlings. The CDC fall prevention pages call attention to hazards underfoot, and this one is visible now.
This week, test the pavers on your usual route with your foot. Say, “That one moves; I'll fix it before the ground freezes.”
The path leads to another spot where water sits unseen.
9Brush leaves off the deck boards
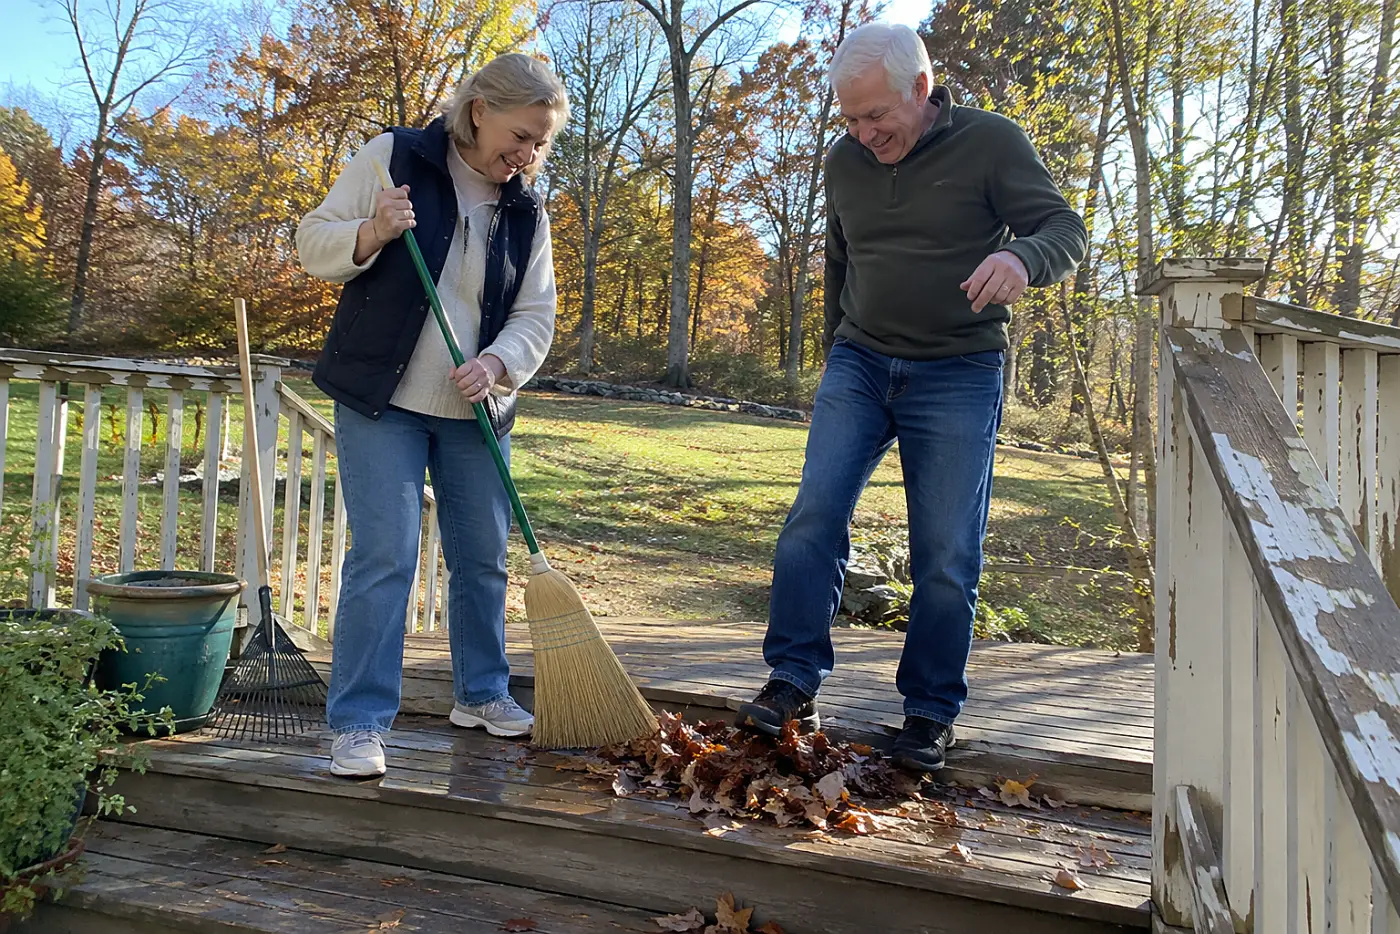
Wet leaves hold moisture against wood.
Sweep the deck, especially gaps between boards and the edge by the house. Use a plastic scraper for packed debris rather than gouging the surface. Check steps as you go.
Slippery leaves turn a quick trip to the garden into a fall risk. Debris lodged at the wall also stays wet longer than the open boards.
This week, clear the steps and the first few feet of deck. Say, “I'll start with the part I walk on.”
Follow that sweep to the place the water is supposed to leave.
8Clear the gutter outlet above the garden
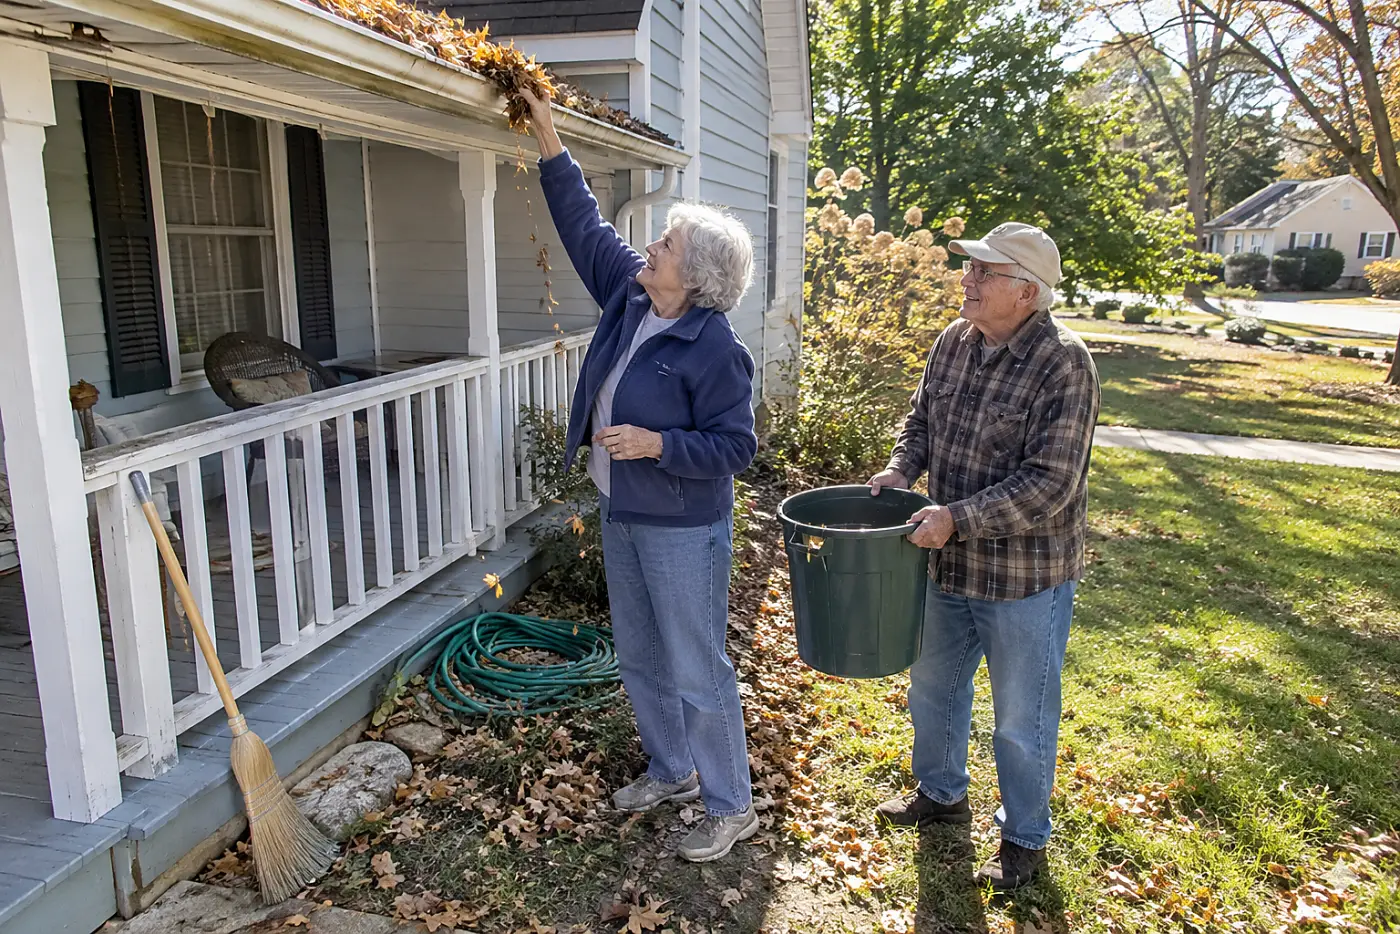
A full gutter spills onto the bed below.
Remove leaves from a safely reachable gutter, then pour water toward the outlet to test the flow. If the job requires an unsafe ladder position, hire it out. Check from firm ground afterward for drips at the gutter seam.
Overflow pounds soil, mulch, and tender plant crowns beside the house. It also makes a wet spot that returns after every rain. Ready.gov recommends clearing gutters and downspouts as part of home flood preparation.
This week, clear one accessible outlet or book someone to reach it. Say, “The outlet over that bed needs clearing.”
Water that enters the downspout still needs somewhere to go.
7Extend the downspout beyond the planting bed
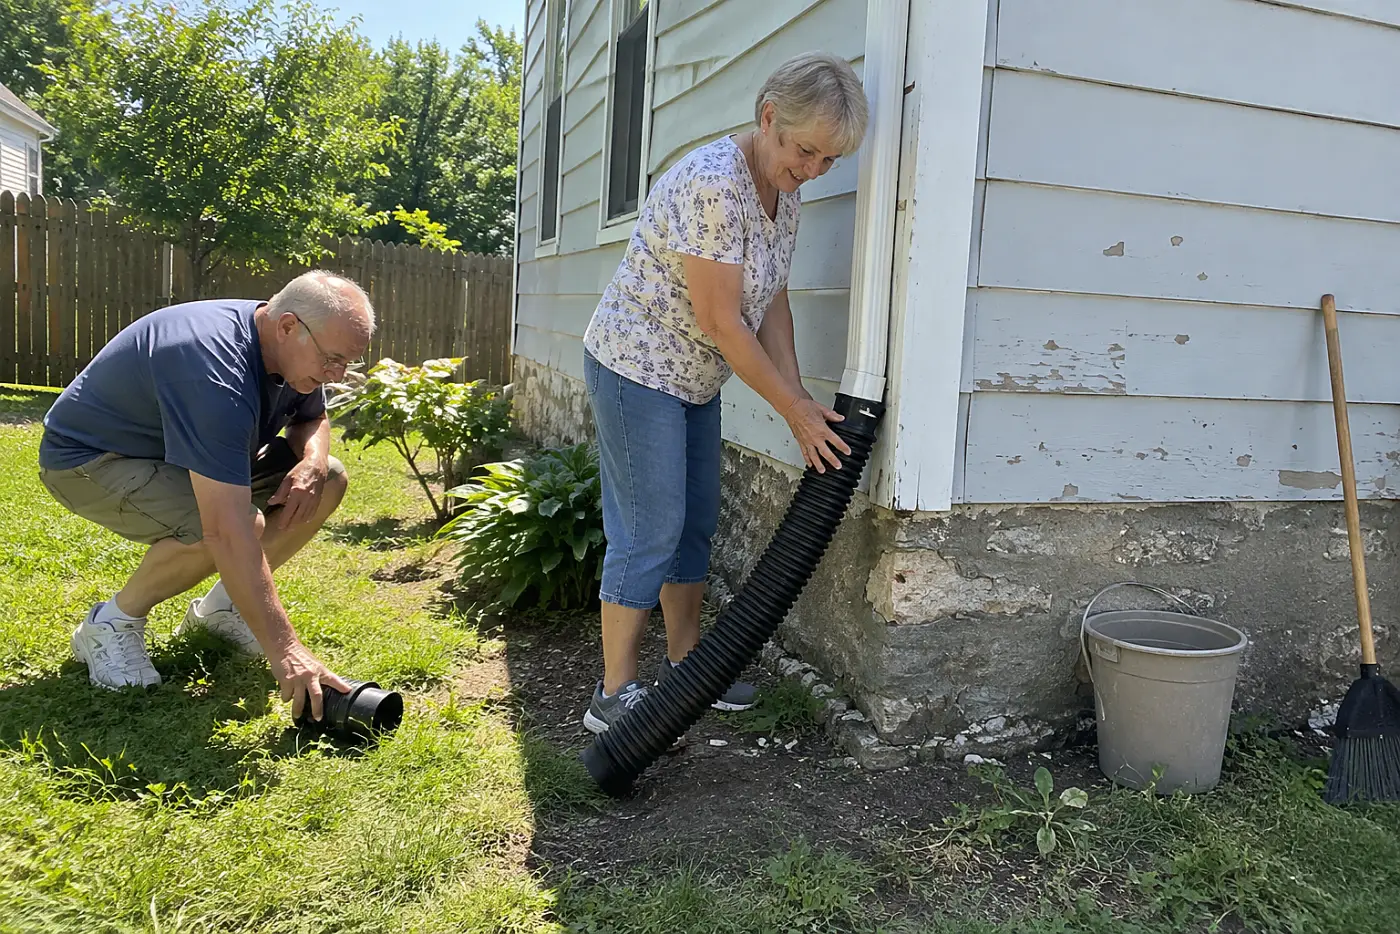
A downspout can empty straight into your best soil.
Find the end of the downspout and trace the worn channel below it. Fit an extension or move the splash block so discharge clears the bed and heads away from the foundation. Check that the new route doesn't send water onto a neighbor's property.
Spring seedlings lose soil around their roots when runoff hits one spot repeatedly. The worn channel stays visible on a dry day, so there's no need to wait for a storm.
This week, shift the splash block and secure the extension. Say, “The water needs to land past this bed.”
Farther into the yard, a second low spot calls for a different test.
6Send a soil sample before buying lime
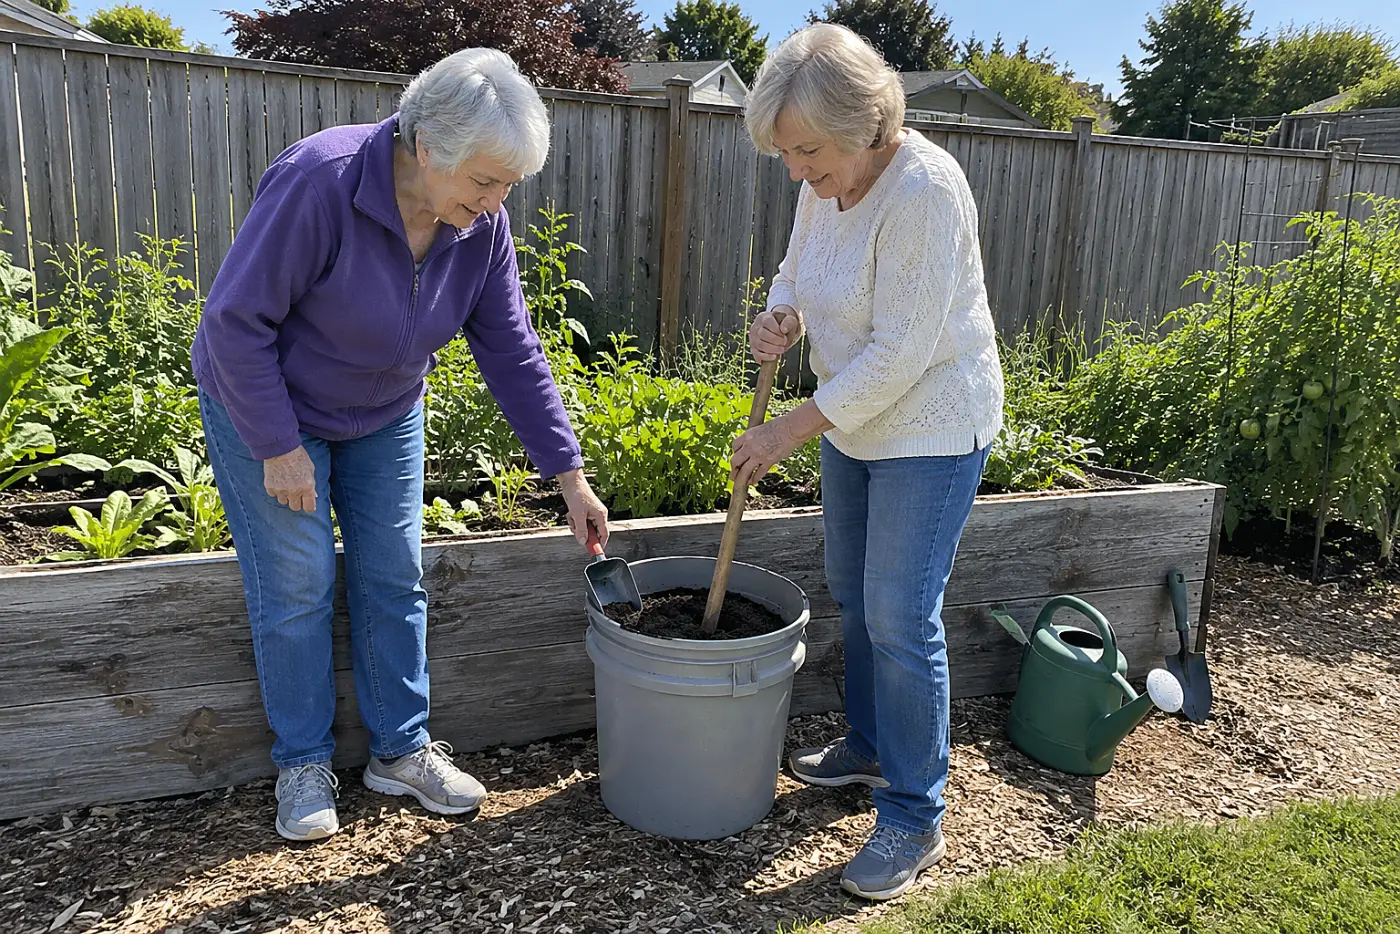
A handful of lime isn't a soil test.
Collect samples from several ordinary spots in the same bed, avoiding fertilizer piles and unusual patches. Mix them, then follow your state soil lab's directions for the sample container and submission. Request recommendations for what you plan to grow.
Lime changes soil pH; adding it by habit puts your planting plan at risk. Start with the Cooperative Extension System to find your state service, then get that lab's current instructions before filling a bag.
This week, collect the sample and submit it as directed. Say, “I want recommendations for a vegetable bed, not the lawn.” Keep the result with your seed packets so it's there before spring shopping begins.
While you wait for results, look at the plants staying outdoors.
5Water evergreens before the ground freezes
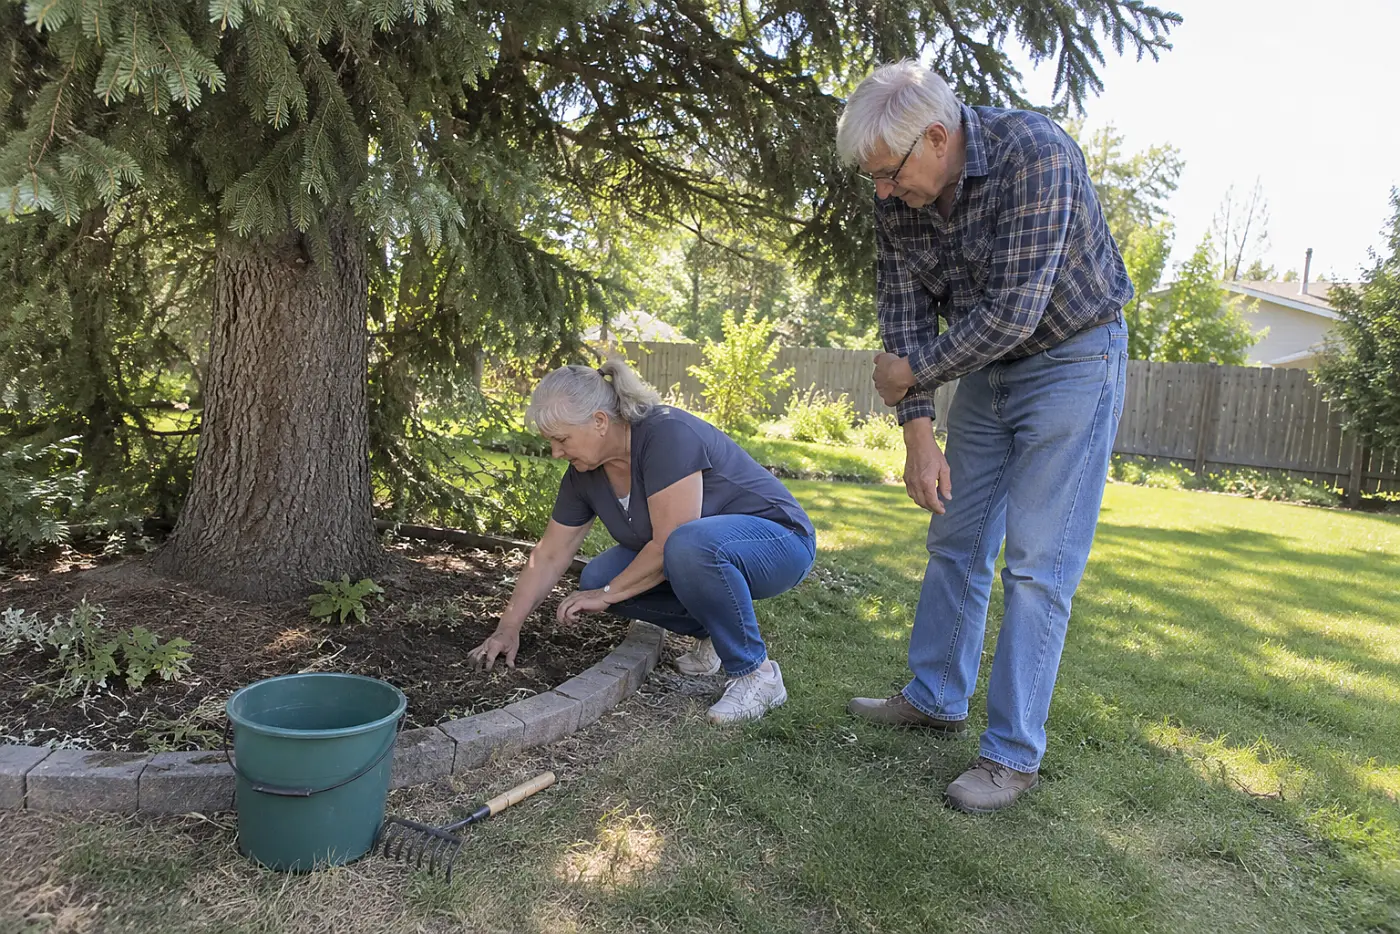
Green needles still lose water in winter.
Evergreens keep foliage after deciduous trees drop theirs. Give the root zone a thorough watering during a dry fall, then stop when the ground freezes. Aim for soil that's moist 6 to 8 inches down, rather than judging by the surface alone. Keep water off the foliage late in the day.
A dry root zone leaves those needles with less moisture as winter wind arrives. The University of Illinois Extension notes the value of watering evergreens before freeze-up.
This week, check the soil several inches down near one evergreen. Say, “The surface looks damp, but I want to know below it.”
Potted roots nearby face cold from every side.
4Insulate the pots staying outside
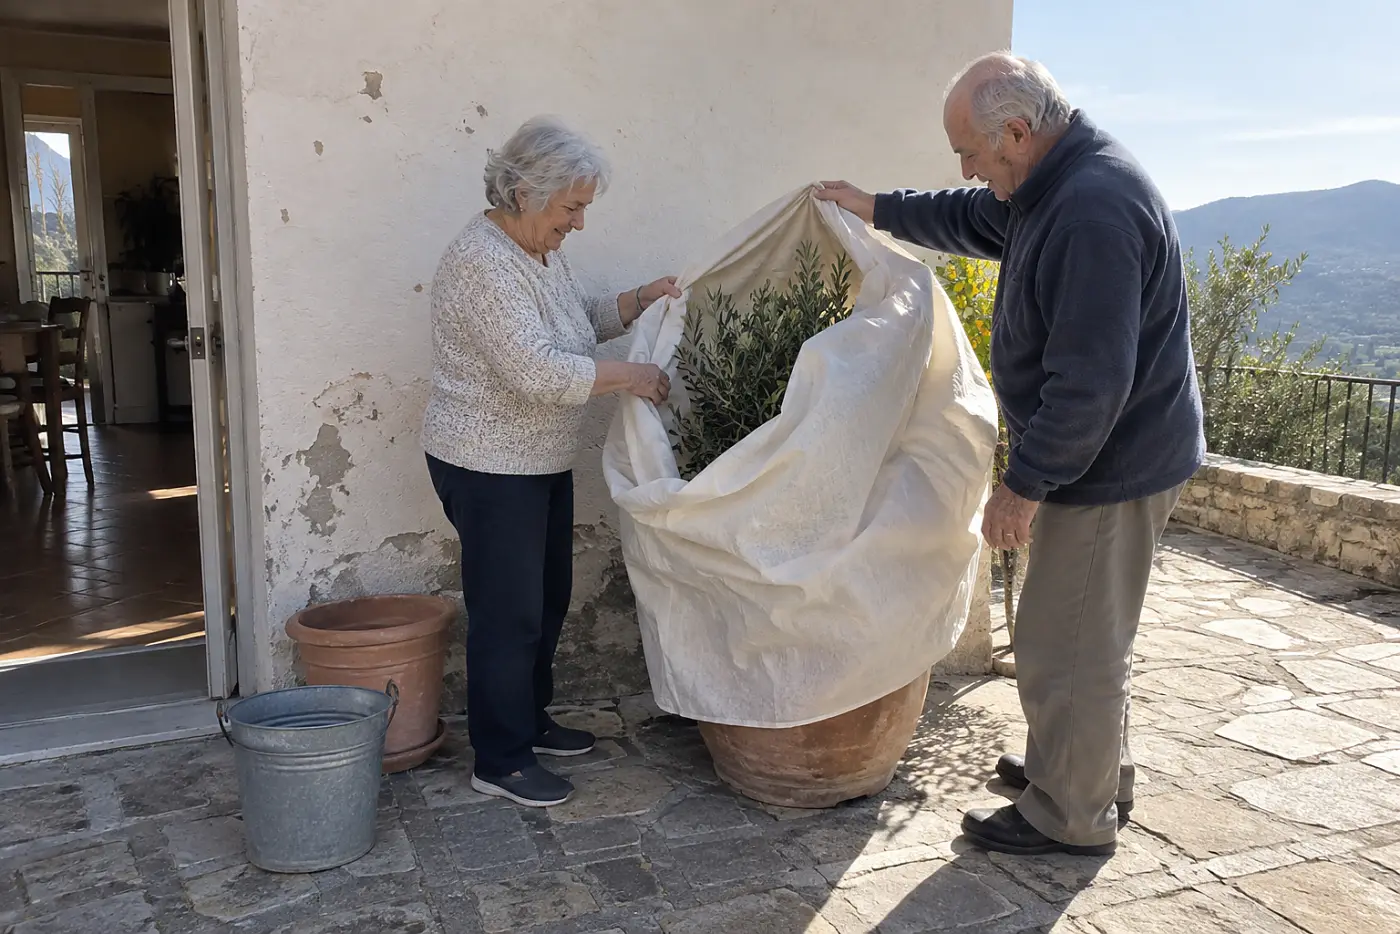
Roots in a pot lack the ground's insulation.
Move hardy container plants together against a sheltered wall. Wrap the pots, not the foliage, with insulating material, and make sure drainage holes stay open. A tender plant needs indoor shelter suited to that plant, rather than a thicker wrap.
A pot freezes through faster than nearby garden soil. Before leaving one outdoors, check its cold hardiness with the Missouri Botanical Garden or your local extension office. The label that came with the plant belongs in this decision too.
This week, sort the pots into those staying out and those coming in. Say, “This one needs a place indoors before the cold snap.”
For the pots that stay, the soil surface needs one more check.
3Pull mulch back from plant crowns
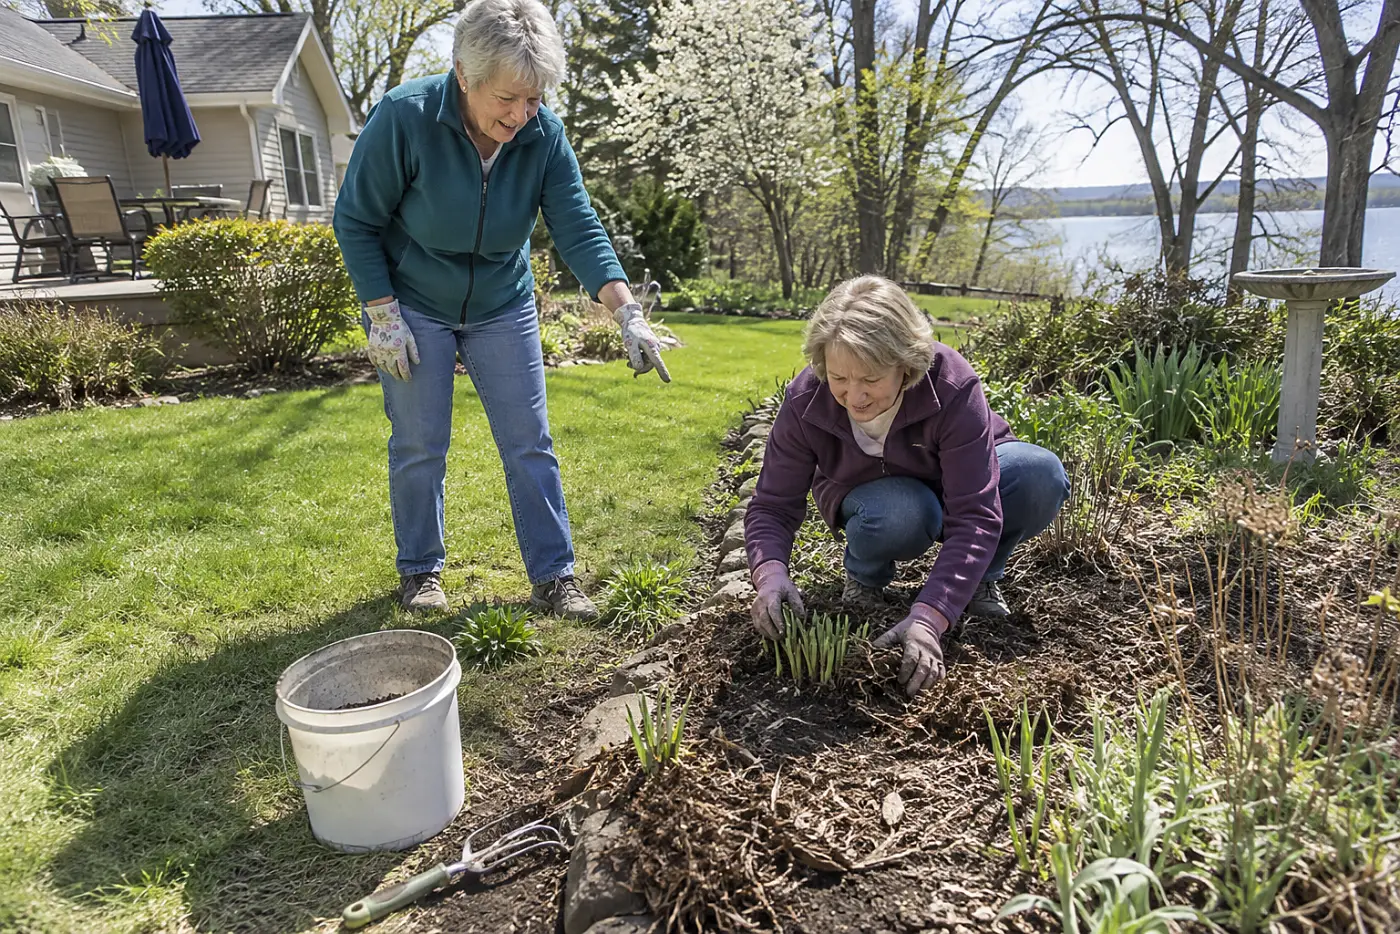
Mulch piled against stems traps dampness where growth starts.
Look for the crown at soil level and leave breathing room around it. Spread the rest of the mulch over exposed soil, keeping it away from trunks as well. You want covered ground, not buried stems.
A buried crown is hard to inspect when spring growth stalls. The Royal Horticultural Society advises keeping mulch clear of plant stems.
This week, clear the collars around five plants. Say, “The roots need cover; the stems don't.”
Now check the plants that need support before wind arrives.
2Tighten the ties on young trees
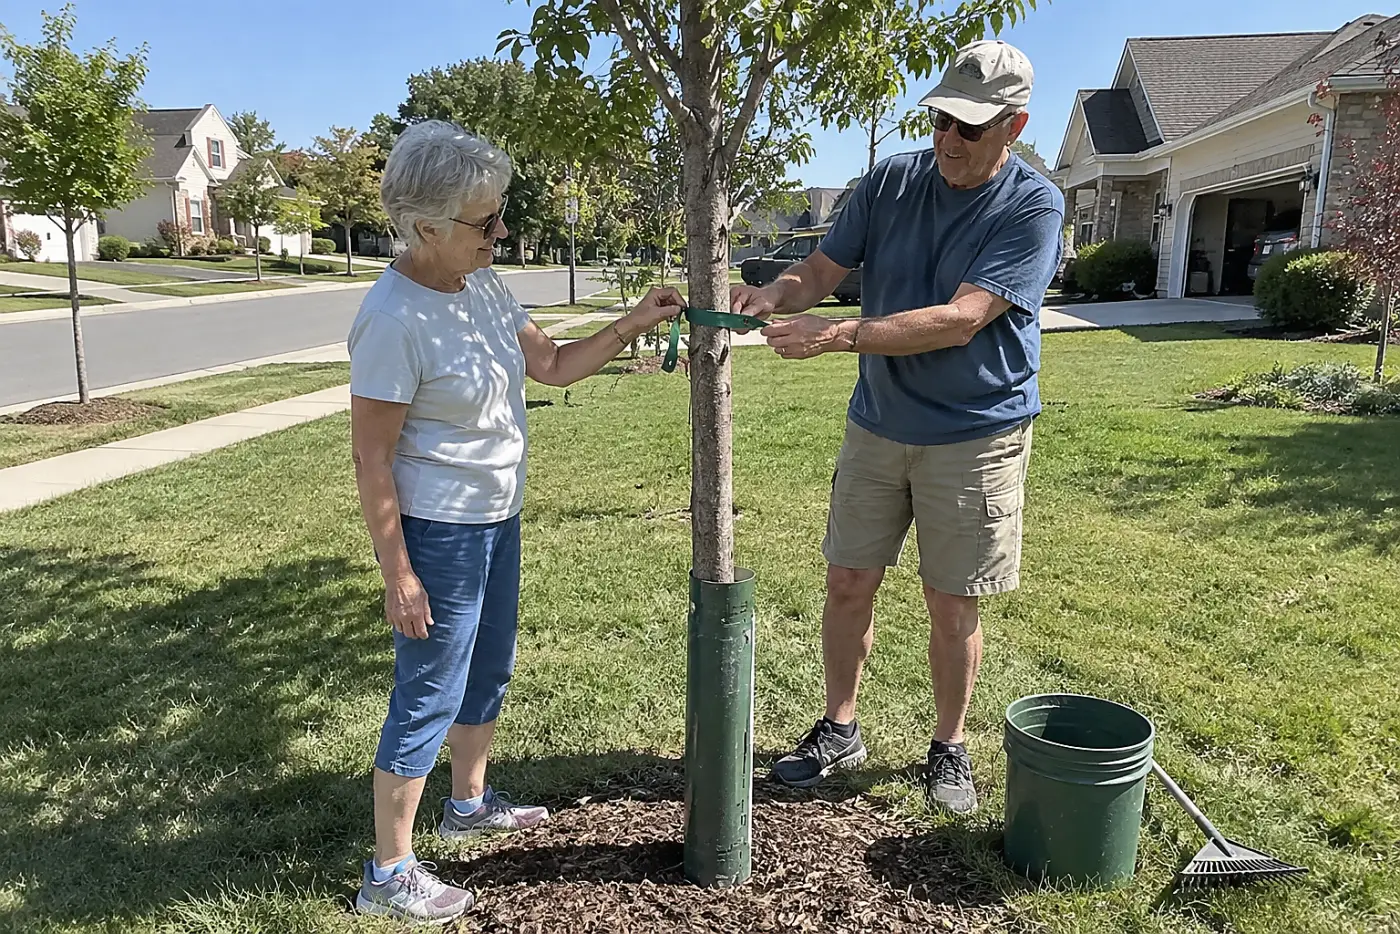
A loose tie rubs bark all winter.
Check each stake and tie while you can still see the trunk clearly. Loosen any tie that pinches, replace rough material, and remove stakes when the tree no longer needs support. Leave room for the trunk to move in the wind.
Bark rubbed raw gives the tree another wound to manage in spring. The Arbor Day Foundation recommends inspecting supports rather than leaving them in place indefinitely.
This week, check one young tree from the ground up. Say, “This tie should support the trunk, not squeeze it.”
Then leave your boots by the door for the check that needs tomorrow morning.
1Mark puddles and check them tomorrow morning
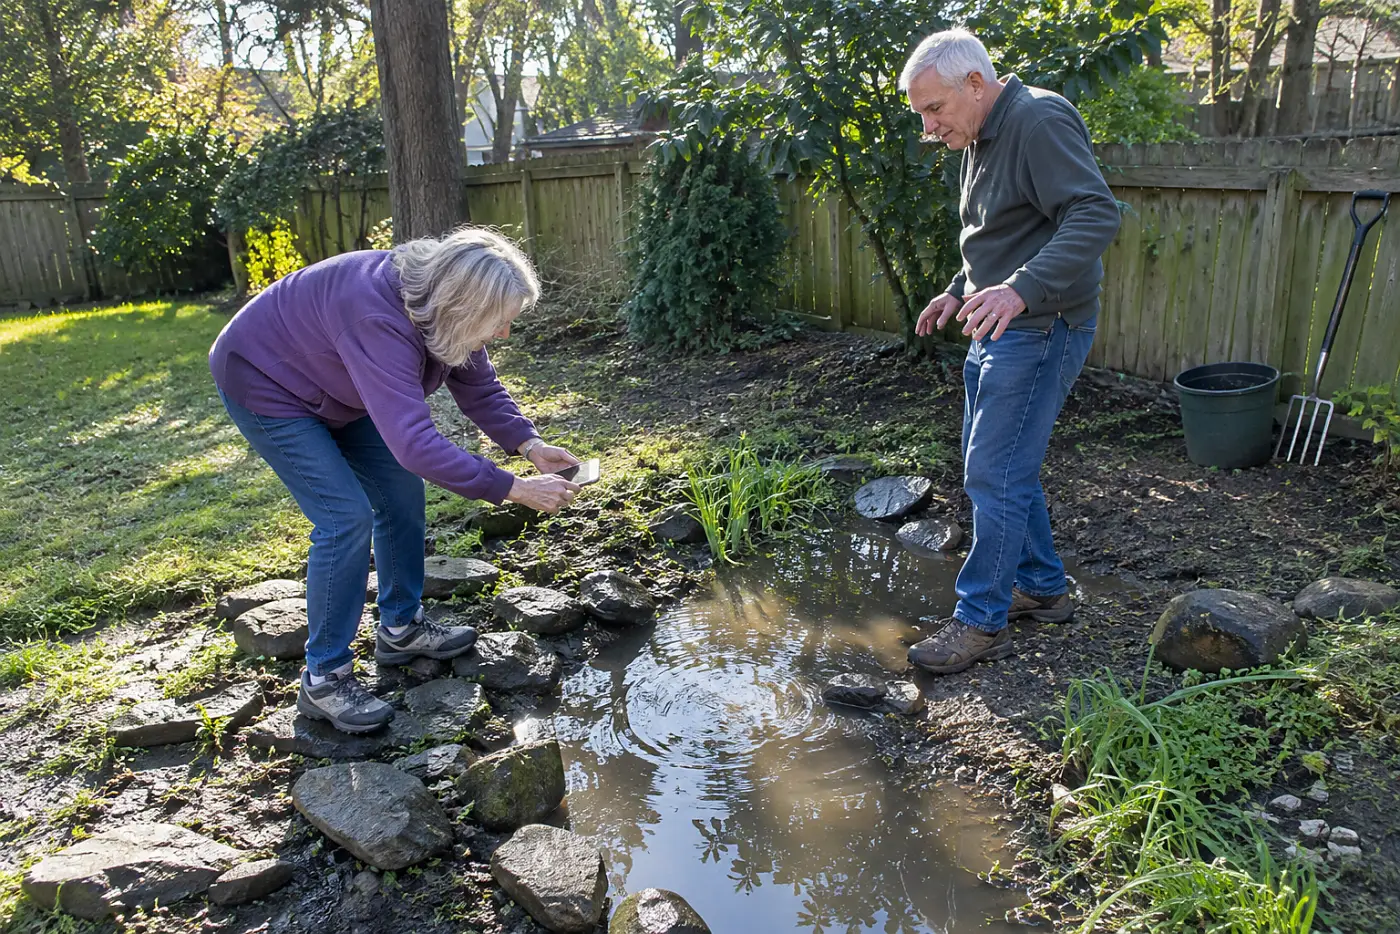
A puddle that stays put changes where you plant.
After a steady fall rain, walk the yard once the rain stops. Mark the edges of puddles with stones and note the time. Photograph each mark beside a fixed point, such as a fence post. The next morning, return to those exact spots and photograph them again.
Water still inside the stones shows where the ground drained slowly after that particular storm. Compare the two photos before deciding what to fix. A persistent puddle in a bed calls for a different decision from water gathered beside the house.
Without this check, you risk planting into a soggy patch and learning its shape only after seedlings fail. USGS Water Science School explains how slope and surfaces guide runoff.
This week, set aside five minutes after a rain to mark one puddle. Put a reminder on your phone for the next morning. Say, “I'll check this same spot before I plant here.” If water remains against the house, show both photos to a drainage professional instead of digging near the foundation.
Keep those two photos; the short follow-up below puts them to work.
The bottom line
These jobs catch small problems while you can still see exactly where they begin.
The best-prepared version of you has finished a few fall tasks and kept a short list of spots that still need work. One of those spots needs a second look after rain.
Which of these has already happened in your yard?
Up next
24 Old Garden Habits That Turned Out to Be Right All Along
A shovel test, a seed packet, and bare soil explain why several old garden routines still earn their place.
Read the list →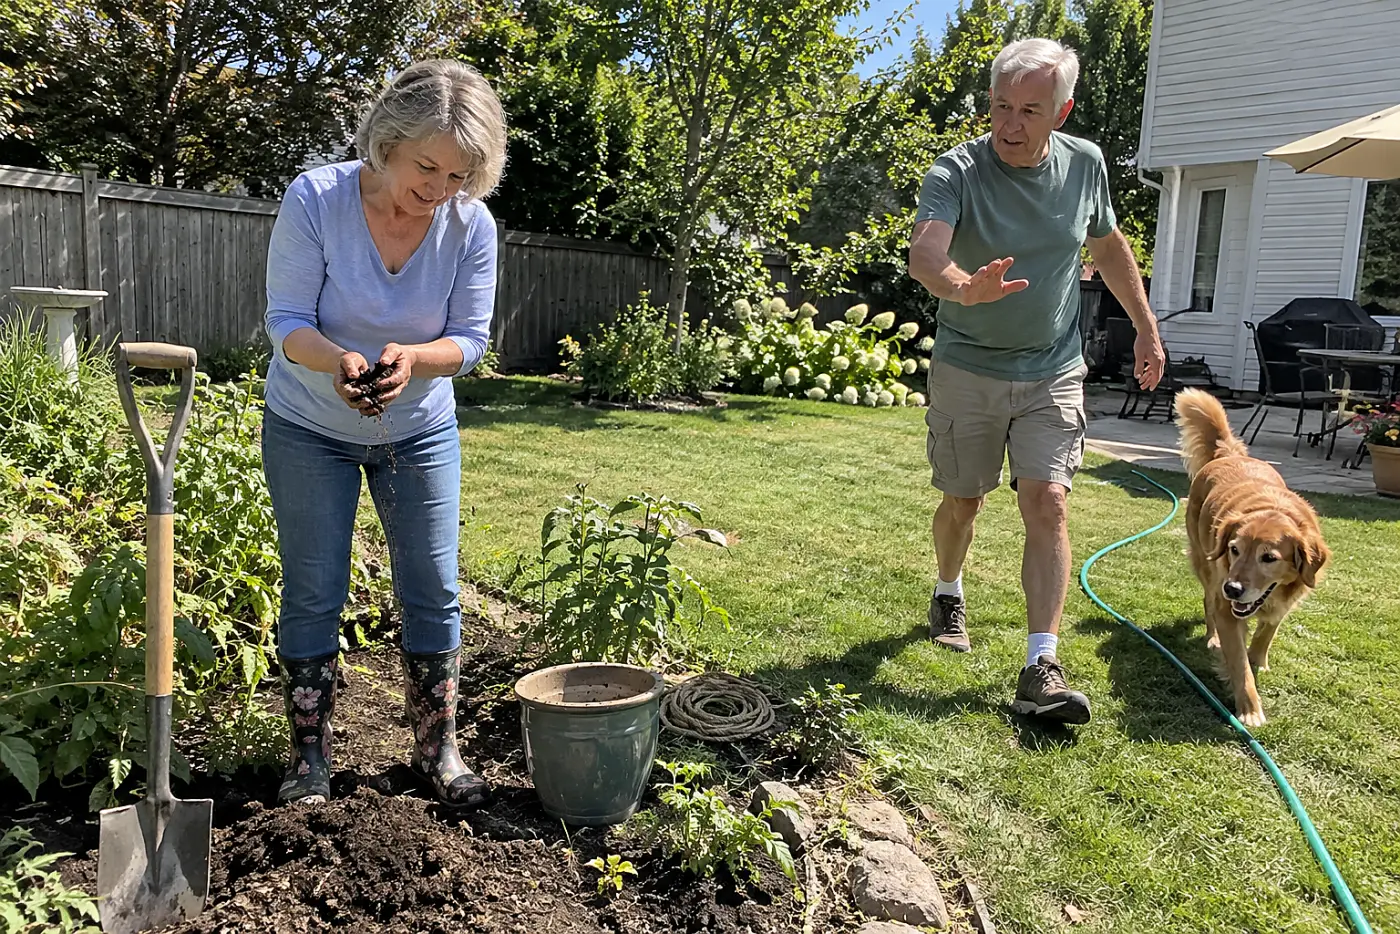

Reader quiz
Did you catch the details?
5 questions from this article. Finish them all to unlock the editor's bonus tip.
What should you do to the hose before coiling it for storage?
Did any of these feel familiar?
Know someone who needs this?
Sources cited in this article
This article links to 14 outside sources, listed here so you can read them yourself.
- National Weather Service www.weather.gov
- University of Minnesota Extension extension.umn.edu
- USDA Agricultural Research Service www.ars.usda.gov
- EPA's home composting guide www.epa.gov/recycle/composting-home
- University of California Integrated Pest Management program ipm.ucanr.edu
- International Society of Arboriculture www.treesaregood.org
- CDC fall prevention pages www.cdc.gov/falls
- Ready.gov www.ready.gov
- Cooperative Extension System extension.org
- University of Illinois Extension extension.illinois.edu
- Missouri Botanical Garden www.missouribotanicalgarden.org
- Royal Horticultural Society www.rhs.org.uk
- Arbor Day Foundation www.arborday.org
- USGS Water Science School www.usgs.gov/special-topics/water-science-school
June Marlow
Garden Editor
June writes about gardens you can still manage: what to plant, which jobs matter each season, and the tools that spare your knees and back.
More from June Marlow