





27 Pruning Mistakes That Cost You Next Year's Flowers
A cut through a dormant flower bud removes a spring bloom, even when the shrub looks healthy and its leaves return.
By June Marlow, Garden Editor
Updated · 17 min read
- Written by our garden editor
- Cited 10 sources
- How we review
Read to the end: #1 is the branch inspection that stops a blind cut, and almost nobody does it first.
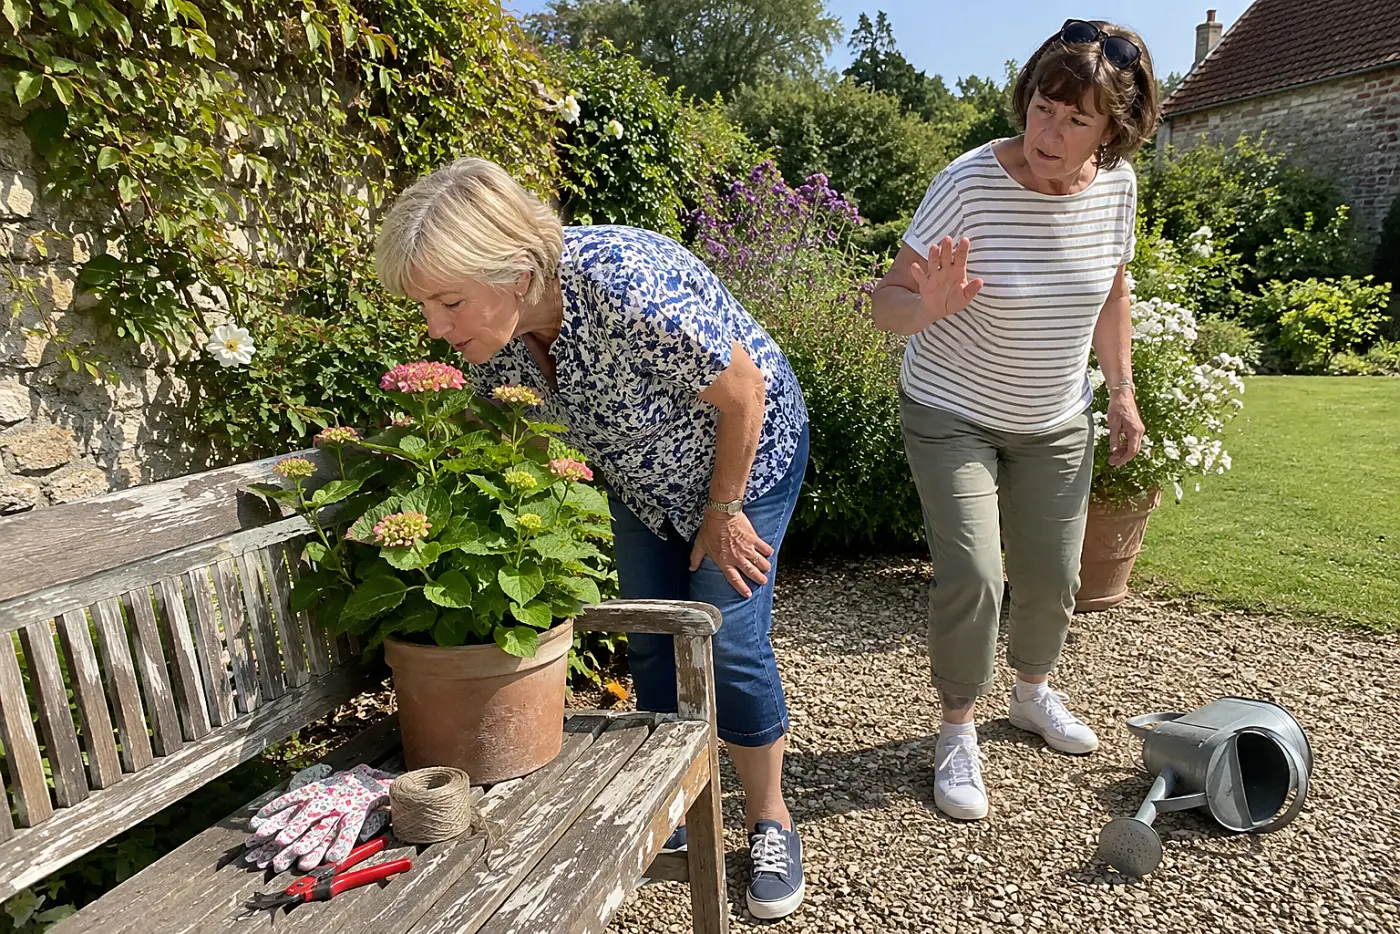
The hydrangea by the porch has three dry-looking stems. Your pruners are in your hand, and the first cut feels harder than it should. You've kept that plant alive through heat, frost, and a hose that never quite reaches.
Waiting feels safer than taking the wrong branch. But a shrub stores next year's flowers in specific buds, and a tidy cut through them cannot be undone. The right question isn't whether the plant looks ready for a trim.
Here are 27 places to look before you cut.
27The shaped hedge with no flowers
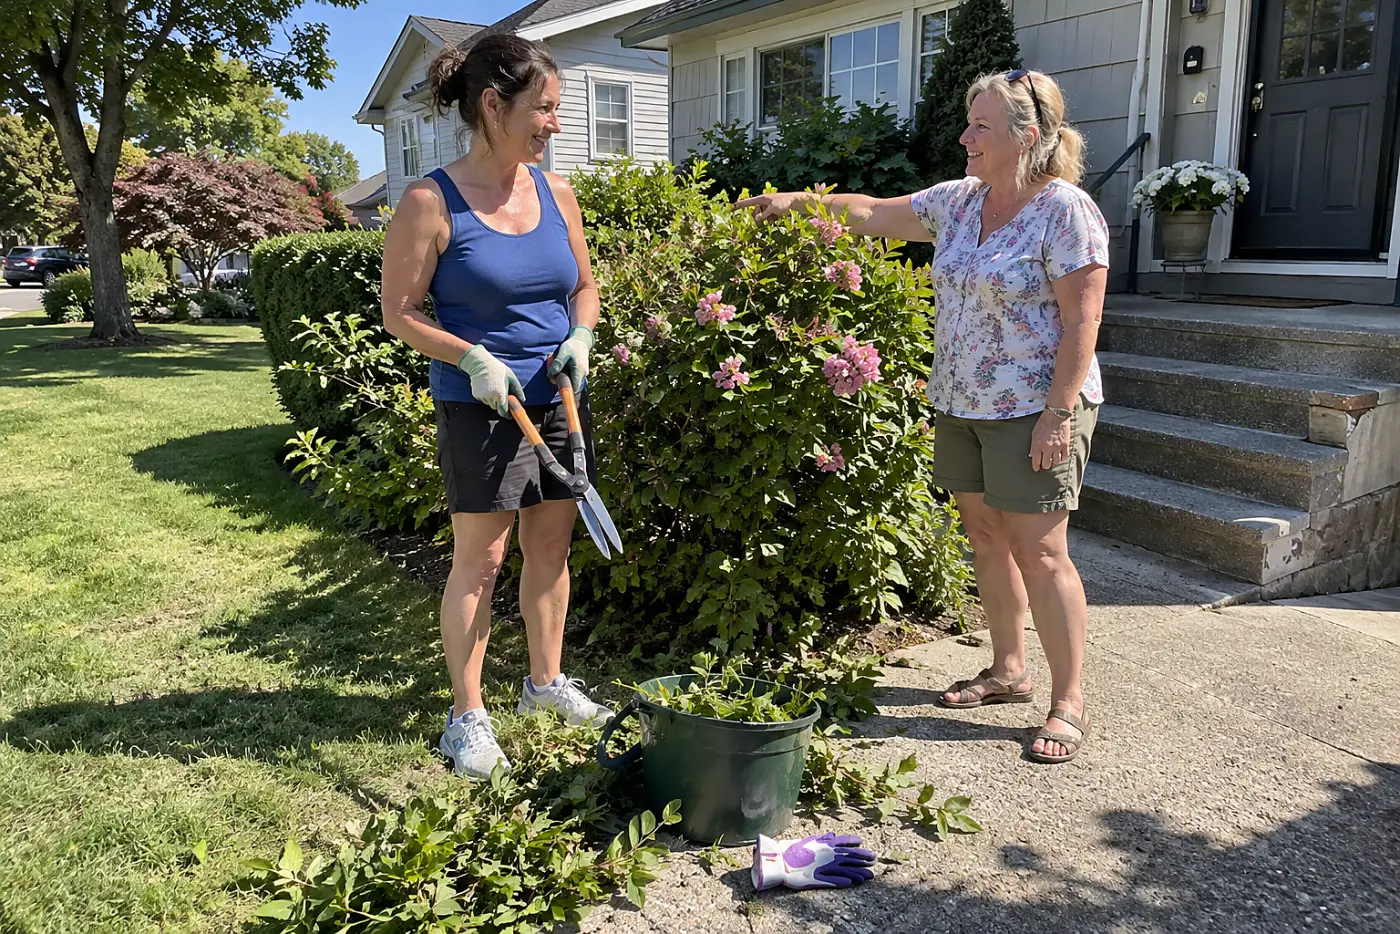
A flat top takes flower tips with it.
When you shear a flowering shrub, the blades cut across hundreds of stems at once. Those stems don't all carry buds in the same place, so one neat pass removes growth you meant to keep. The American Horticultural Society is a place to check a shrub's pruning needs before shaping it.
If you keep clipping a spring bloomer through summer, next spring's display shrinks. This week, put down the hedge shears and trace one branch from base to tip. Cut individual stems only after you've checked where that shrub flowers.
A single clipped tip raises the next question.
26The forsythia trimmed in October
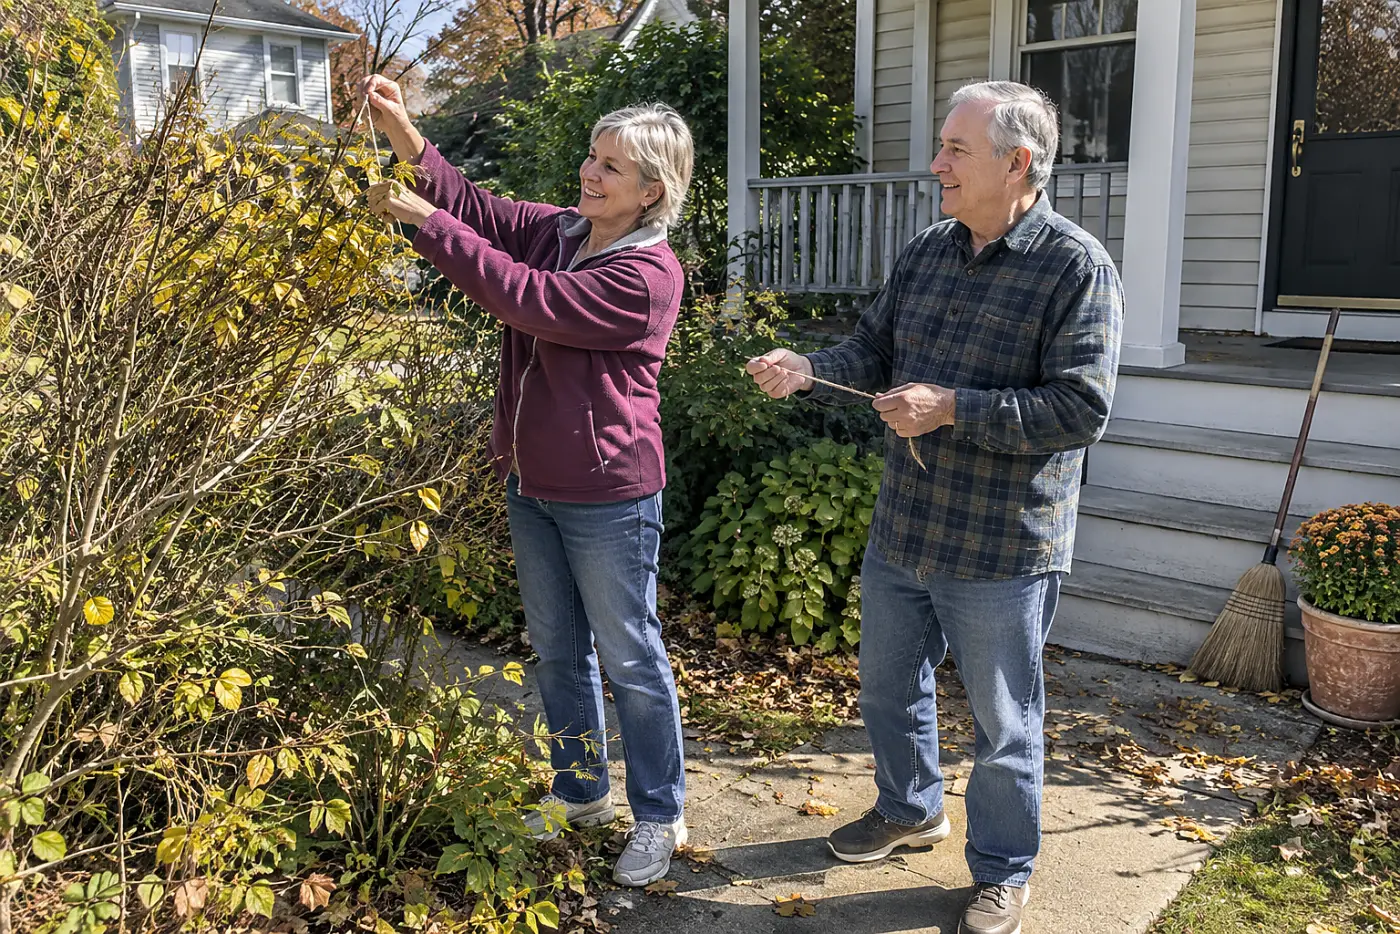
A fall haircut cuts off spring before it starts.
Forsythia flowers on wood it grew earlier in the year. By October, the buds for its next yellow show are already on the stems. They don't look like flowers yet. That's why the long shoots seem like harmless clutter when they reach across a walk.
A tidy October trim removes those buds. The shrub stays alive, puts out leaves, and gives you little yellow next spring. That gap between a healthy-looking plant and a bare spring display is what makes this mistake so maddening. You did the work; the plant looks fine.
This week, identify any forsythia crowding a path. Tie back a flexible stem if you need room, then plan the main pruning for just after bloom. For the timing distinction between spring bloomers and summer bloomers, check University of Minnesota Extension.
Don't let the word “spring” cover every shrub. The next plant sets buds on a different schedule.
See more: 29 Things to Plant Now So You Have Something to Look Forward To →
25The lilac branches cut in winter
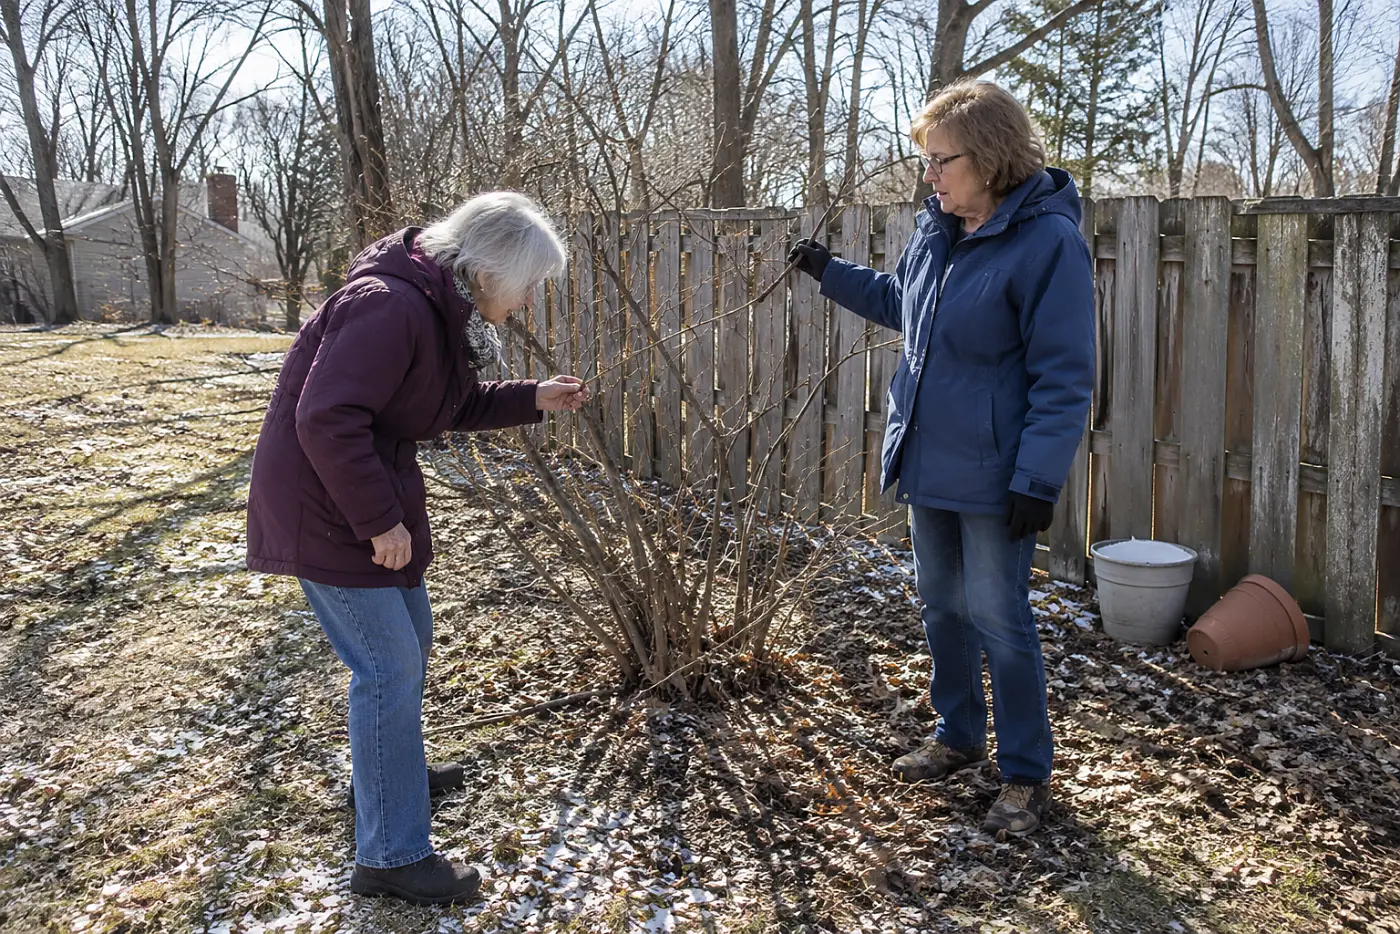
Bare branches don't mean empty branches.
A lilac forms next year's flower buds after its spring bloom. Winter pruning removes the buds sitting along those seemingly vacant stems. The University of Maine Cooperative Extension is one place to check lilac pruning timing.
Skip those buds and you'll wait another year for that familiar scent. This week, leave the healthy lilac branches alone and flag any dead stems for removal. “Let's shape it after the flowers fade, not while it's bare.”
The lilac isn't the only shrub that hides its flowers in winter.
24The bigleaf hydrangea cut to the ground

A clean reset can erase a whole summer.
Many bigleaf hydrangeas carry flower buds on old wood. Cut every stem to the ground in late winter, and those buds go with them. New leafy stems grow back, which makes the plant look recovered.
A reblooming cultivar also flowers on new growth. Even so, a hard cut sacrifices its early old-wood flowers. Check the plant tag rather than trusting the color of the blooms.
That distinction matters when your hydrangea leafs out beautifully and never opens a flower. You weren't imagining the loss. Check University of Maryland Extension when identifying a hydrangea and its bloom habit.
This week, find the label or photograph the plant and its buds before touching it. Leave living stems in place until growth shows you what's alive. “I want to know which wood blooms before I shorten anything.”
Another hydrangea follows almost the opposite rule.
See more: 25 Ways to Keep Gardening With Bad Knees and a Bad Back →
23The panicle hydrangea left untouched
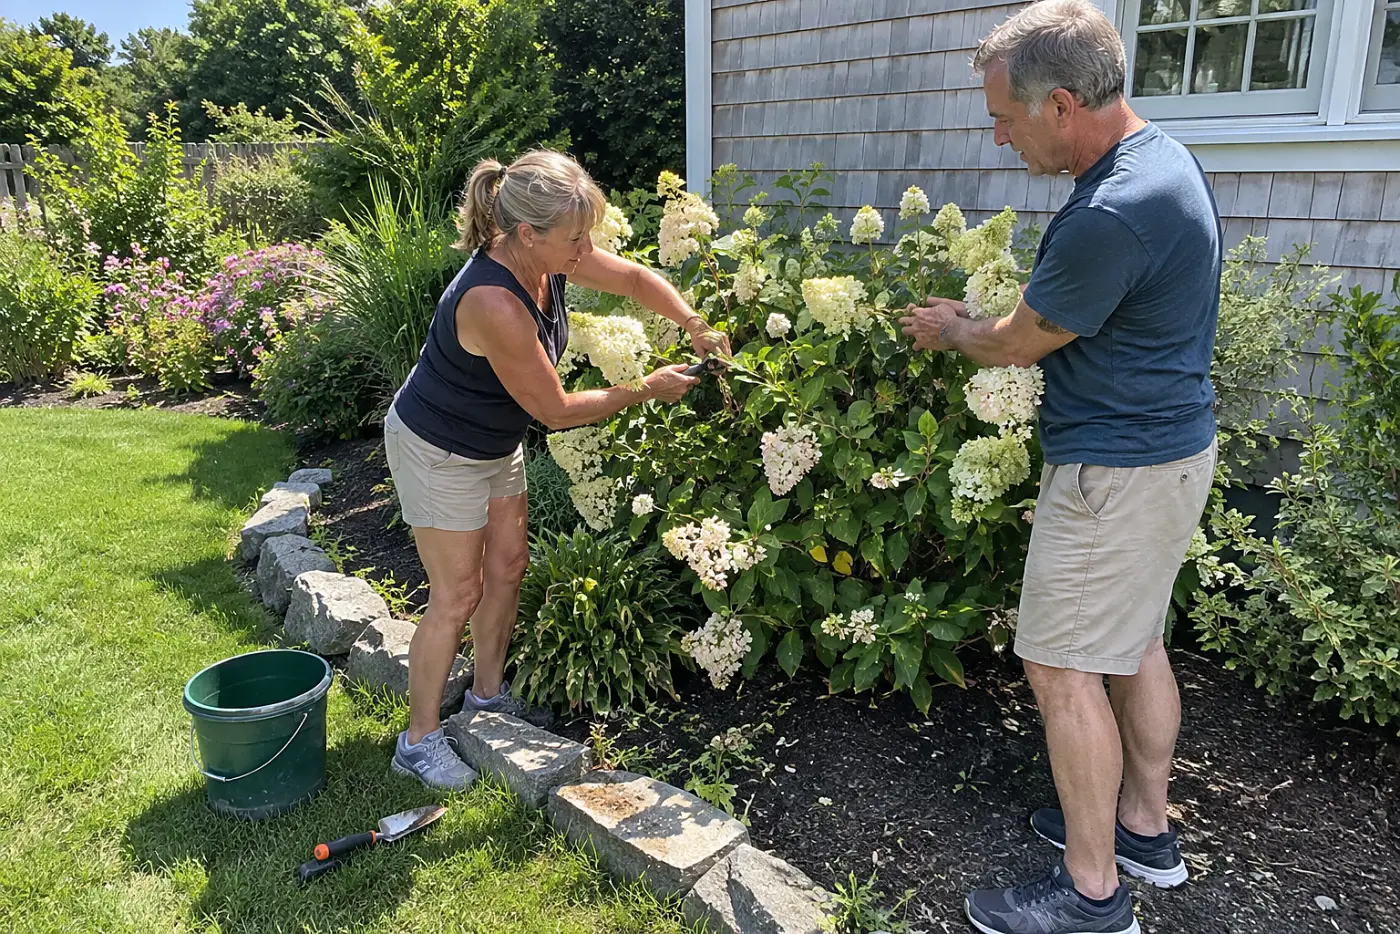
Fear of cutting leaves some shrubs crowded.
Panicle hydrangea blooms on new growth. Its flower buds form on stems produced in the flowering season, so late-winter pruning doesn't remove a year's supply of old-wood buds. Leaving every weak and crossing stem in place crowds the center instead.
You lose room for strong new shoots and a shape you actually like. This week, check the tag for *Hydrangea paniculata*, then remove dead and crossing wood before spring growth starts. Keep the main stems you want; you don't owe the shrub a hard reset.
That new-wood rule still won't save every poorly placed cut.
22The pruning cut above a dead stub
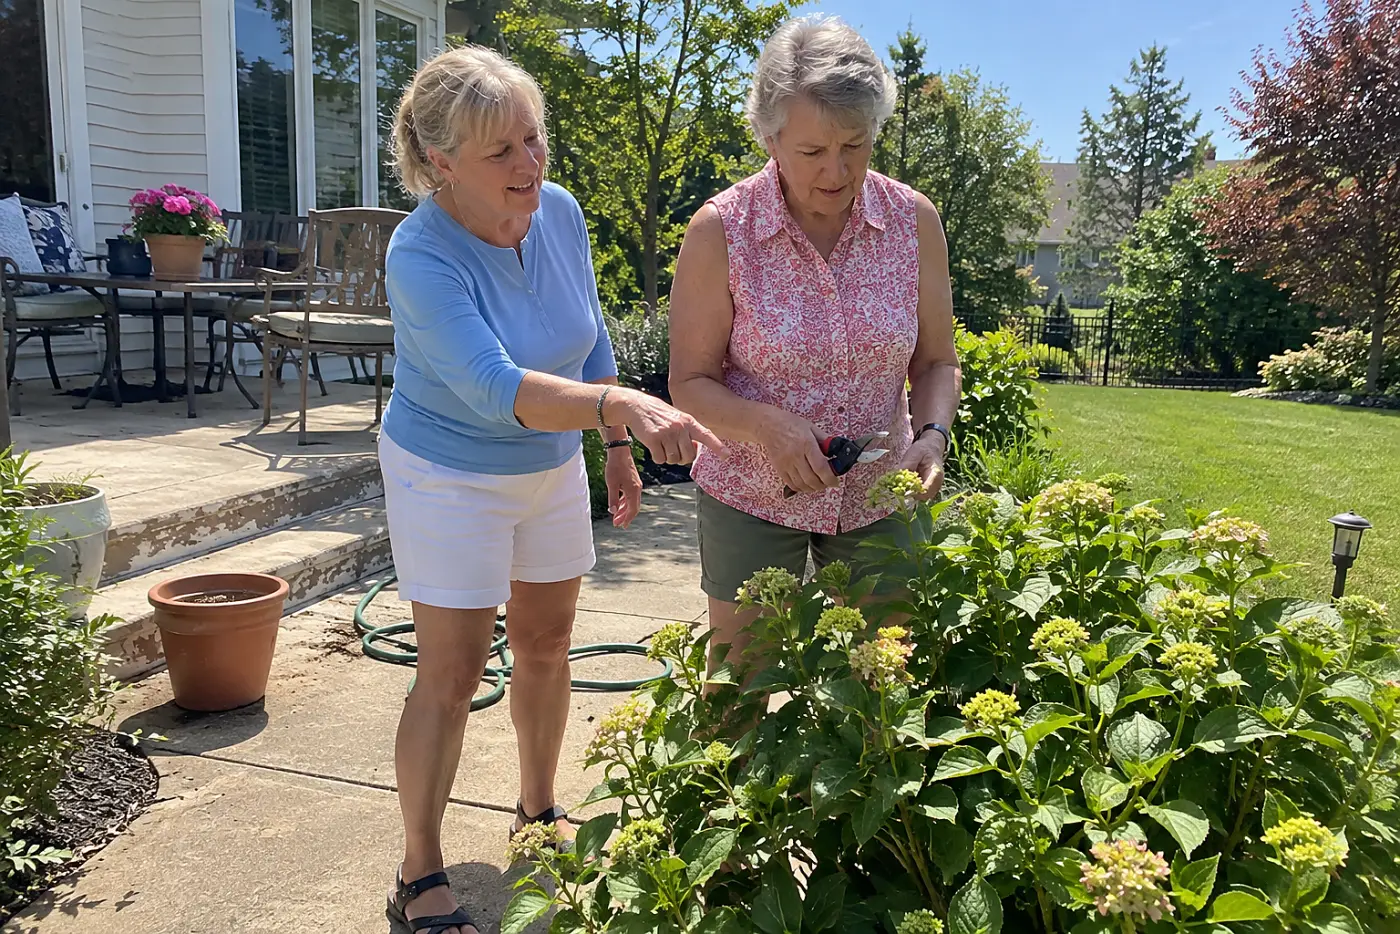
A stub makes the next branch harder to grow cleanly.
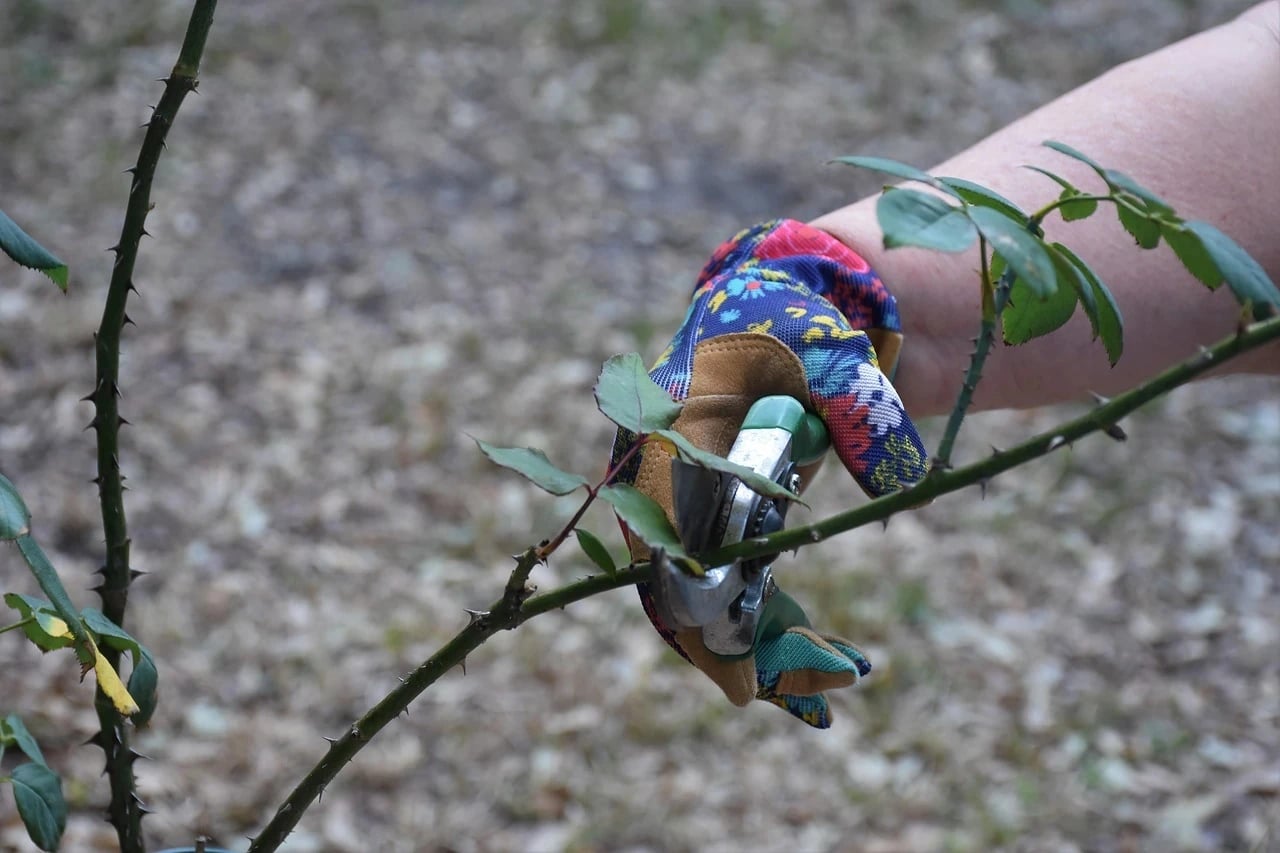
When you shorten a stem, a bud below the cut directs the new shoot. Leave a long bare stub above that bud, and the stub dies back. It doesn't become a spare flower stem. A cut just above a healthy outward-facing bud gives growth a clear path away from the plant's center.
The Royal Horticultural Society is a place to check pruning techniques when you're standing before a shrub with open pruners. The goal isn't a perfect angle measured with a ruler. It's a living bud beneath a cut that won't crush it.
This week, choose one small stem and locate its buds before making a cut. Place the blades above the bud you want to keep, without leaving a finger-length peg. “Show me the bud this cut will leave behind.”
A careful cut in the wrong place still brings trouble.
21The branch cut halfway through
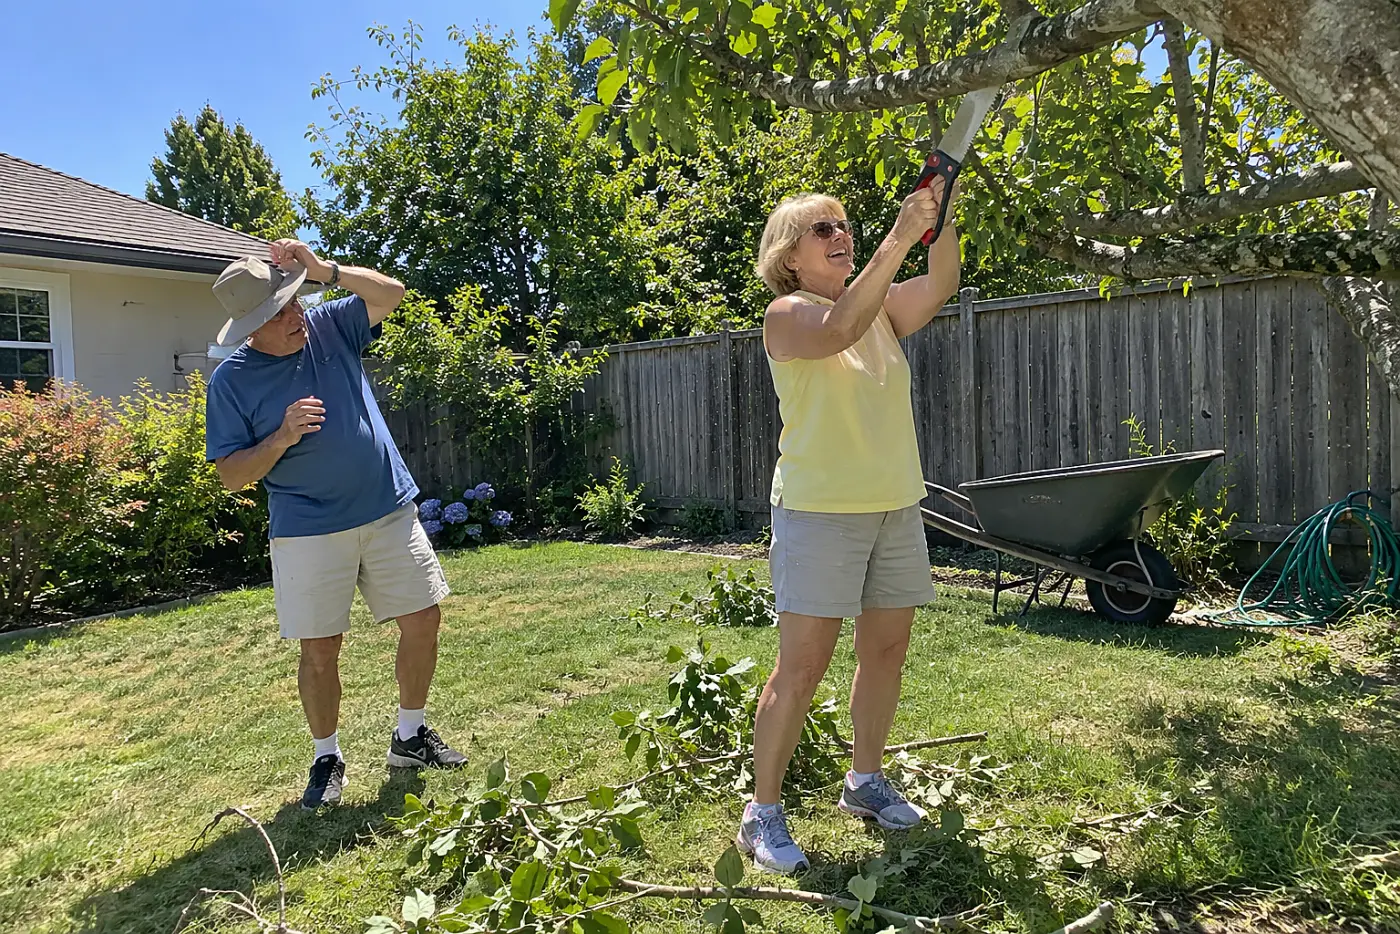
A torn stem takes extra damage with it.
A heavy branch drops before a single cut is finished. Its weight peels bark down the trunk, past the point you chose. The International Society of Arboriculture has guidance on pruning larger limbs.
That tear takes living tissue beside next year's flowering branches. This week, use three cuts on a heavy limb: an underside cut, an outer cut, then a final cut near the branch collar. Make the underside cut about 12 to 18 inches from the trunk, then cut farther out to take off the limb's weight before making the final cut. If you can't control its fall, leave it to a qualified arborist.
A smooth cut matters less if you take the wrong branch.
20The crossing stem left inside the shrub
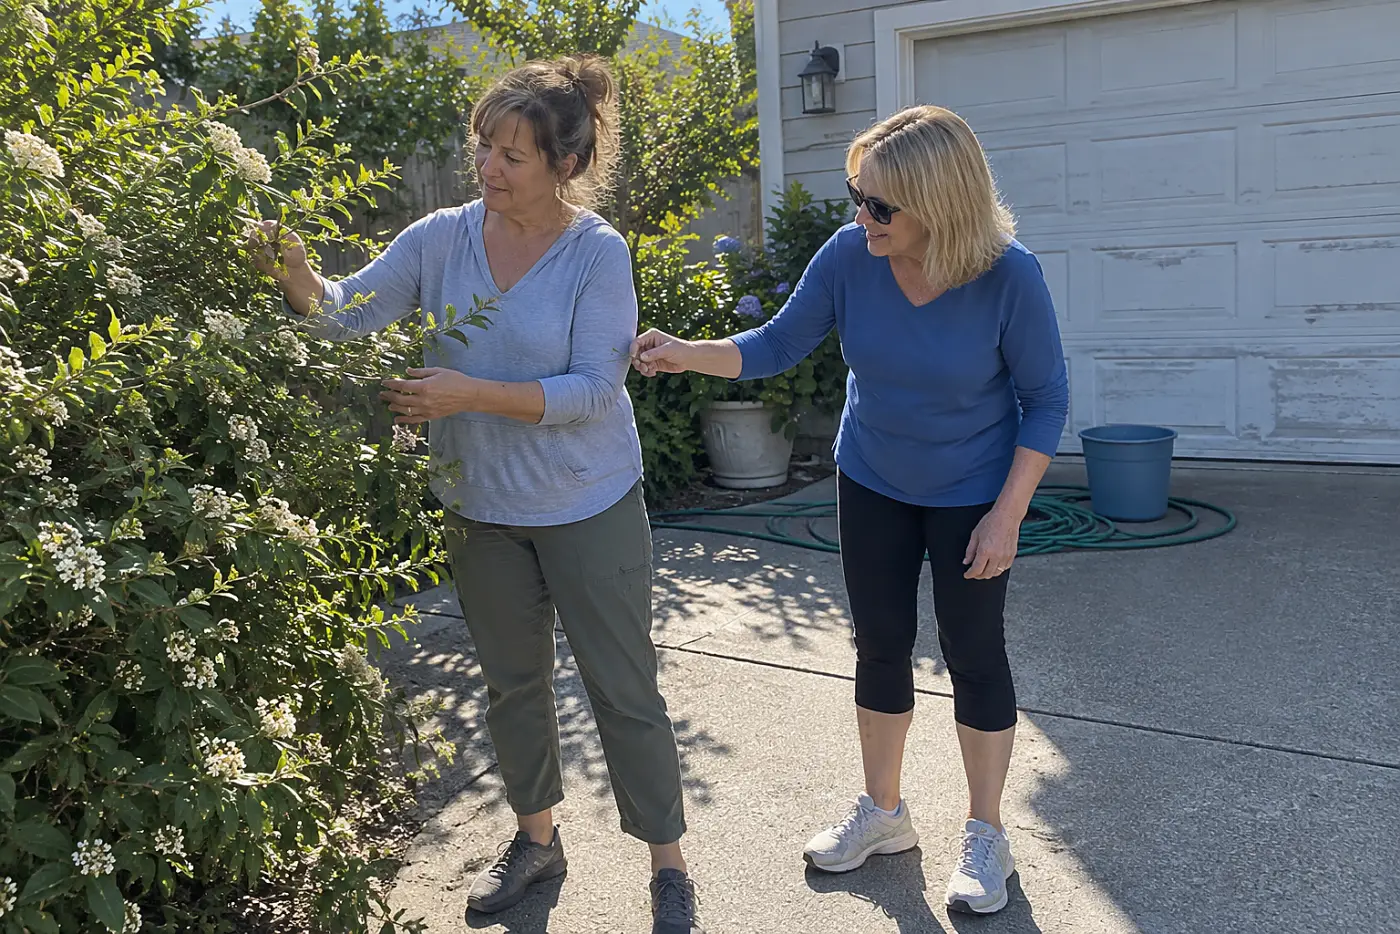
Two rubbing stems keep injuring each other.
Look into the middle of a shrub before you trim its outside. Where branches cross and rub, bark wears away with each windy day. Keeping both stems doesn't preserve twice the flowers. It leaves a crowded spot that blocks light and air from the inner growth.
The University of Wisconsin-Madison Extension covers pruning shrubs, including crossing branches. Start with the weaker or badly placed stem, and cut it back at its origin rather than shortening both tips. You preserve the branch that has room to grow.
This week, part the shrub with your hands and find one true crossing point. Mark the branch you plan to keep with a loose ribbon before lifting the pruners. “Which of these two branches has a clear path out?”
Once the center is visible, you might spot a different kind of growth.
19The root sucker kept for flowers
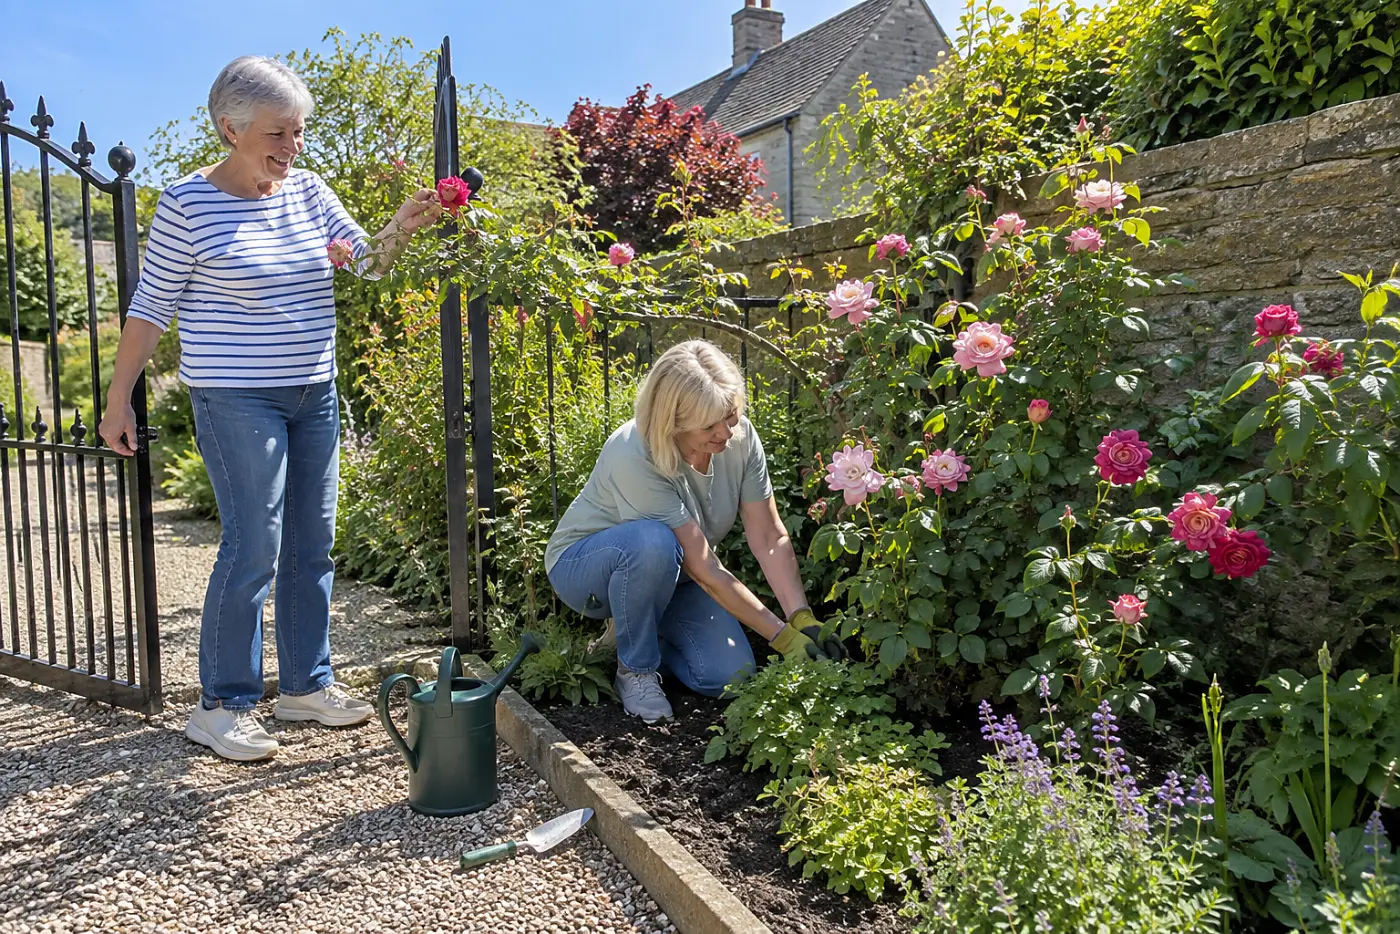
A shoot from the base isn't always your rose.
On a grafted rose, growth from below the graft union belongs to the rootstock. It grows from a different plant than the named rose above the union. Left alone, that vigorous shoot takes space and water from the stems you bought for their flowers.
The American Rose Society is a source for rose care. This week, find the swollen graft union near the base, then trace each suspect shoot to its starting point. Remove a shoot that starts below the union, rather than trimming its tip.
The base deserves another look before you deal with the top.
18The climbing rose shortened across the top
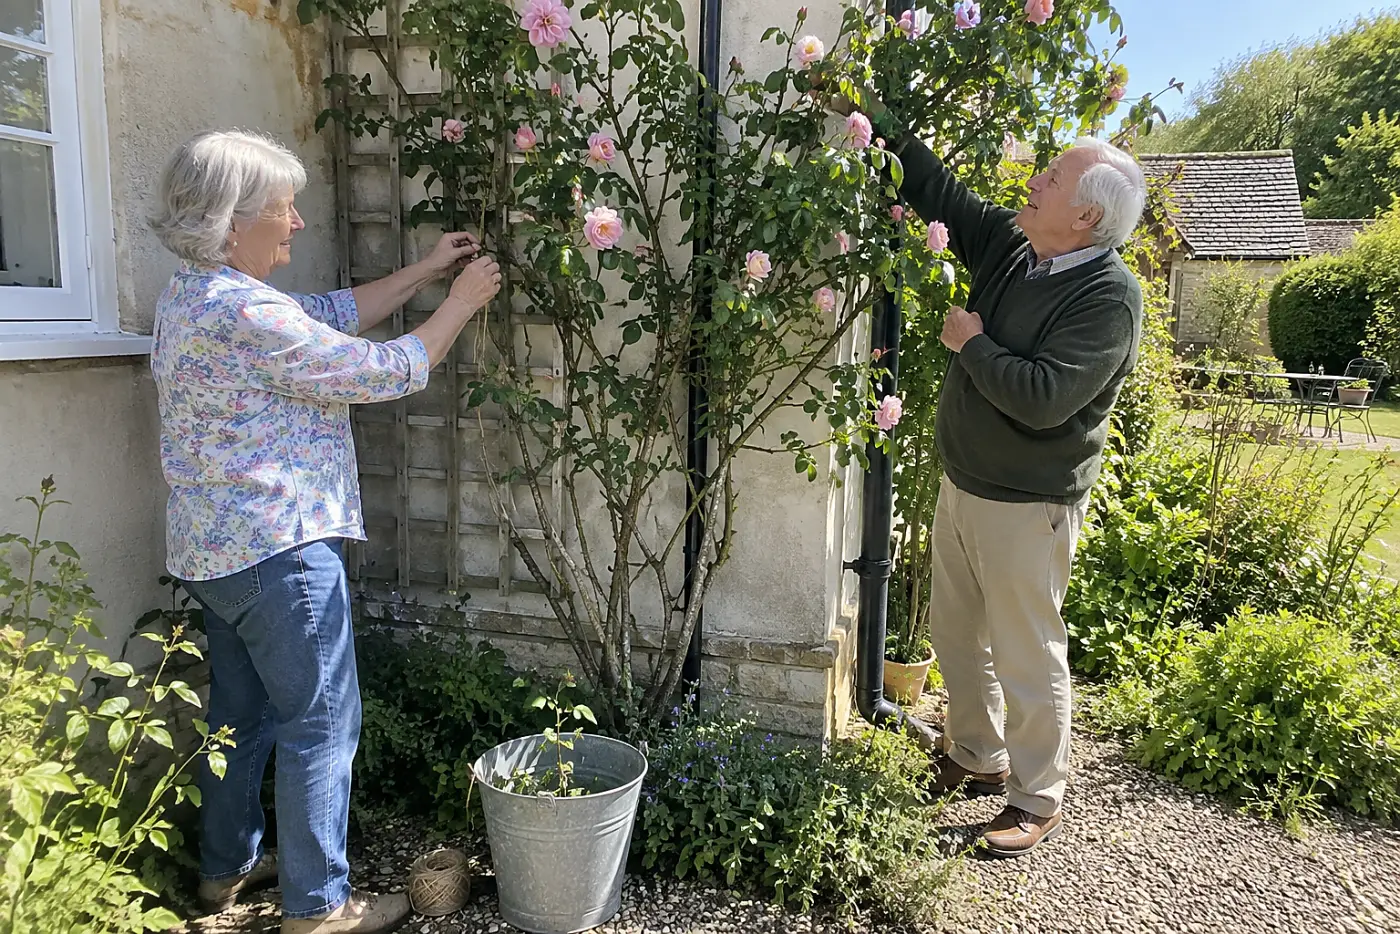
A climbing rose isn't a tall hedge.
Many climbing roses flower on short side shoots that grow from long main canes. Cut those main canes back every time they reach the trellis top, and you remove the structure that carries flowering laterals. Train a flexible cane sideways instead. A more horizontal main cane prompts side shoots along its length, spreading flowers across the support rather than bunching them at the top.
A ladder full of bare lower stems is a frustrating price for keeping the top tidy. A climbing rose needs training as well as pruning. Your rose's tag also matters because climbing and rambling roses don't all flower on the same wood.
This week, untie one manageable cane and guide it across the trellis without forcing a sharp bend. Secure it loosely so the stem has room to thicken. “Can we train this cane before we decide to cut it?”
The trouble isn't confined to roses or to the top of a plant.
17The clematis vine cut before identification
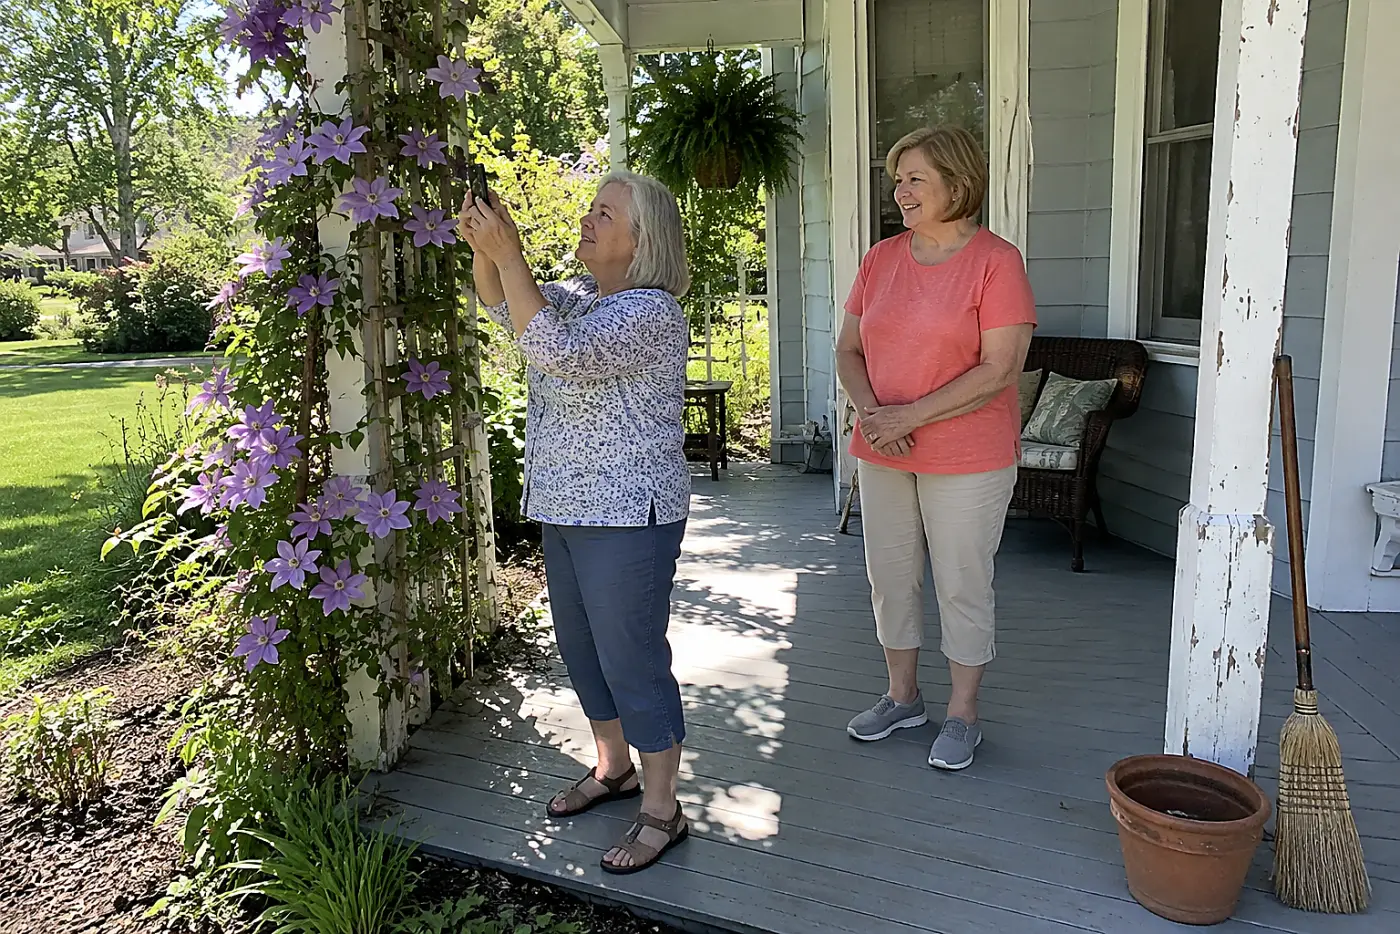
One winter cut can remove a vine's first flowers.
Clematis pruning follows its flowering group. Some bloom on stems from the previous year, while others bloom on new growth. Cut an old-wood clematis to the ground in late winter, and you remove its early display.
That makes the plant tag more useful than the date on the calendar. This week, look for the cultivar name and its pruning group before cutting a living vine. If the tag is gone, photograph the flowers when they appear and note the bloom month.
The vine's support can hide the next mistake.
16The wisteria left with long whips
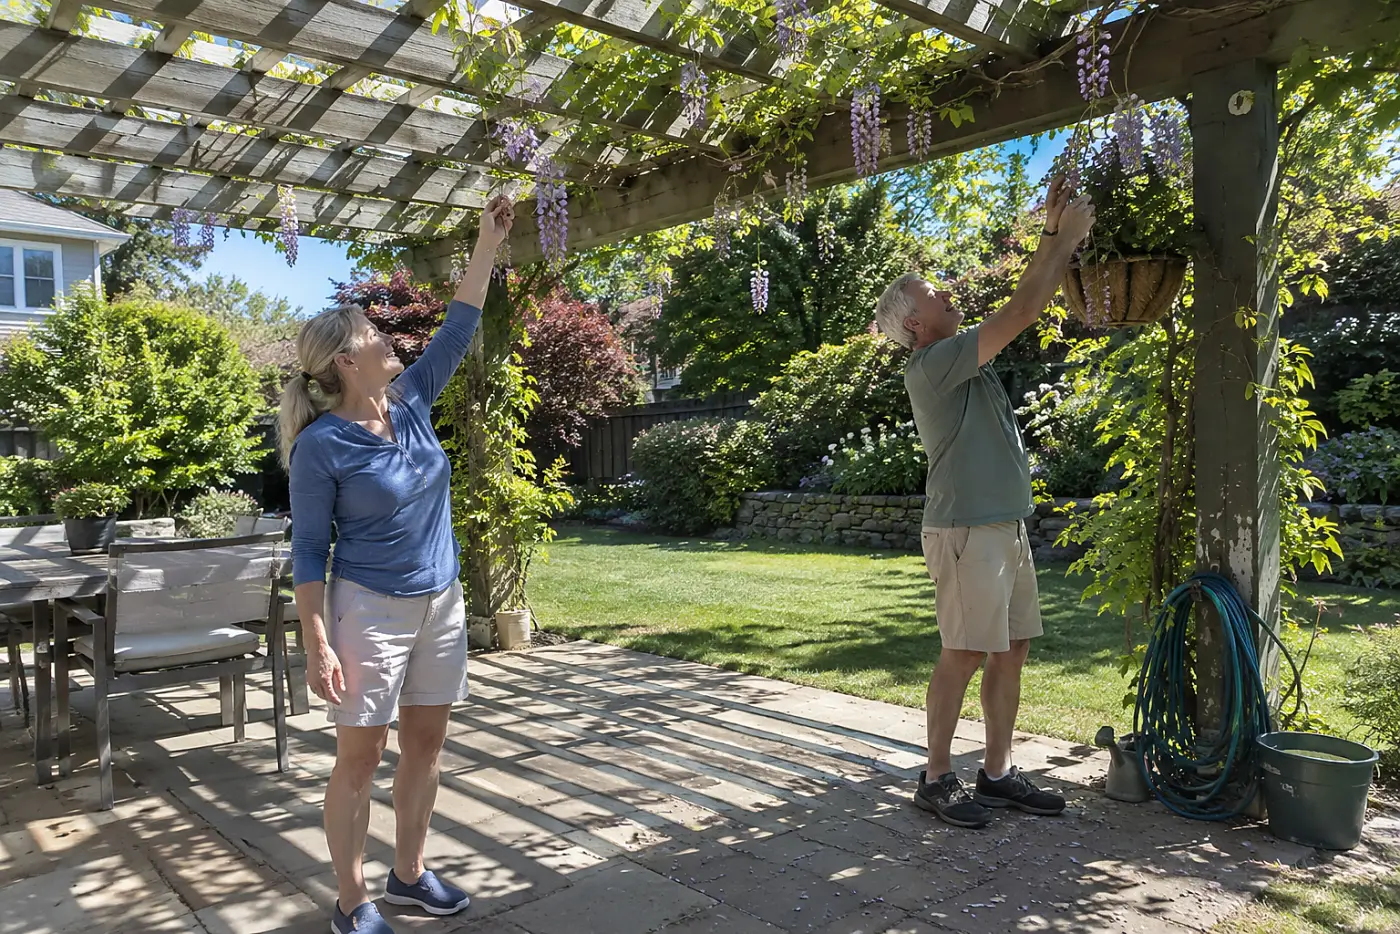
Longer wisteria stems don't guarantee more flowers.
Wisteria pushes vigorous whippy growth that tangles around a support. Flowering develops on shorter spurs from established wood. Leaving every whip to run doesn't build a better bloom framework.
The Royal Horticultural Society describes a summer cut followed by a winter cut to encourage flowering spurs. Those jobs happen at different points in the vine's growth.
An unchecked vine reaches gutters and porch trim before you notice where its flower buds sit. Follow a shoot back to its main framework first. Check whether you're looking at a long whip or a short spur before reaching for the blades.
This week, trace and mark the established main stems. Save the detailed cuts for the proper season, and keep the support clear of gutters now. “Which stems form the framework, and which are this year's runners?”
There's another vine whose flowers vanish when its new shoots vanish.
15The trumpet vine clipped after spring growth
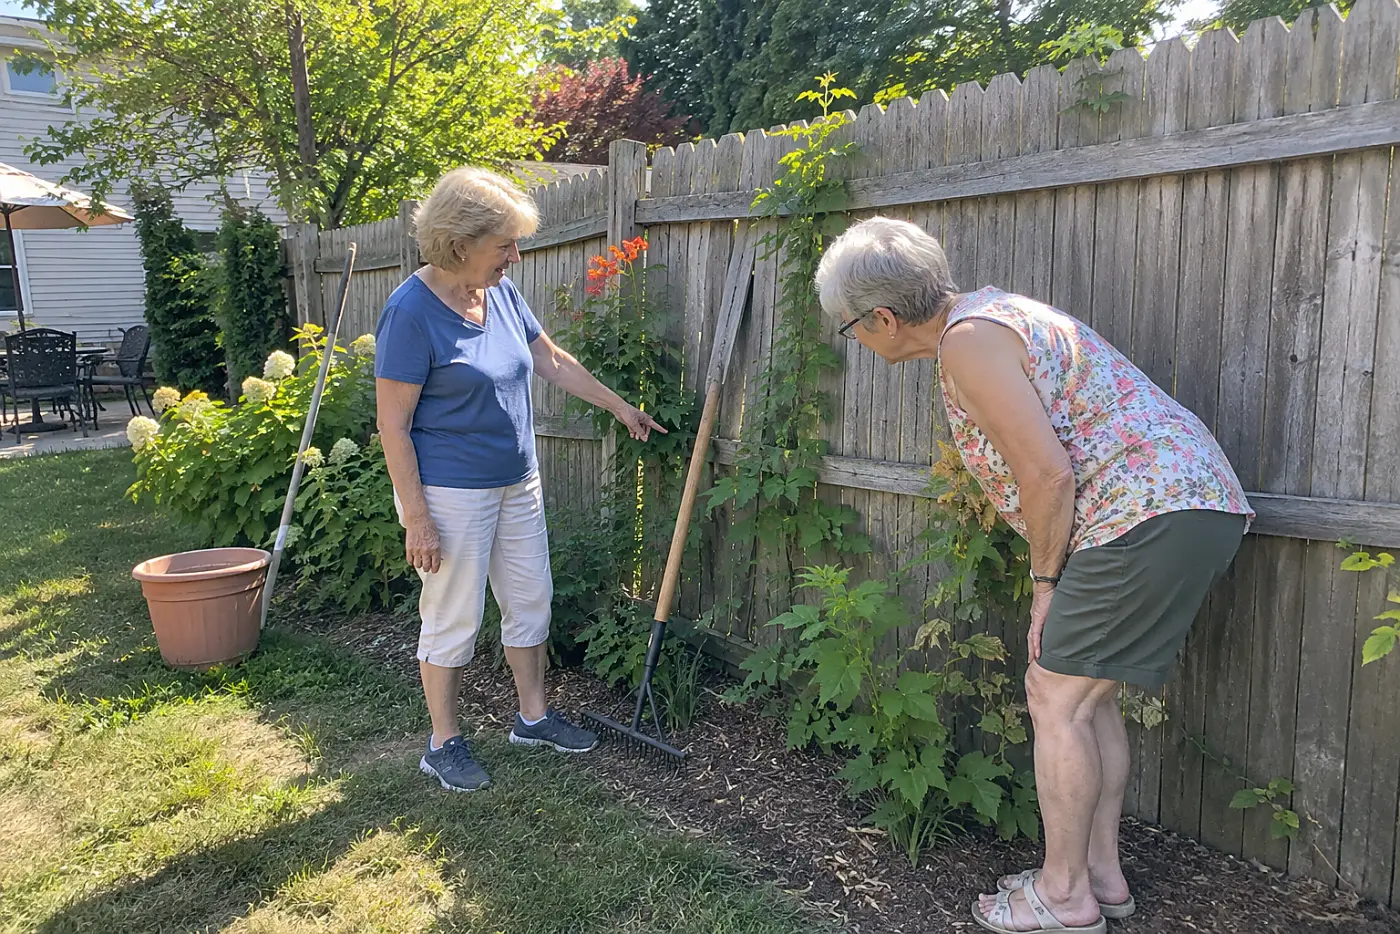
Fresh growth is where its flowers arrive.
Trumpet vine blooms on new growth. Once spring shoots are extending, repeated clipping removes the ends that would carry summer flowers. A late-winter cut controls the vine without repeatedly sacrificing the season's new shoots.
You can spend all summer taming it and wonder why it stays green. A trumpet vine can grow 20 to 40 feet, so decide how much support and space you'll give it before the shoots reach the siding.
This week, decide where the vine has room to grow and stop trimming every new tip in that space. Keep shoots away from siding and roof edges; a plant isn't owed the house.
Another summer bloomer loses flowers under an equally familiar tool.
14The butterfly bush given a summer haircut
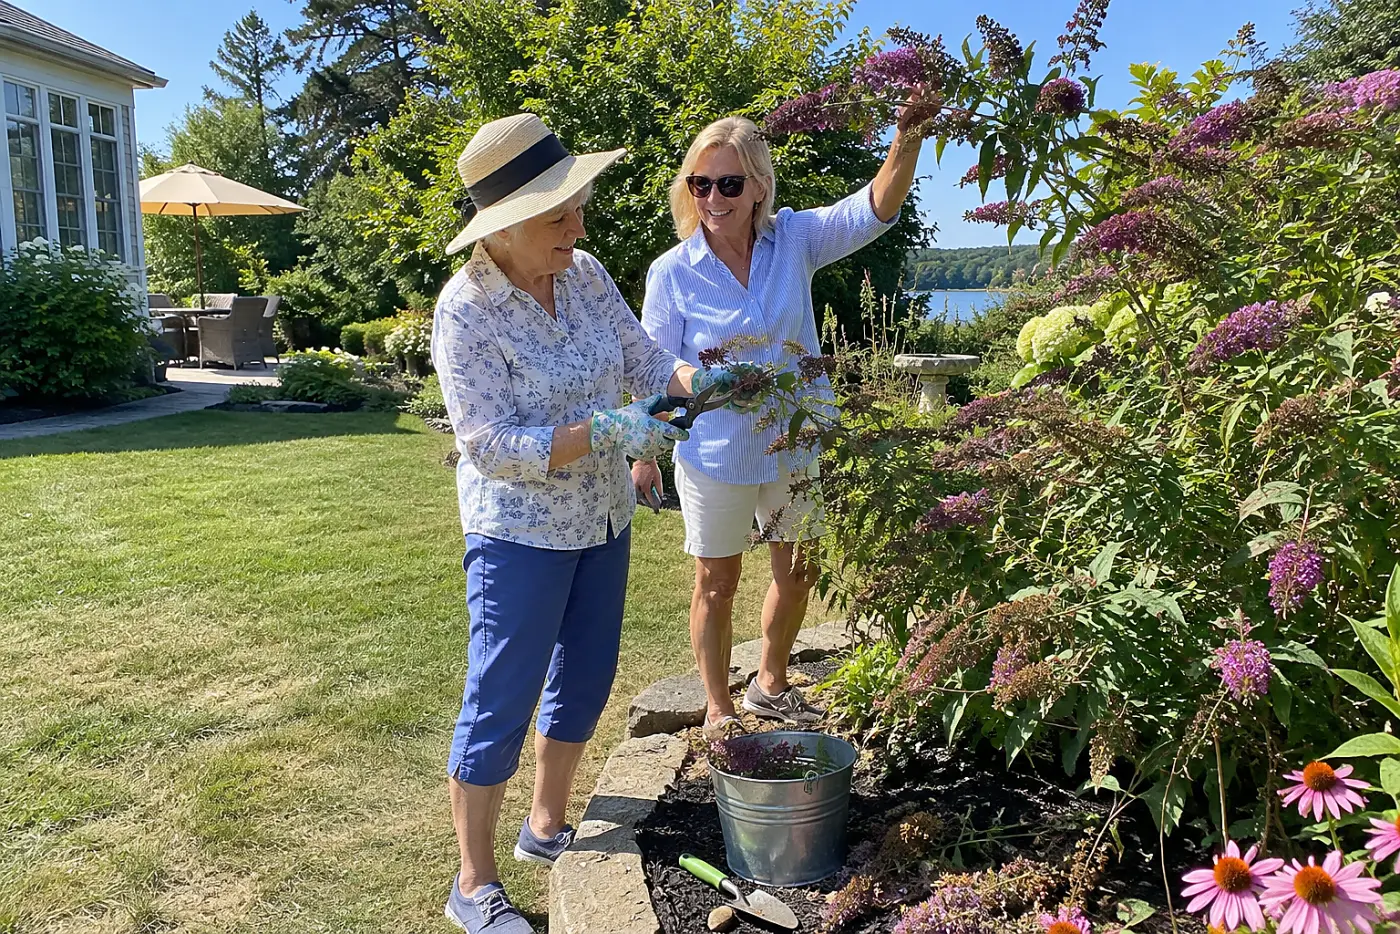
A midsummer buzz cut removes developing bloom stems.
Butterfly bush flowers on new growth. Cutting it back before spring growth begins leaves time for flowering stems to grow. Cutting it hard after those stems form removes the buds and delays the display you were waiting to see. Deadheading faded flower clusters is a different job: it removes spent blooms rather than the entire new stem.
There is a second reason to look closely at this plant. Butterfly bush is invasive in parts of the United States, and rules on selling or planting it differ by state. Your local cooperative extension office can tell you whether yours is a problem where you live; don't let a pruning plan become a reason to spread it.
This week, identify the plant and remove only spent flower clusters or damaged stems during bloom. Put the hard annual cut on your late-winter calendar if the plant belongs in your garden. “Am I taking off a faded flower or a new flowering stem?”
That difference gets harder to see on a shrub with tiny buds.
13The spirea sheared after buds appear
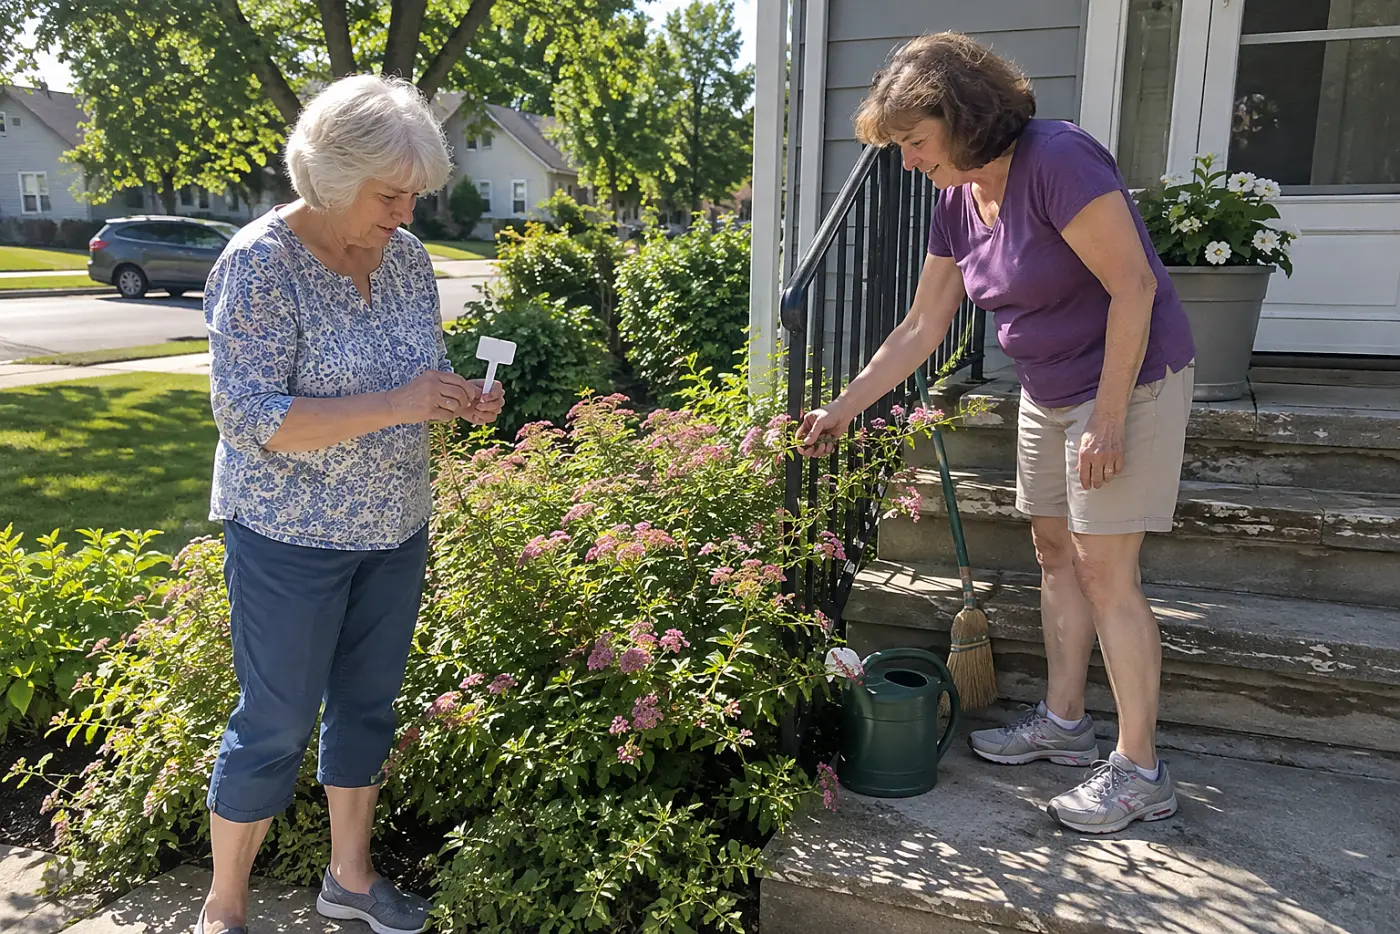
A tidy outline can take away the next flush.
Spirea isn't one pruning schedule. Spring-flowering types bloom on older wood; summer-flowering types bloom on new growth. Shearing either one after its flower buds form clips off blooms before they open.
The plant name on the tag settles which timing to use. This week, photograph the foliage and remaining blooms, then look up the exact spirea cultivar through your cooperative extension office. Until you know its bloom season, take out dead wood and leave healthy tips alone.
A shrub's name settles the next timing problem too.
12The azalea cut after midsummer
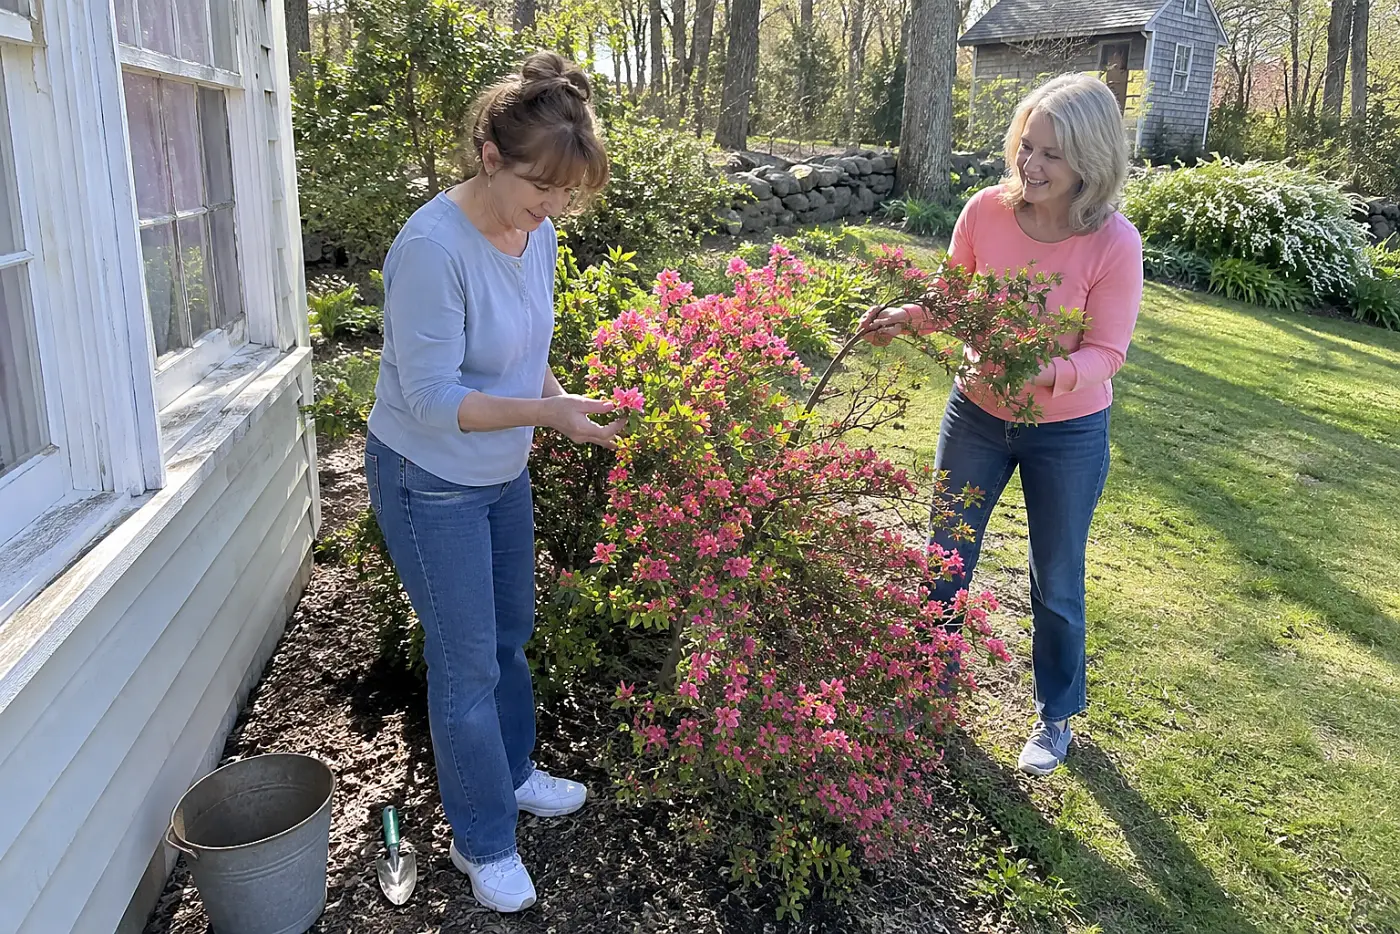
Azalea branches set next spring's show early.
Many azaleas form next year's flower buds during summer. A cut after that bud-setting period removes flowers you won't miss until the following spring. Those buds sit near the ends of shoots, exactly where your hand reaches when the shrub starts blocking a window.
Check the American Rhododendron Society for azalea care before shaping an overgrown plant. A hard cut changes more than its outline. The next bloom won't look like the one you pictured when you picked up the pruners.
This week, check for plump buds at the shoot tips. If they're there, leave those stems for next spring and mark the branches that need shortening after bloom. For a branch blocking a door, remove only what you need for access. “I'd rather keep the flowers and fix the shape after they finish.”
The next shrub hides its buds under evergreen leaves.
11The camellia shaped in fall
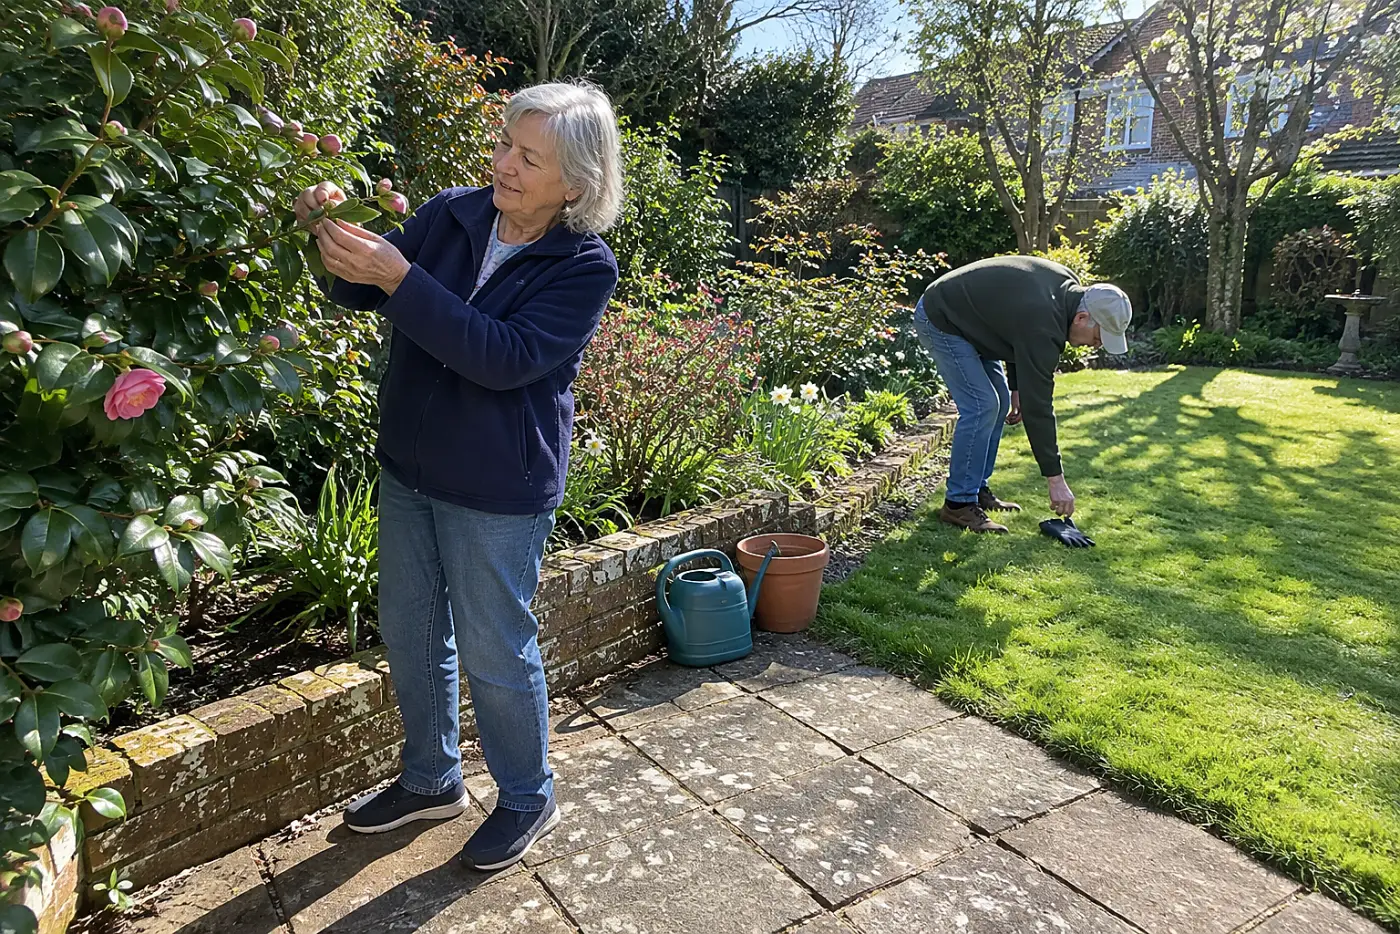
Fall shaping removes flowers already waiting under the leaves.
Camellias develop their flower buds ahead of bloom. A fat, rounded bud looks different from a narrow leaf bud once you stop and compare them. Clip the outer tips in fall, and those rounded buds fall into your cleanup pile.
A camellia with glossy leaves but fewer flowers next season leaves little evidence of the cut. This week, turn back a leafy stem and find both bud shapes before you touch the shears. Wait until its flowers finish to do routine shaping.
Another evergreen keeps its flower buds at the ends too.
10The rhododendron seed head left attached
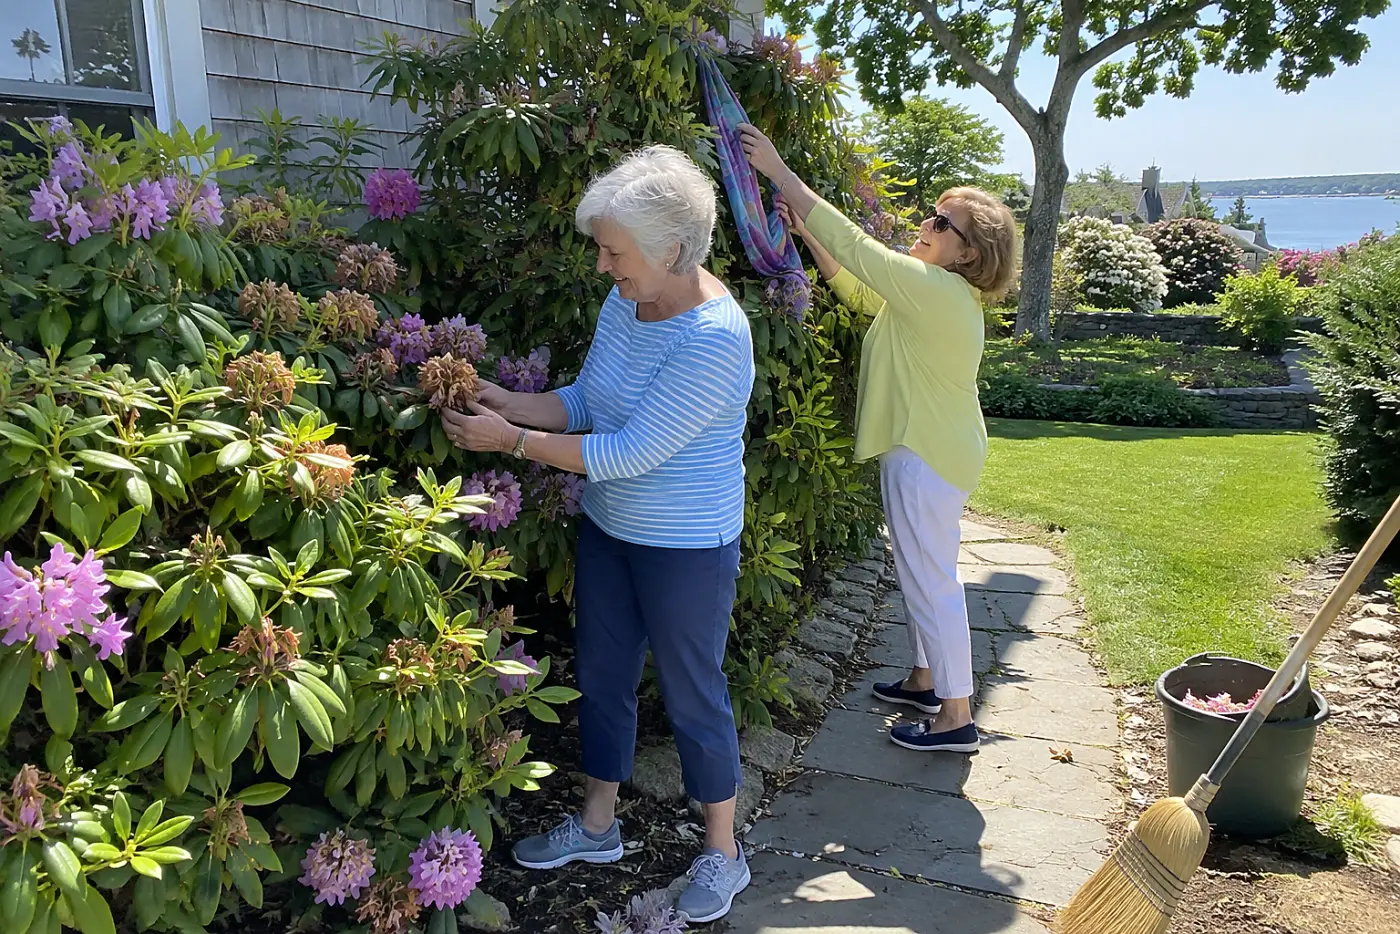
Spent blooms occupy the space where growth starts.
After a rhododendron flowers, new shoots develop just below the old flower cluster. Removing the spent truss by hand keeps you from cutting those young shoots with pruners. Twist or snap the old cluster carefully, and don't tug on the stem below it.
This isn't a reason to strip every shrub in the yard. Removing spent trusses keeps the plant from putting energy into seeds, but a large established shrub isn't worth a ladder fall. Work only where you can reach safely.
This week, examine one spent cluster and the new growth beside it. Remove the old cluster without breaking those shoots. “Are these the new shoots I need to leave?” If flowering finished long ago, don't go hunting through healthy foliage for old trusses.
A much smaller flowering plant calls for the same close look.
9The lavender cut into bare wood
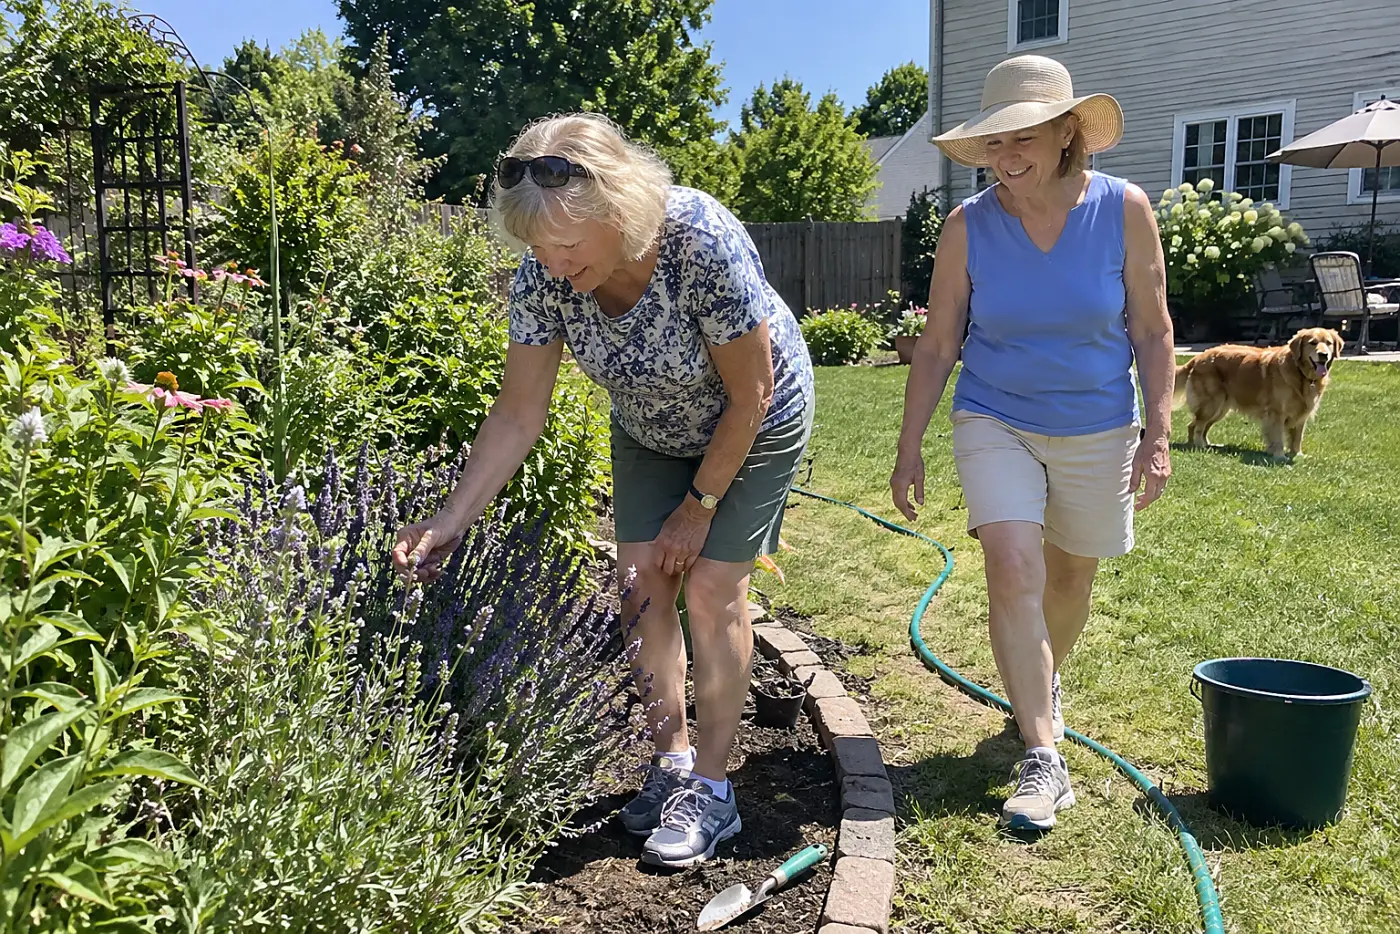
Woody lavender doesn't refill like soft growth.
Lavender produces new shoots from leafy stems. Cut deep into old, leafless wood, and that bare section has few buds ready to grow. The Royal Horticultural Society has guidance on trimming established lavender.
A harsh cut leaves a brown hole where you expected purple flowers. This week, run your fingers along a stem until you find living leaves. Trim above that green section after flowering, and leave bare woody stems intact unless they're dead.
A stem's color matters even more after a freezing night.
8The frost-blackened stem removed too soon
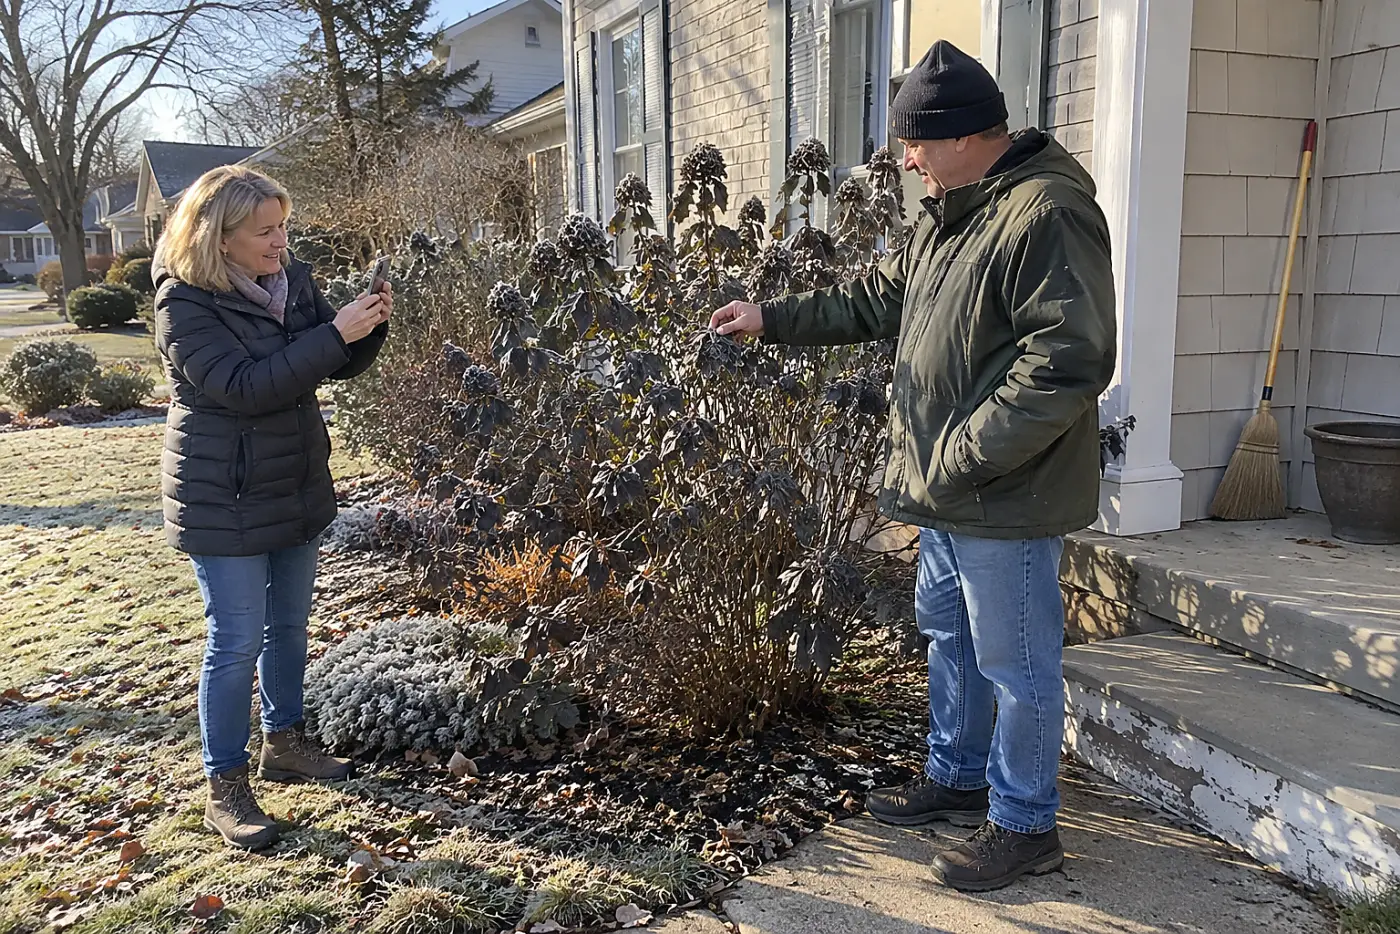
Black leaves don't prove the whole branch is dead.
A late freeze kills tender new growth first. The stem underneath stays alive, and dormant buds farther down start growing once warmth returns. Cut the entire branch to the base on the first black morning, and you take those spare buds with it.
The University of Georgia Extension is a source for checking freeze damage on landscape plants. Timing matters more than making the yard look clean the next day. Some shrubs reveal their living stems only after growth resumes. Your eyes get better evidence from a new bud than from a scorched leaf.
This week, photograph the damage, leave the main stems, and watch for new growth. Once buds break, prune back to living wood instead of guessing at the base. “Let's give this branch time to show where it's alive.”
But one kind of damaged wood deserves prompt attention.
See more: 29 Things Gardeners Over 70 Do Differently, and Why They Still Have Gardens →
7The diseased branch left for later
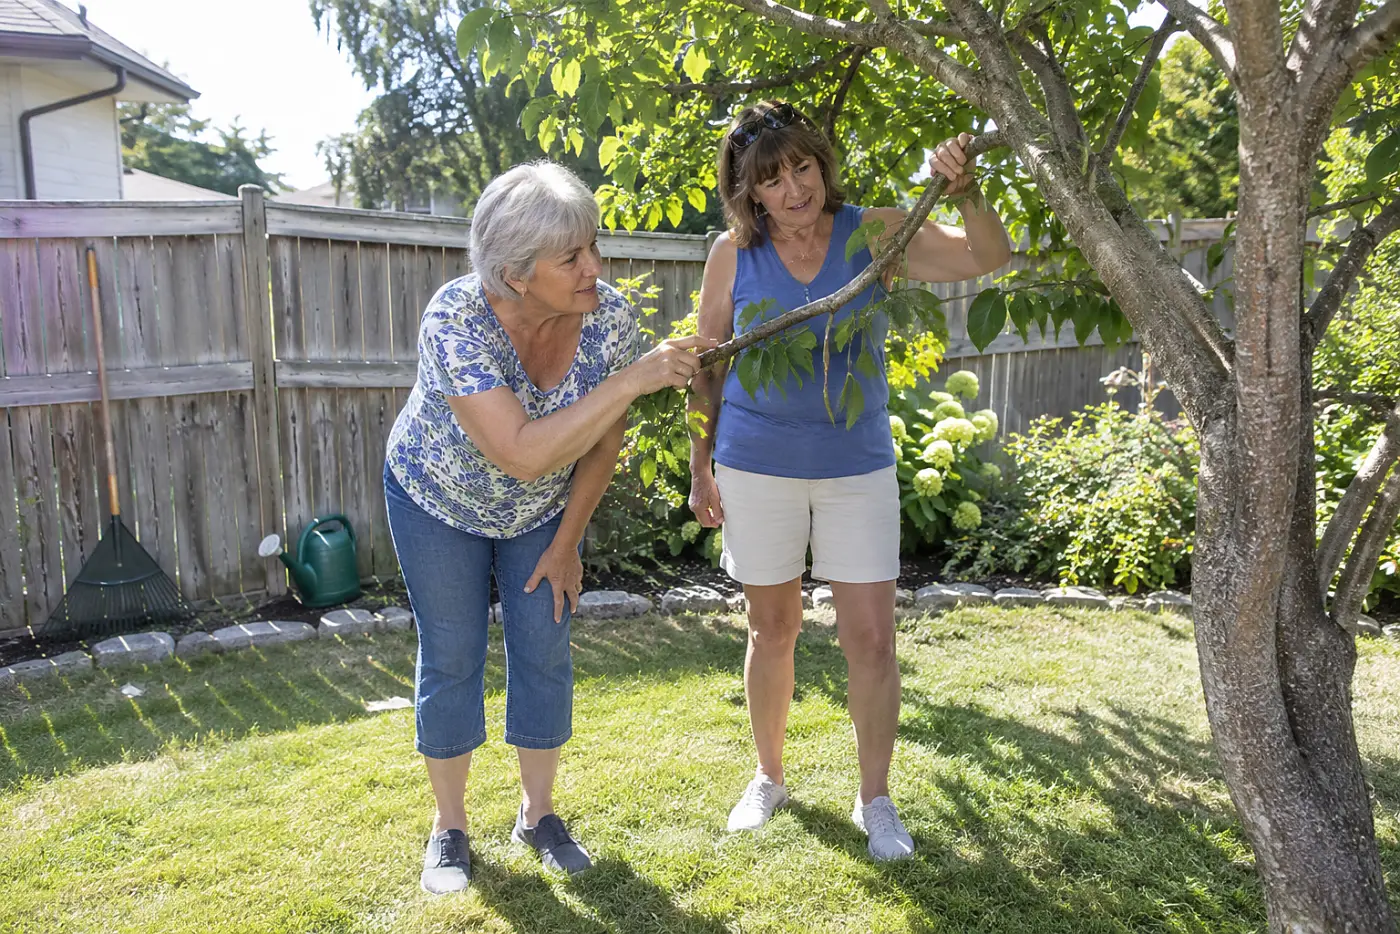
A sick branch won't heal by staying attached.
A canker marks damaged tissue on a stem, and dieback leaves a dead section beyond living wood. Cutting below the affected area removes the damaged portion. Dropping it beside the shrub leaves it nearby.
This week, photograph the problem and ask your local cooperative extension office to identify it before making a drastic cut. Remove clearly dead wood with clean tools, and follow local advice for disposal. “Can you help me tell freeze injury from a canker?”
Clean tools won't fix the next mistake if the cut itself is misplaced.
6The deadheaded peony stalk in autumn
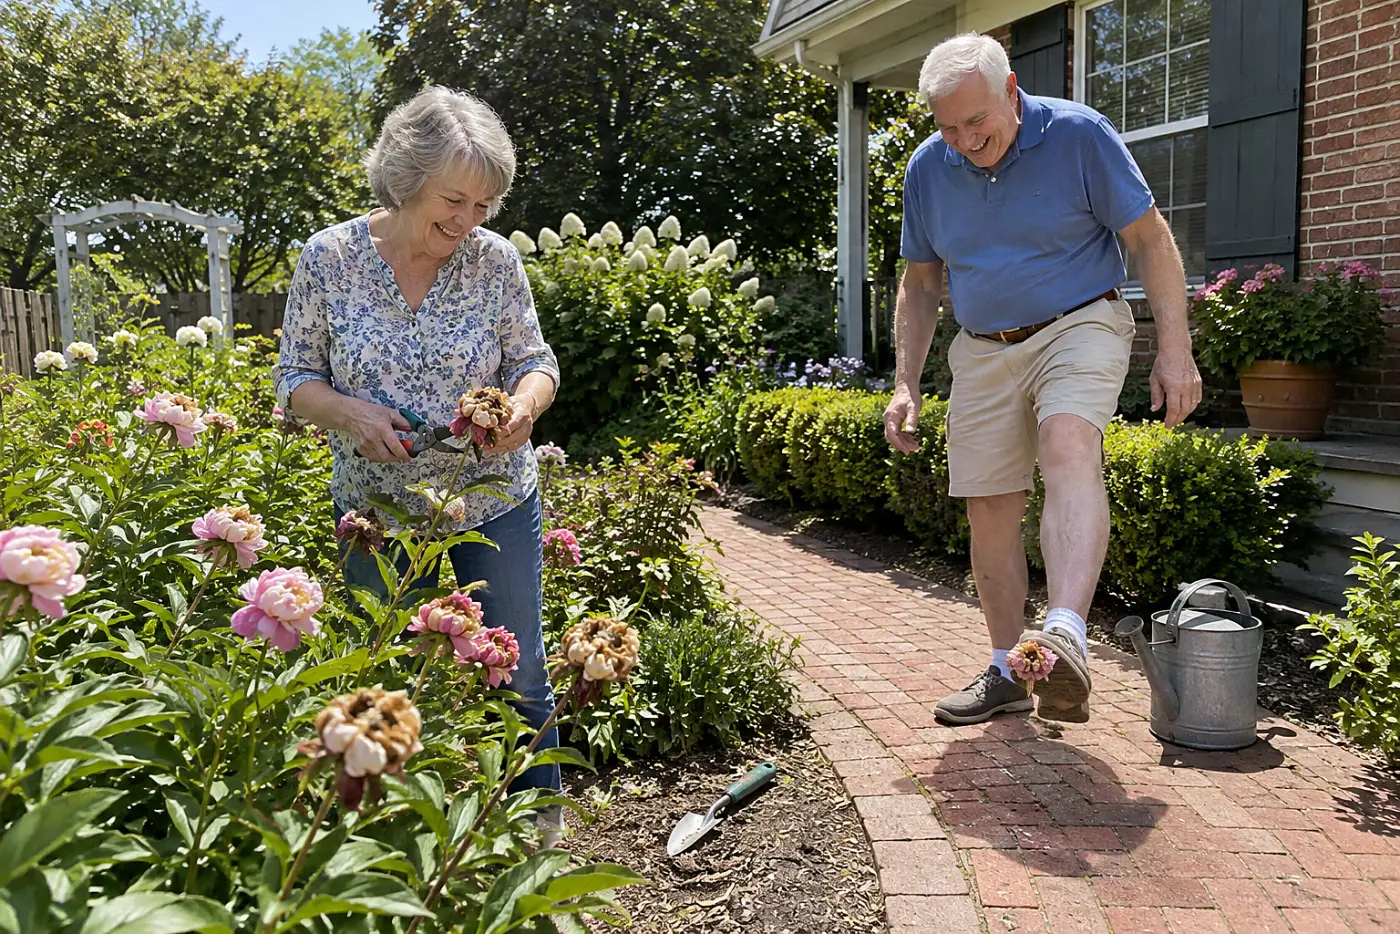
Cutting peony stalks before frost steals food from next spring.
After peony flowers fade, the leaves keep feeding the roots. The plant stores that energy below ground for next year's growth. Removing green stalks early cuts that supply short. The plant still returns in spring, so the loss isn't obvious when you clear the bed.
Peony buds form underground. Each leafy stem helps build the reserves those buds draw on when growth resumes. The flower head has finished its job, but the green leaves haven't. That's the distinction worth making before you lift the pruners.
You won't see the result in autumn. You'll see it when fewer strong stems rise in spring. If you've been afraid to cut, keep the part that still feeds the plant and remove only the spent bloom.
This week, snip off faded flowers and leave healthy leaves standing. After frost kills the foliage, cut the stalks down and clear them from the bed. “The flowers are finished, but these leaves still have work to do.” Check University of Minnesota Extension for peony care before cutting green foliage.
The next plant needs its leaves for the same reason, though they look far less welcome.
5The daffodil leaves tied into knots
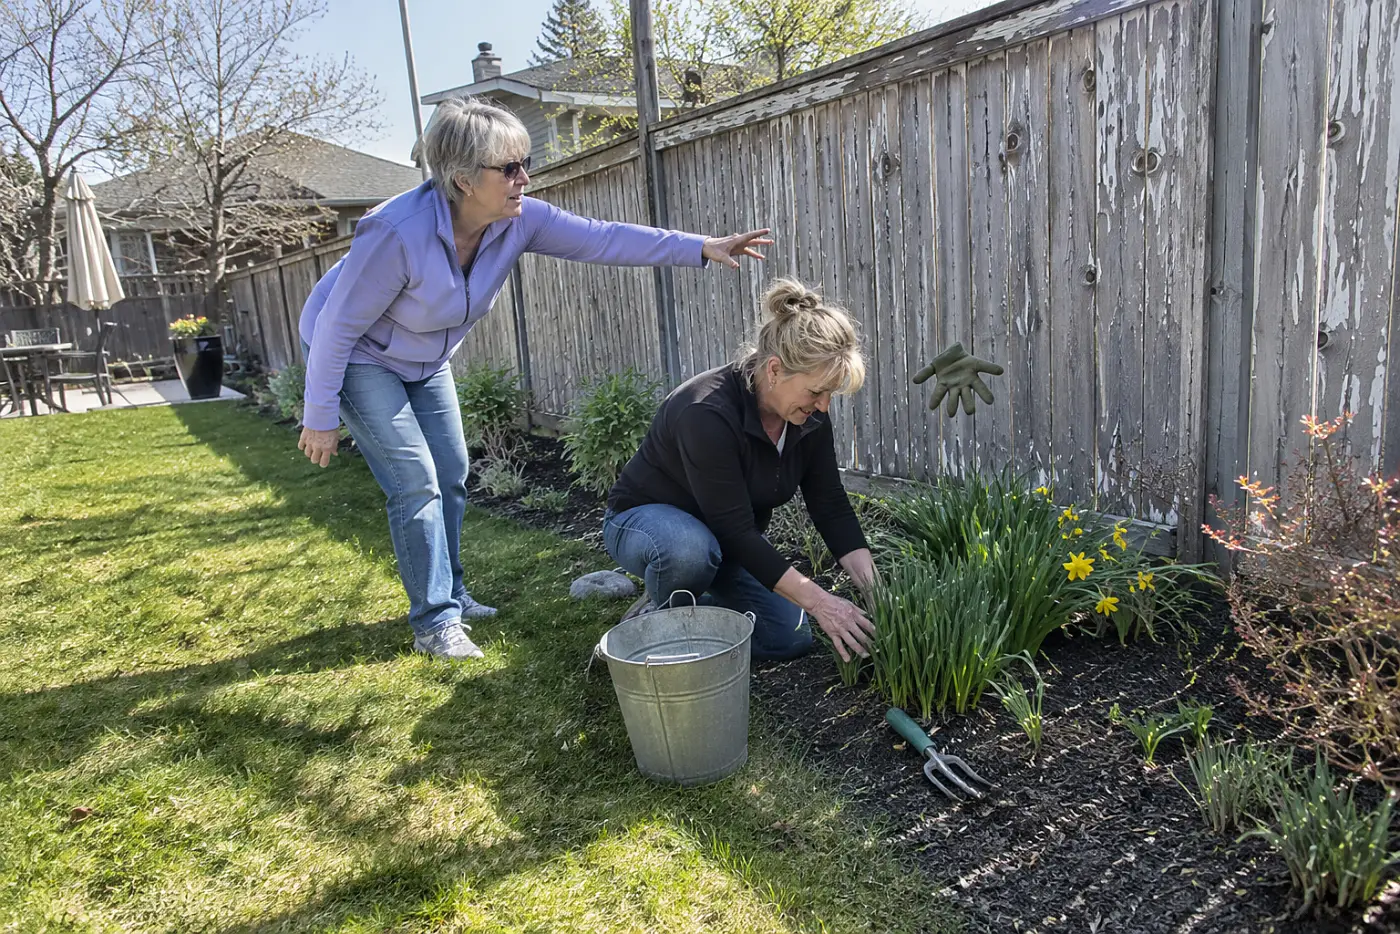
Knotted daffodil leaves stop feeding the bulb.
After the flowers fade, green leaves capture sunlight and replenish the bulb. Tying them bends and shades the blades. Cutting them removes that food source altogether.
The loss shows up in next spring's flowers. Your hesitation protects a bulb you can't see beneath the soil.
This week, untie any green leaves and let them grow until they yellow. Leave the blades alone when you remove the spent flower. “I'm leaving the leaves until they turn yellow.” The American Daffodil Society has guidance on daffodil care.
A living branch poses a different question when its flowers grow straight from the trunk.
See more: 23 Things Your Mother's Garden Taught You That Nobody Teaches Now →
4The redbud trunk shoots cut away
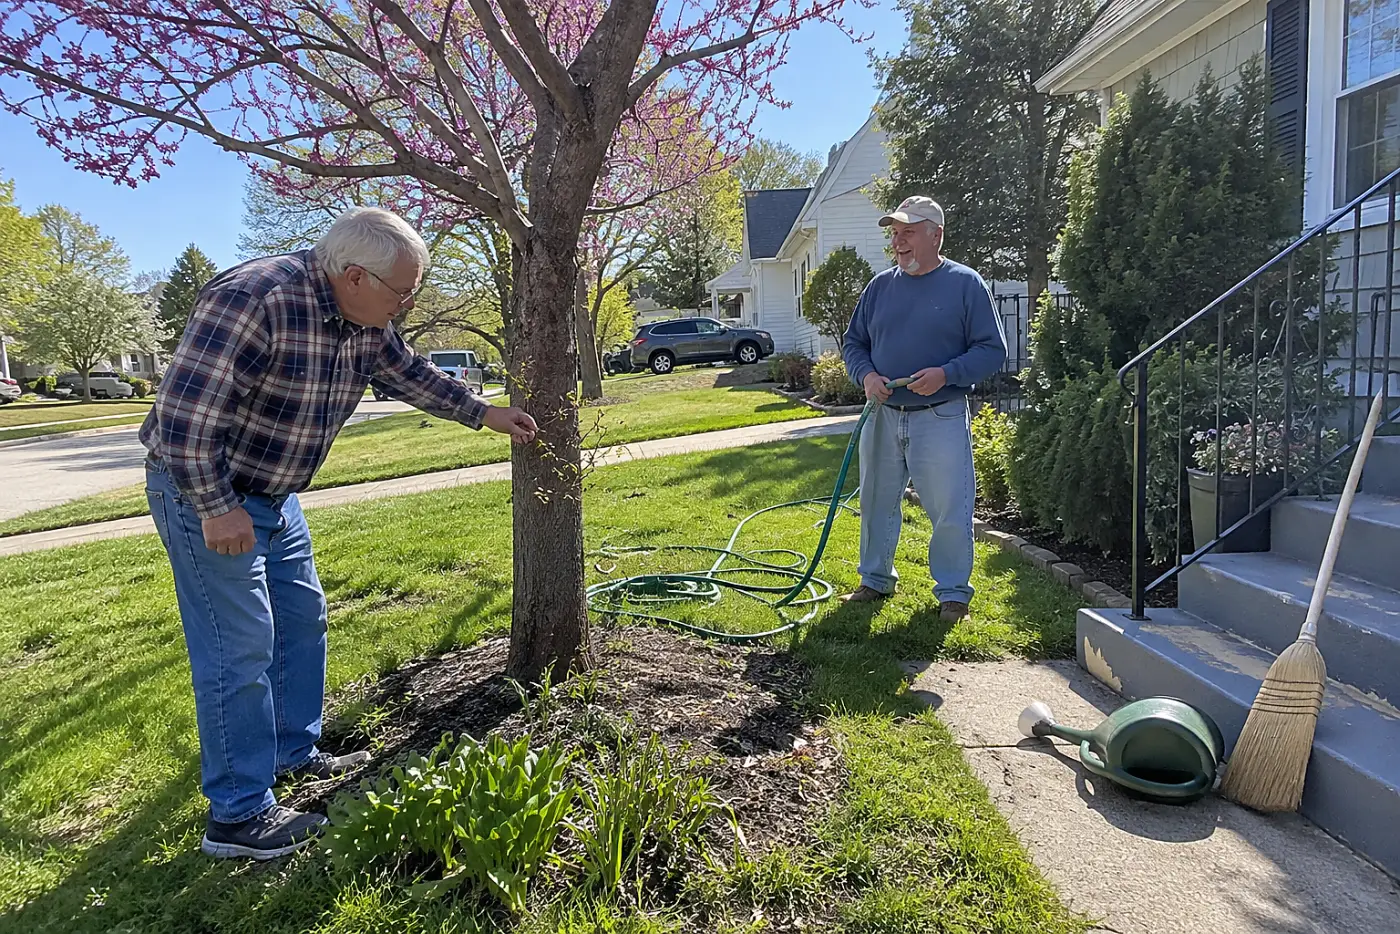
Cutting trunk shoots takes redbud flowers with them.
Redbuds flower on older wood, including established branches and the trunk. Those flowers grow directly from woody surfaces, so a crowded-looking trunk isn't necessarily calling for a cleanup cut. A leafy shoot on the trunk is different from a sucker rising at ground level. Look at where the growth attaches before deciding what to remove.
Cut every small shoot for a smooth trunk, and you lose flowering growth along with the shape you disliked. The missing flowers won't become clear until next spring. That's a long wait to discover what one quick pass with the pruners did.
This week, stand back from your redbud and look at the bark where each small shoot meets the trunk. Leave healthy trunk growth while you decide on the tree's shape. “Is this growing from the trunk or coming up from the ground?” For tree-pruning guidance, check the International Society of Arboriculture.
The next cut goes wrong even when the stem itself seems easy to spare.
3The flower stalk cut from a yucca
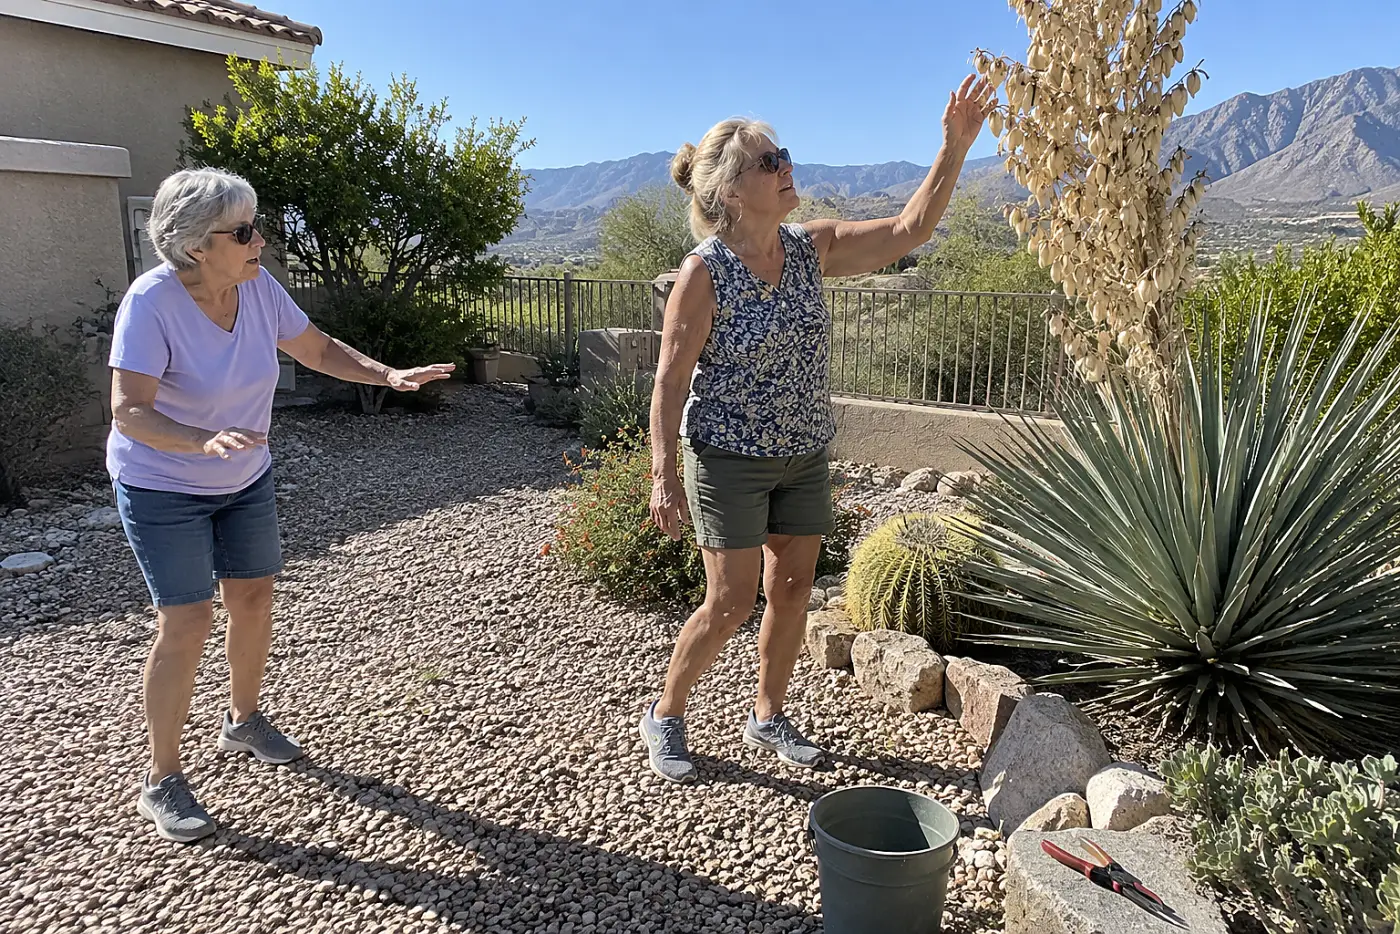
A yucca flower stalk has only one flowering turn.
After a yucca blooms, its tall flower stalk dries out. Removing that spent stalk clears the view without taking future flowers. The leaf rosette that produced it has finished flowering. Smaller rosettes at the base hold the next chance to bloom.
Cutting those smaller rosettes to neaten the clump removes the replacements you were waiting for. Look below the dry stalk before choosing where the blade goes.
This week, locate the stalk's base and identify the smaller leaf rosettes around it. Cut only the spent stalk, keeping the blade clear of their leaves. “I'm taking the old stalk, not the new rosettes.” Check the Royal Horticultural Society for yucca care before cutting into the clump.
That close look at the base matters again when you move from flower stalks to woody stems.
2The branch collar cut flush
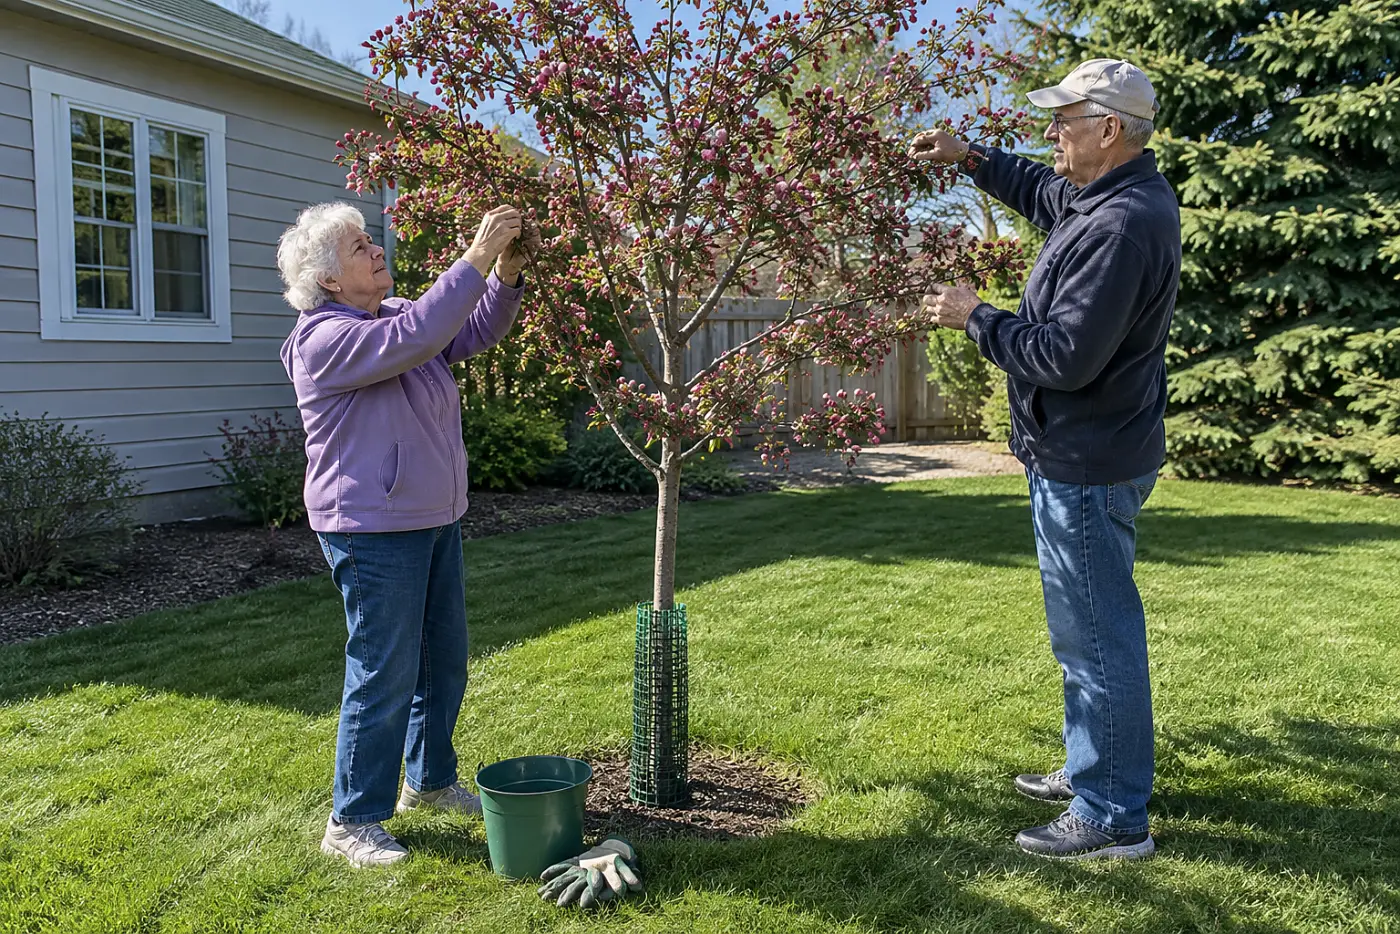
A flush cut removes the tree's protective edge.
Where a branch joins a larger stem, a slight swelling forms the branch collar. Cut the branch flush against the trunk, and you slice into that collar. Leave a long stub, and dead wood remains outside it. A cut just beyond the collar leaves the tree's protective tissue intact.
The International Society of Arboriculture is a source for tree-pruning guidance. This matters on flowering trees such as crabapples, cherries, and magnolias, where losing a major limb changes next year's display as well as the tree's shape. Don't coat the wound with paint; the right cut is the work.
This week, find the collar on a small branch before you cut anything larger. If you're unsure where a heavy limb will fall, call a qualified arborist rather than climbing with a saw. “Where does the branch end and the trunk begin?”
Now put the tool down for the check that comes first.
1The unmarked test branch beside your pruners
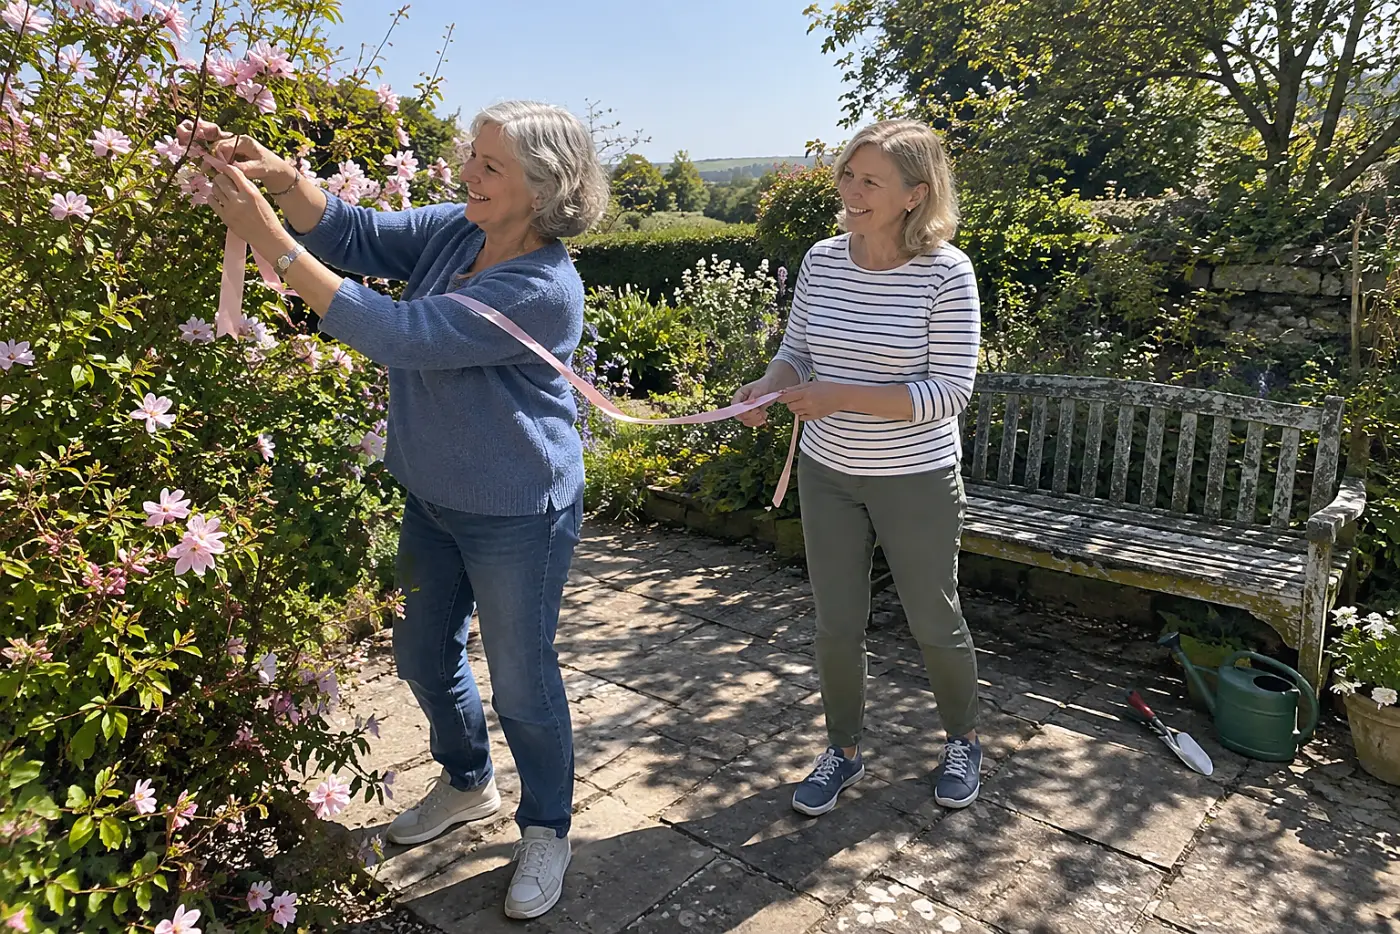
One unmarked cut can erase the evidence you needed.
Choose one living branch on the plant you've been afraid to prune. Tie a loose ribbon to it, then photograph the whole branch from base to tip. Record where flowers appear when the plant blooms. That marked branch gives you a point of comparison before you shorten healthy stems elsewhere.
Without that record, a leafy spring proves the plant survived, not that your cut spared its flower buds. A tagged test branch shows which wood carried blooms and which buds opened. Don't cut the marked branch while you're gathering that evidence.
This week, mark one reachable branch and put its plant name on the ribbon. Save a close photo of its buds beside a photo of the whole plant. “Let's leave this branch alone until we see where it flowers.”
Keep that answer where the pruners live.
The bottom line
These mistakes share one pattern: the cut comes before the bud check.
You're best prepared when the plant names, bloom months, and pruning times sit together near your tools. That small record makes the next cut less of a guess.
Which of these has already happened in your garden?
Up next
25 Reasons Your Hydrangeas Didn't Bloom, and Which One Is Your Fault
A clean pair of pruners can erase next summer’s flowers before winter even starts.
Read the list →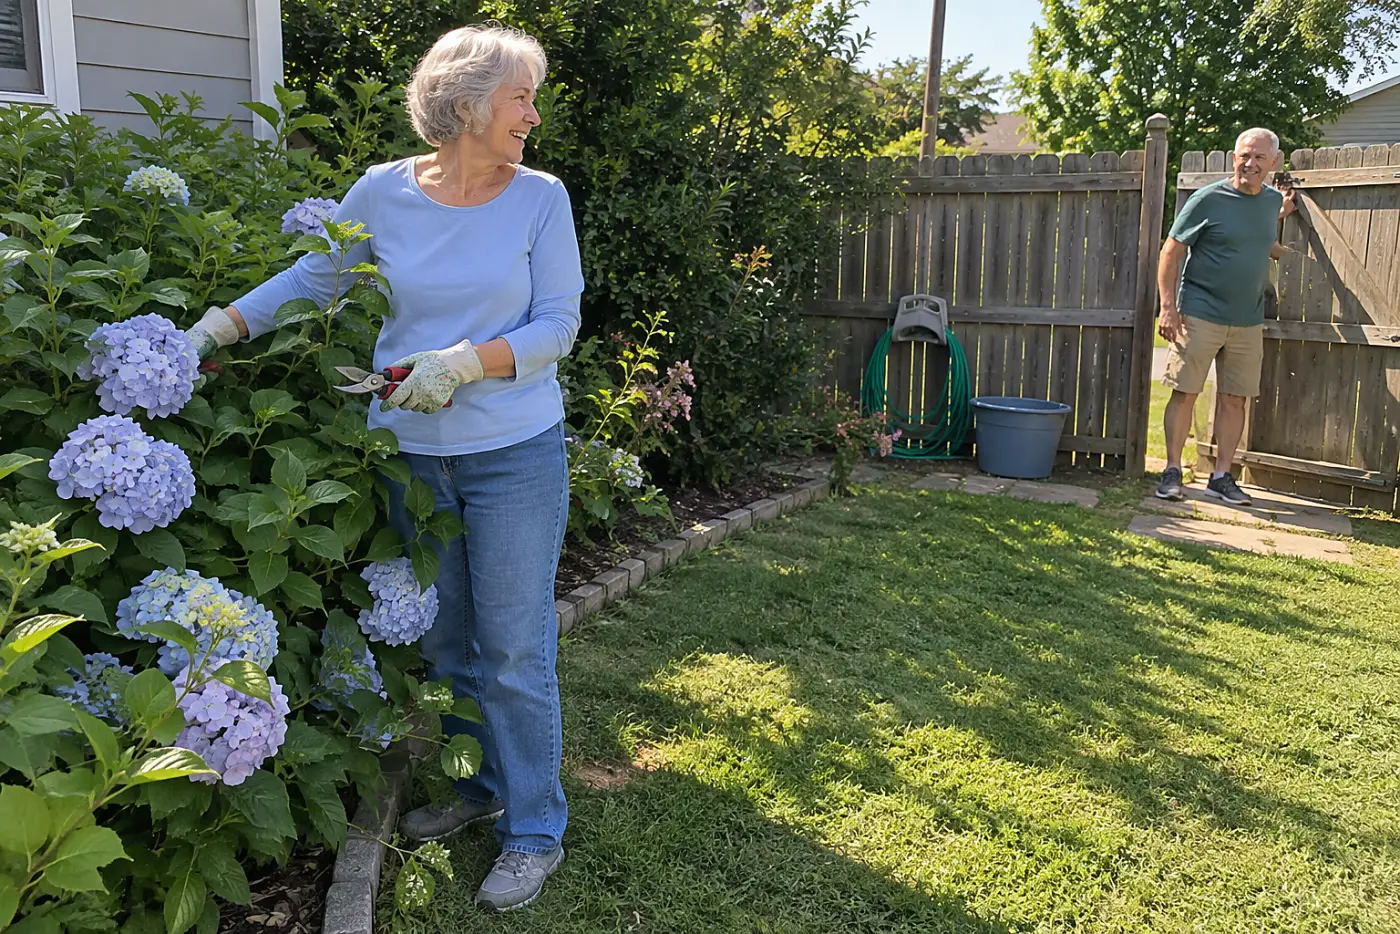
Reader quiz
Did you catch the details?
5 questions from this article. Finish them all to unlock the editor's bonus tip.
When does the article say to plan the main pruning of a forsythia?
Did any of these feel familiar?
Know someone who needs this?
Sources cited in this article
This article links to 10 outside sources, listed here so you can read them yourself.
- American Horticultural Society ahsgardening.org
- University of Minnesota Extension extension.umn.edu
- University of Maine Cooperative Extension extension.umaine.edu
- University of Maryland Extension extension.umd.edu
- Royal Horticultural Society www.rhs.org.uk
- International Society of Arboriculture www.treesaregood.org
- University of Wisconsin-Madison Extension hort.extension.wisc.edu
- American Rhododendron Society www.rhododendron.org
- University of Georgia Extension extension.uga.edu
- American Daffodil Society daffodilusa.org
June Marlow
Garden Editor
June writes about gardens you can still manage: what to plant, which jobs matter each season, and the tools that spare your knees and back.
More from June Marlow