







25 Ways to Keep Gardening With Bad Knees and a Bad Back
Set the potting table at elbow height, keep a scoop beside the soil, and check the path back before lifting a basket.
By June Marlow, Garden Editor
Updated · 16 min read
- Written by our garden editor
- Cited 14 sources
- How we review
Read to the end: #1 is the garden-route check that catches the tired trip home, and almost nobody does it first.
The tomato stem snaps against your thumb while you lean over the bed. You meant to pull one yellow leaf. Now you’re reaching farther, the bucket is behind you, and standing up feels like a separate job.
Putting the trowel away won’t fix that reach. Moving the soil, water, and tools closer lets your hands keep doing the work without making every task a test for your knees and back. Start with one bed or one pot; you don’t have to remake the yard this week.
Here are 25 ways to keep your hands in the garden.
25Put a tray beneath the seed pots
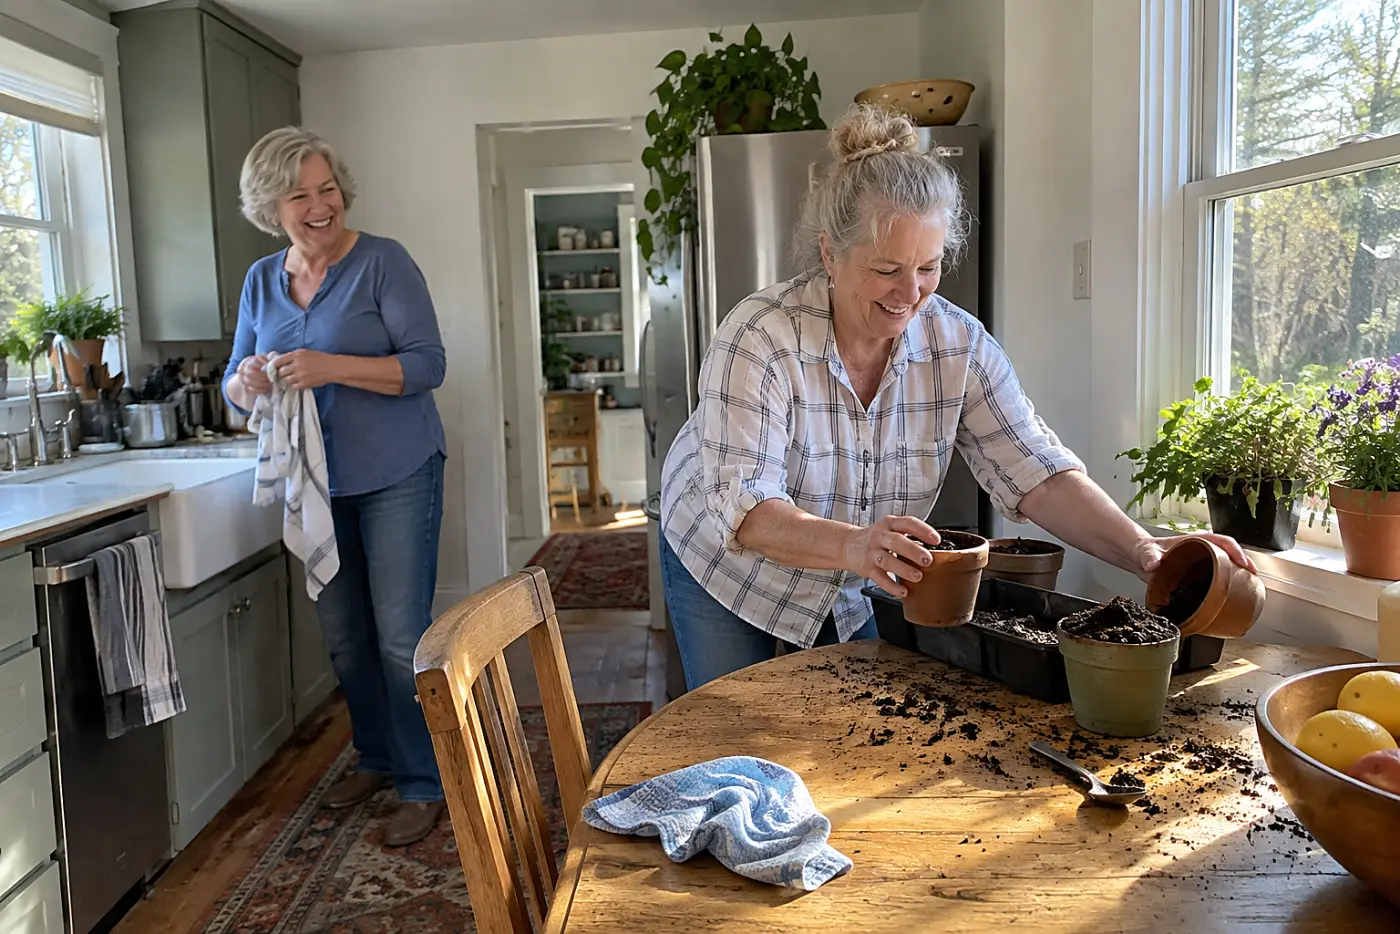
Seed pots scatter across a table faster than you think.
A tray holds the pots, spilled mix, and labels together. Bring it to a table before you start, then keep the seed packet beside it. Your hands do the fine work while your knees stay out of it.
Without the tray, you’ll fetch one more pot, then one more label, from wherever they landed. The University of Minnesota Extension has seed-starting guidance if you need to check how deep to sow a particular seed.
This week, set a sturdy tray beside your supplies before opening the packet. “I’m bringing the work to me.” Leave room for your elbows, not just the pots.
Then look at the surface beneath the tray.
24Set a potting table at elbow height
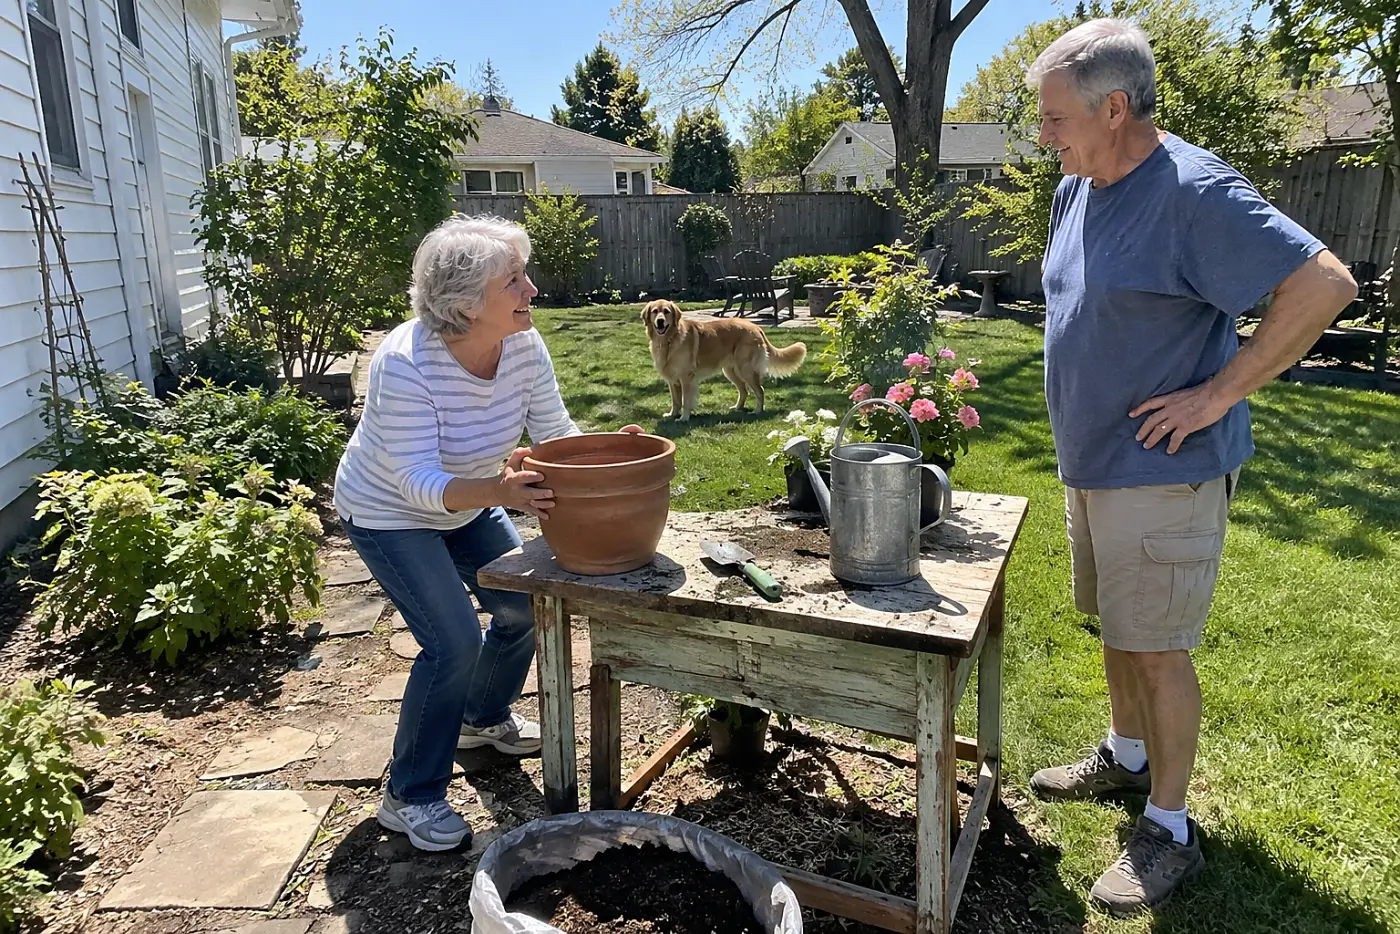
A low bench makes your back hold a forward bend.
Stand at the table with your shoulders loose and elbows close to your sides. Put an empty pot on it and pretend to fill it. If you hunch over the rim, raise the work surface; if your shoulders lift, lower it.
Your kitchen counter offers a familiar height to compare, but it isn’t a target measurement. The pot’s rim, not the tabletop, is where your hands work. A table needn’t be a purpose-built potting bench to pass that test.
The wrong height turns sowing into a long stretch over soil. Your back pays for every pot, even when each one is light.
This week, test the table you already own with a pot and a scoop of mix. “I want the pot where my hands meet it without bending.”
Once the table fits, notice how far the heavy bag sits from it.
23Scoop potting mix from a small tub
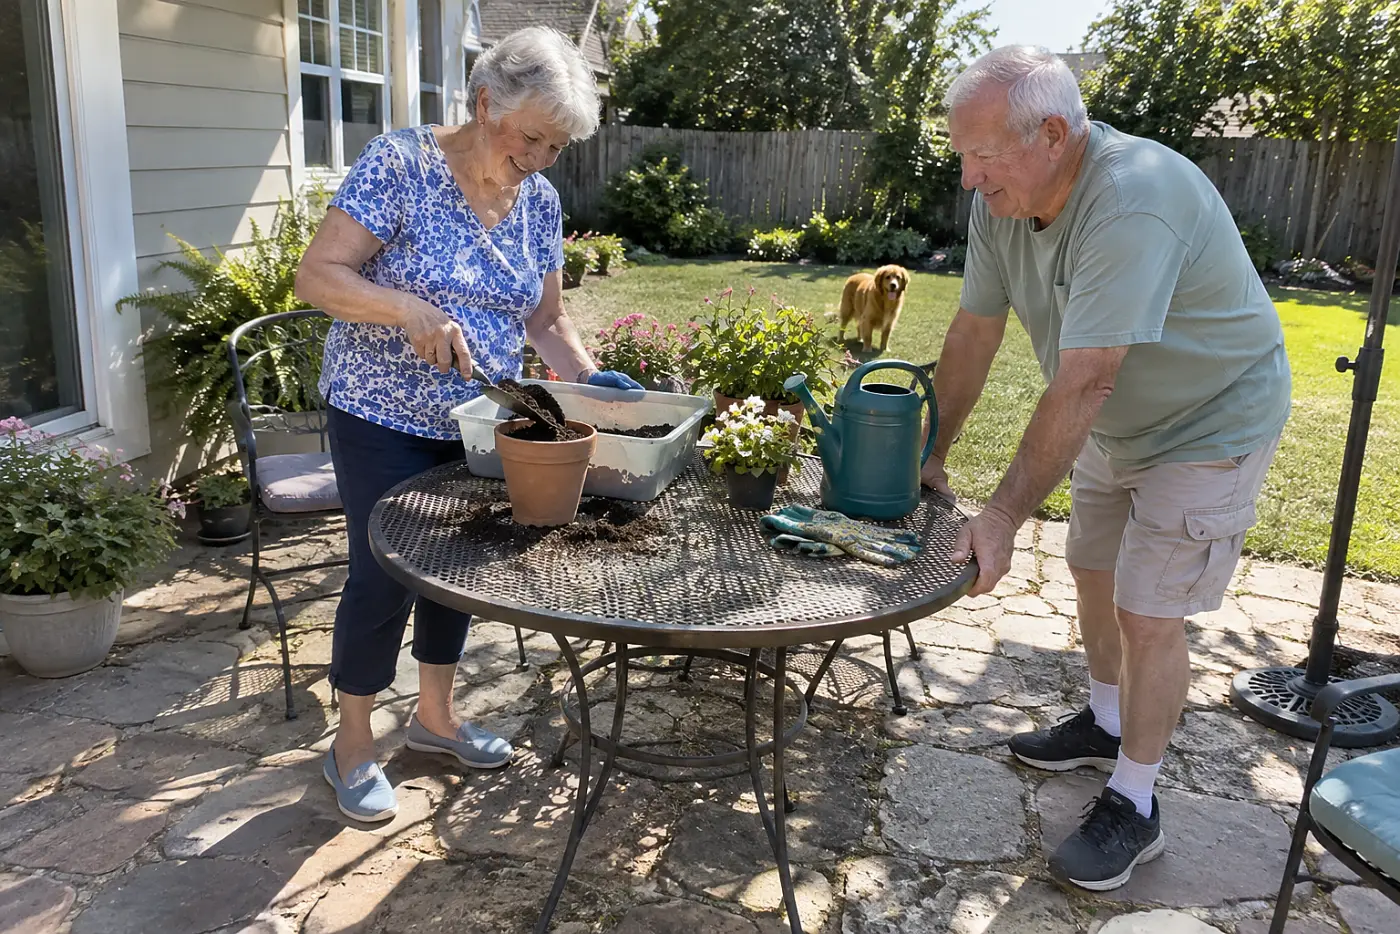
A full bag fights back each time you lift it.
Leave the bag where it’s stored. Put a smaller amount of mix in a tub that stays at table height. Dip a cup into the tub instead of tipping the bag over a pot.
The bag’s weight shouldn’t decide when planting ends. A tub with a wide opening also gives your scoop room to move without scraping your knuckles. Keep its lid nearby so rain doesn’t soak the mix between jobs.
This week, fill the tub with a scoop rather than lifting the sack. “I’ll refill this when it’s empty.”
The next problem is what happens when the pot fills.
22Choose pots you can move empty
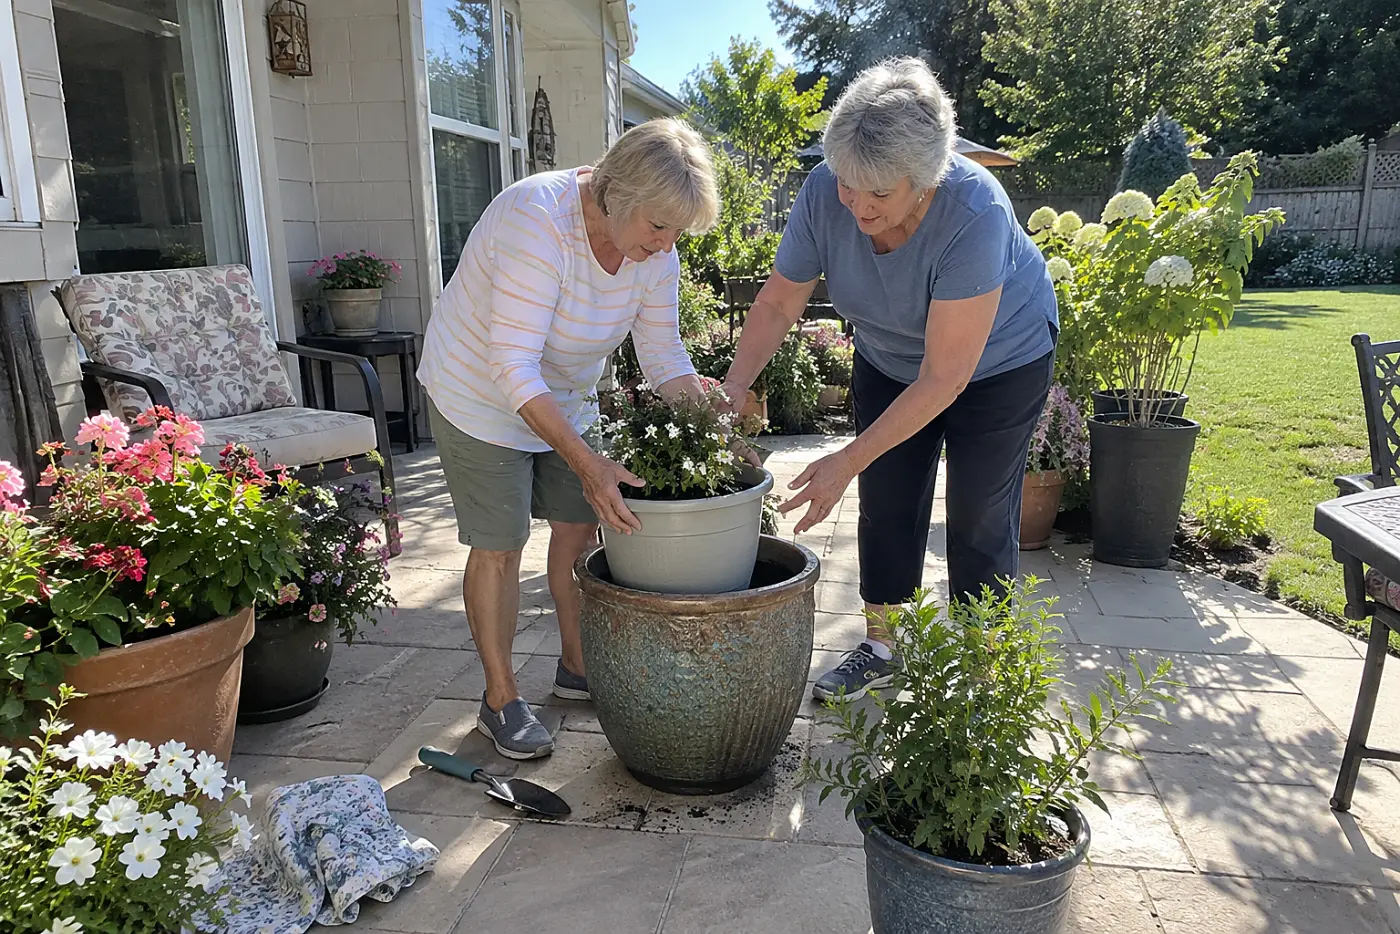
A handsome pot becomes trouble once it holds wet soil.
Pick up a pot in the shop before you put anything in it. If the empty container already takes effort, filling it with damp mix won’t help. Set a heavy decorative pot in its final place. Then grow in a lighter nursery pot inside it.
That inner pot lets you change soil or replace a plant without dragging the outer pot across the patio. Make sure the nursery pot drains, and empty any water caught in the decorative container.
The University of Maryland Extension has container-gardening guidance if you’re checking a new pot’s drainage. Roots left sitting in water have a different problem from your back.
This week, lift each empty container you plan to use and choose its spot before filling it. “This one stays put once the soil goes in.”
After that, pay attention to how you get water to it.
21Park the hose beside the pots
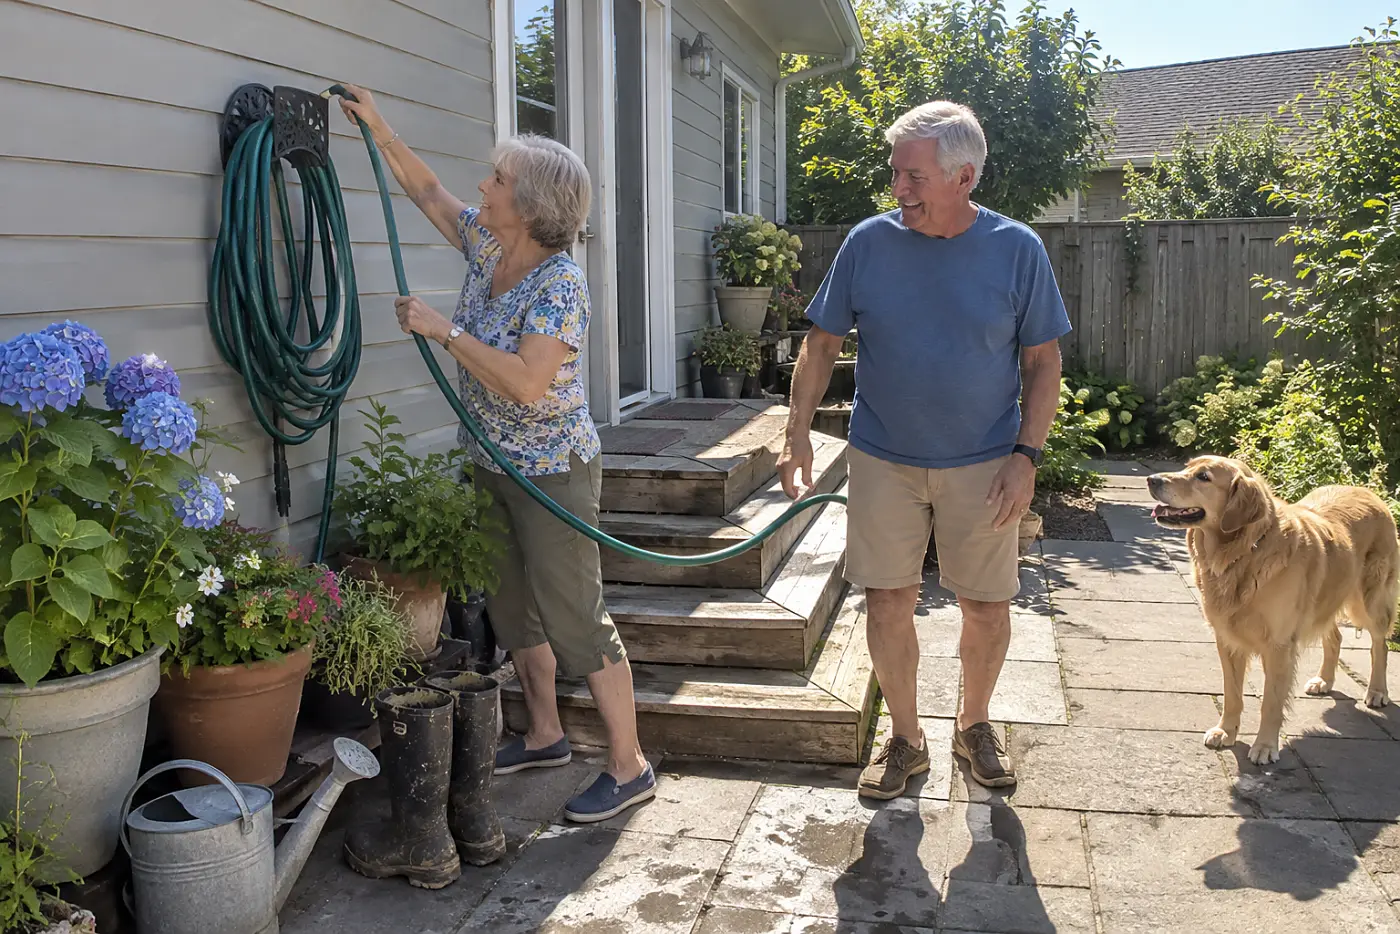
Dragging a hose tests your back before watering starts.
A hose left across the lawn catches on bed edges and chair legs. Store it near the plants, with its nozzle where you reach it without crouching. Pull out only the length needed for that area.
Otherwise, your first job is wrestling rubber, not tending leaves. The University of California Integrated Pest Management program has garden guidance if damaged plants are sending you on extra trips with the hose.
This week, move the hose beside the pots and check that it reaches them. “I want to start watering without pulling it across the yard.”
Water still has to reach the farther corners.
20Run drip tubing along the bed
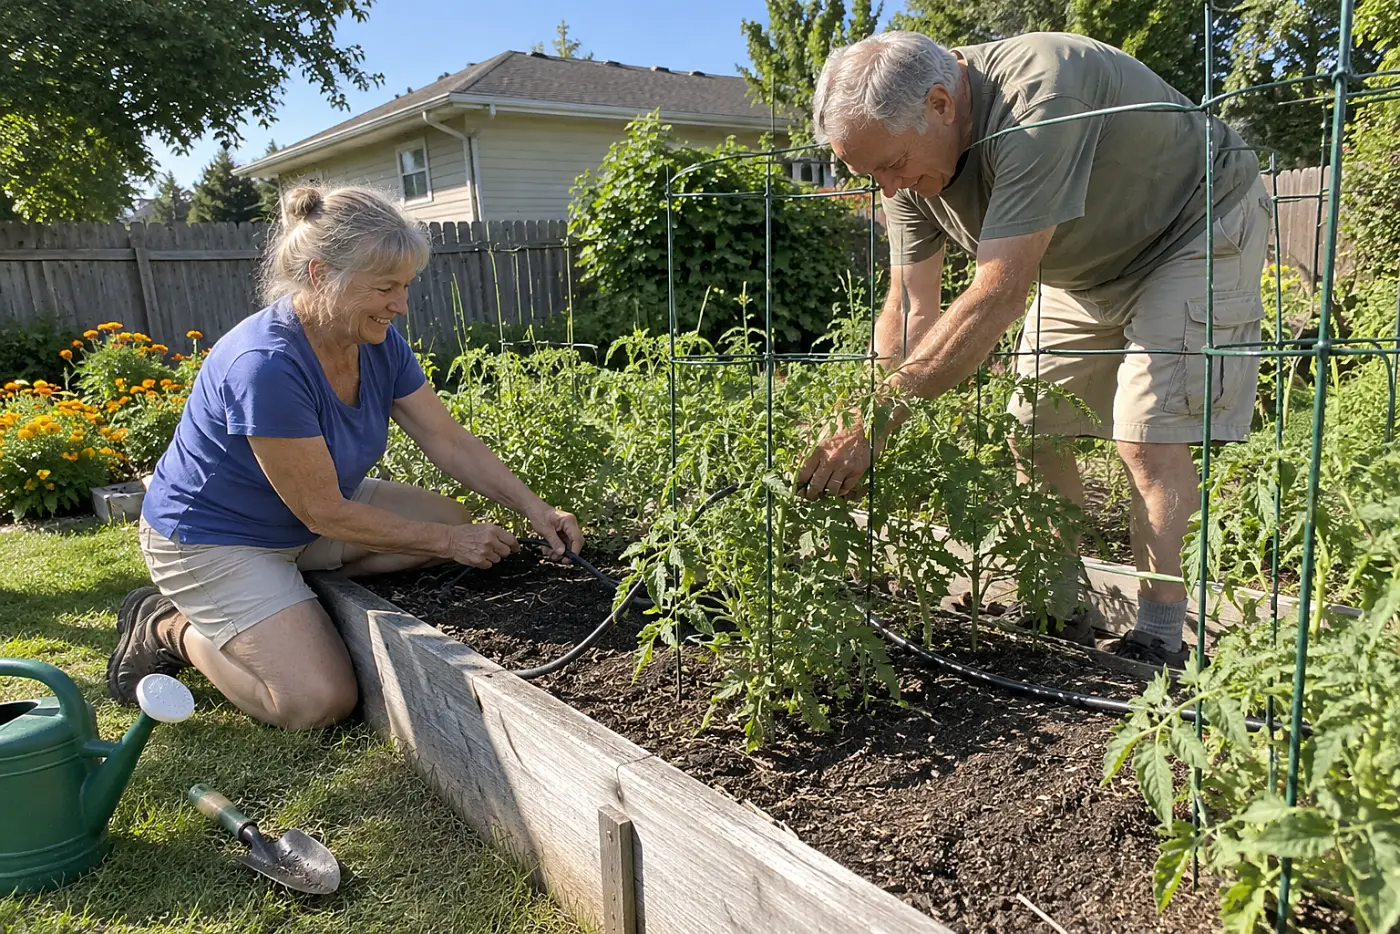
Watering every plant by hand keeps you standing longer.
Drip tubing carries water along a row and releases it near the soil. Connect it to the fitting made for your hose, then place the tubing beside the plants. Run it while you’re there the first time.
Watch where water lands. Check the soil with a finger before deciding how long to run it again. A wet surface beside one plant tells you little about the far end of the bed.
A faucet that’s on doesn’t prove the tubing is working. The EPA WaterSense program has outdoor-watering guidance if you’re planning a larger setup; test this short run before buying more parts.
This week, lay out tubing where watering takes the most effort. “Show me which fitting connects this tubing to my hose.”
Once water arrives without a long walk, the soil itself deserves a closer look.
19Mulch the soil around your plants
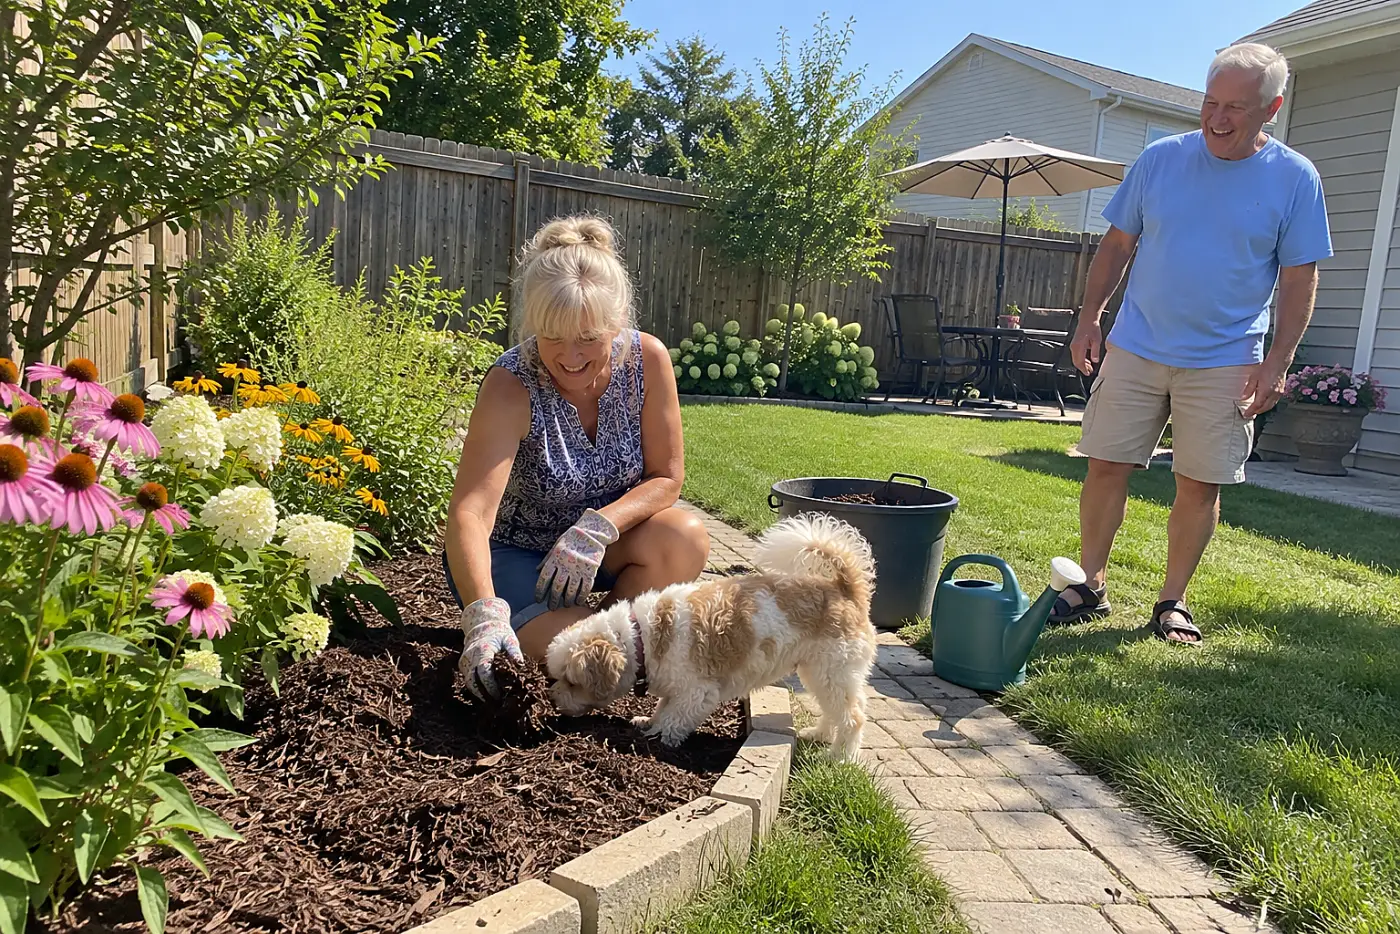
Bare soil asks you to weed it again.
A layer of mulch about 2 to 3 inches deep shades the ground between plants. Pull existing weeds before covering the soil, and leave stems uncovered. Otherwise, you’ve hidden the work rather than finished it.
Every return trip to pull weeds means more bending. Before you carry mulch over, place the bag beside the bed and move smaller amounts from there. The University of Illinois Extension has mulch guidance if you’re choosing material for a vegetable bed.
This week, clear and mulch one reachable section. “I’d rather carry mulch once than keep reaching for these weeds.”
A few weeds will still find the edges.
See more: 23 Fall Jobs That Save Your Spring, One Weekend at a Time →
18Use a long-handled hoe for seedlings
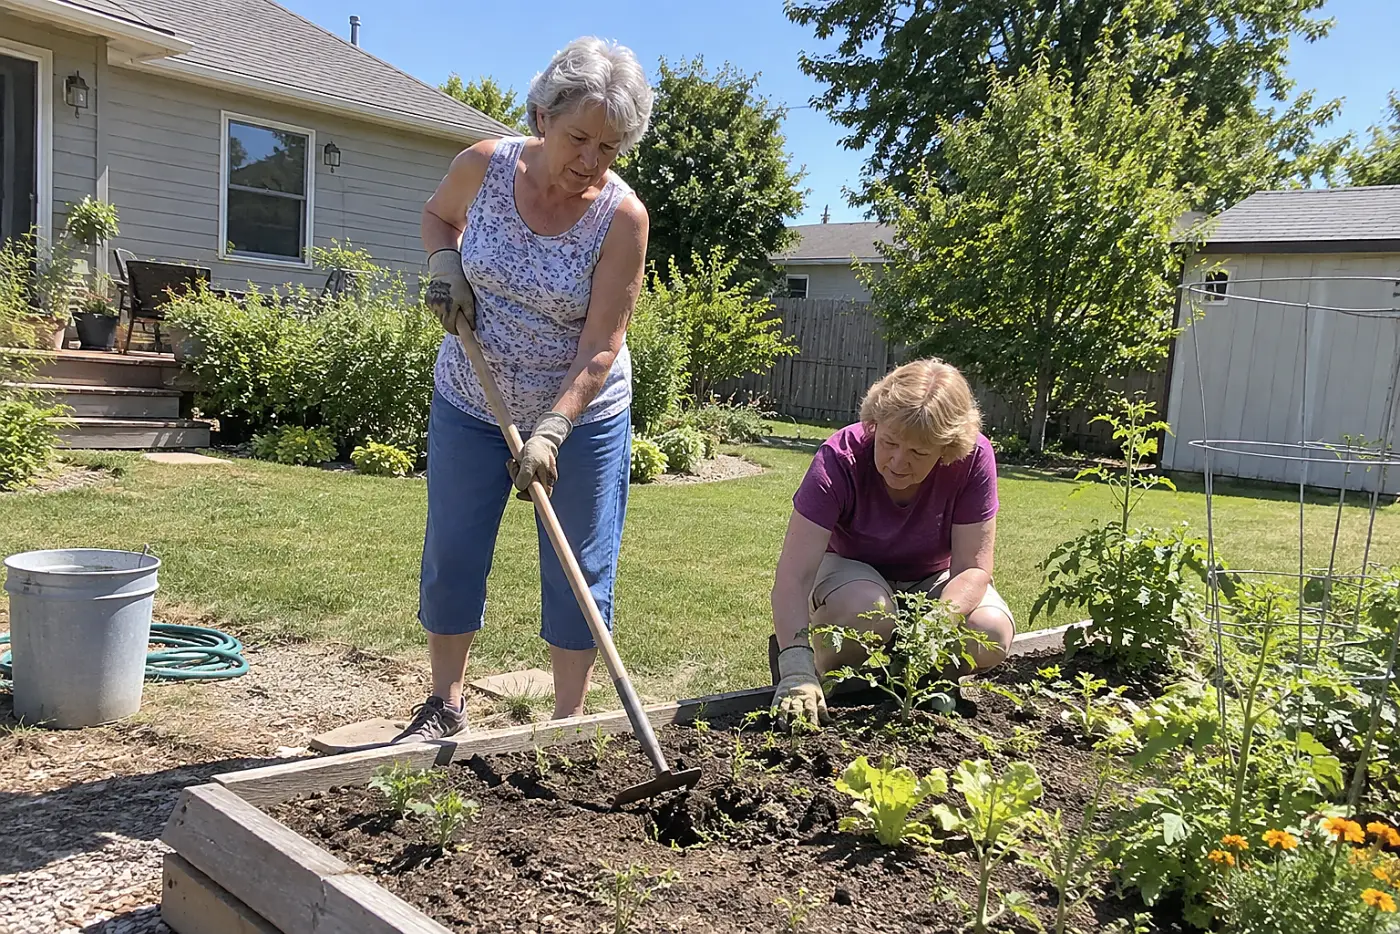
The smallest weeds are easiest to remove standing up.
Move a hoe across the soil surface while weed seedlings are still small. Cut them at the base with short strokes, rather than driving the blade deep near roots you want to keep. Work when loosened weeds won’t settle straight back into wet soil.
The handle has to fit you. If it forces your shoulders up or your waist down, it’s shifting the strain instead of sparing your knees. Try its working position before buying one.
The University of Wisconsin-Madison Extension has vegetable-garden guidance when you need to tell a seedling from a weed. Your hoe is no help if it cuts down the plants you meant to keep.
This week, clear a short stretch from a standing position. “I need a handle that lets me work without folding over.”
Then think about the weeds that are too large for a hoe.
17Grip a stubborn weed near its base
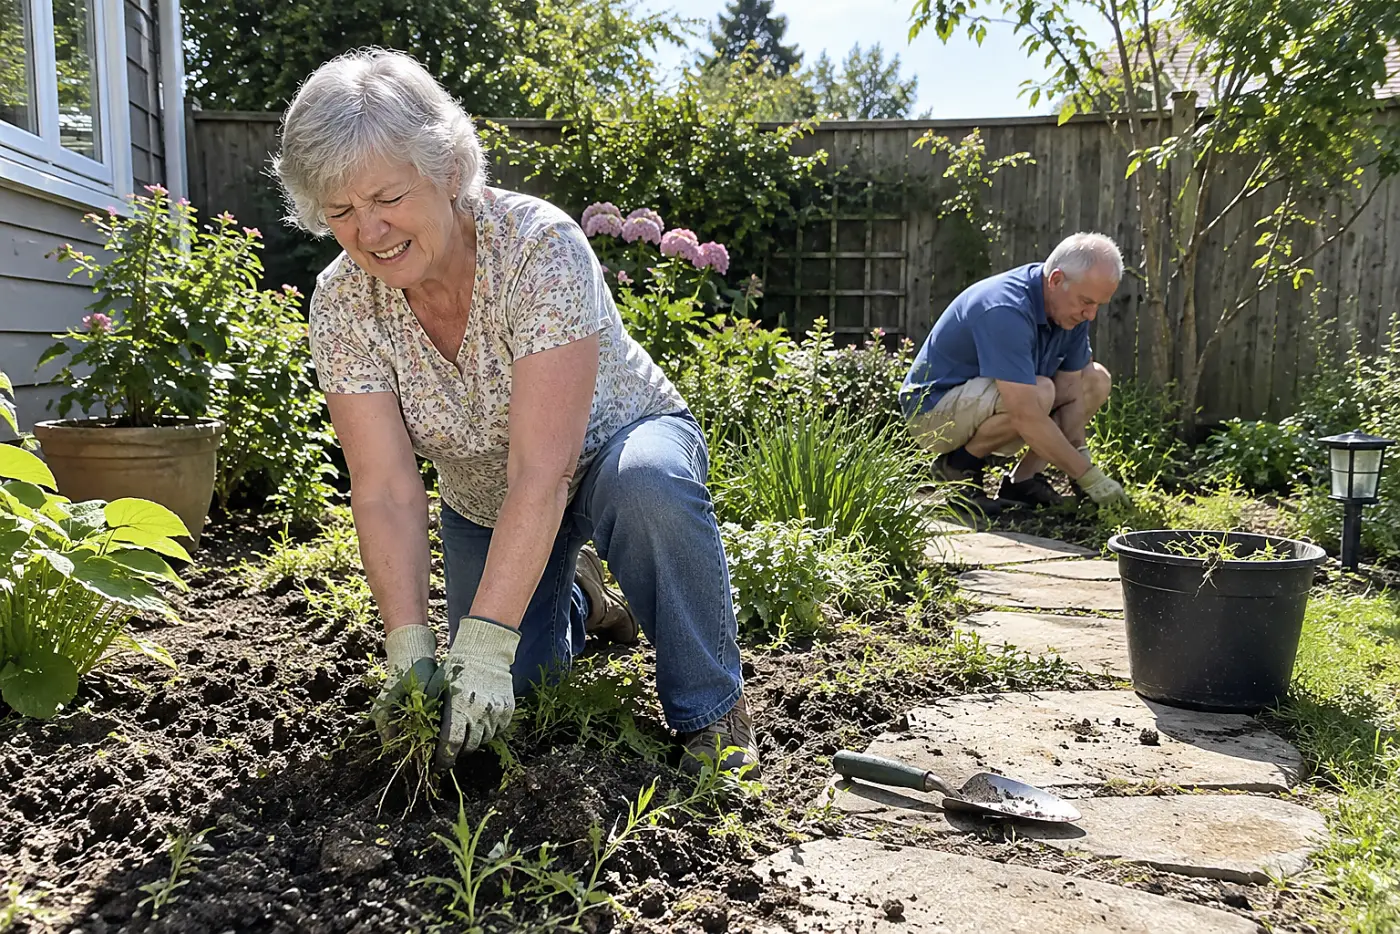
A tall weed invites a hard, twisting pull.
Soak dry ground first, or wait until rain has loosened it. Take hold near the base, then pull without twisting your planted feet. If the root stays put, leave it for another method instead of jerking harder.
A torn stem leaves the root and sends you back down again. The University of Florida IFAS Extension has weed-identification guidance if an unfamiliar plant keeps returning in the same spot.
This week, tackle only weeds that release without changing your posture. “These can wait until the ground is damp.” Set each weed down where you won’t step on it.
The weeds you remove still need somewhere to go.
16Keep a debris bucket beside the bed
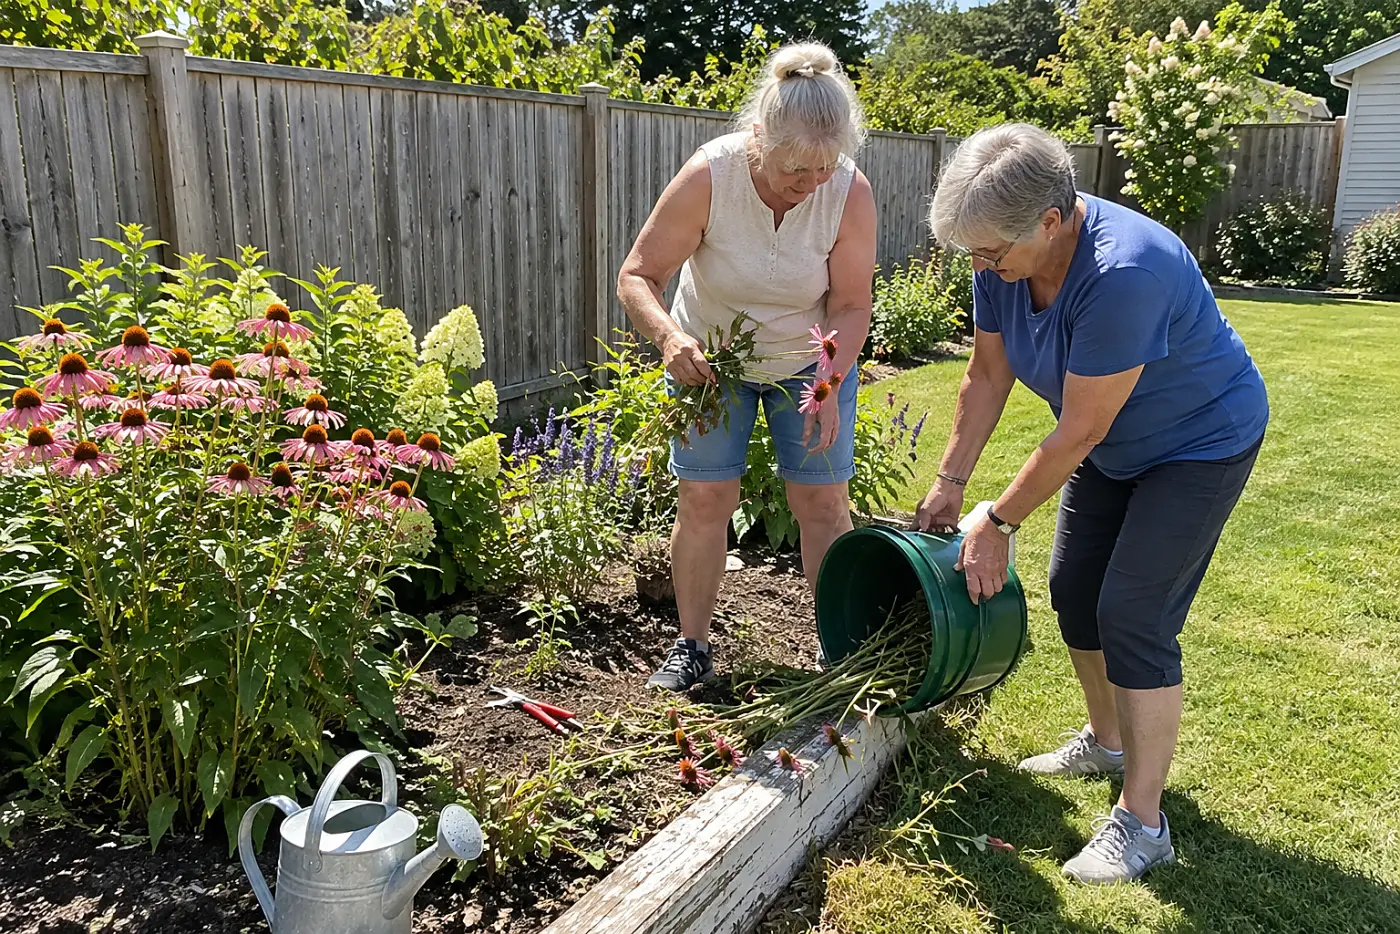
One fallen leaf can turn into twenty bends.
Place a bucket within reach before you start pruning or weeding. Drop each bit of debris straight in, instead of making a pile on the path. When the bucket gets awkward to carry, empty it before adding more.
A path littered with cut stems gives your feet something to catch. Don’t leave the bucket where you’ll have to step around it to change position. Its place should move as your work moves.
This week, take a small bucket out with your tools and keep it beside the work. “I’m not picking all this up twice.”
The bucket solves cleanup, but not the walk to wherever it empties.
15Put the compost bin close to work
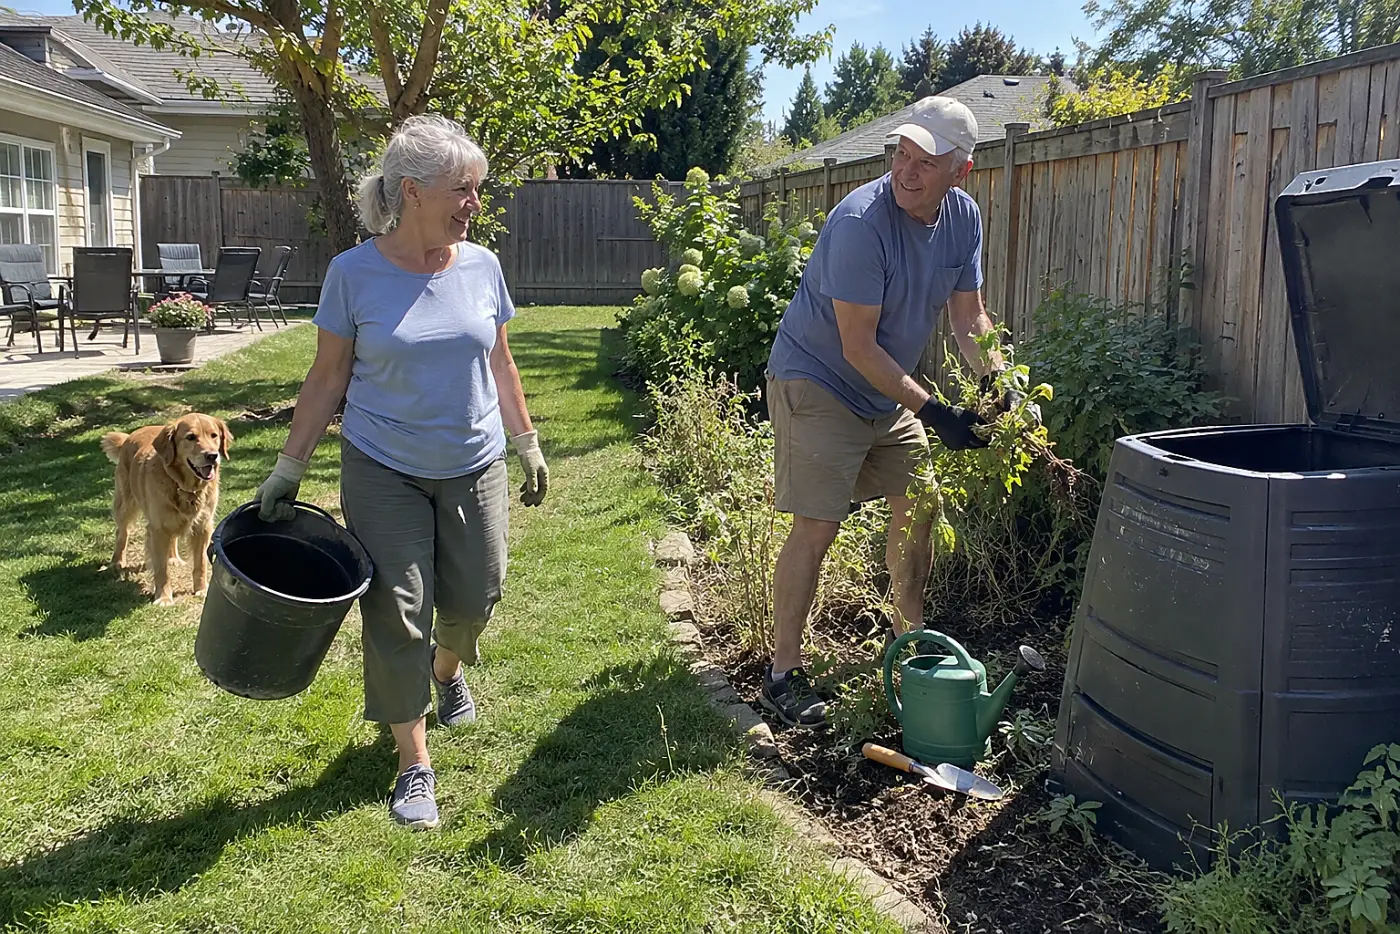
A distant bin turns scraps into a hauling job.
Choose a spot with a firm approach and room to open the lid. You should reach it with the bucket without stepping over a border or crossing slick grass. Keep the lid’s handle at a height you can use without holding the bucket in the other hand.
Compost still needs tending, but the trip shouldn’t be the hardest part. If the route hurts, debris collects where you garden. The EPA’s composting guidance helps when you’re sorting garden scraps from other waste.
This week, walk from the busiest bed to the bin with an empty bucket. Open the lid, set the bucket down, and turn back. “I want this trip to work when I’m tired.”
Now check what you’re asking yourself to carry.
14Split heavy loads between two containers
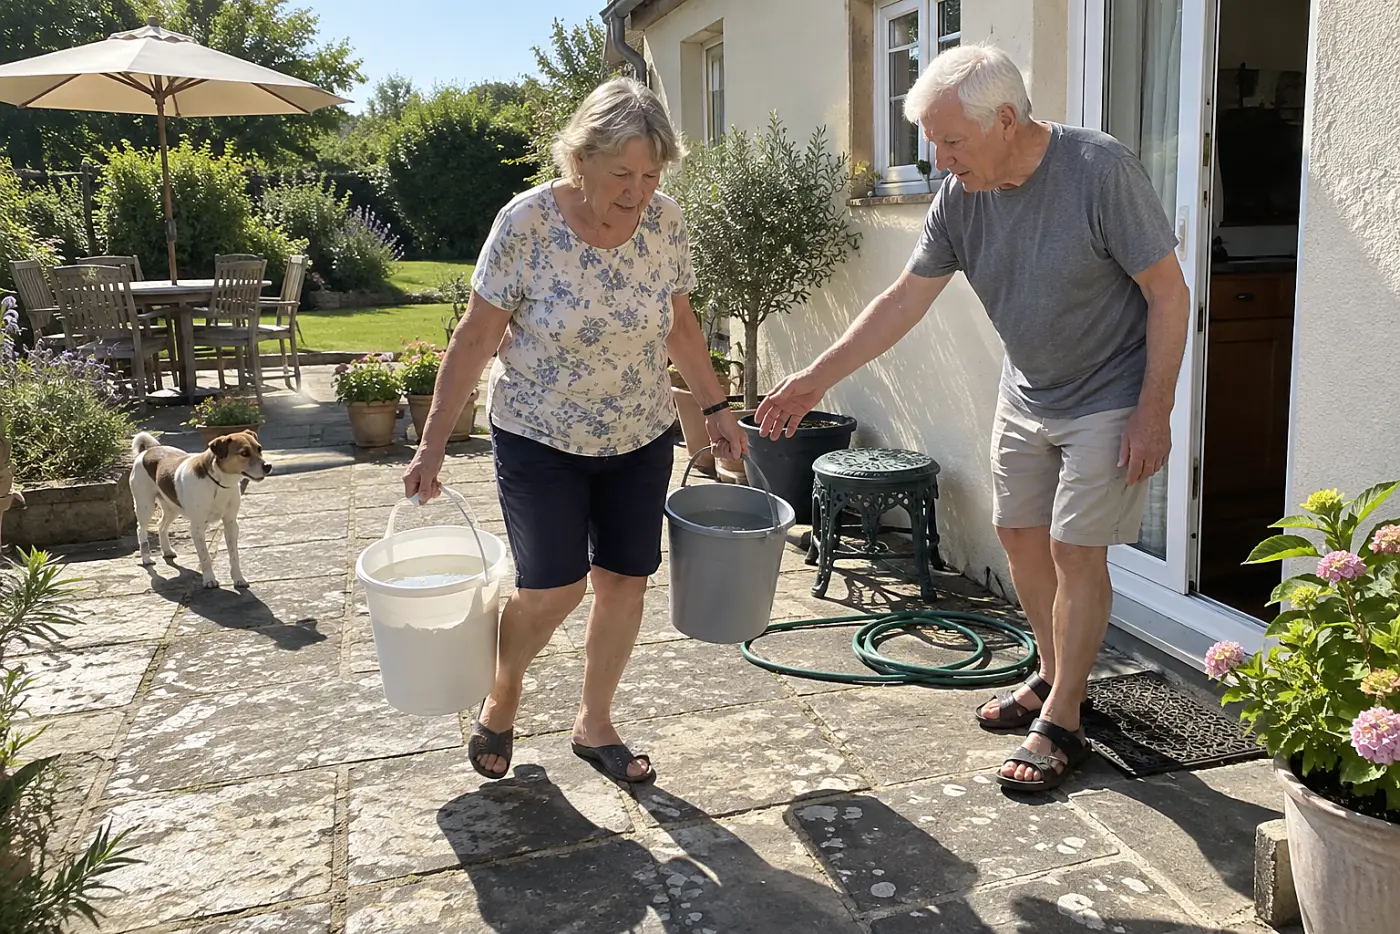
A full watering can changes the way you walk.
The same goes for a bucket of weeds or a harvest basket. Put less in each container and make another trip, or divide the load between your hands. Keep containers low enough that you see your feet.
Try the trip with an empty container first. A handle that digs into your fingers when it’s empty won’t improve after you fill it. Smaller loads matter when you must turn through a doorway or around a bed.
The National Institute on Aging has fall-prevention guidance; your own stride is the immediate test here. If carrying changes it, set the load down.
This week, stop filling your usual container at that point. “I’m making two trips with this.”
Even a light load needs a path wide enough for you to turn.
13Leave room around raised beds
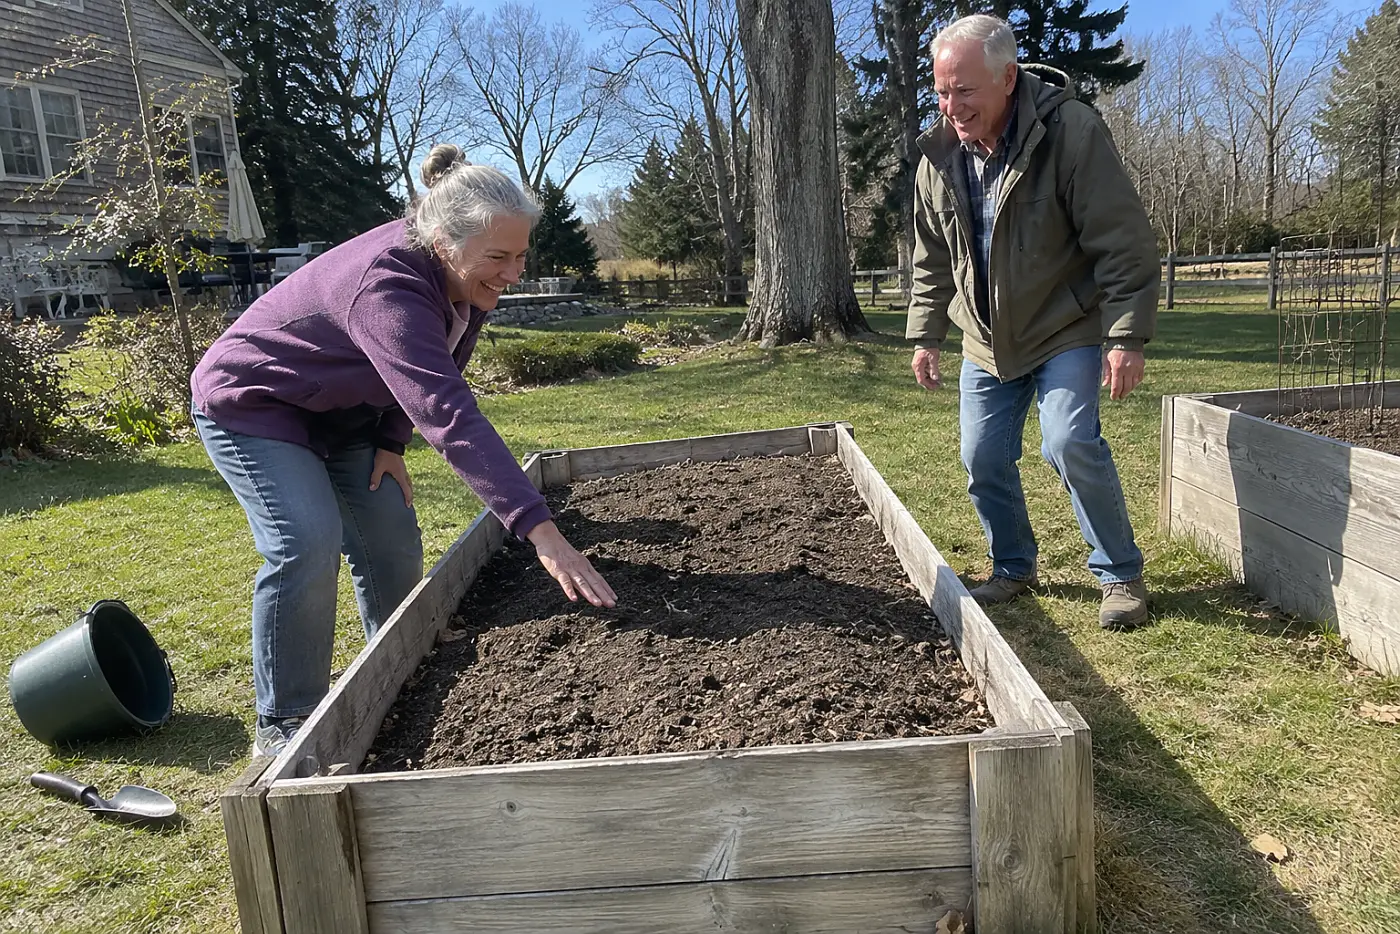
A raised bed still fails if you can’t approach it.
Stand beside an empty bed frame and reach toward its middle. If you must lean hard to touch the planting area, work from both sides or narrow the bed. A bed about 3 to 4 feet wide lets you tend it from both sides without reaching across the whole planting area. Leave room to turn with a bucket in hand.
Reaching across a wide bed puts the strain back into your spine. Test the space beside it before soil or plants block your view of the ground. Bring the bucket you’ll actually use, not just an empty hand.
This week, check the reach before adding soil to a new bed. “I need to get to the center without bracing on the edge.”
The height of that edge matters too.
12Raise the bed before filling it
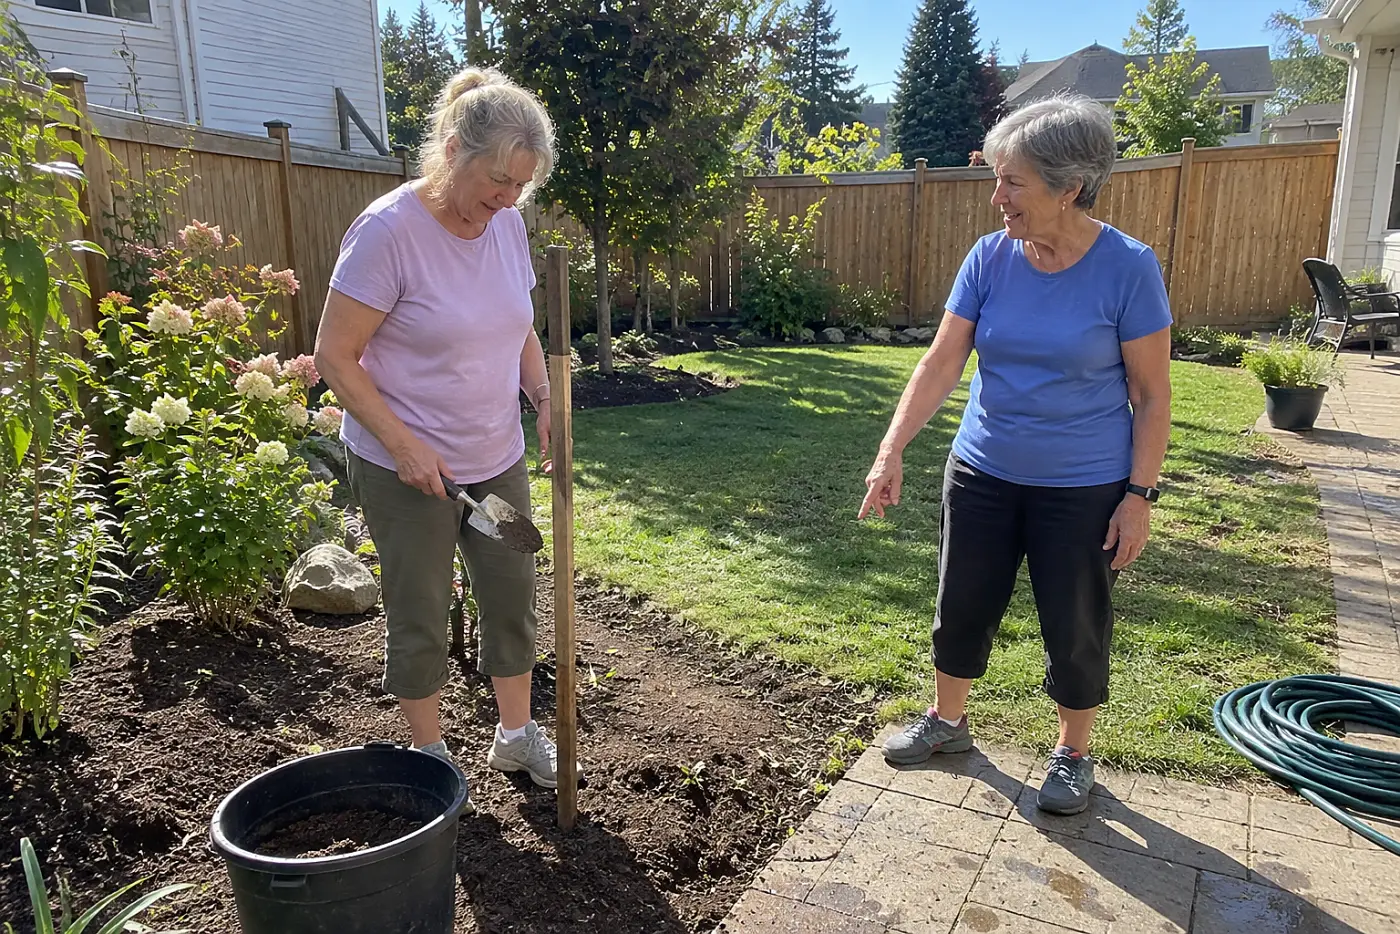
A low raised bed still sends you downward.
Choose a height by trying the motion you’ll use, not by looking at a catalog picture. Set an empty pot or box where the soil surface would be. Reach in with a trowel, then stand back and notice what your knees and back did.
A taller bed takes more material to fill and needs a sound structure to hold it. Check that its sides don’t wobble before loading them with soil. A comfortable working height is worthless if the edge shifts under your hand.
The Oregon State University Extension Service has raised-bed guidance if you’re deciding how to build the frame. Measure the space you have before ordering materials.
This week, mark the planned soil height against a wall or stake and practice planting there. “This is the height where I reach without folding over.”
Height helps, but it won’t bring a faraway plant closer.
See more: 27 Ways a Small Garden Beats the Big One You Used to Have →
11Plant favorites along the near edge
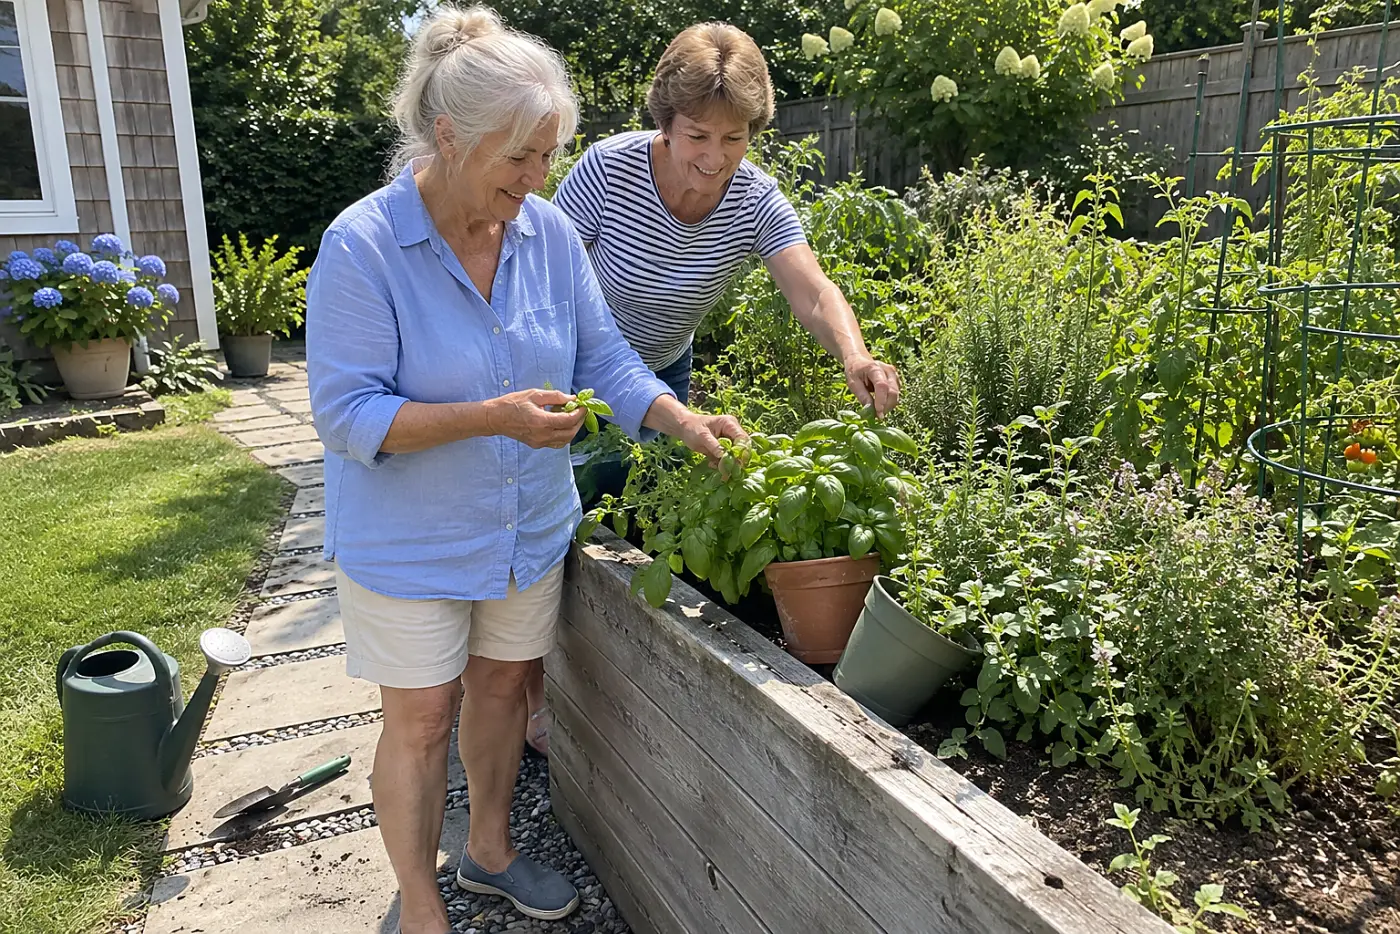
Your favorite plants shouldn’t live beyond a long reach.
Put the plants you touch most where your hand naturally lands. Herbs you cut for dinner belong closer than plants you only admire. Keep sprawling growth from covering the space where you stand.
Otherwise, every little harvest becomes a stretch across the bed. A pot near the edge also lets you change its position without reaching through neighboring stems. Check that it won’t tip when you snip from it.
This week, move one pot or mark next season’s planting spot with your reach in mind. “The basil goes where I can pick it.”
For some jobs, sitting beats standing beside the edge.
10Sit on a sturdy garden seat
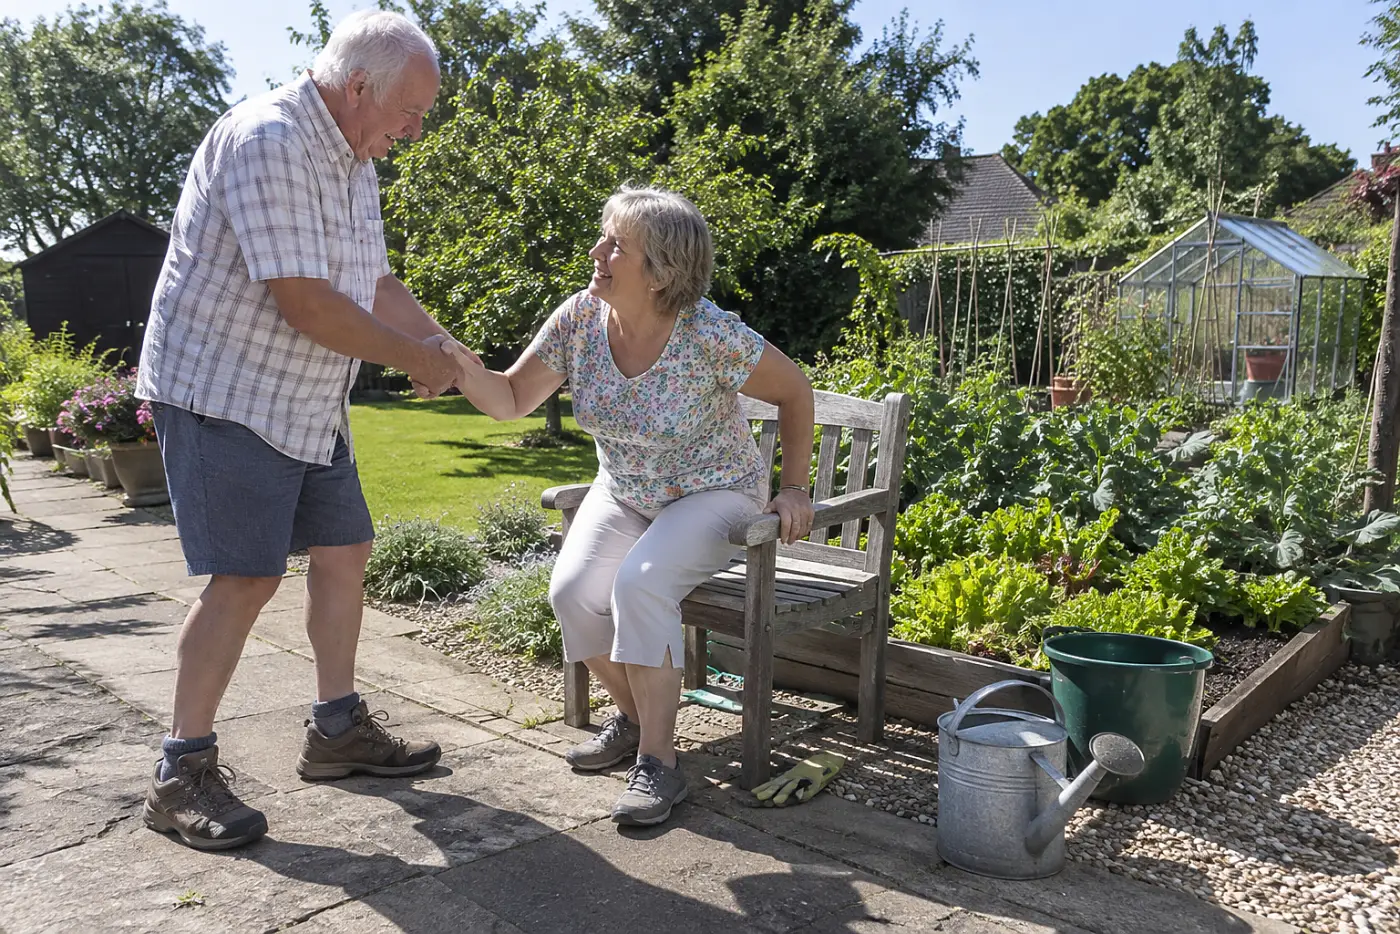
A seat helps only if you can leave it.
Try sitting down and standing up before taking a garden seat outdoors. Keep both feet on firm ground and see whether you need to grab a bed edge to rise. A narrow stool that rocks on soil turns planting into a balance test.
Place tools and the bucket within arm’s reach before you sit. From there, work on the section directly in front of you, then move the seat. Twisting to cover a longer stretch defeats the point of sitting.
The Arthritis Foundation has gardening advice if joint pain is changing which tasks feel comfortable. Your first test is simpler: getting up from the seat on your own ground.
This week, test it beside the bed with nothing in your hands. “I need to get up from this without pulling on the bed.”
A seat puts you lower, so the tools need to meet you there.
9Keep duplicate tools at the worksite
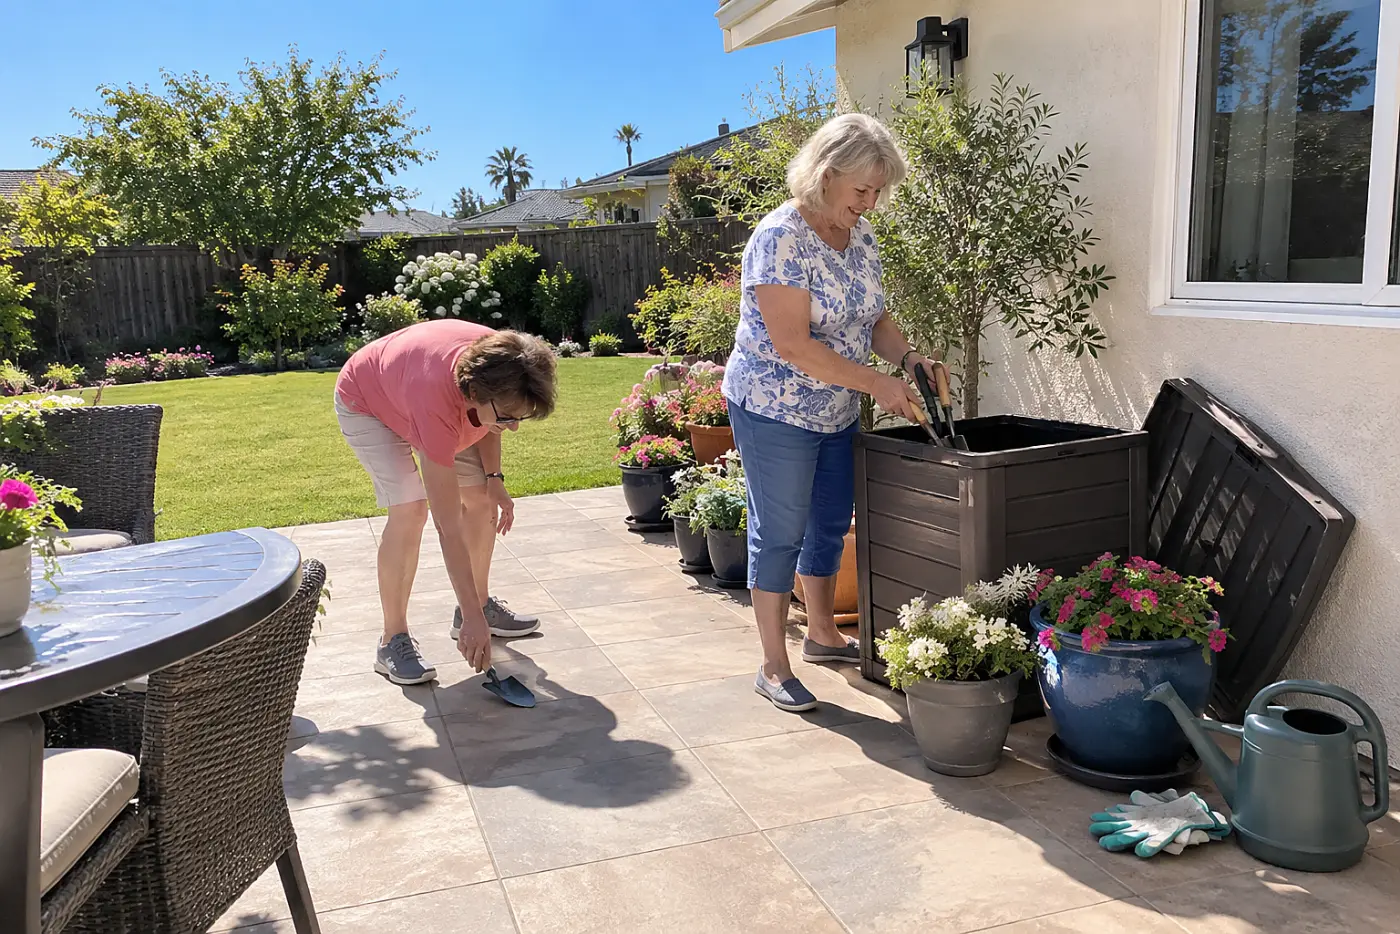
The forgotten trowel causes an extra trip.
Put a small set of tools where you use them: a trowel, pruners, and gloves. Store them dry and out of the walkway. You’ll start the job without returning to the garage for one missing thing.
Those trips take energy before your hands reach the soil. A closed container keeps handles together, but check its lid before you choose a spot. You shouldn’t have to crouch behind a bed to open it.
This week, move your spare tools into a container beside the work area. “These live here now.”
Good tools still need to fit your grip.
8Add a larger grip to your trowel
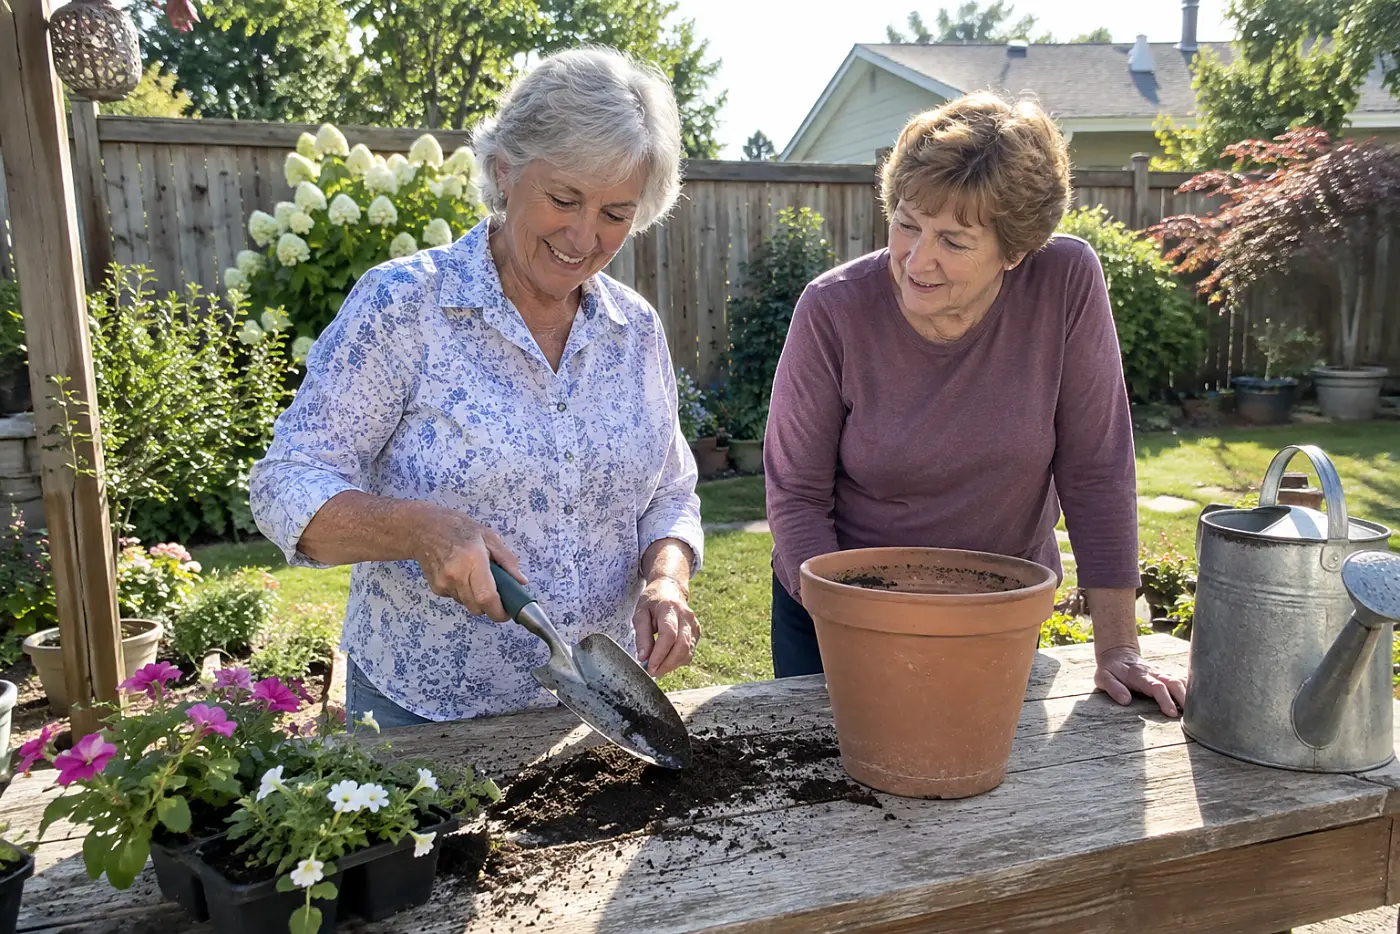
A thin handle makes your hand squeeze harder.
Try wrapping a handle with grip tape or fitting it with a larger grip. Hold it as you would while digging, with your wrist straight. If the thicker handle feels less secure, take it off; the test is your hand, not the label.
Keep the blade sharp enough to enter soil without a shove. A handle change won’t fix compacted ground that needs loosening first. Your hands want to work, but they shouldn’t wrestle every scoop.
The American Occupational Therapy Association describes ways to adapt everyday tasks. Start with one tool rather than changing your whole drawer on a guess.
This week, change one handle and use it for a short planting job. “I want to try this before changing every tool.”
Once the tool feels right, watch what happens when you set it down.
7Put tools back in one holder
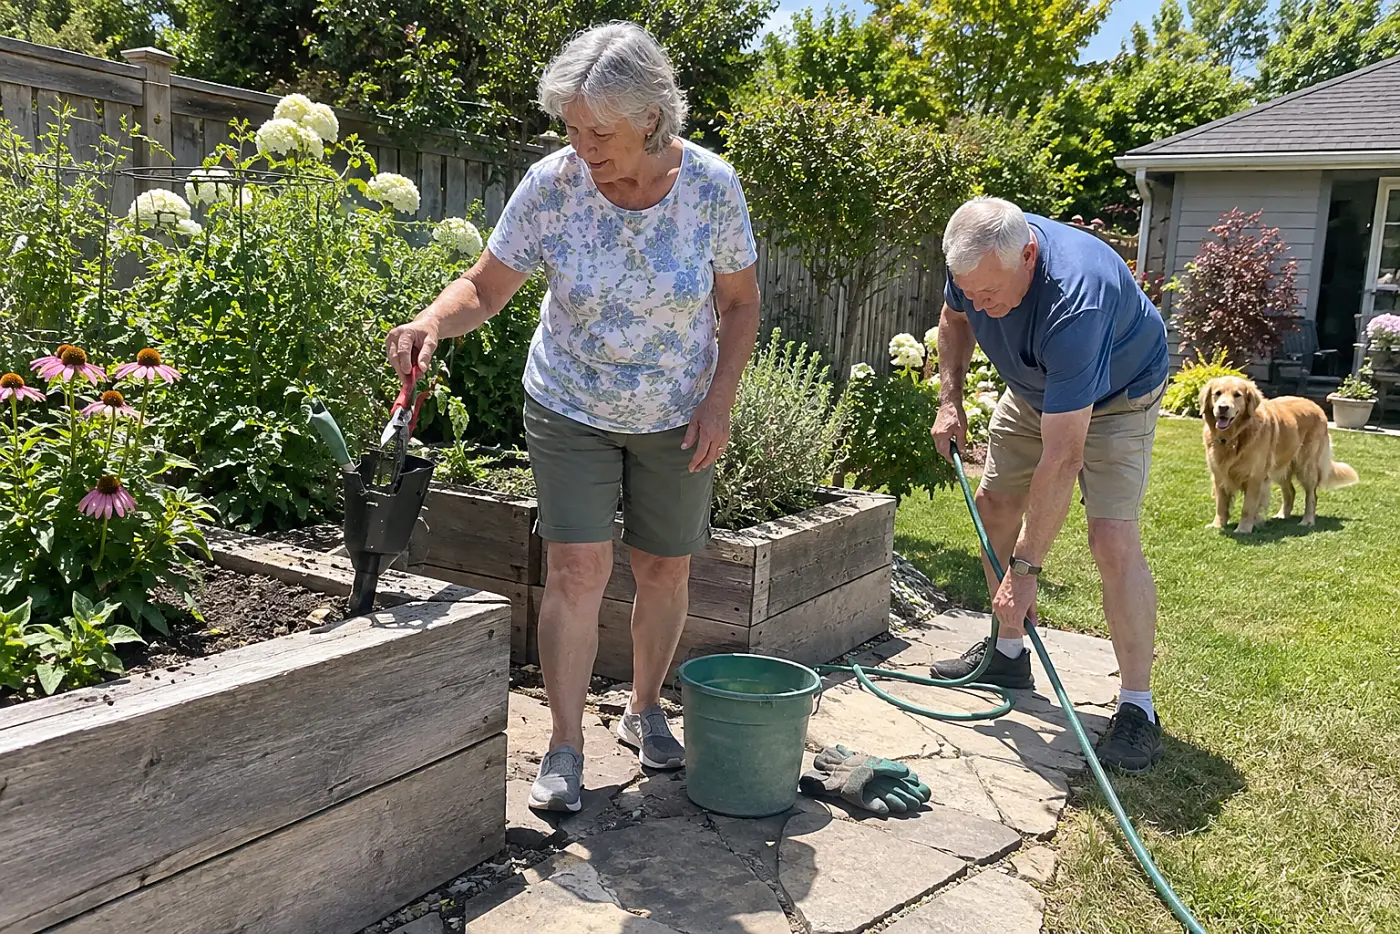
A dropped tool sends you searching near your feet.
Set a tool holder, apron pocket, or shallow tray within easy reach. Give the pruners and trowel the same place every time you pause. You won’t have to bend under leaves to find a handle.
Finding tools shouldn’t use up the energy meant for plants. An apron pocket works only if a handle stays put when you turn; try it with the tool inside before you start cutting. Keep blades covered while you walk.
This week, choose one place for your tools before you begin. “The pruners go back here after every cut.”
Then decide which cuts are worth making.
6Prune from the outside inward
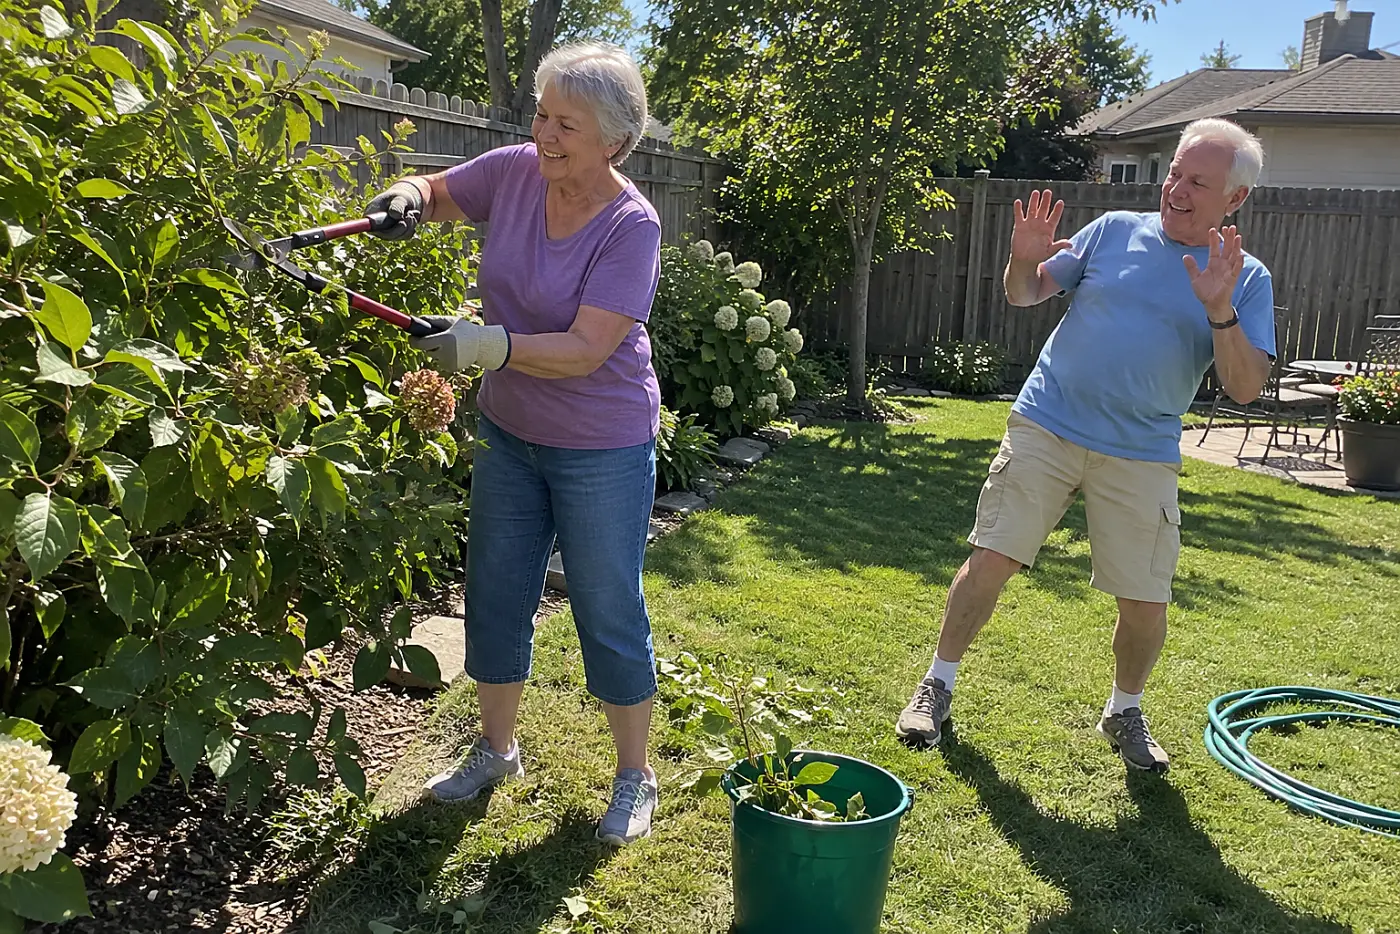
Branches hide the reach needed to cut them.
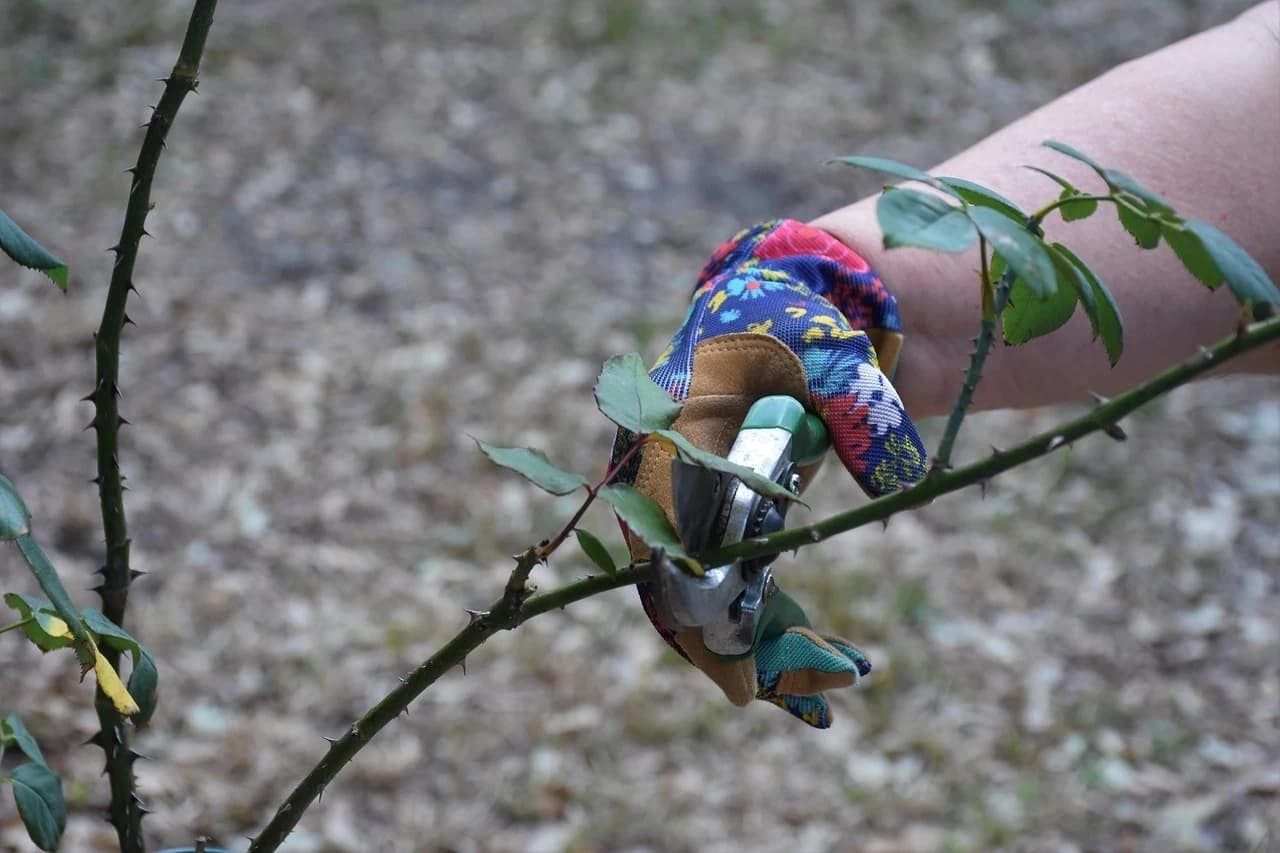
Start with growth you can reach while standing squarely. Step back after each cut and look again, rather than leaning through the plant for the next branch. If a stem is beyond reach, move around the plant before extending your arm.
Keep both feet on the ground. Don’t stand on a bucket or pull a branch toward you while balancing. A taller plant calls for a different tool or another pair of hands, not a longer lunge.
The University of Georgia Extension has pruning guidance when you’re unsure where to cut a particular shrub. Decide on the cut before you take your position beside it.
This week, prune only reachable outside growth on one plant and note what remains. “I’ll come around the other side for that branch.”
Once the plant opens up, harvesting deserves the same honest reach test.
5Pick produce into a small basket
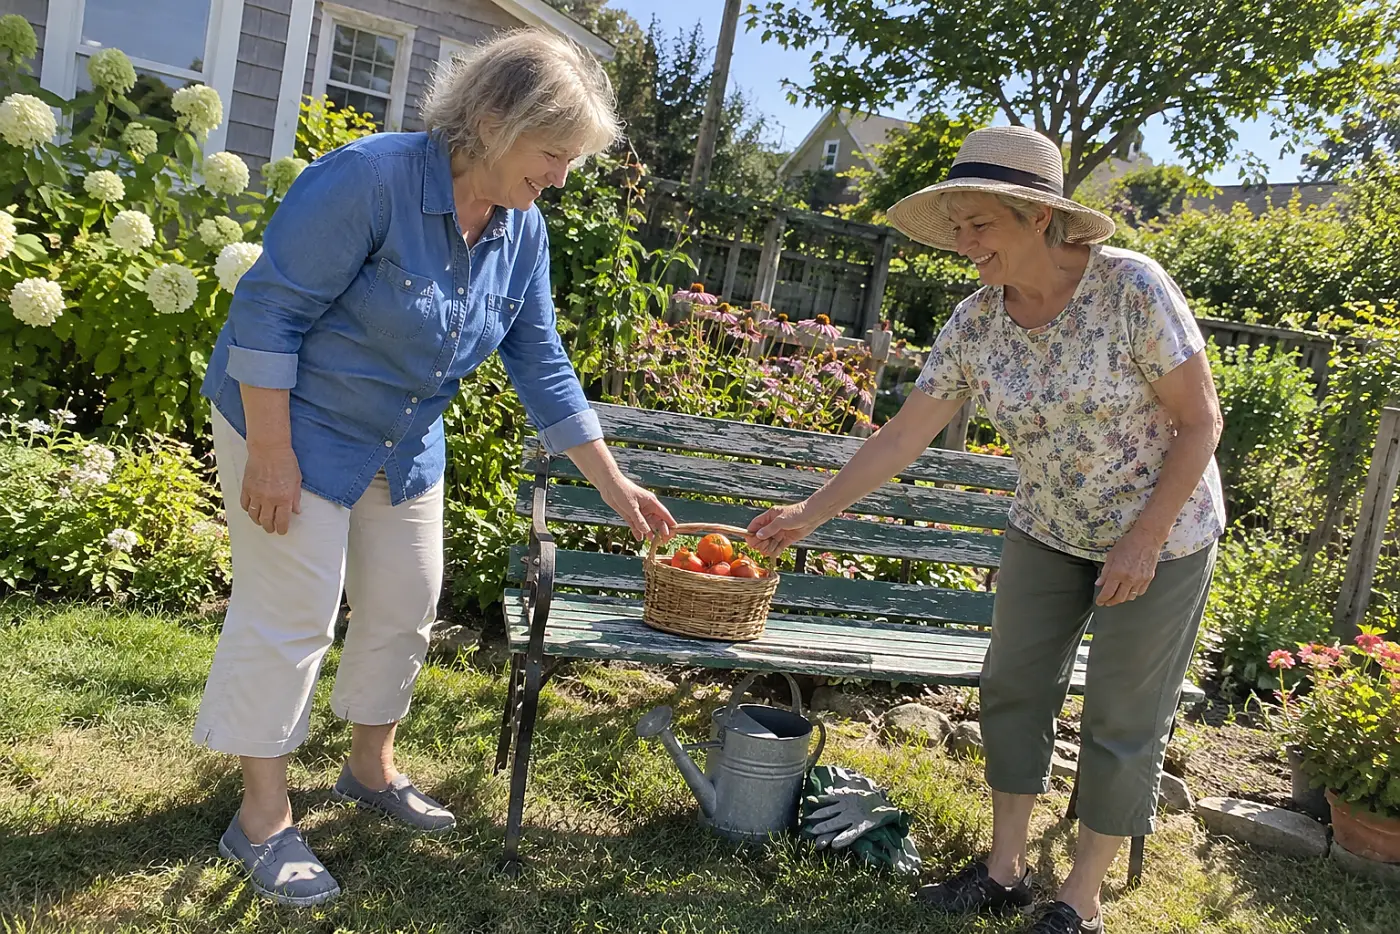
A harvest gets heavier while you’re enjoying it.
Take a small basket out and empty it before it’s full. Set it on a table or bench while picking nearby, rather than hanging it from one arm. Keep your hands free when stepping around plants.
A heavy basket pulls you sideways on the walk back. A shallow container also lets you see what you’ve picked without digging beneath the top layer. Put delicate fruit on top instead of pressing it under another load.
This week, choose a basket you’ll empty before your posture changes. “I’m taking this batch inside first.”
The best harvest still needs a manageable garden.
4Support climbing stems with a reachable trellis
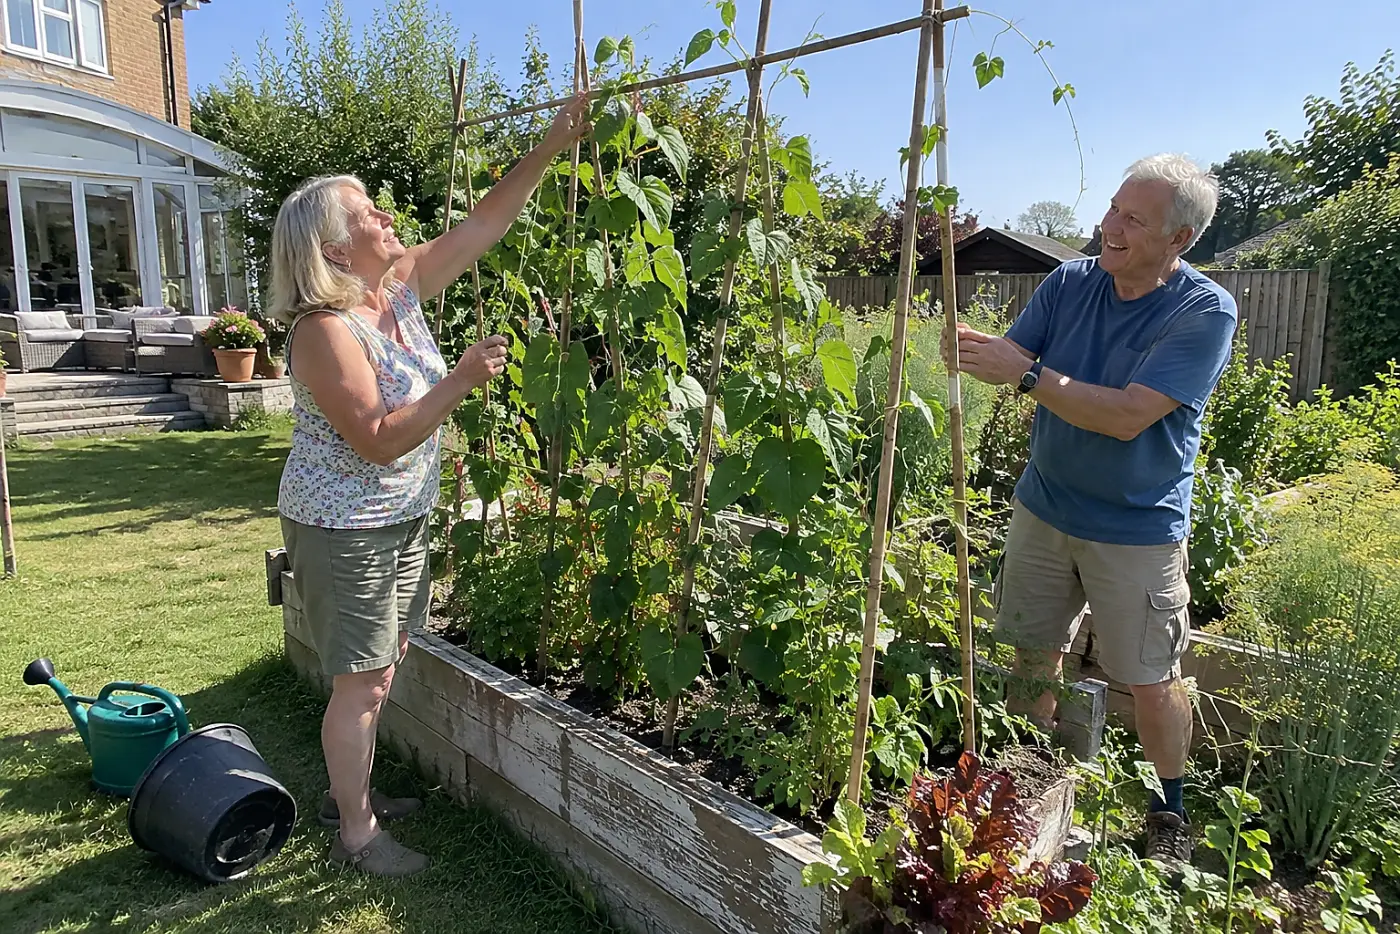
A vine on the ground keeps pulling your hands downward.
Set a trellis beside young climbing plants. Guide new growth onto it while stems still bend easily. Secure loose stems with soft ties, leaving room for them to thicken. Keep the support low enough to tend from firm ground. A vine trained above your reach just trades one awkward position for another.
Without support, fruit hides beneath leaves. Finding it means bending and searching along the soil, plant after plant, all season. The University of Minnesota Extension has guidance on supporting garden plants if you're choosing a trellis for a particular crop.
This week, place one support beside a climbing plant before it sprawls. Guide only the stems that already reach the trellis; the rest can wait a few days. “I want to tend this vine without hunting under it.”
That brings the crop into view. The small work still needs a pace your back will tolerate.
3Set a timer before starting garden work
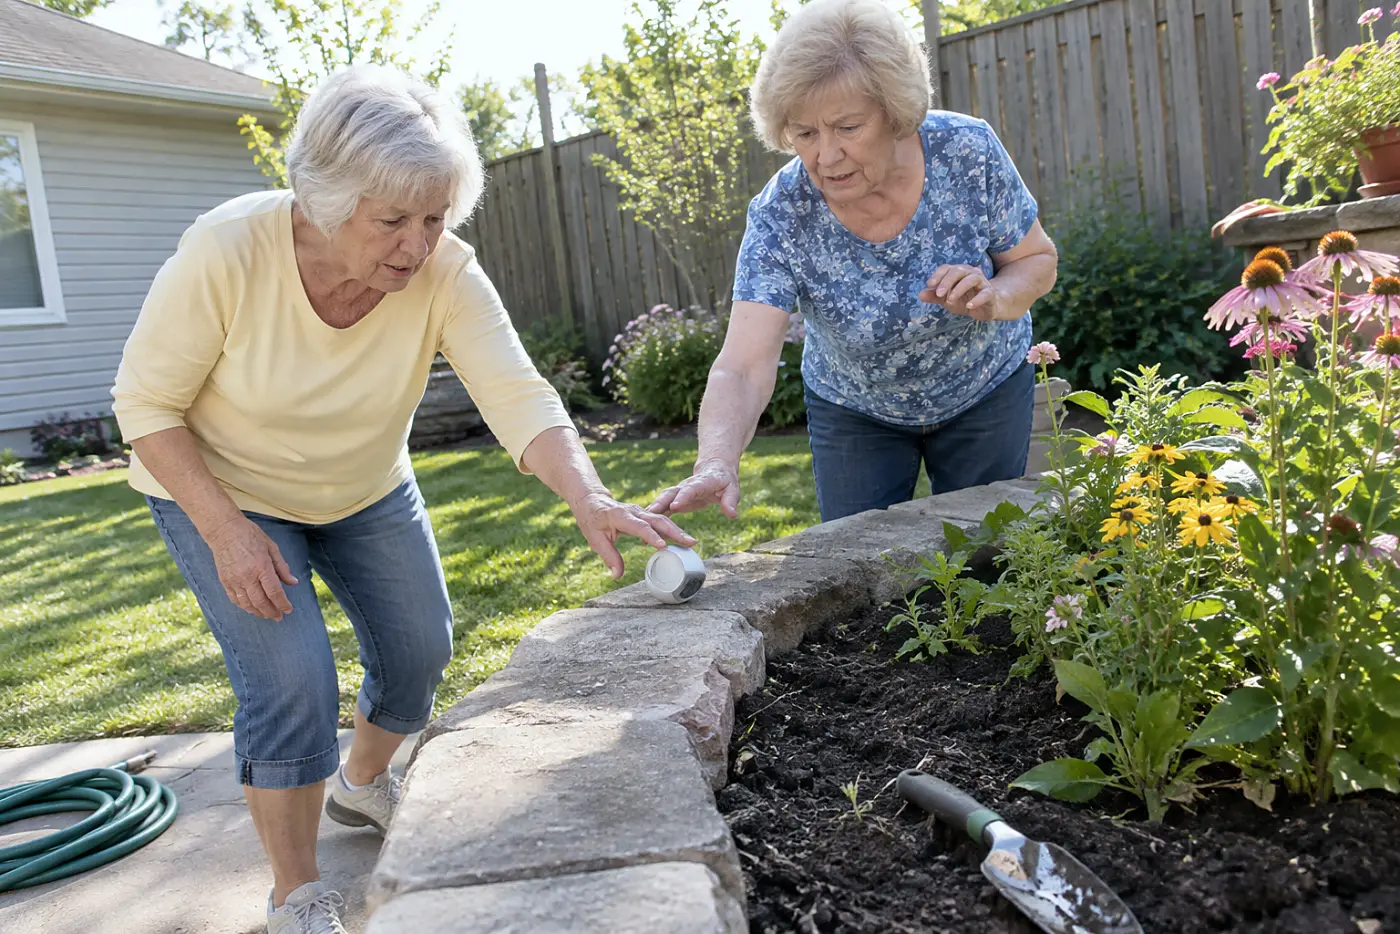
Your back doesn't announce the last comfortable minute.
Set a timer for 15 to 20 minutes before you start a task. Put it where you'll hear it. Name the task you'll do until it rings. When it rings, stand up. Change position. Then decide whether to continue.
Skip the timer, and you notice the strain later. It shows up while carrying tools inside, after the chance to change the work has passed. The Arthritis Foundation has gardening advice for working with sore joints.
This week, set a timer for one short task, such as deadheading a planter. “I'm stopping when this rings, even if there's another flower.” Leave the timer where you won't need to bend to silence it.
A pause helps. Some jobs still need another set of hands.
See more: 24 Old Garden Habits That Turned Out to Be Right All Along →
2Give away one demanding garden job
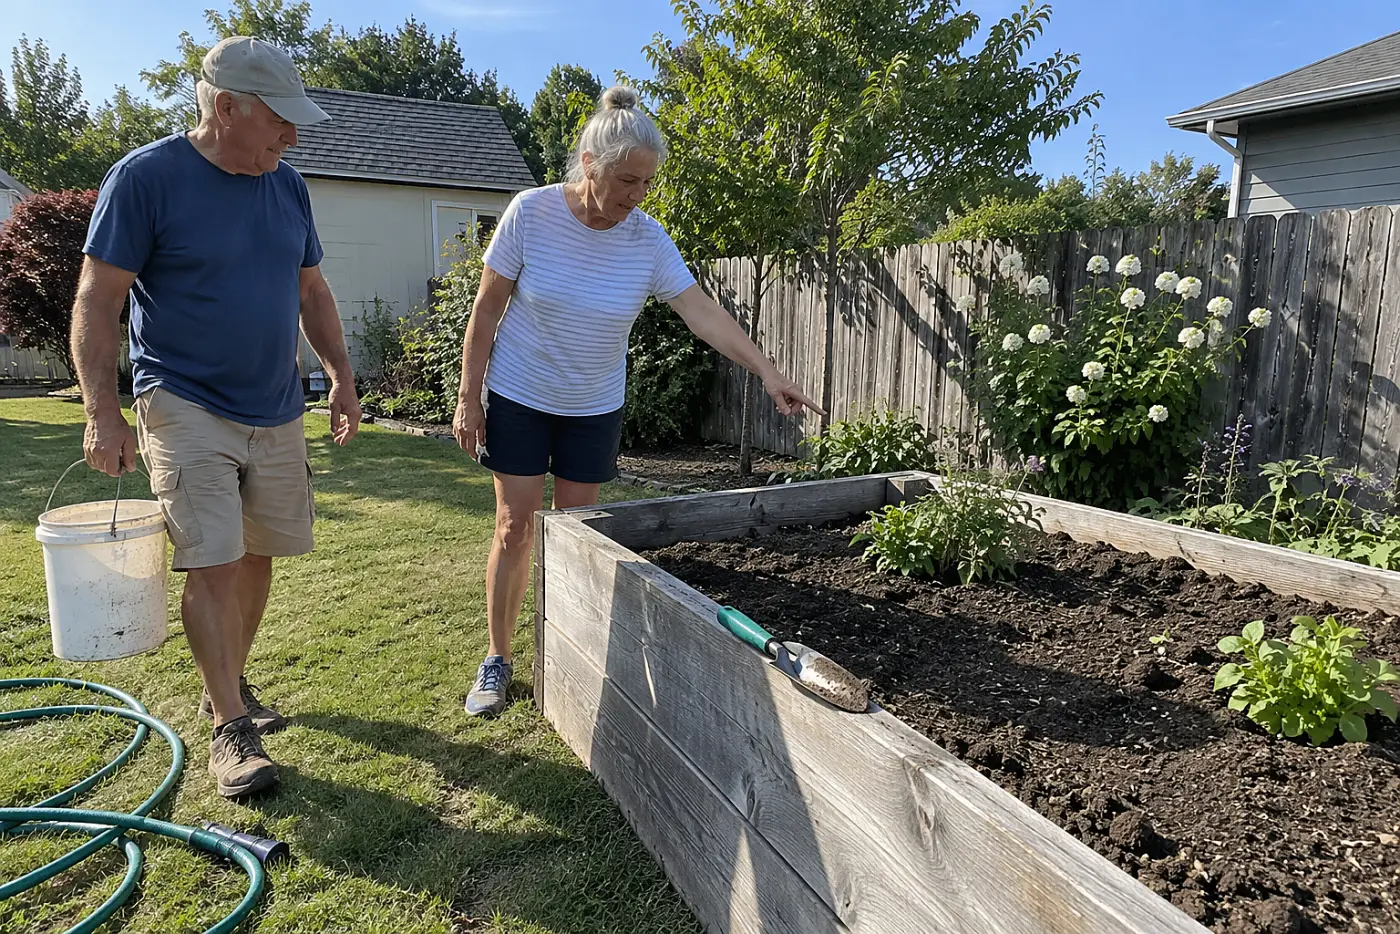
You don’t have to surrender the whole garden.
Pick the task that asks most from your knees or back, such as digging a new bed or moving a load of soil. Keep the planting, choosing, pruning, and picking you enjoy. Ask a friend for help with that one job, or hire it out if that fits your budget.
Be clear about where the soil goes and which plants stay. Otherwise, someone else’s well-meant work leaves you with a second job putting things right. Your hands still get the part they came for.
If you hire help, agree on the finished task before work begins. Point to the destination for each load. Move pots you want kept out of the way before anyone starts digging.
This week, name the job you’ve been avoiding and write down what finished looks like. “Could you move this soil to that bed? I’ll do the planting.”
Before anyone starts, though, follow the route you’ll both use.
1Walk the garden route before work

The hard part might be getting back inside.
Start at the door with empty hands. Walk to the place you plan to work, then return by the same route. Look for a curled hose, loose edging, a low step, or a bucket that narrows the path.
Notice where you’d set down a load and where you’d turn around. Take the walk in the shoes you actually garden in. A path that works in dry weather deserves another look after rain.
Do this before you’re tired. The route out has to work after bending, planting, or carrying a harvest. The CDC’s STEADI program names trip hazards as part of fall prevention; your path gives you a place to act now.
If the return trip feels awkward, move the obstacle or change the job before you start. Don’t save the bucket or hose for cleanup.
This week, carry an empty basket back along the route and check your view of the ground. “I want a clear way back when I’m ready to stop.”
That return walk decides where today’s work begins.
The bottom line
Across all 25 ways, the pattern is to move work closer, keep loads smaller, and leave a clear way back.
You’ve tested the seat and table, placed the tools, and walked the path before opening the seed packet.
Which change did you make after a garden day your knees or back remembered?
Up next
19 Gardening Tools for Seniors With Arthritis
A side-handled watering can, a raised bed, and a ratcheting pruner offer different ways to keep working when gripping or bending hurts.
Read the list →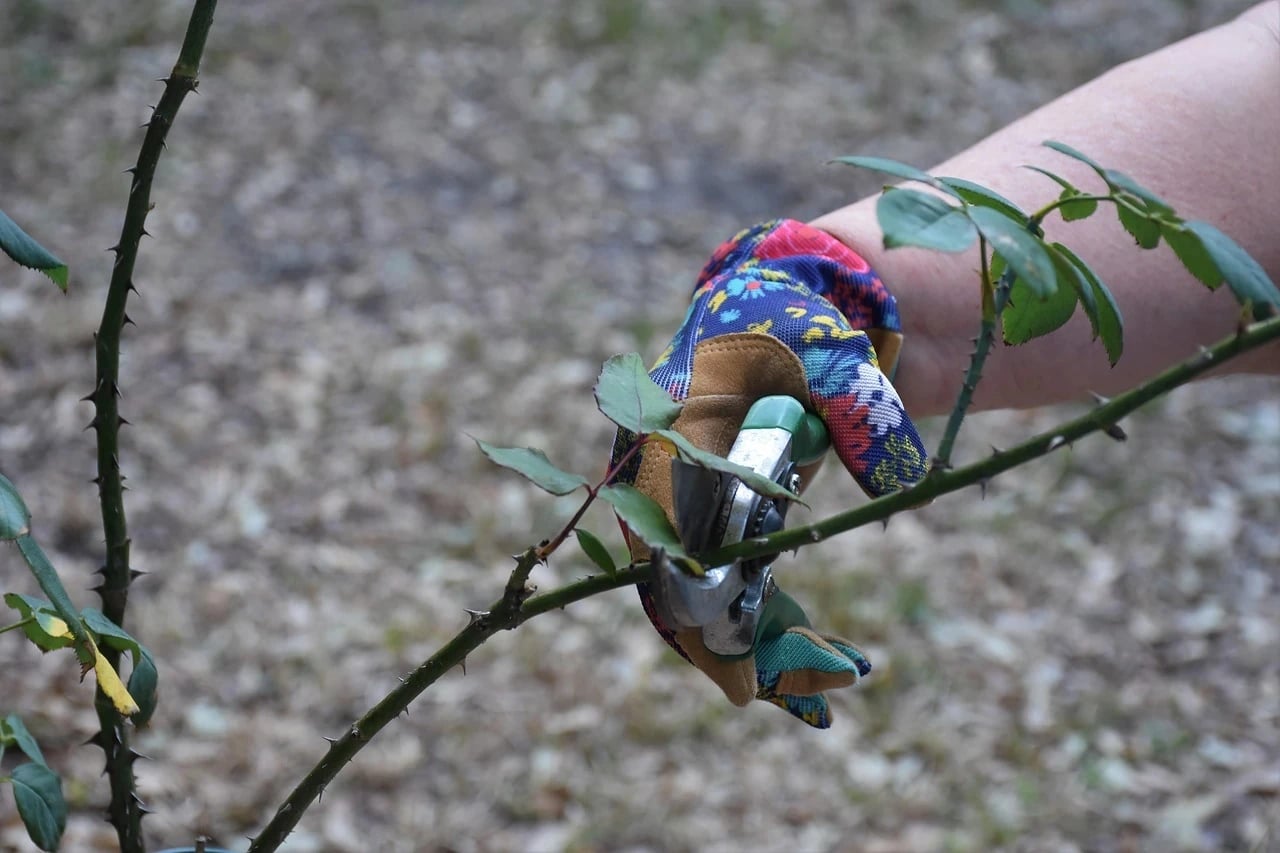
Reader quiz
Did you catch the details?
5 questions from this article. Finish them all to unlock the editor's bonus tip.
How does the article suggest checking whether your potting table is the right height?
Did any of these feel familiar?
Know someone who needs this?
Sources cited in this article
This article links to 14 outside sources, listed here so you can read them yourself.
- University of Minnesota Extension extension.umn.edu
- University of Maryland Extension extension.umd.edu
- University of California Integrated Pest Management program ipm.ucanr.edu
- EPA WaterSense program www.epa.gov/watersense
- University of Illinois Extension extension.illinois.edu
- University of Wisconsin-Madison Extension extension.wisc.edu
- University of Florida IFAS Extension ifas.ufl.edu
- EPA’s composting guidance www.epa.gov/recycle/composting-home
- National Institute on Aging www.nia.nih.gov
- Oregon State University Extension Service extension.oregonstate.edu
- Arthritis Foundation www.arthritis.org
- American Occupational Therapy Association www.aota.org
- University of Georgia Extension extension.uga.edu
- CDC’s STEADI program www.cdc.gov/steadi
June Marlow
Garden Editor
June writes about gardens you can still manage: what to plant, which jobs matter each season, and the tools that spare your knees and back.
More from June Marlow