








24 Old Garden Habits That Turned Out to Be Right All Along
A shovel test, a seed packet, and bare soil explain why several old garden routines still earn their place.
By June Marlow, Garden Editor
Updated · 18 min read
- Written by our garden editor
- Cited 13 sources
- How we review
Read to the end: #1 is the preplant lab test that stops wasted fertilizer, and almost nobody orders it first.
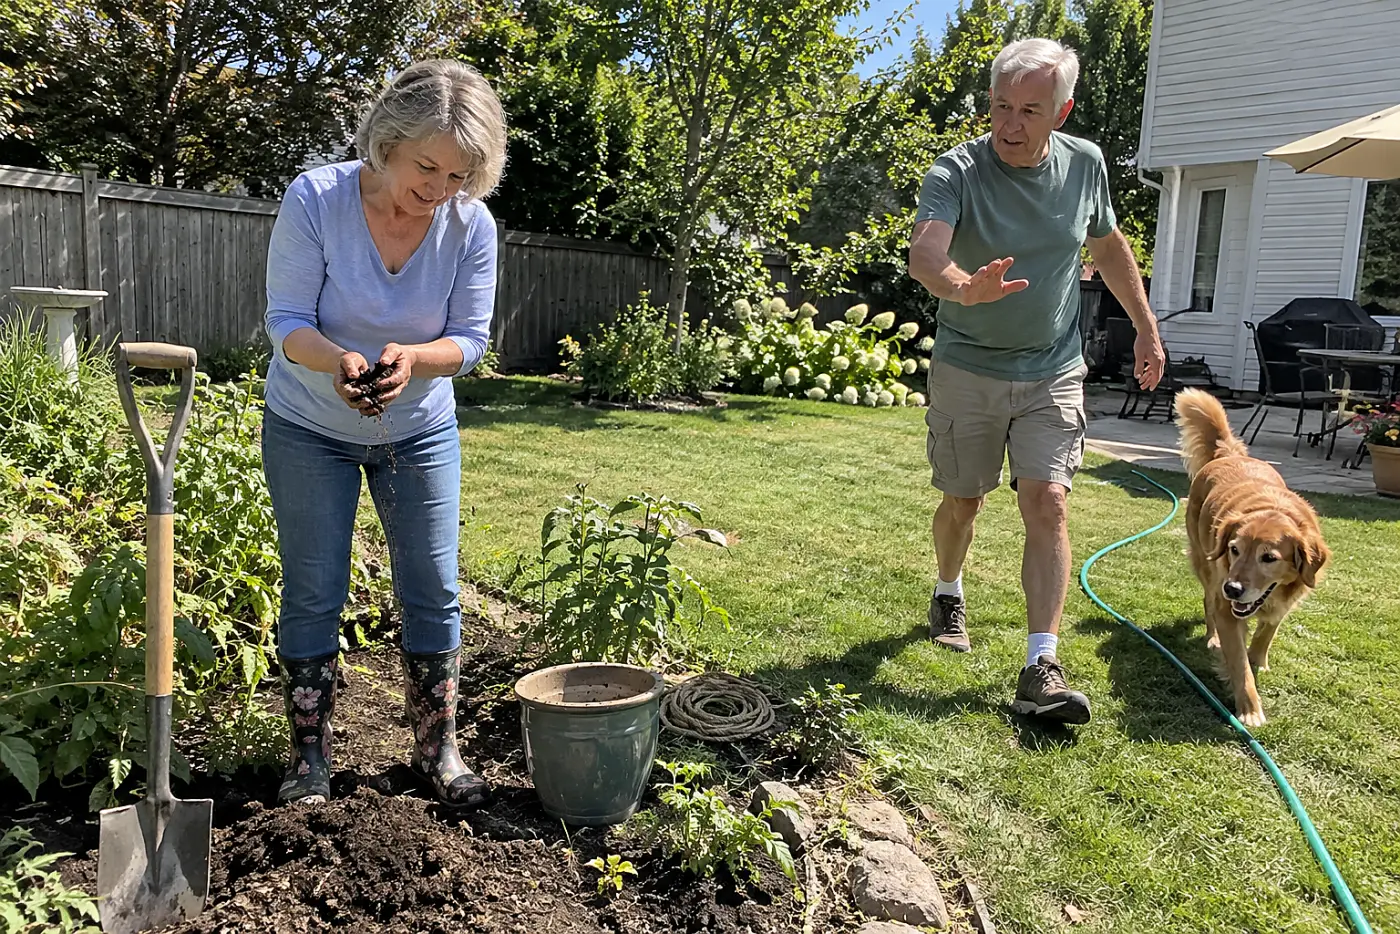
Your dad pushed a shovel into the bed and brought up a dark, damp slice of earth. He squeezed it, opened his hand, and looked at the crumbs before deciding whether to plant.
That pause had a purpose. A calendar tells you the date, but it doesn't tell you whether soil will crumble around a seed or smear against the shovel. Old garden rules survived because they answered a question right in front of you. Dad's habits weren't about doing everything the hard way. They were about looking before reaching for a tool, a hose, or a bag.
Here are 24 habits worth keeping.
24Keeping a Sharp Hoe Beside the Bed
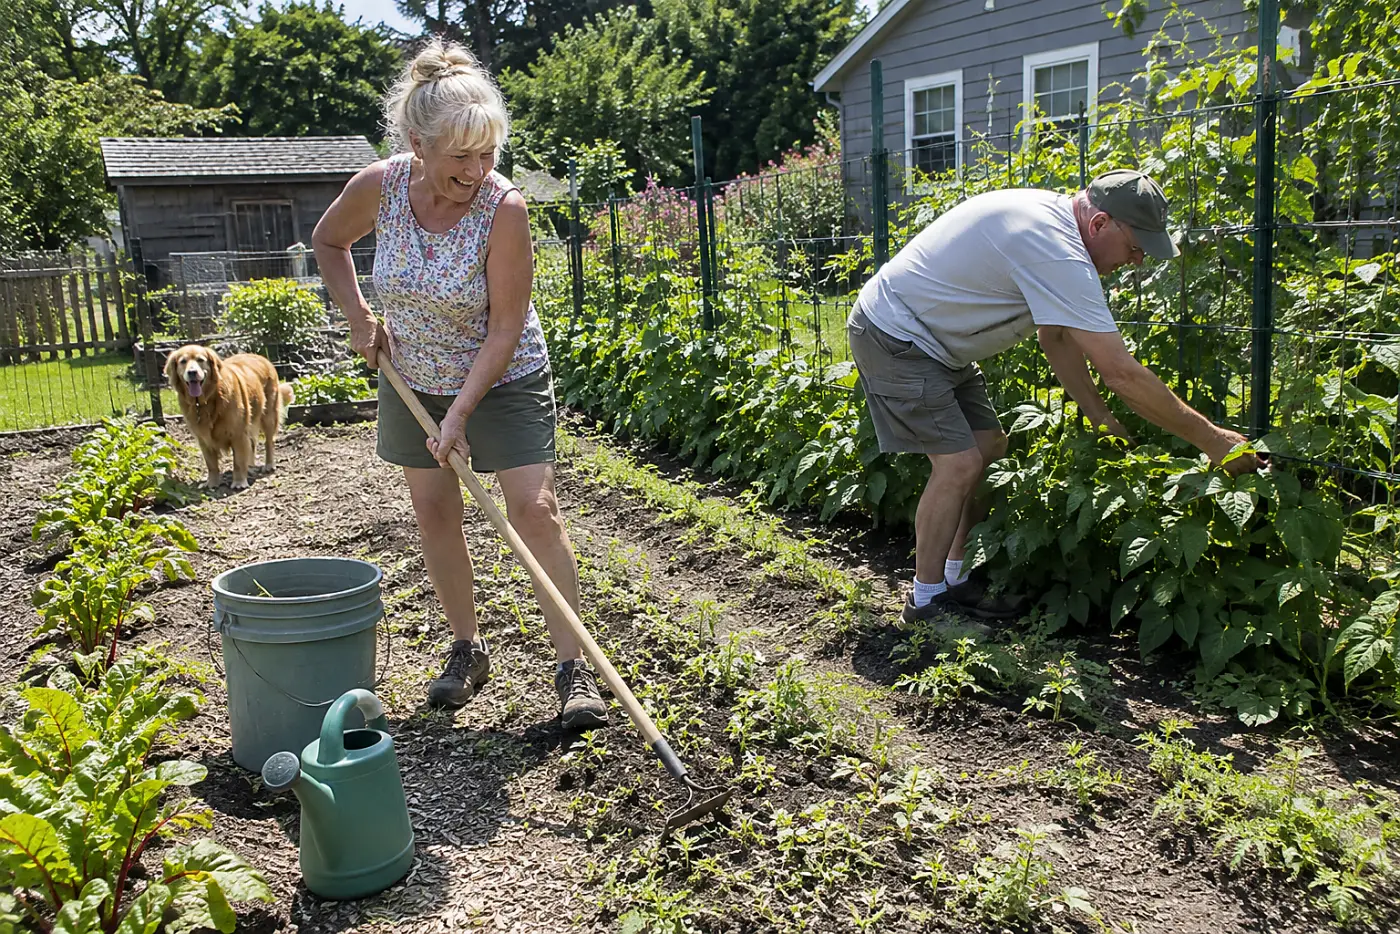
A dull hoe makes small weeds into a digging job.
A sharp blade slices young weeds at or just below the soil surface. Pull it through dry ground while the weeds are still threads, before their roots take hold. The University of Minnesota Extension describes this as shallow cultivation, which also keeps buried weed seeds out of the light.
Wait until the weeds tower over the lettuce, and their roots compete with it for water. Deep hoeing near vegetables cuts crop roots, too.
This week, sharpen your hoe and clear one row of seedlings. Work the blade lightly; there's no prize for turning over the whole bed.
The next old habit begins with what you carry away.
23Carrying Spent Plants Out of the Garden
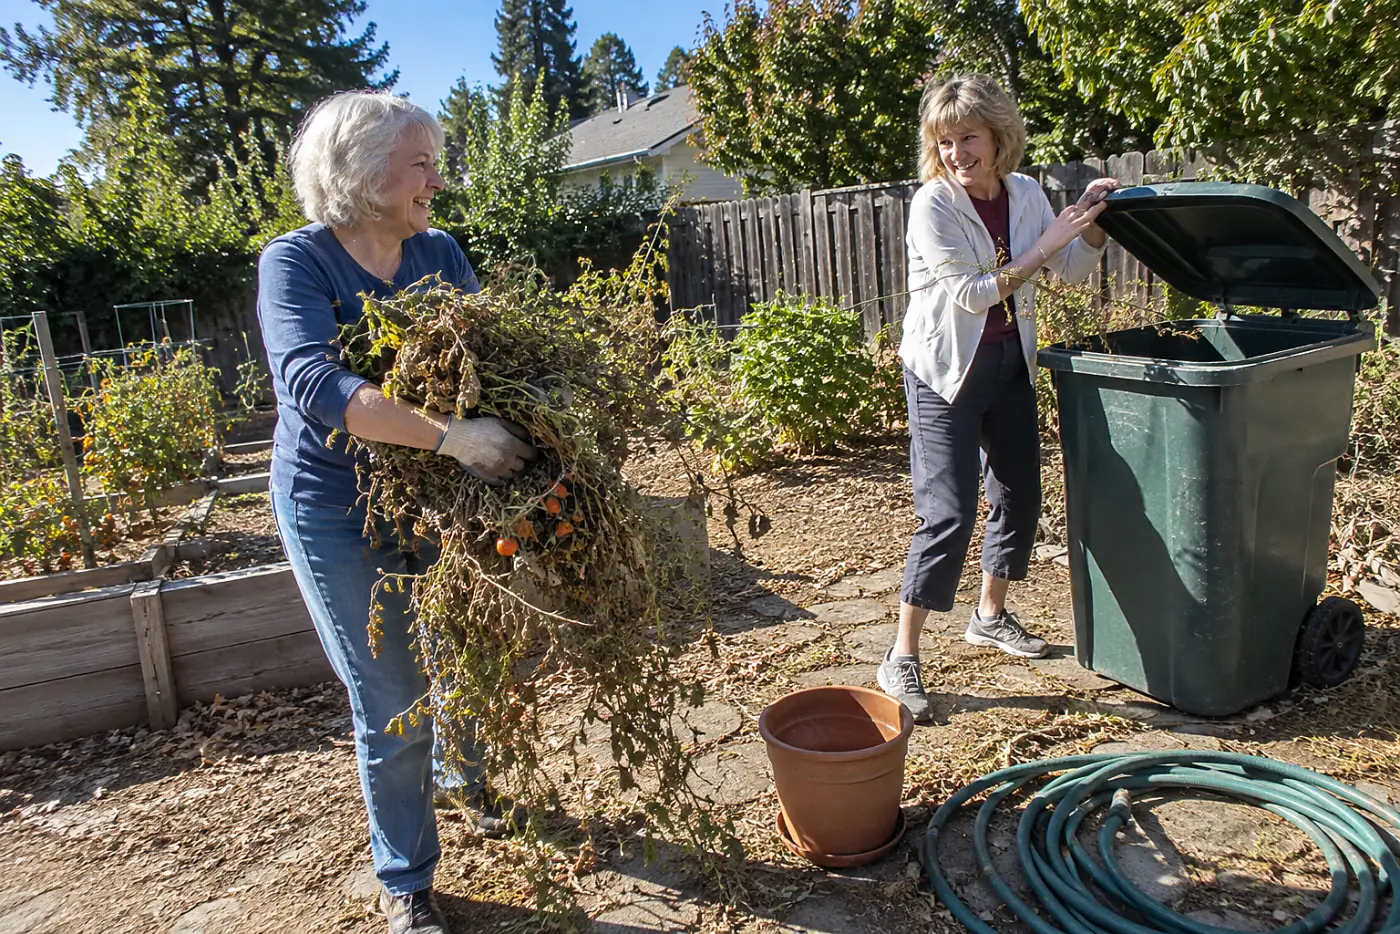
Leaving a sick tomato plant in place invites a repeat performance.
Plant debris gives some pests and disease organisms shelter after harvest. Removing infected leaves and stems cuts down what remains near the next crop. The University of California Integrated Pest Management program recommends sanitation as part of managing garden pests, though the right disposal method follows the problem.
Dad's end-of-season cleanup wasn't a demand for bare earth. Healthy leaves serve as mulch or compost material; diseased tomato foliage belongs out of the vegetable bed. Put infected material in the trash if your home compost pile doesn't reach temperatures that kill pathogens. Don't add it to the curbside compost bin without checking that program's rules.
Skip the sorting, and next spring's seedlings start beside last season's trouble. You also throw away useful organic matter if every fallen leaf goes into a bag.
This week, carry spent plants out of one finished bed. Set healthy, seed-free material aside for compost and bag anything visibly diseased.
There's still a job for the fallen leaves under your feet.
22Leaving Fallen Leaves Around Established Trees
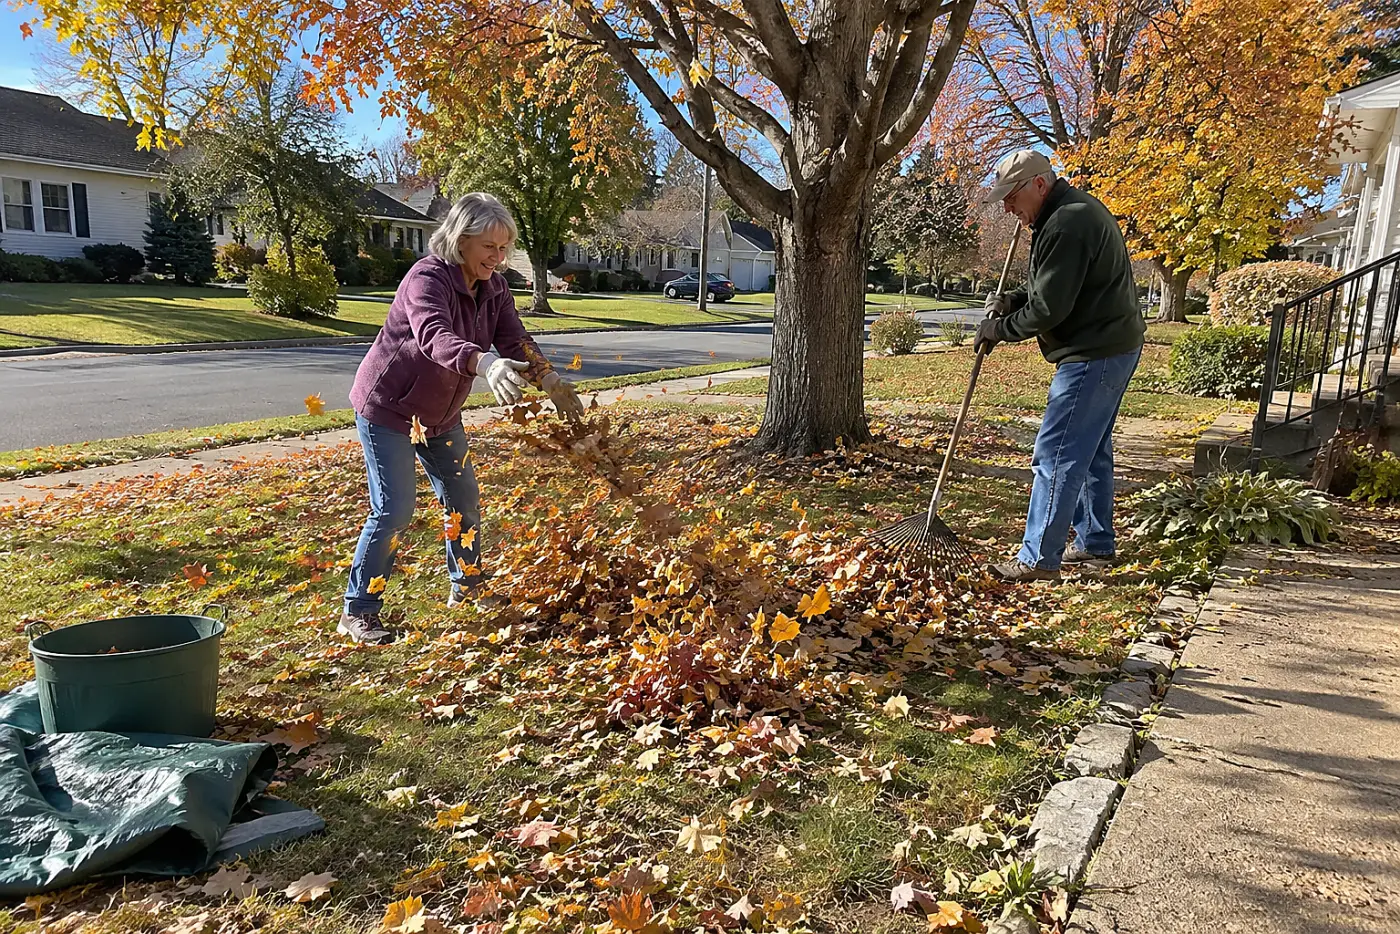
A spotless circle beneath a tree loses its own mulch.
Leaves cover soil, slow evaporation, and break down where tree roots grow. The USDA Forest Service encourages leaving leaves where practical instead of treating every one as waste. Keep thick piles off lawns and clear leaves from drains and walkways.
Raking every leaf away leaves exposed soil that dries faster. Piling leaves against the trunk creates another problem.
This week, spread fallen leaves beneath one tree in a loose layer. Leave the trunk and visible root flare clear, then move the rest away from the path.
That space around the trunk deserves a closer look.
21Pulling Mulch Back From Tree Trunks
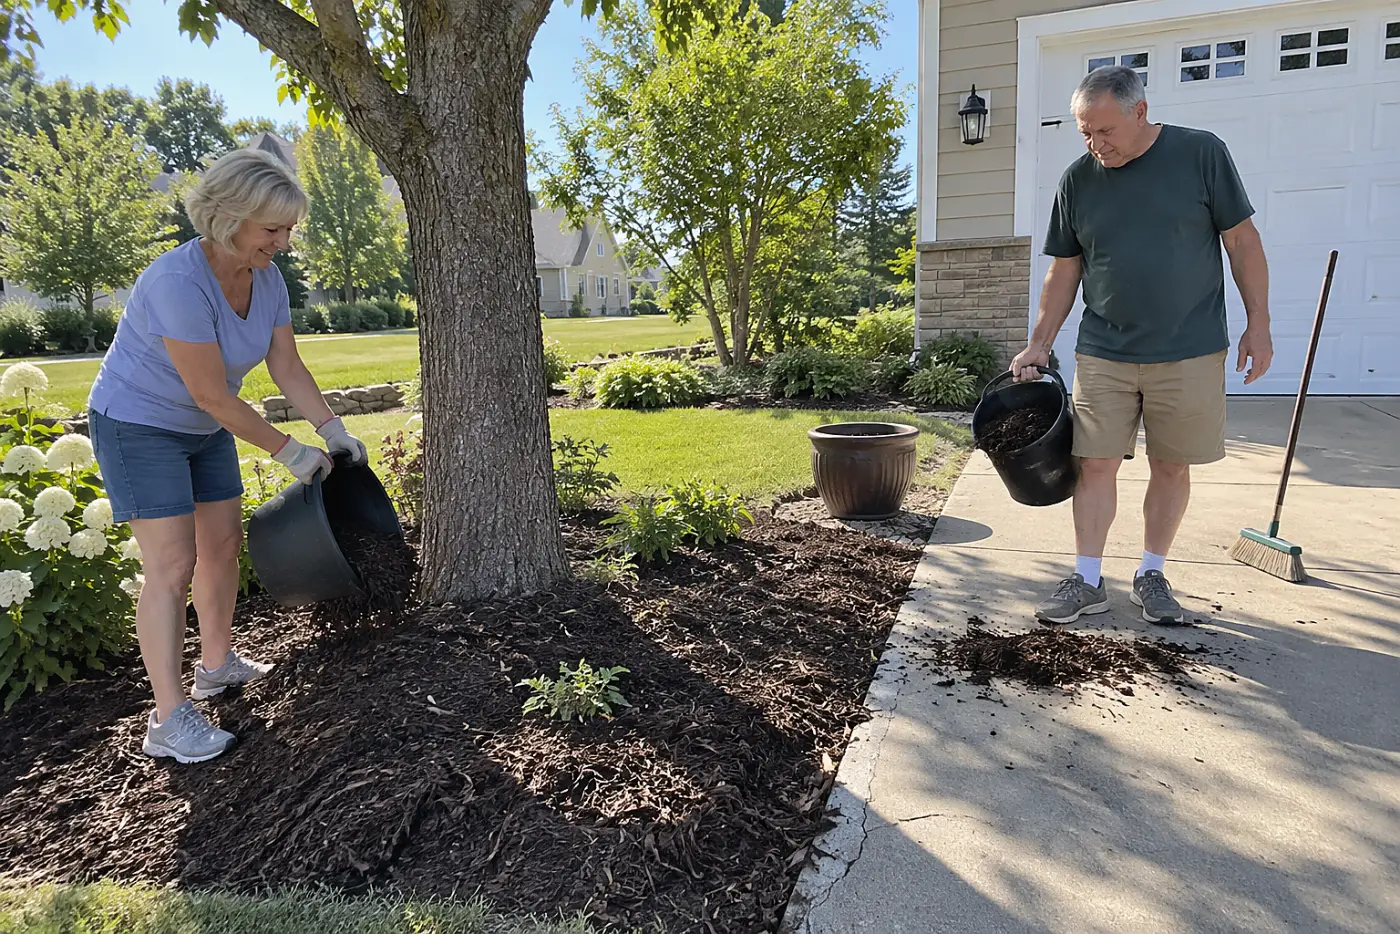
A mulch volcano buries the part of a tree that needs air.
Tree roots spread outward, close to the soil surface. A broad mulch ring keeps mower wheels away from roots while buffering soil temperature. Pile it against the trunk, though, and bark stays damp while the root flare disappears. The International Society of Arboriculture advises keeping mulch away from the trunk.
Dad left a gap there for a reason. Adding another bag each spring without spreading the old layer builds a mound, and buried bark is a poor trade for tidy edges. You don't need to strip the ground bare beneath the tree. Keep the mulch layer about 2 to 4 inches deep across the root area.
The cost of getting this wrong shows up slowly. Trunk damage and roots growing through piled mulch aren't fixed by buying a different color of wood chips.
This week, find where the trunk widens into the top roots. Pull mulch away from the bark and spread the excess outward across the root area.
Now look at the grass competing at the edge.
20Leaving Grass Clippings on the Lawn
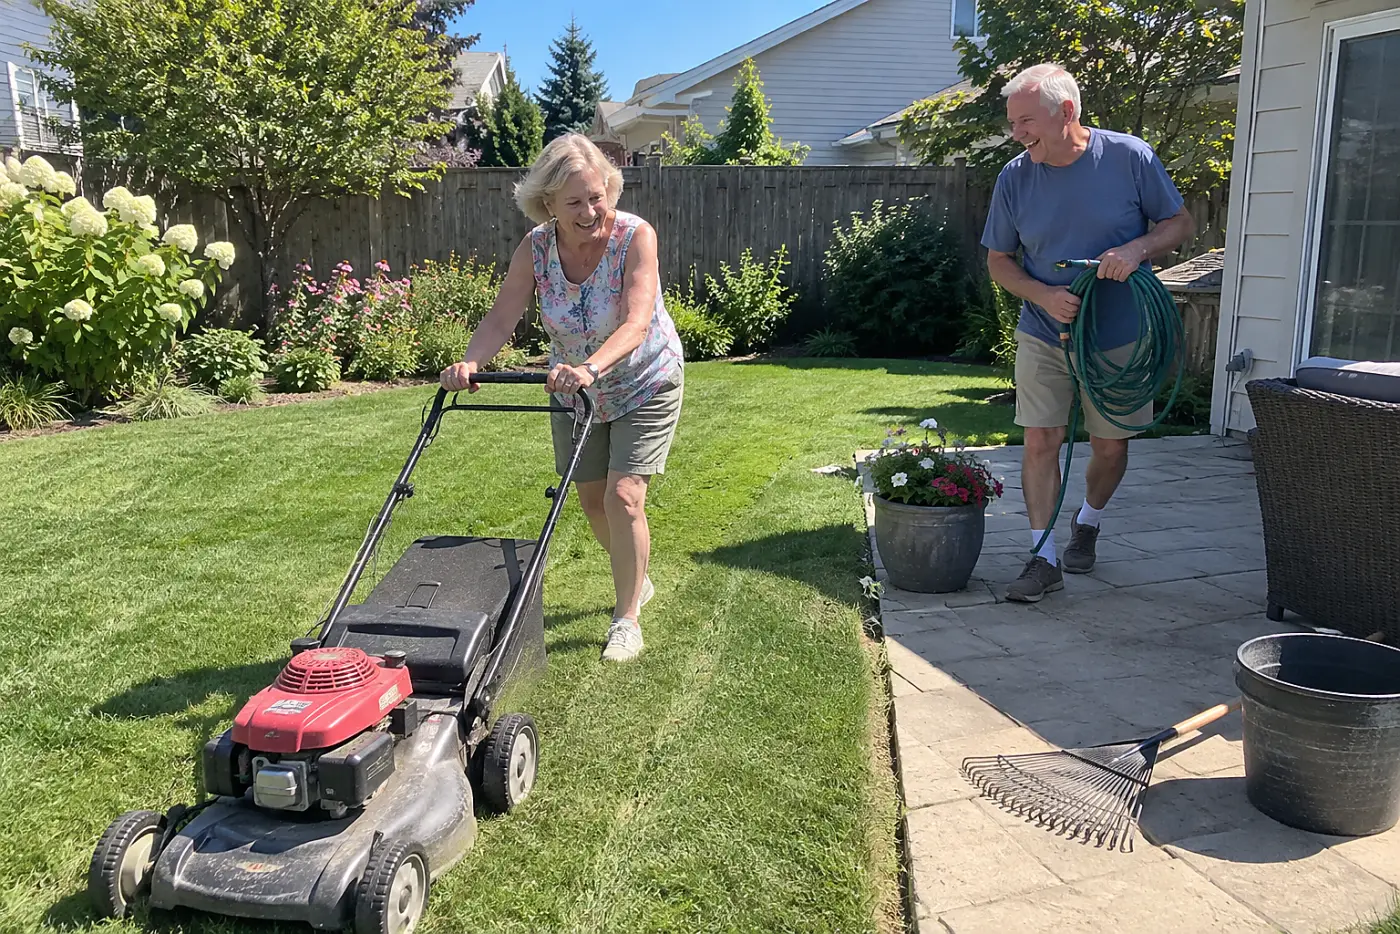
Bagging every mowing carries lawn nutrients to the curb.
Short grass clippings fall between the standing blades and break down. They return nitrogen to the soil rather than forming thatch, as the University of Illinois Extension explains. Long, wet clumps are different: they shade the grass beneath them.
Remove every clipping, and you discard material your lawn already grew. Leave heavy clumps, and you get yellow patches instead.
This week, mow when the grass is dry and let fine clippings fall. Rake apart any clumps you can see from the sidewalk.
The same restraint helps when water comes out of a hose.
19Watering the Soil Instead of the Leaves
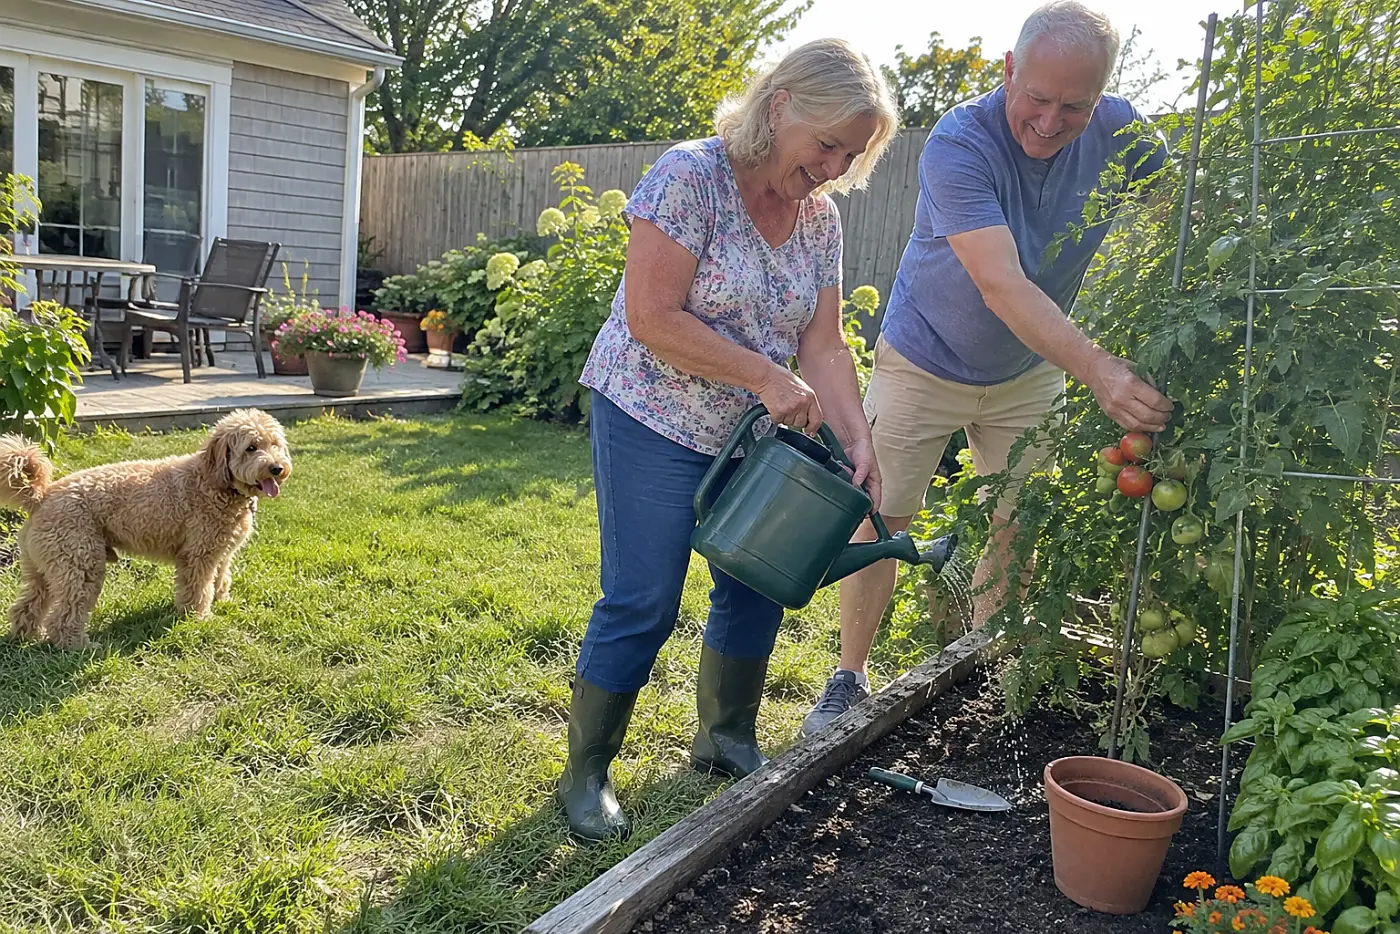
Wet leaves at bedtime give plant disease a head start.
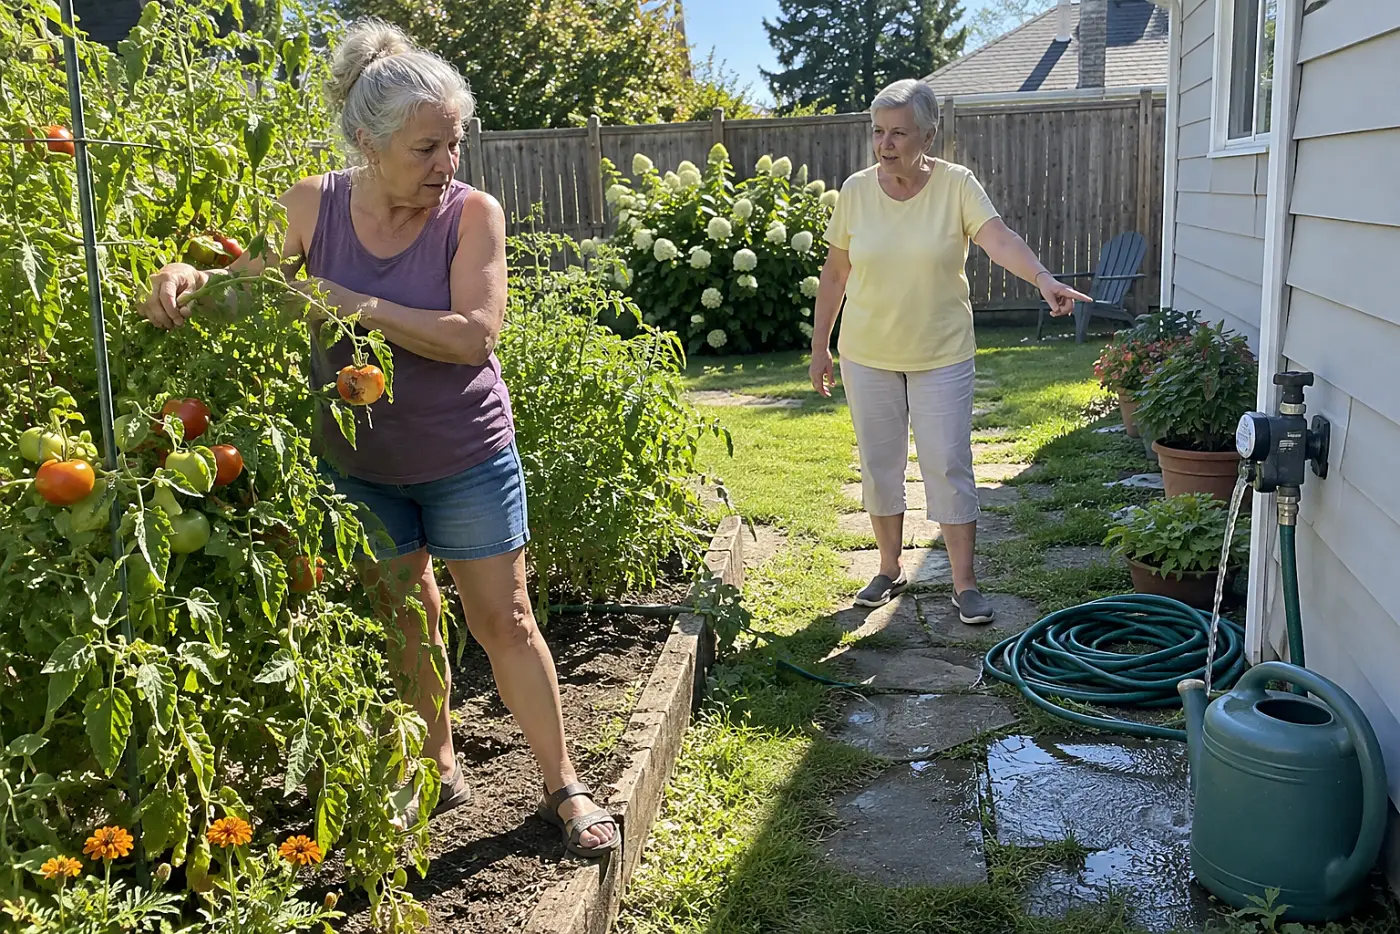
Roots take up water from the soil. A hose aimed beneath the foliage puts it there, while overhead spray wets leaves and loses water to wind. For vegetables, the University of Maryland Extension recommends watering at the base to reduce leaf wetness.
Dad's watering can had a long spout for a good reason. The point isn't to count drops or keep every leaf dry through a rainstorm. It's to avoid adding hours of damp foliage each time you water. Wet leaves, crowded growth, and slow drying give several fungal diseases better conditions.
A quick splash that darkens the topsoil without reaching roots wastes your time. Water left standing on leaves late in the day gives disease another opening.
This week, aim a hose or watering can at the soil around one plant. Check beneath the surface afterward to see whether water reached the root area.
Before you turn the hose on again, check what the ground says.
18Pushing a Finger Into Garden Soil
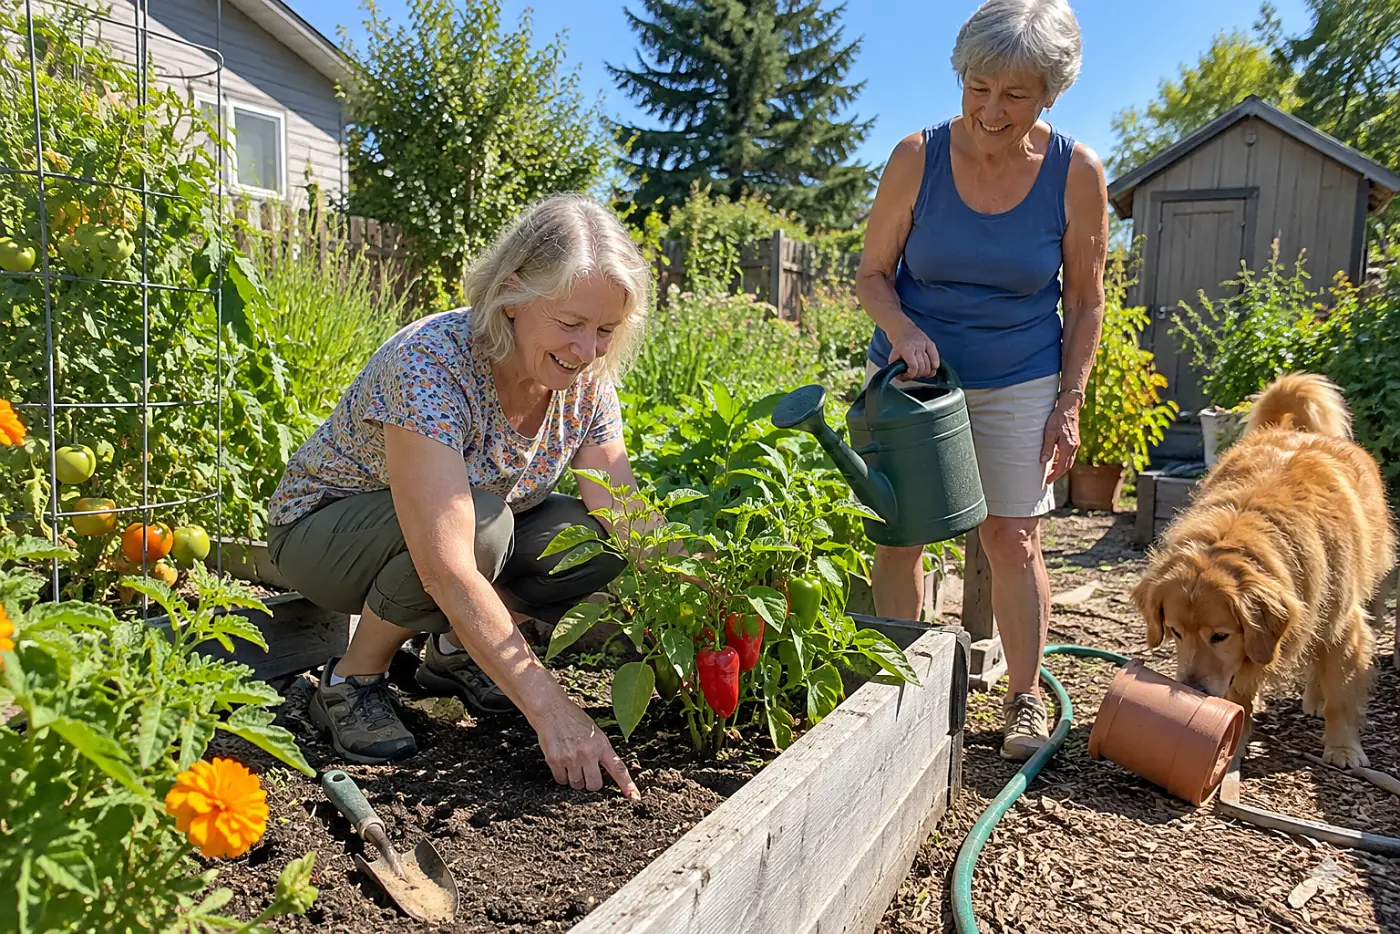
A dry surface doesn't prove the roots need water.
Sun and wind dry the top layer first. Soil below it holds moisture longer, especially under mulch. Push a finger into the ground near the plant, then feel below the crust before reaching for the hose.
Water by the clock alone, and you risk soggy roots after rain. Skip the check during a hot spell, and a dry root zone goes unnoticed.
This week, test the soil before watering two different beds. Compare what you feel under mulch with the bare patch beside it.
Once the ground needs water, the hour matters too.
17Watering Early Before the Day Gets Hot
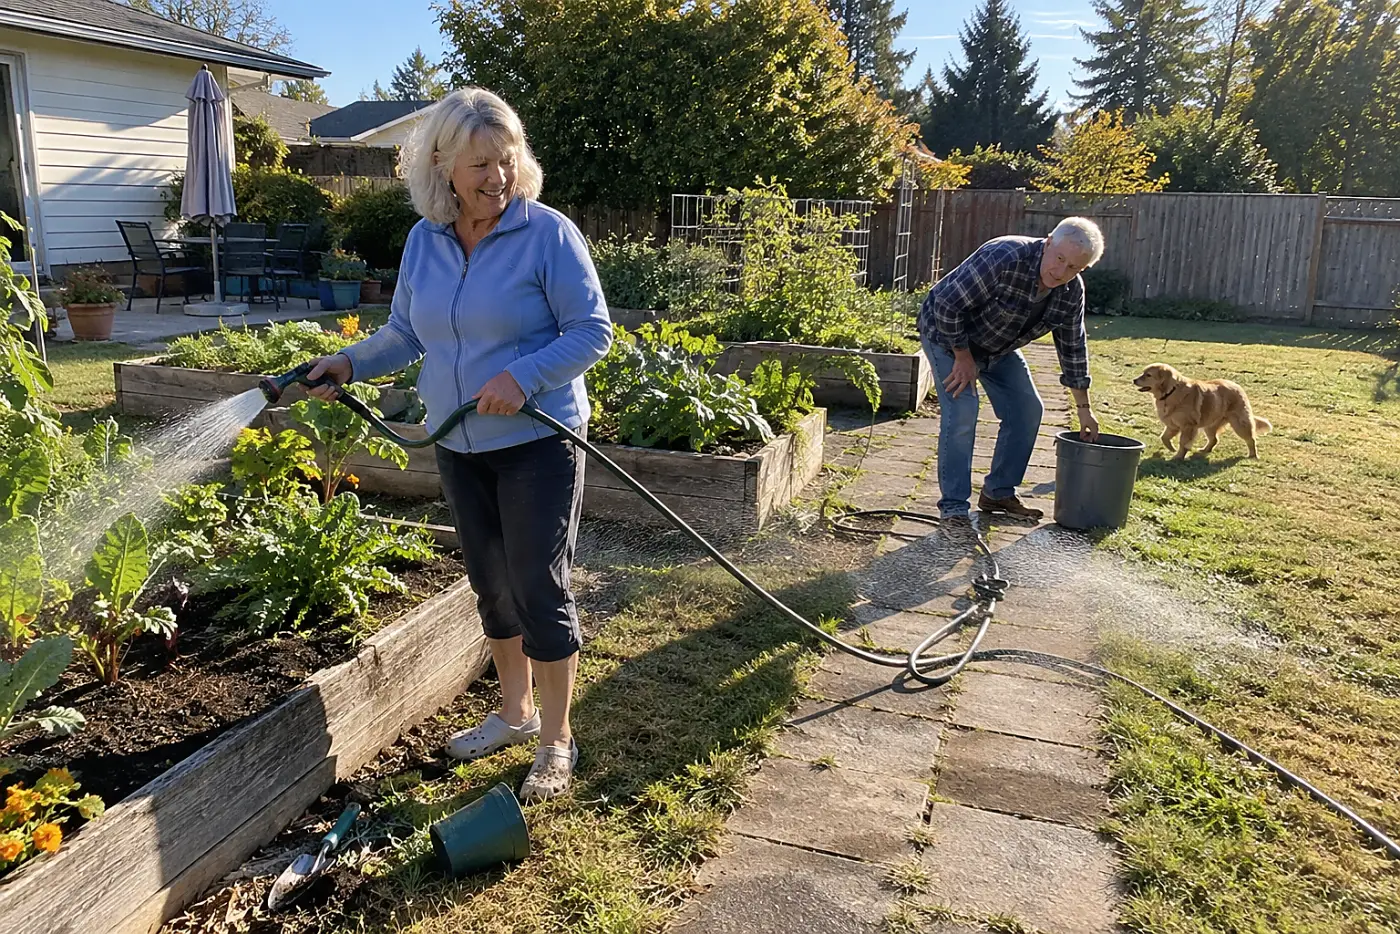
A noon sprinkler spends water on wind and pavement.
Early watering puts moisture in the root zone before the strongest afternoon heat. Foliage wetted by a sprinkler also gets daylight to dry. The EPA WaterSense program advises avoiding the hottest part of the day to limit evaporation. Local watering restrictions still come first.
Dad was right to get outside before breakfast, though dawn isn't a magic deadline. Delivering water to the soil matters more than setting an alarm for a particular minute. If an early start doesn't fit, a hose aimed at the base keeps leaves drier than a sprinkler running late in the evening.
Sprinkling for a few minutes leaves deeper roots dry. Running water across the sidewalk tells you the stream isn't landing where you paid to put it.
This week, move one watering session out of midday. Watch where the water lands, then feel the soil afterward rather than trusting the timer.
A layer on top helps hold onto what you delivered.
16Spreading Straw Between Vegetable Rows
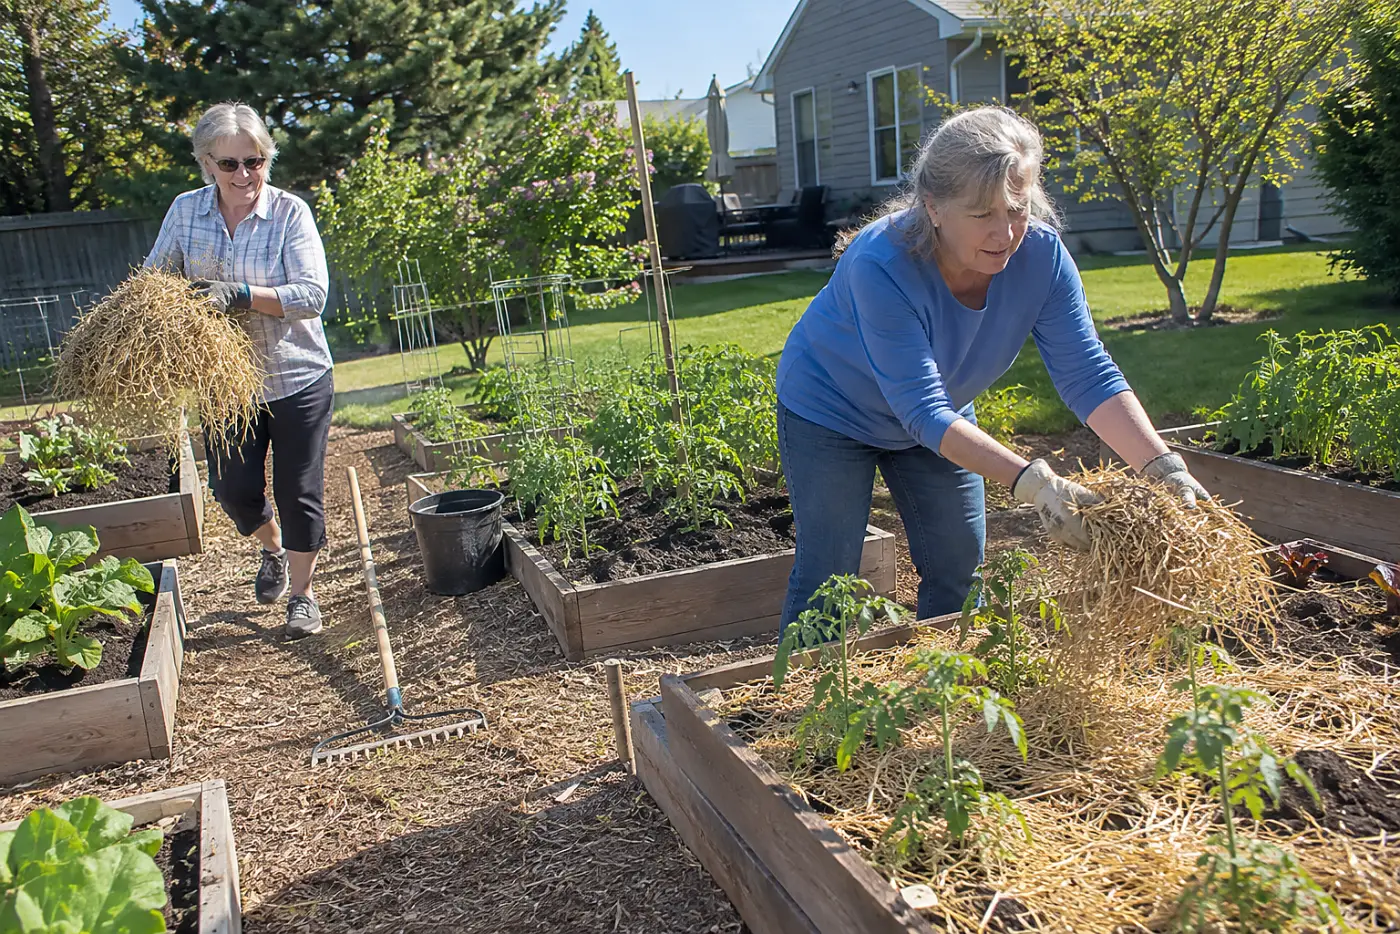
Bare vegetable soil loses water and grows weeds.
Clean straw shades the soil surface and slows evaporation. It also blocks light from reaching many new weed seedlings. The University of New Hampshire Extension lists straw among mulches for vegetable gardens; hay carries more weed seeds. Spread straw about 2 to 3 inches deep after it settles.
A thick pile against tender stems traps moisture where it shouldn't. Skip mulch altogether, and you spend more time pulling weeds and watering exposed ground.
This week, spread clean straw around established vegetables. Leave a little breathing room around each stem and check for weeds before covering them.
Under that straw, the soil has its own workforce.
15Adding Finished Compost to Garden Beds
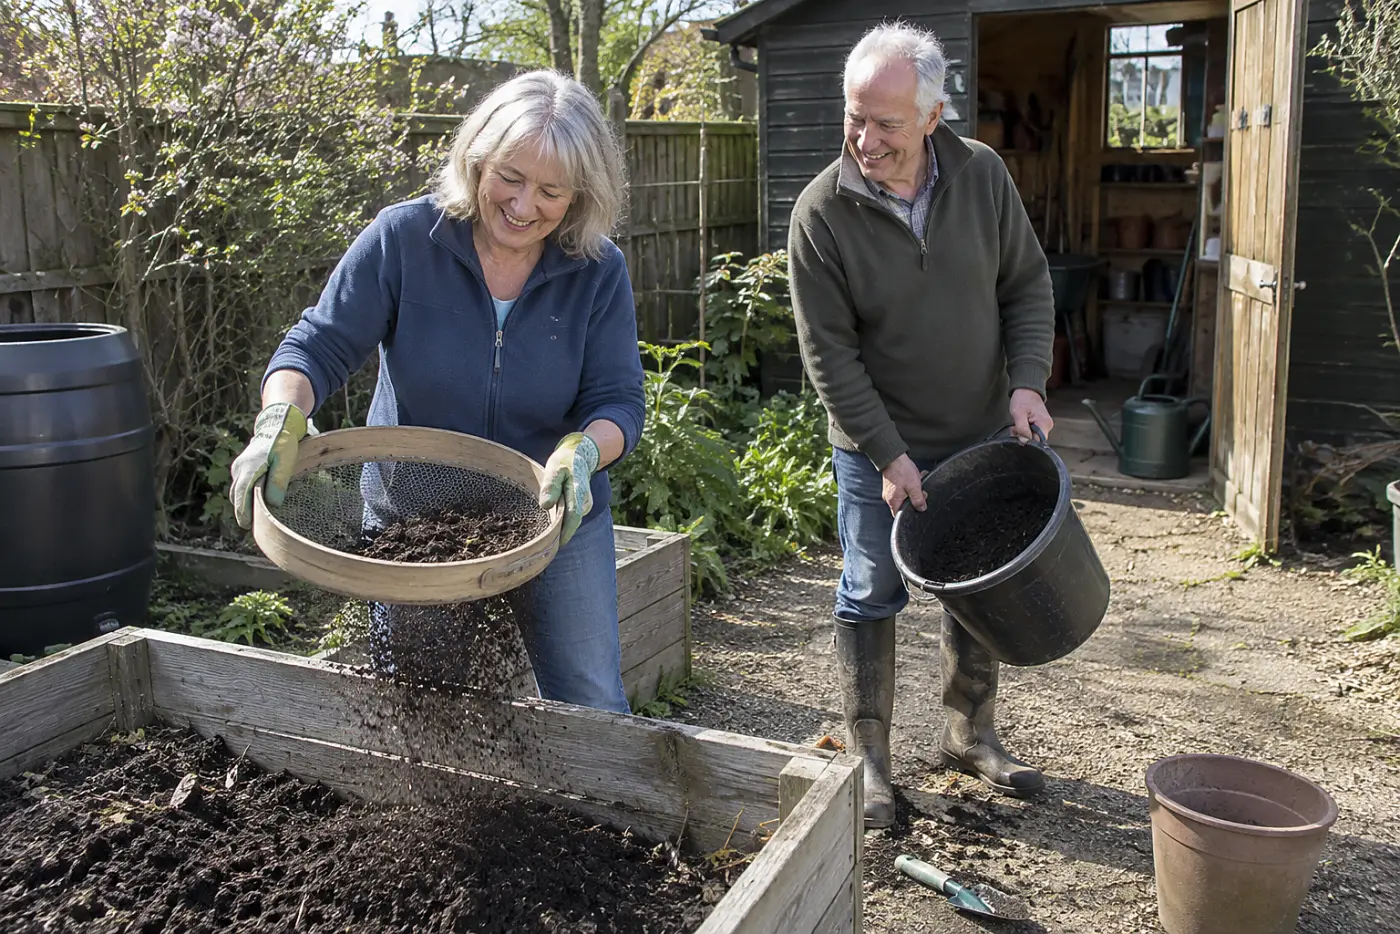
An unfinished compost heap steals the show from seedlings.
Take a handful: finished compost crumbles and smells earthy, so you aren't burying fresh scraps beside seeds. Mixed into a garden bed, it adds organic matter that helps soil hold water and improves its structure. The US Composting Council distinguishes finished compost from material still breaking down.
Dad's old heap worked because he gave it time. Fresh scraps buried beside seeds attract digging animals and keep decomposing in the bed. Compost also isn't a substitute for knowing which nutrients your soil lacks. More of it isn't automatically better, especially if a bed already receives manure or other amendments year after year.
Put unfinished material against young roots, and the plants face a changing mix rather than stable soil. Heap compost against stems, and you hold moisture at the crown.
This week, sift a handful from the oldest part of your pile. Spread finished material across a bed and return recognizable scraps to the heap.
Then let the next batch breathe.
14Turning the Compost Pile With a Fork
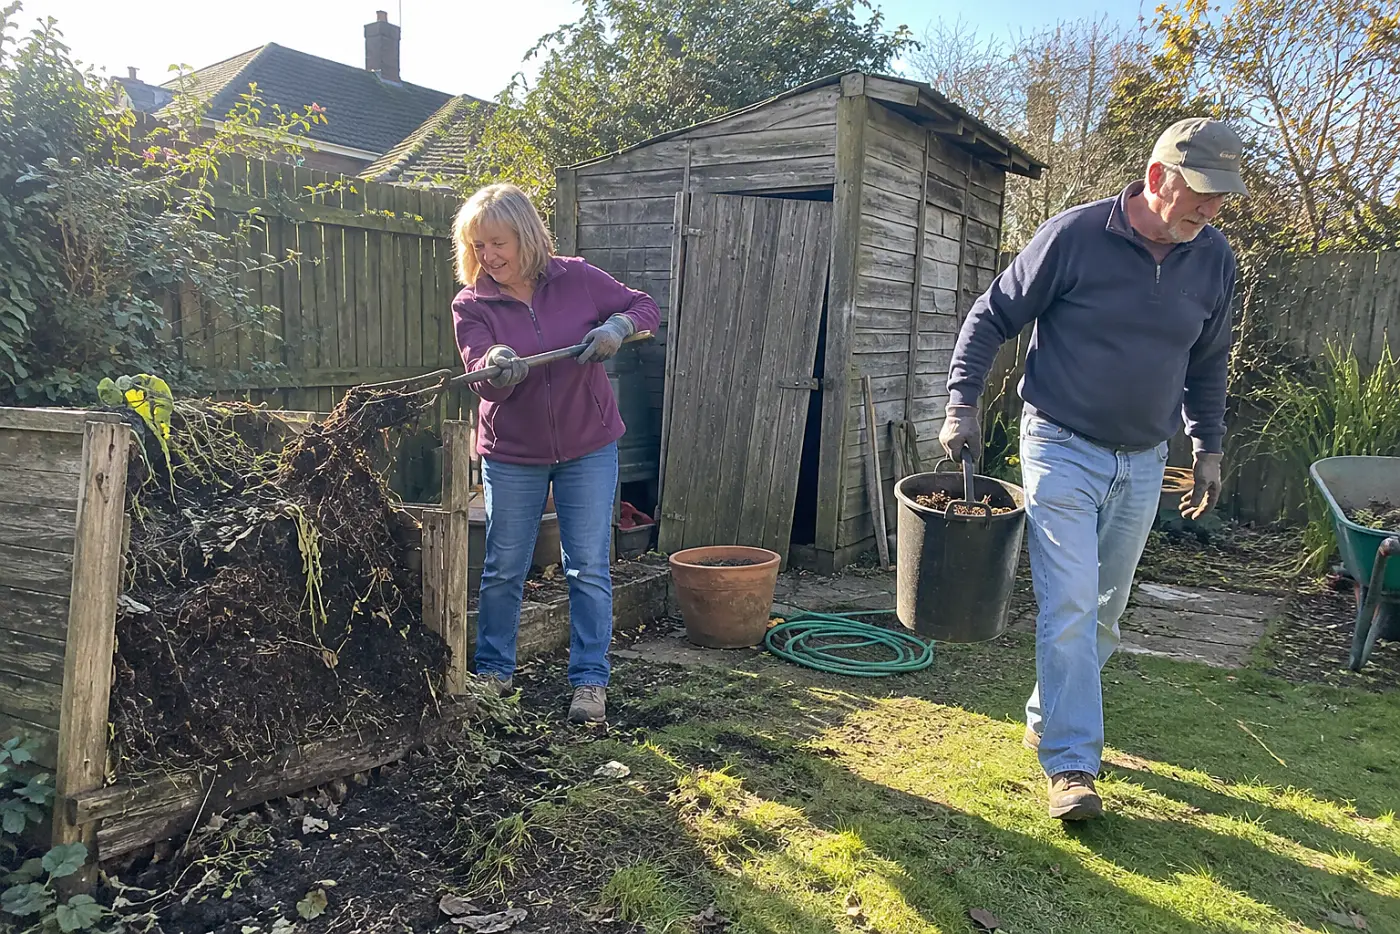
A sealed, soggy heap smells worse than old leaves.
Compost microbes use oxygen as they break down scraps. Turning a compacted pile opens spaces for air; adding dry leaves balances a wet mass. The Cornell Waste Management Institute describes air and moisture as essentials for home composting.
Leave a wet pile compacted, and it decomposes slowly and smells foul. Turn a bone-dry pile without adding water, and little changes.
This week, lift and loosen the middle with a garden fork. Squeeze a handful: it should feel damp, not drip or crumble like dust.
What goes into the pile matters as much as turning it.
13Saving Kitchen Scraps for the Compost Pile
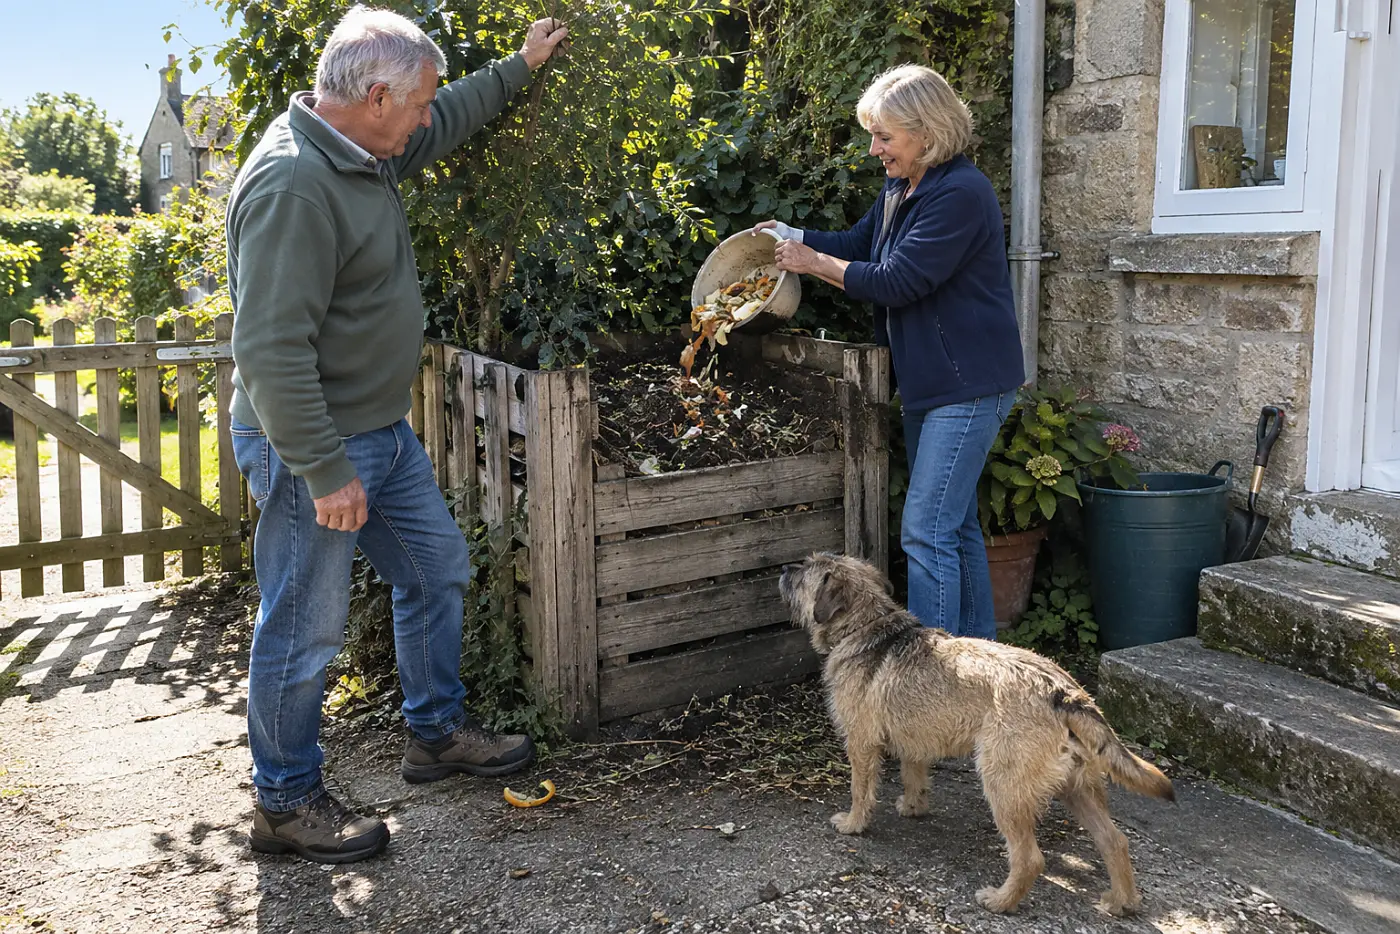
A bucket of scraps needs more than a lid.
Fruit and vegetable trimmings bring moisture and nitrogen to a compost pile. Dry leaves, shredded paper, and small twigs add carbon and air spaces. The EPA's composting guidance recommends mixing these materials rather than dumping food scraps into one dense pocket.
Dad's coffee grounds had a place, but so did the leaves he raked in fall. Bury fresh food scraps inside the pile to make them less accessible to pests. Keep meat, dairy, and greasy food out of a standard backyard heap. Check local rules before composting scraps in a shared or curbside system.
Ignore the dry material, and the bucket turns into a wet lump. Leave food on top, and you invite visitors you didn't plant for.
This week, place a container for fruit and vegetable scraps near the kitchen sink. When it fills, empty it into the middle of the pile and cover it with dry leaves.
The leaves you saved have earned another job.
12Keeping a Bag of Dry Fall Leaves
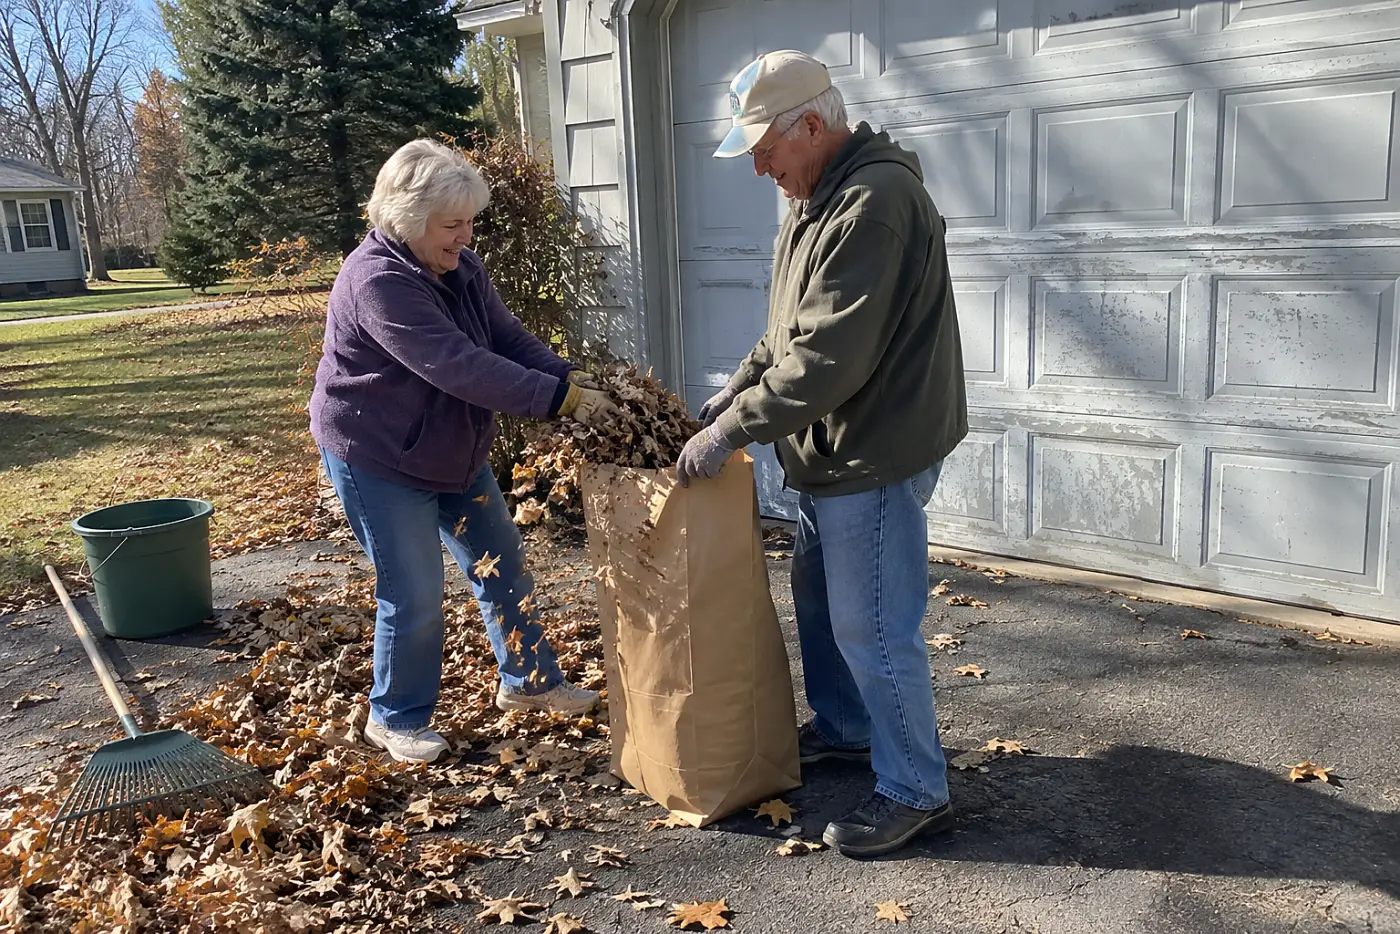
Spring compost needs something autumn left behind.
Dry leaves supply carbon and create space among wet kitchen scraps. Store them dry, then add a handful when the pile gets heavy with food waste. The EPA lists leaves as a compost ingredient, not household trash.
Throw them all away in fall, and you go hunting for dry material later. Store them wet in a sealed bag, and they start decomposing before you need them.
This week, set aside a dry bag from your next raking. Keep it covered, with room for air, near the compost bin.
Another thing worth keeping is hiding in the shed.
11Cleaning and Drying Garden Tools
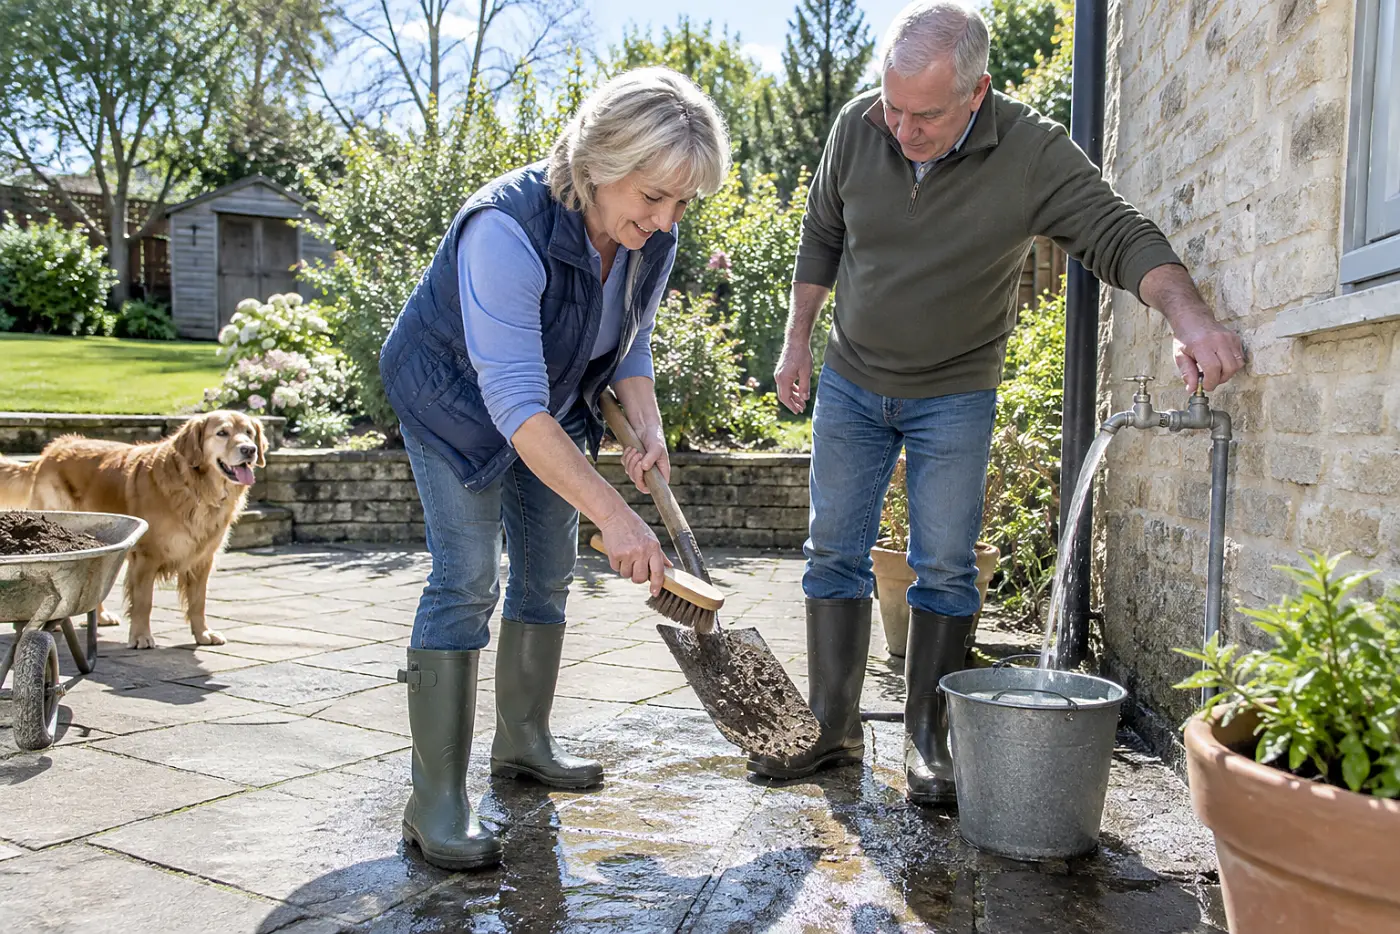
A wet shovel left in dirt asks for rust.
Soil and plant sap cling to blades after use. Cleaning them removes grit and residue; drying exposed metal before storage limits rust. The University of Vermont Extension also advises disinfecting tools used on diseased plants before moving to healthy ones.
Dad wiped down his spade for more than appearances. A clean edge cuts through soil with less effort, and a dry handle gives you a chance to spot cracks before they fail. Disinfecting matters when a tool moves from a diseased plant to another plant. Ordinary dirt on a shovel calls for cleaning, not a bottle of disinfectant every time.
Let soil harden on your pruners, and the blades stop closing cleanly. Put a damp steel tool away for winter, and rust gets a season to work.
This week, scrub one tool, dry it, and check its edge. Set aside pruners used on diseased growth for cleaning before their next cut.
The right cut depends on the plant, too.
10Cutting Dead Branches With Clean Pruners
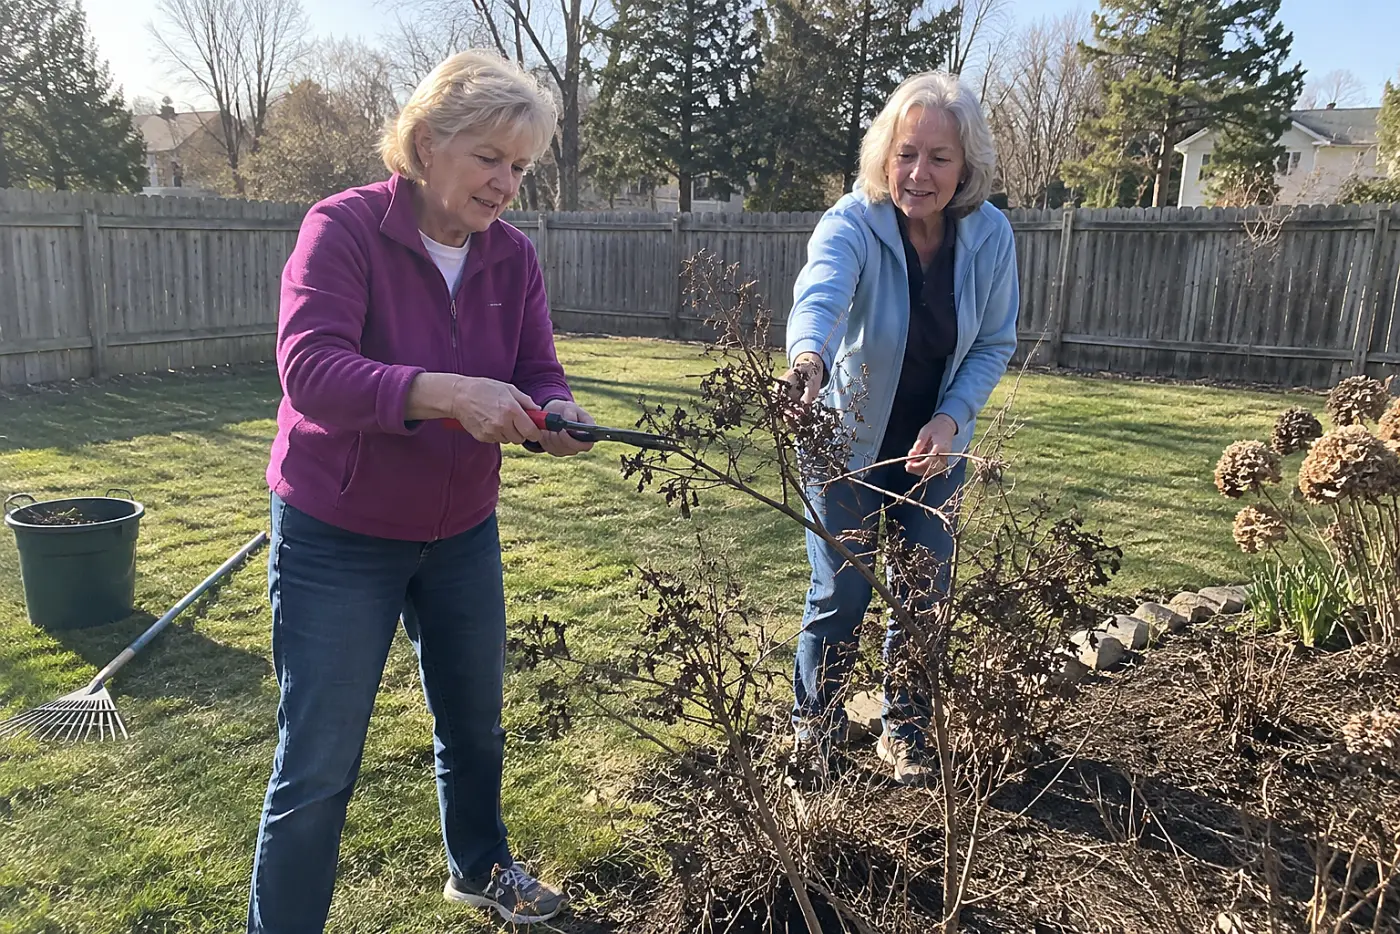
Dead wood doesn't heal by waiting another season.
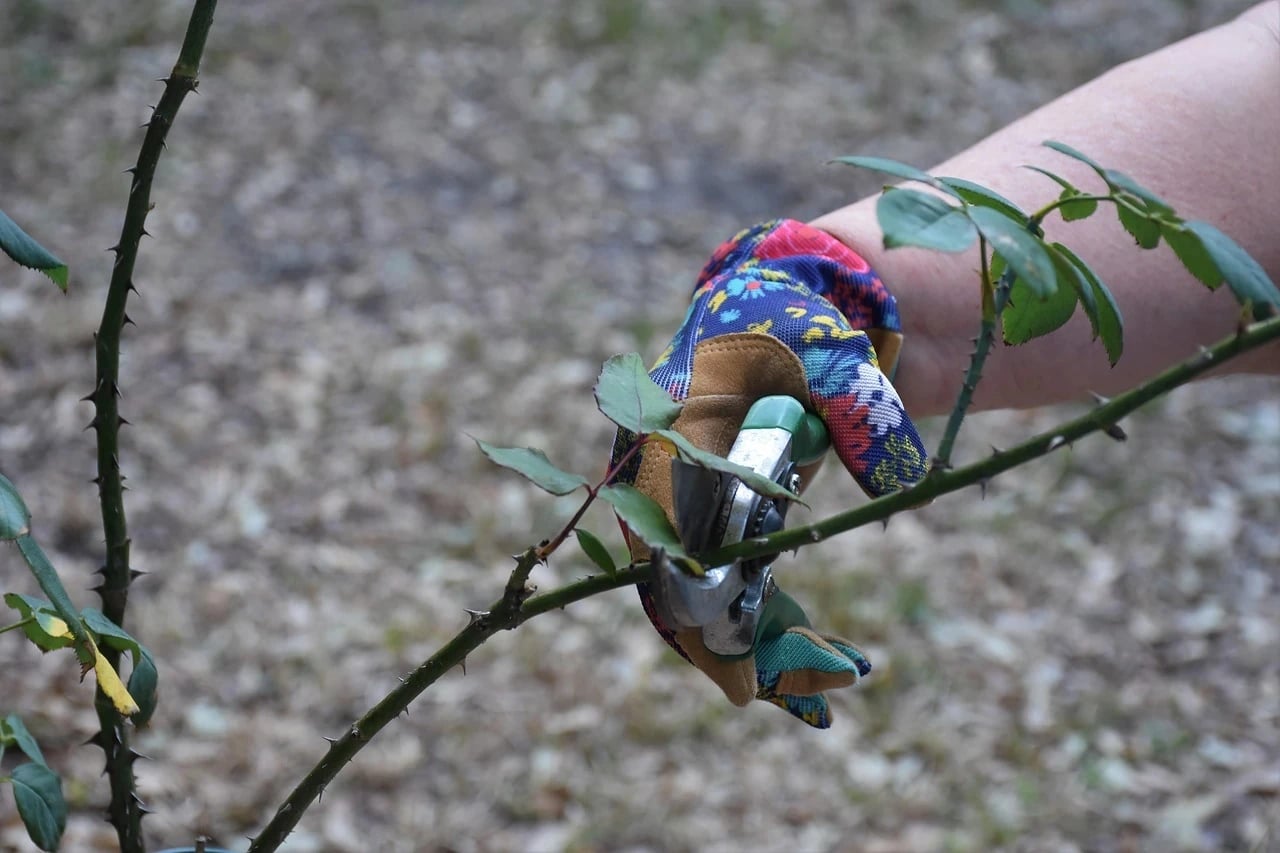
Remove a dead branch back to a healthy branch junction or the branch collar. That slight swelling at its base belongs to the tree; cutting flush into the trunk damages it. The Arbor Day Foundation teaches cuts outside the branch collar.
A stub stays exposed longer than a proper cut. A flush cut takes away living tissue the tree uses to close the wound.
This week, inspect one shrub for dead twigs and remove those you can reach safely. Leave large limbs and branches near power lines to a qualified professional.
Before cutting anything else, check which year's wood holds its flowers.
9Pruning Spring Bloomers After Their Flowers Fade
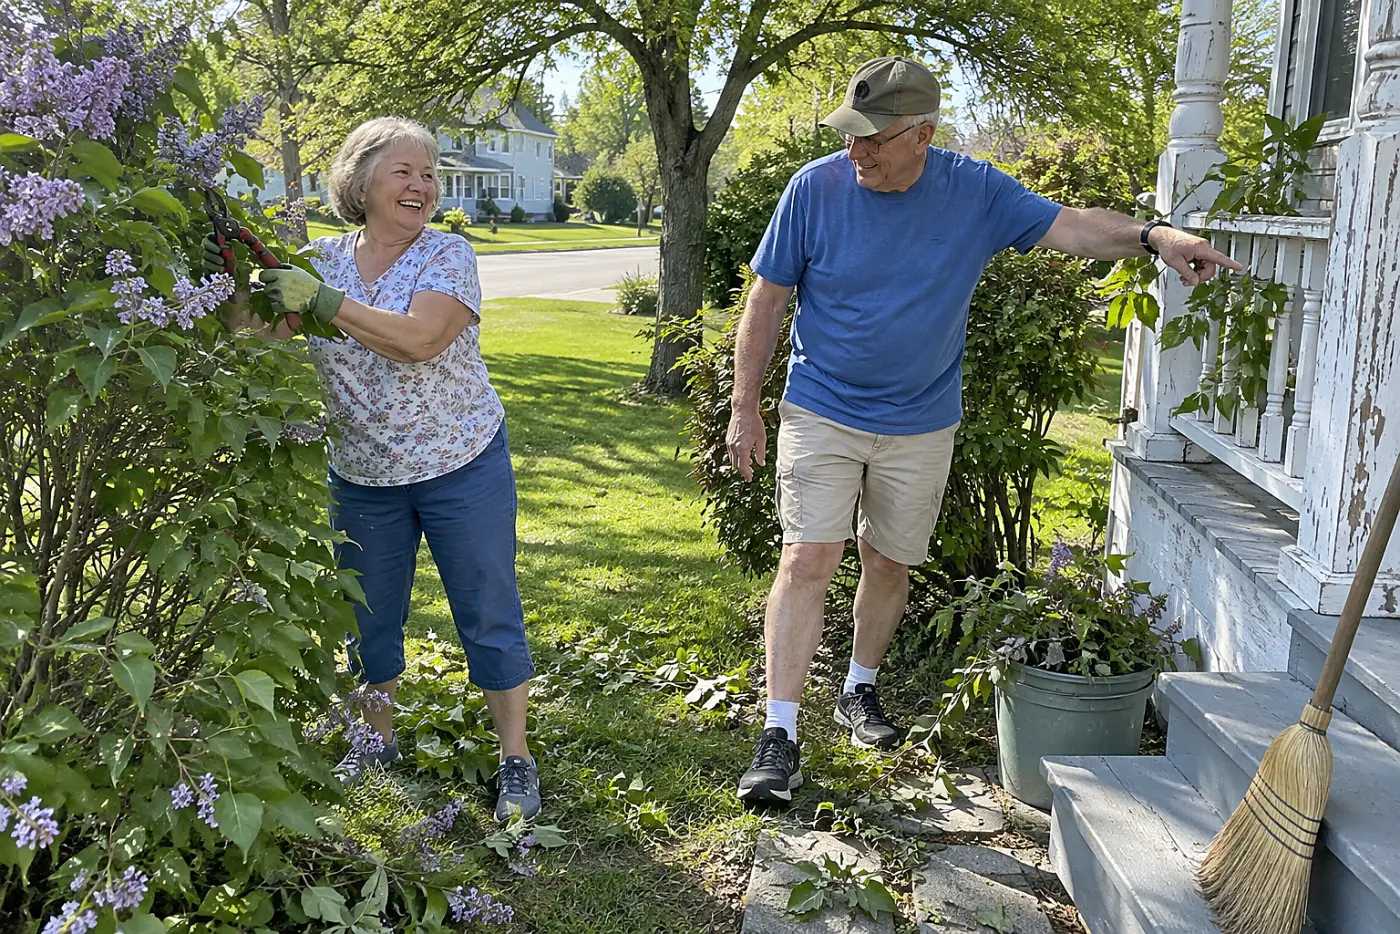
Fall pruning steals next spring's flowers from some shrubs.
Lilacs and forsythias form flower buds on older growth. Cut those stems in fall, and you remove buds before they open. The University of Wisconsin Extension recommends pruning spring-flowering shrubs soon after they bloom. That timing leaves the plant a growing season to form new buds.
Dad waited until the blossoms dropped because he watched the shrub, not the calendar. The rule doesn't apply to every flowering plant. A shrub that flowers on new growth follows a different schedule, and dead or broken wood doesn't need to stay until bloom is over. Identify the plant before you make a pile of cuttings.
Prune a lilac hard each autumn, and you'll wonder why it has leaves but few flowers. You can't tape those removed buds back on in April.
This week, identify one flowering shrub in your yard. If it blooms in spring, mark its pruning job for just after the flowers fade.
Its roots need room as much as its branches do.
See more: 27 Pruning Mistakes That Cost You Next Year's Flowers →
8Digging a Wide Hole for New Trees
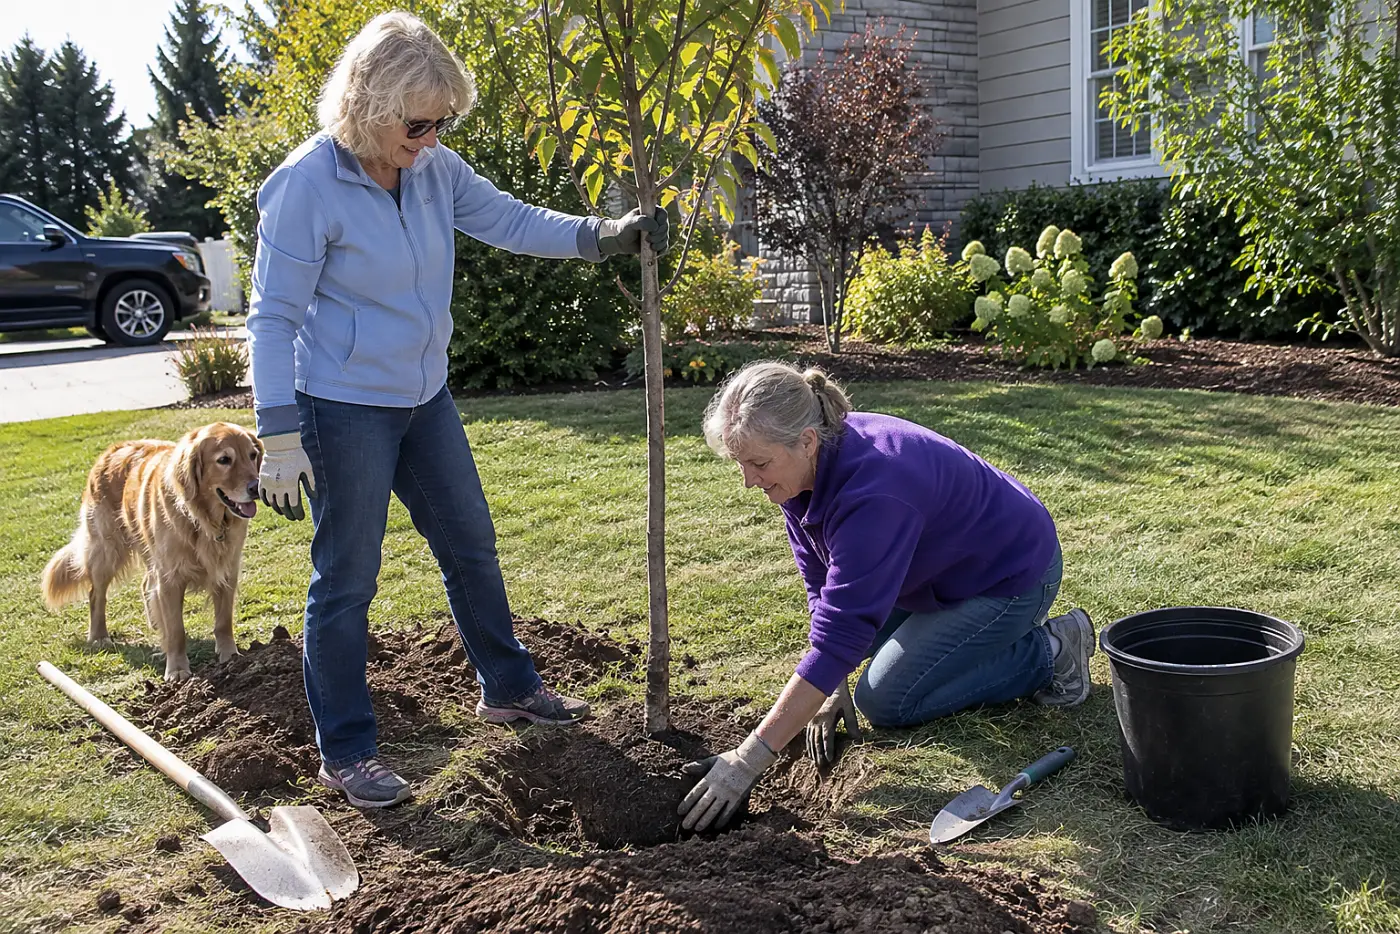
A deep planting hole turns a trunk into buried wood.
The top roots belong near the soil surface. A wide hole gives new roots loosened ground to spread through; a hole dug too deep lets the root flare disappear. The University of Minnesota Extension advises planting trees with the root flare visible.
Bury that flare, and you create problems no stake fixes. Make the hole narrow, and roots face a wall of hard soil.
This week, check the base of any recently planted tree. Brush away loose soil until you see where the trunk widens toward its top roots.
What you see at planting time matters again at seed-starting time.
See more: 25 Ways to Keep Gardening With Bad Knees and a Bad Back →
7Reading the Back of a Seed Packet
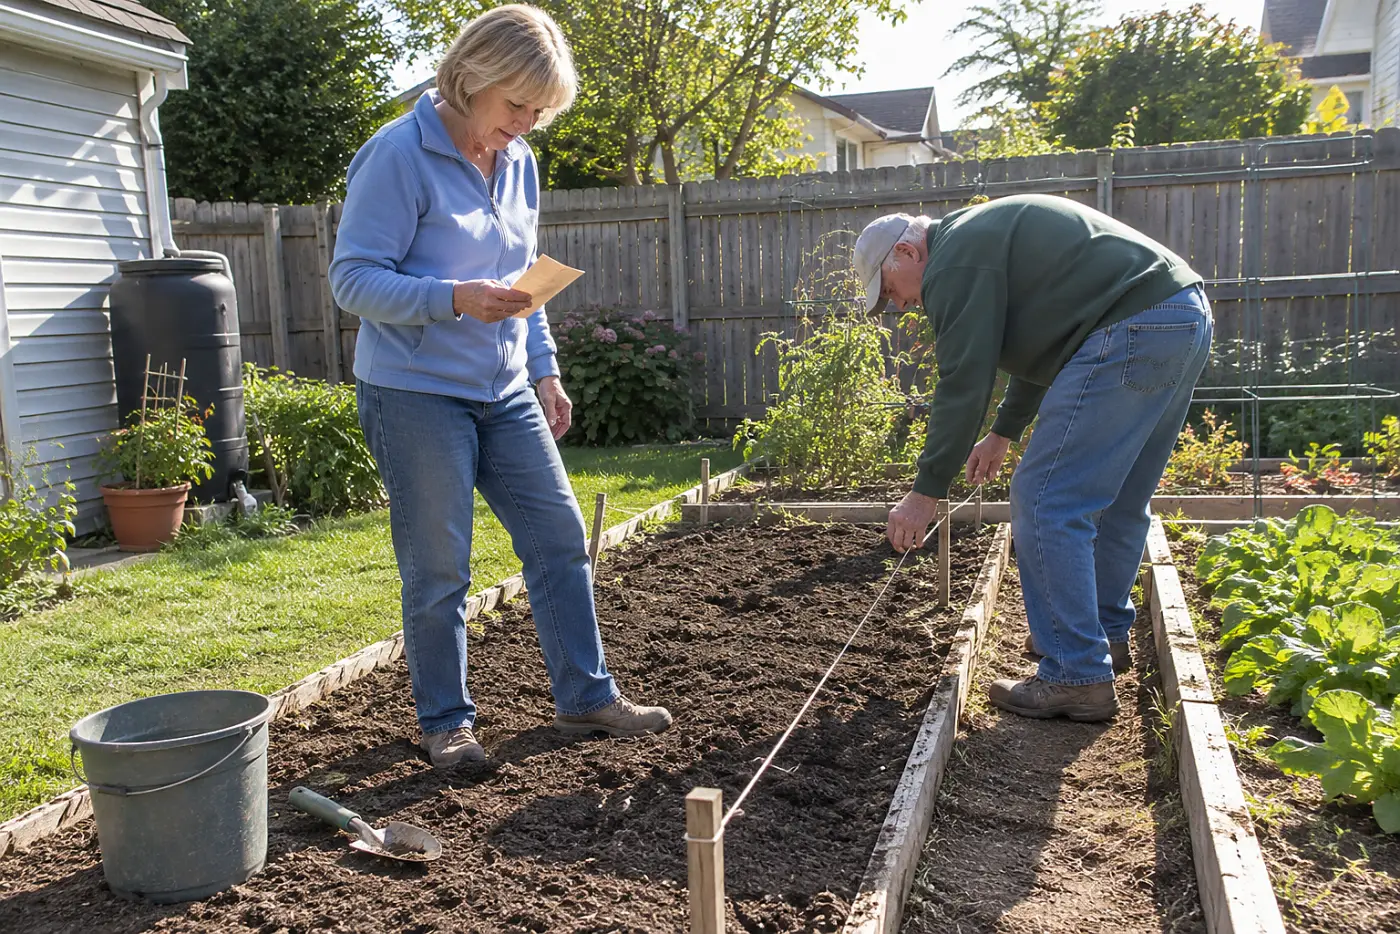
The seed packet answers questions a calendar can't.
Its directions tell you planting depth, spacing, and whether to start seeds indoors or sow them outside. Some packets also give days to germination and harvest. Those numbers belong to that seed variety, not to a rule remembered from a different crop. For local frost dates, use the National Weather Service or your state extension office.
Dad kept packets in a drawer because the details changed from peas to beans. Plant tiny seeds too deep, and they struggle to reach daylight. Crowd seedlings, and you face extra thinning after they emerge. Check the packet's packed-for year, too; older seeds lose vigor at different rates.
Guess at planting depth, and an empty row leaves you blaming the weather. Sow everything on the same date, and cold-season and warm-season crops get the same treatment when they need different conditions.
This week, pull out three packets before you dig. Compare depth and spacing, then write the planting date on each one after sowing.
One packet will lead you straight to a ruler.
6Spacing Seedlings Before They Crowd Each Other
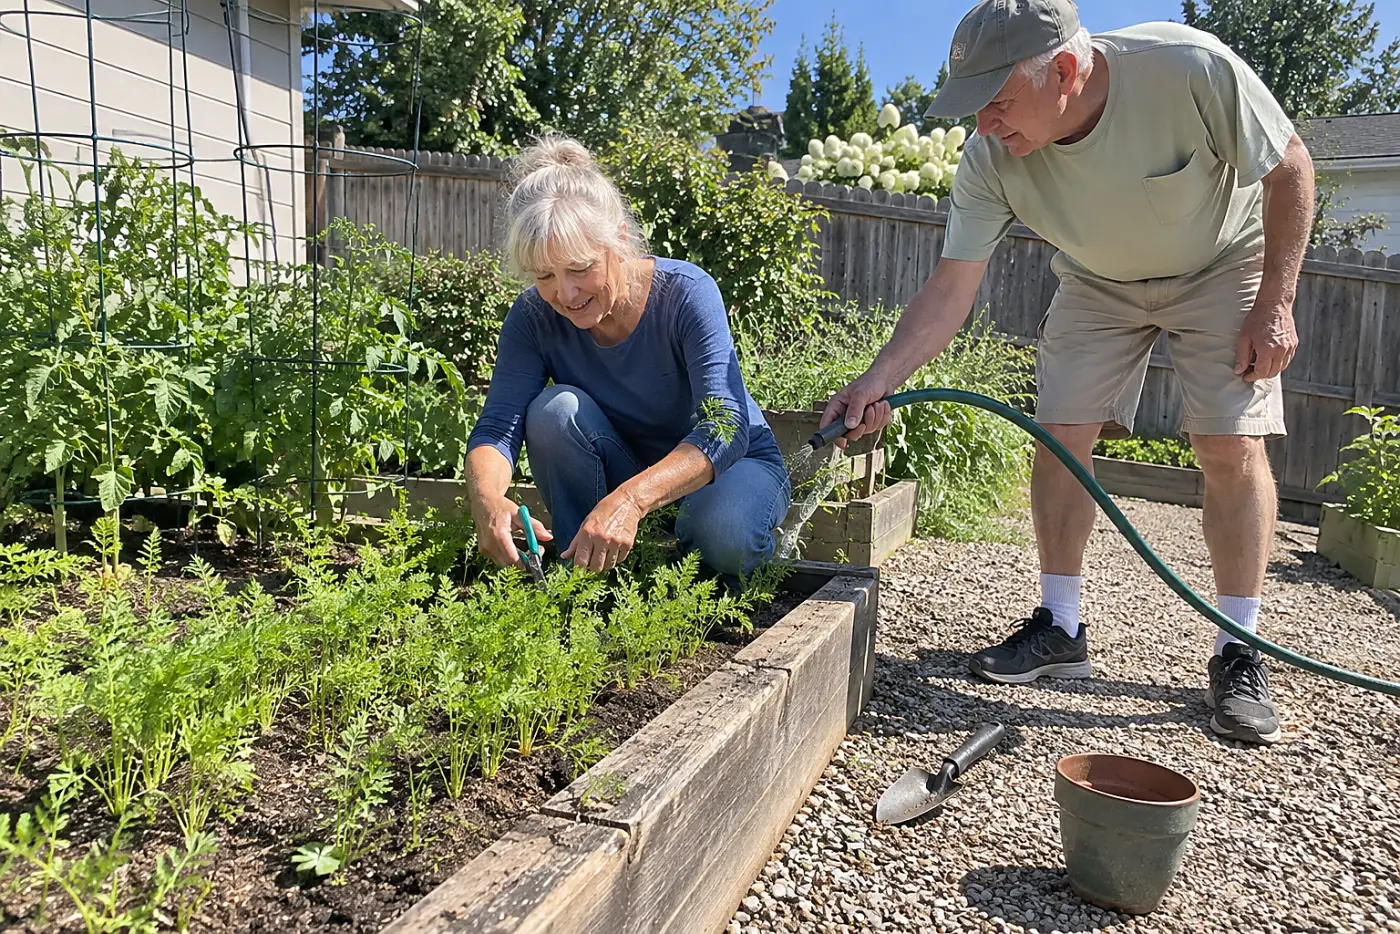
A crowded row doesn't reward every seed you planted.
Seedlings compete for light, water, and space once their leaves touch. Thinning gives the remaining plants the spacing printed on the packet. Snip extras at soil level when pulling them would disturb nearby roots.
Leave every sprout, and a thick row of carrots produces undersized roots. Yank out the extras carelessly, and their neighbors come up with them.
This week, take the seed packet to one crowded row. Snip the extra seedlings until the survivors meet its spacing directions. Tell anyone helping in the garden, "Keep the seedlings this far apart."
Those scraps point back to the season's bigger pattern.
See more: 27 Ways a Small Garden Beats the Big One You Used to Have →
5Rotating Vegetables Between Different Garden Beds
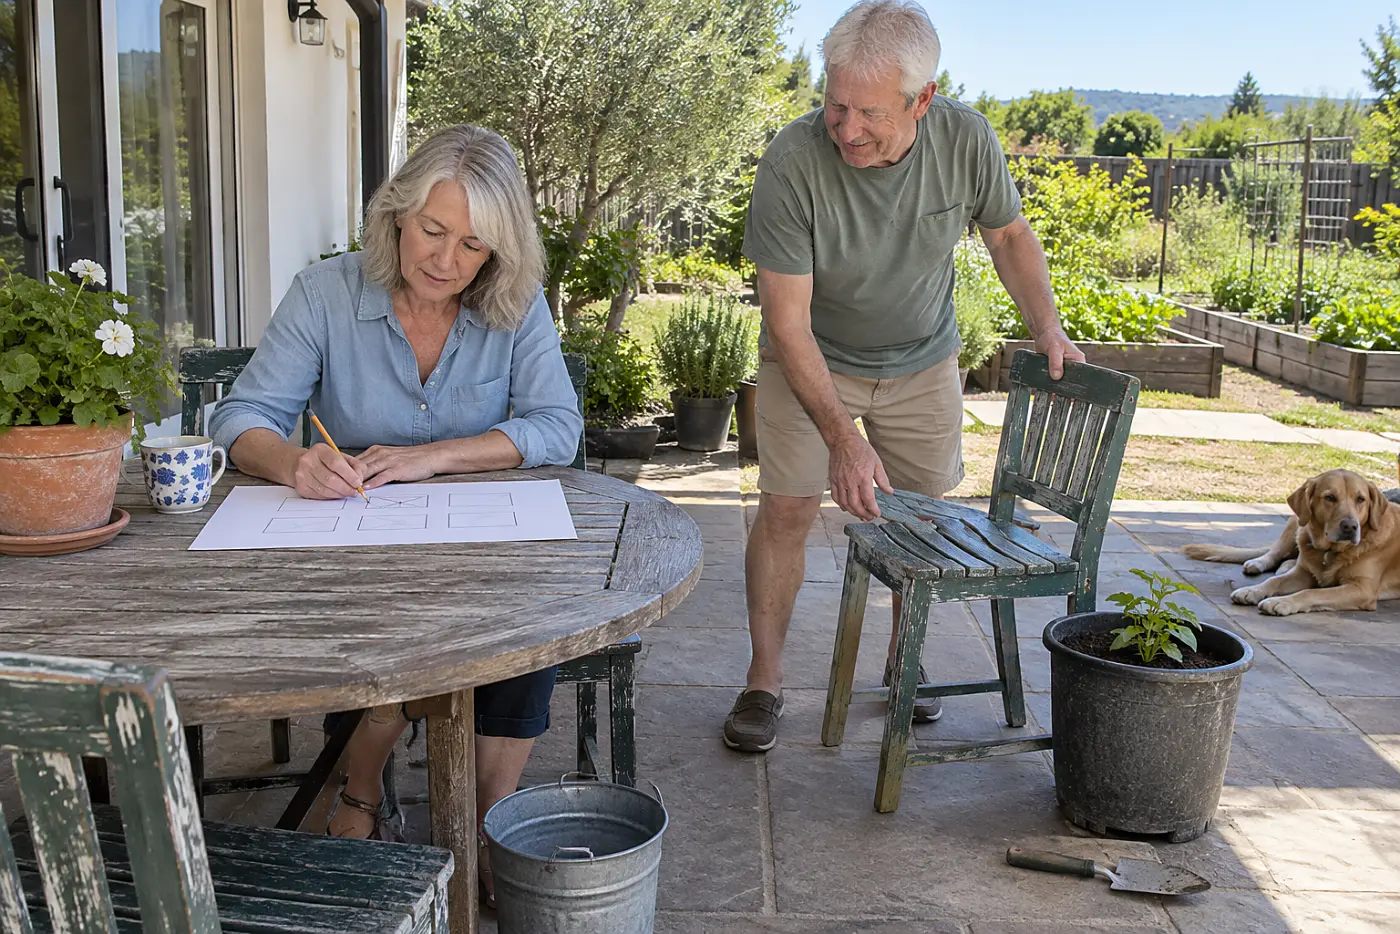
Tomatoes in the same spot invite familiar trouble back.
Crop rotation puts a plant family in a different bed, away from soilborne trouble left by its relatives. Tomatoes, peppers, potatoes, and eggplants share a family, so trading tomatoes for peppers isn't much of a move. The University of Massachusetts Extension recommends rotating vegetable families as part of disease management.
Dad's rough garden sketch had a purpose. Rotation won't fix every problem: windblown spores and insects cross bed lines. In a small yard, there isn't always enough space to make a perfect rotation. Still, planting the same family in the same bed each year gives soilborne trouble an easier return trip. A simple record beats trying to remember where last year's potatoes grew.
Repeat the planting without checking, and you lose an easy way to reduce pressure before trouble appears. You also miss a chance to notice which bed produced the strongest crop.
This week, draw your beds on paper and label this year's crops. Next season, move a family to a different bed where space allows.
The drawing is only useful if you keep it.
4Writing Planting Dates in a Garden Notebook
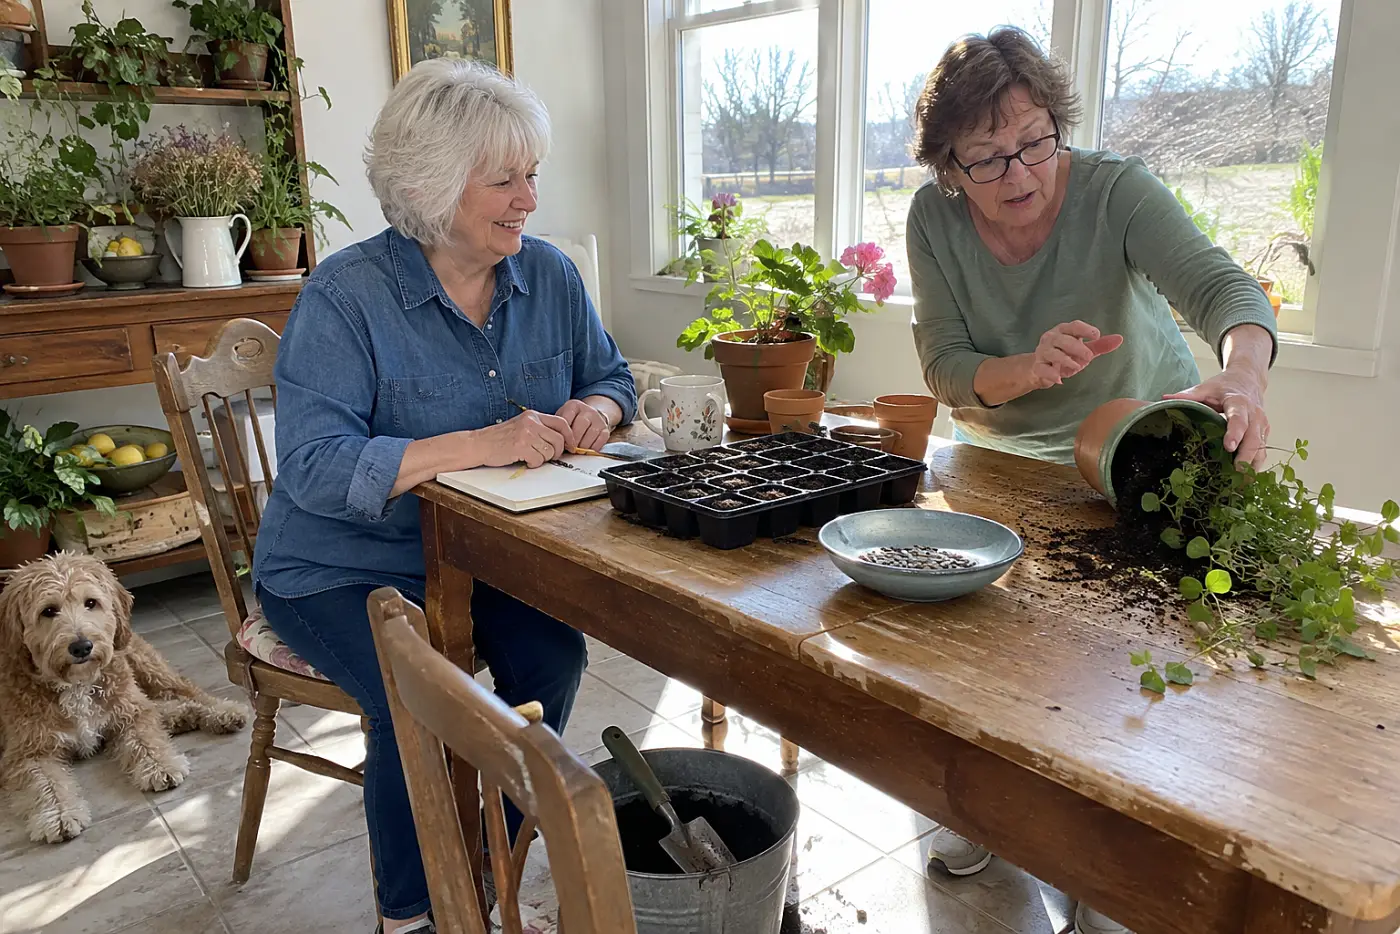
Memory changes the date you think the beans went in.
A dated note tells you when seeds went into the soil, what variety you planted, and when it sprouted. Compare that record with the packet's expected germination time before digging up a slow row. Your state's Cooperative Extension System provides local planting guidance to check against it.
Without a note, you repeat guesses each season. You forget which variety tasted good, too.
This week, write down one planting date and its variety. Leave room beside it for the first sprouts and the harvest.
The next page should start with what the ground does after rain.
3Watching Where Rainwater Stands in the Yard
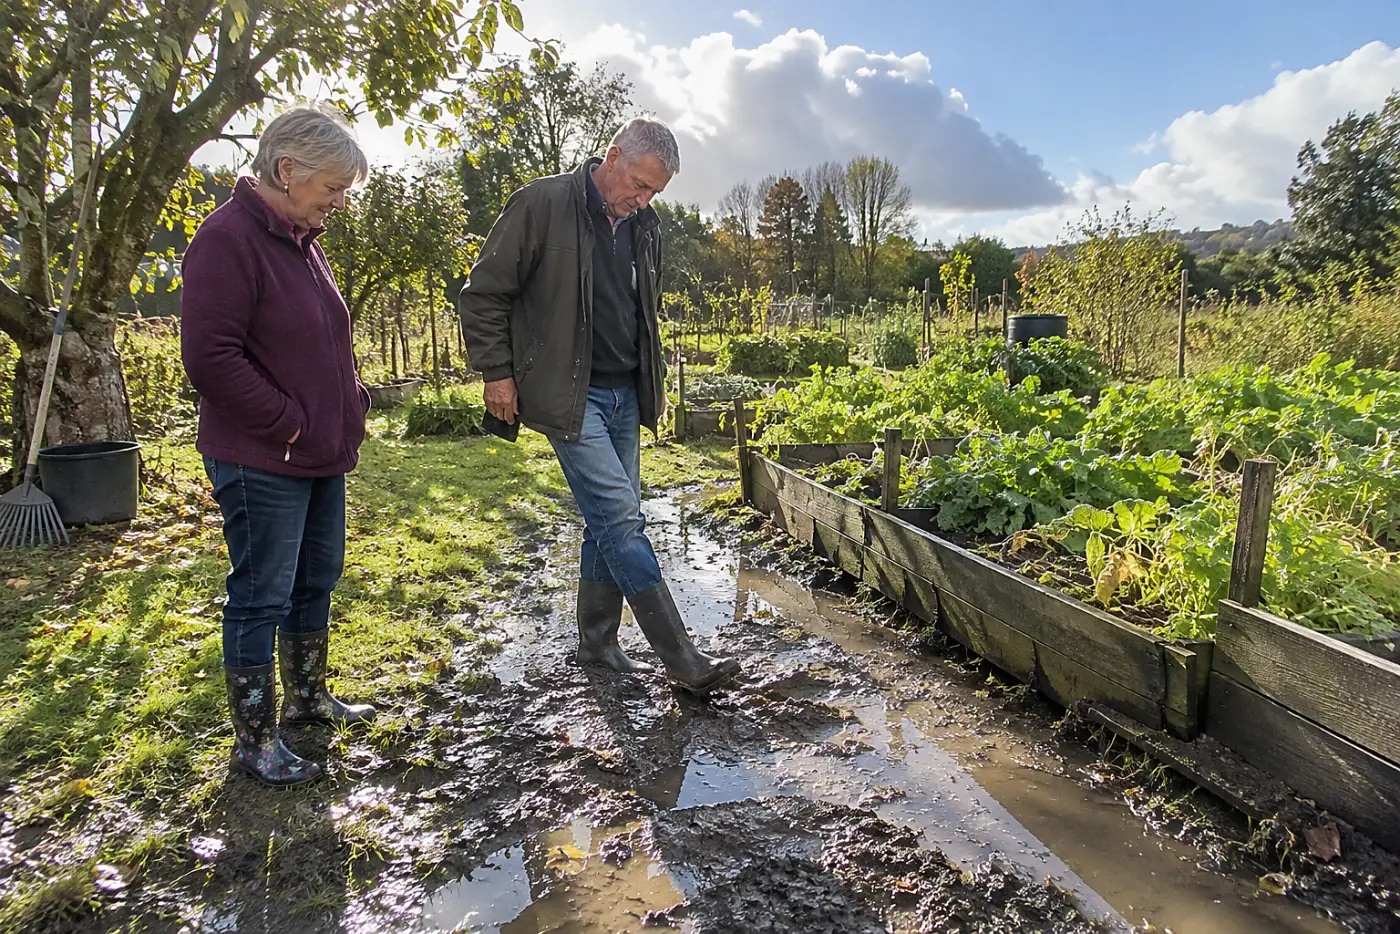
Puddles mark a planting problem before anything goes in.
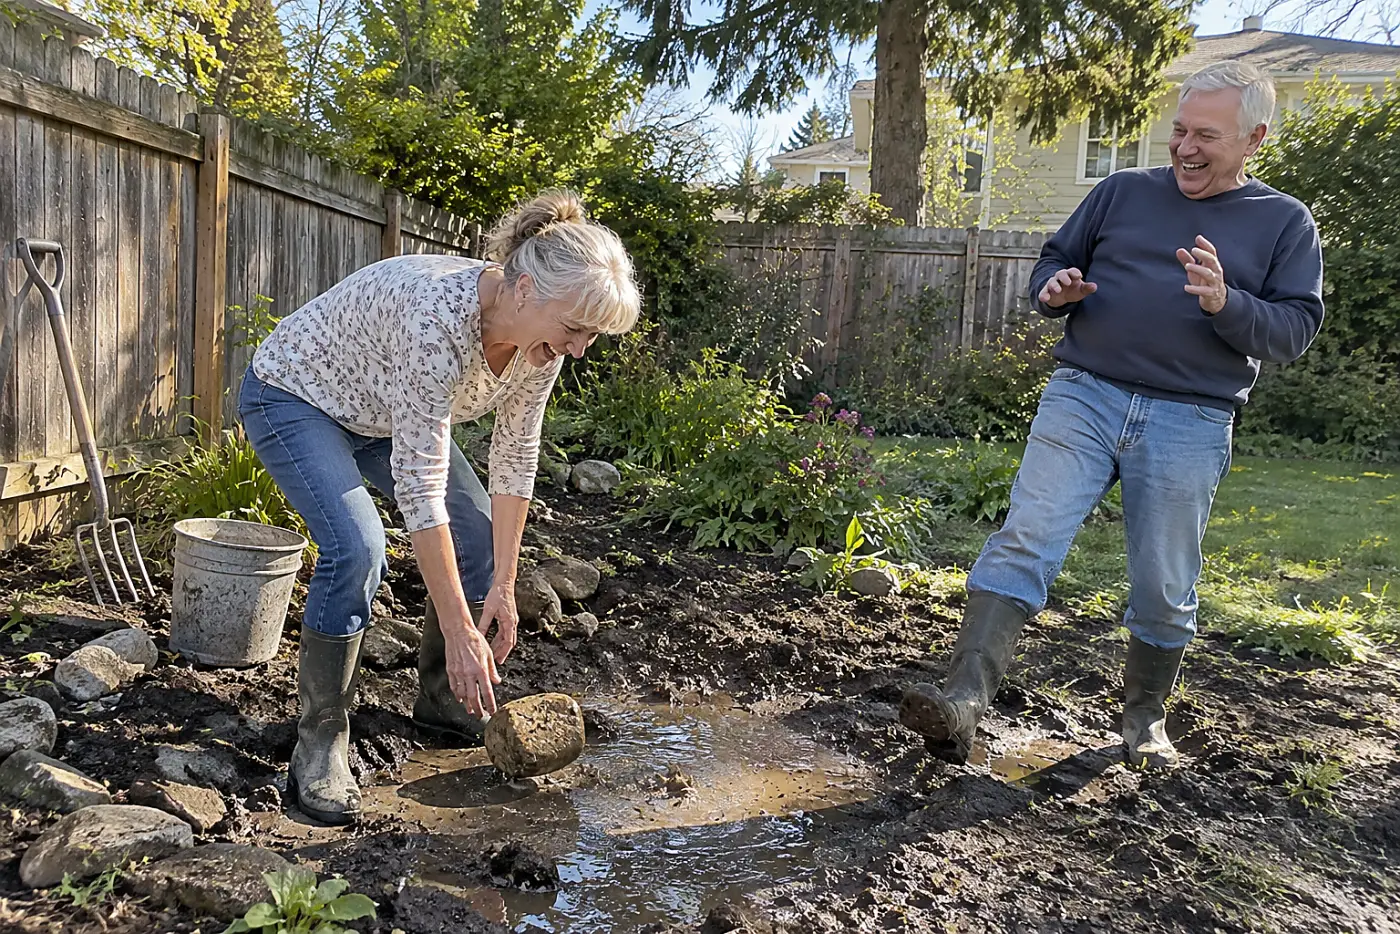
Standing water shows where rain collects and drainage slows. Vegetable roots need air in the soil as well as water; saturated ground shuts that air out. The USDA Natural Resources Conservation Service explains that healthy soil includes pore space for both. A puddle after a storm isn't a diagnosis by itself, so watch how long the spot stays wet.
Dad knew which corner held water because he walked the yard after rain. He didn't need a gadget to see runoff crossing the path. Don't dig or till the soaked area just to investigate; wet soil compacts and smears under pressure. Mark the spot, then return once the ground dries.
Plant into a persistently wet patch, and roots start with less oxygen. Walk heavy equipment across it while saturated, and you make drainage harder.
This week, watch your yard during the next rain and afterward. Mark any standing water and check the same spot again when the rest of the ground has dried.
Then test the ground before you break it open.
2Squeezing Soil Before You Start Digging
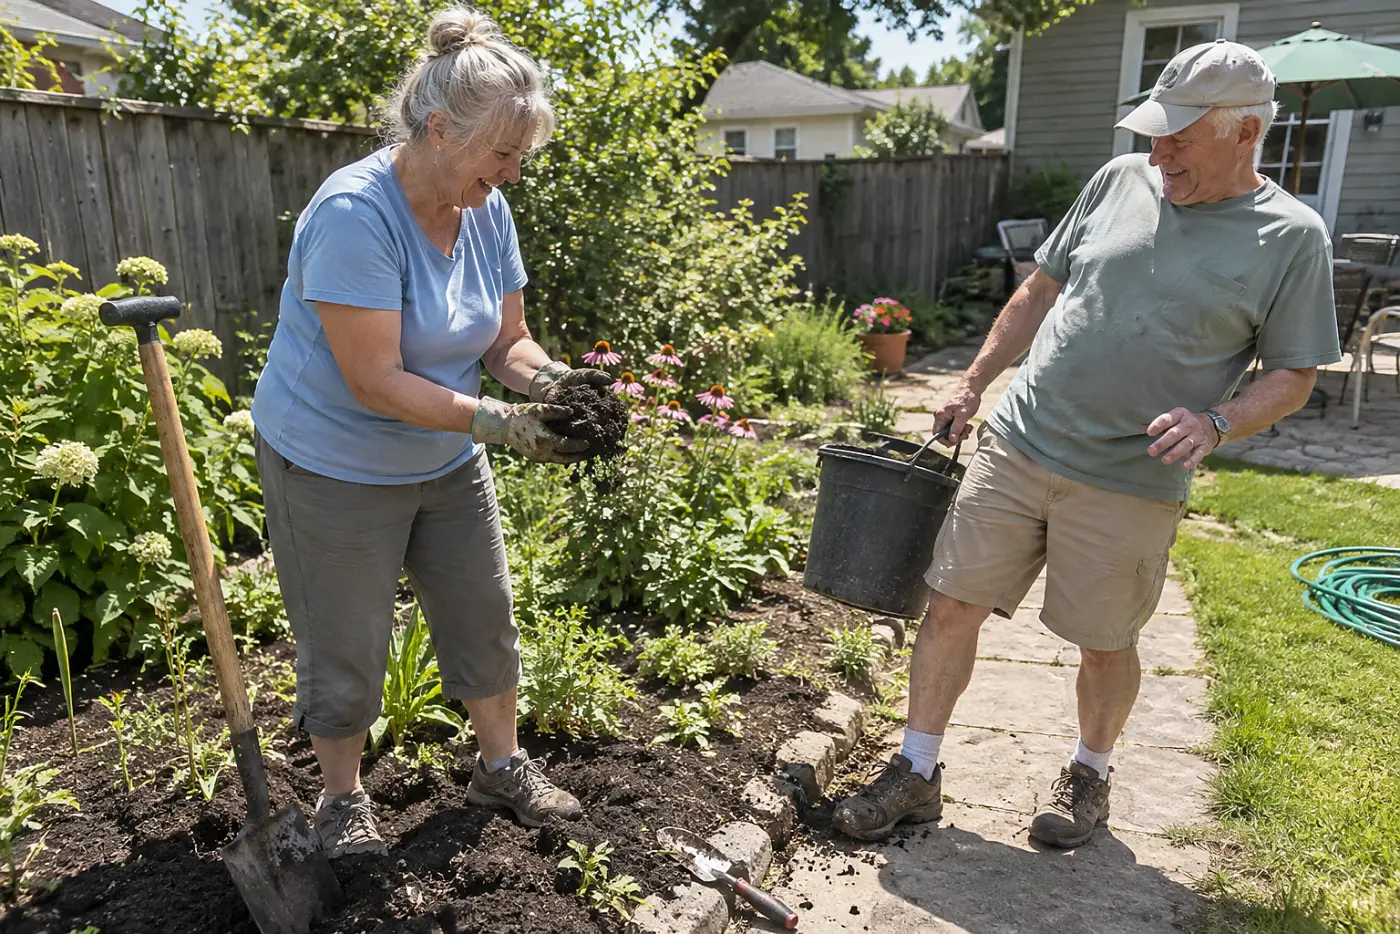
Wet soil pressed into a ribbon doesn't want a shovel.
Digging wet ground squeezes its pore spaces together and leaves hard clods when it dries. Soil ready to work crumbles in your hand rather than smearing. The Ohio State University Extension calls this a simple check before tilling.
Work the bed too soon, and roots face compacted soil all season. Waiting for a crumbly handful costs less than rebuilding its structure later.
This week, squeeze soil from the bed you plan to plant. If it sticks in a lump, put the shovel down and check again after it dries.
The last check belongs before anything goes into that bed.
1Sending a Preplant Sample to a Soil Lab
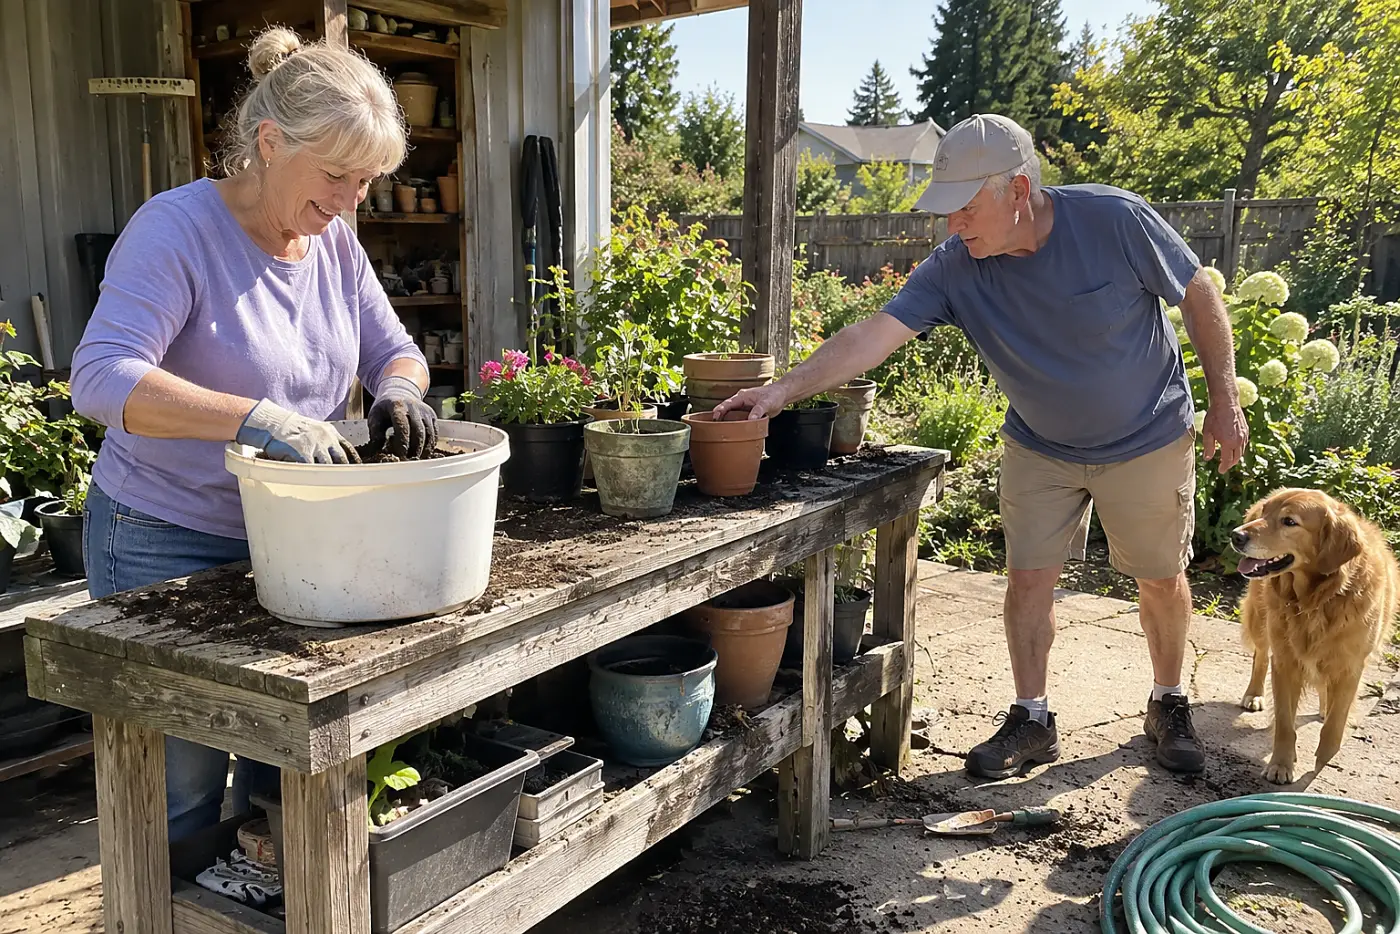
A fertilizer bag doesn't tell you what's already underground.
The lab reports pH and the nutrients it tests; your fingers can't measure either one. Read those results before adding lime, phosphorus, or another amendment. Too much of a nutrient doesn't disappear because the package calls it plant food. Your state's Cooperative Extension office has soil-testing instructions and information on labs serving your area. A basic soil test generally costs about $10 to $30; check the lab's current fee before sending a sample.
Dad looked at the dirt before he reached for a bag. His pause still matters, but the lab answers a different question.
Collect soil from several spots in the same bed and mix the samples. Keep vegetable beds separate from lawns or beds with a different history. Tell the lab what you plan to grow so its recommendations fit the job.
Skip the report, and you spend money on what the soil already has. Add lime without checking pH, and you risk pushing it farther from what your plants need.
This week, find your state extension office's soil-testing instructions before buying fertilizer. Collect samples as directed, and keep the report with your garden notes. Tell anyone sharing the shopping list, "Let's wait for the lab report."
The sample bag comes before the shopping bag.
The bottom line
Dad's best garden habits began with checking the ground before changing it.
The best-prepared gardener has kept the packets, noted the wet spots, and sent a sample to the lab before buying fertilizer. There's still a bed outside to check.
Which of these has already happened in your garden?
Up next
23 Things Your Mother's Garden Taught You That Nobody Teaches Now
A forkful of soil, a seed packet, and an old frost date explain why she waited when everyone else rushed to plant.
Read the list →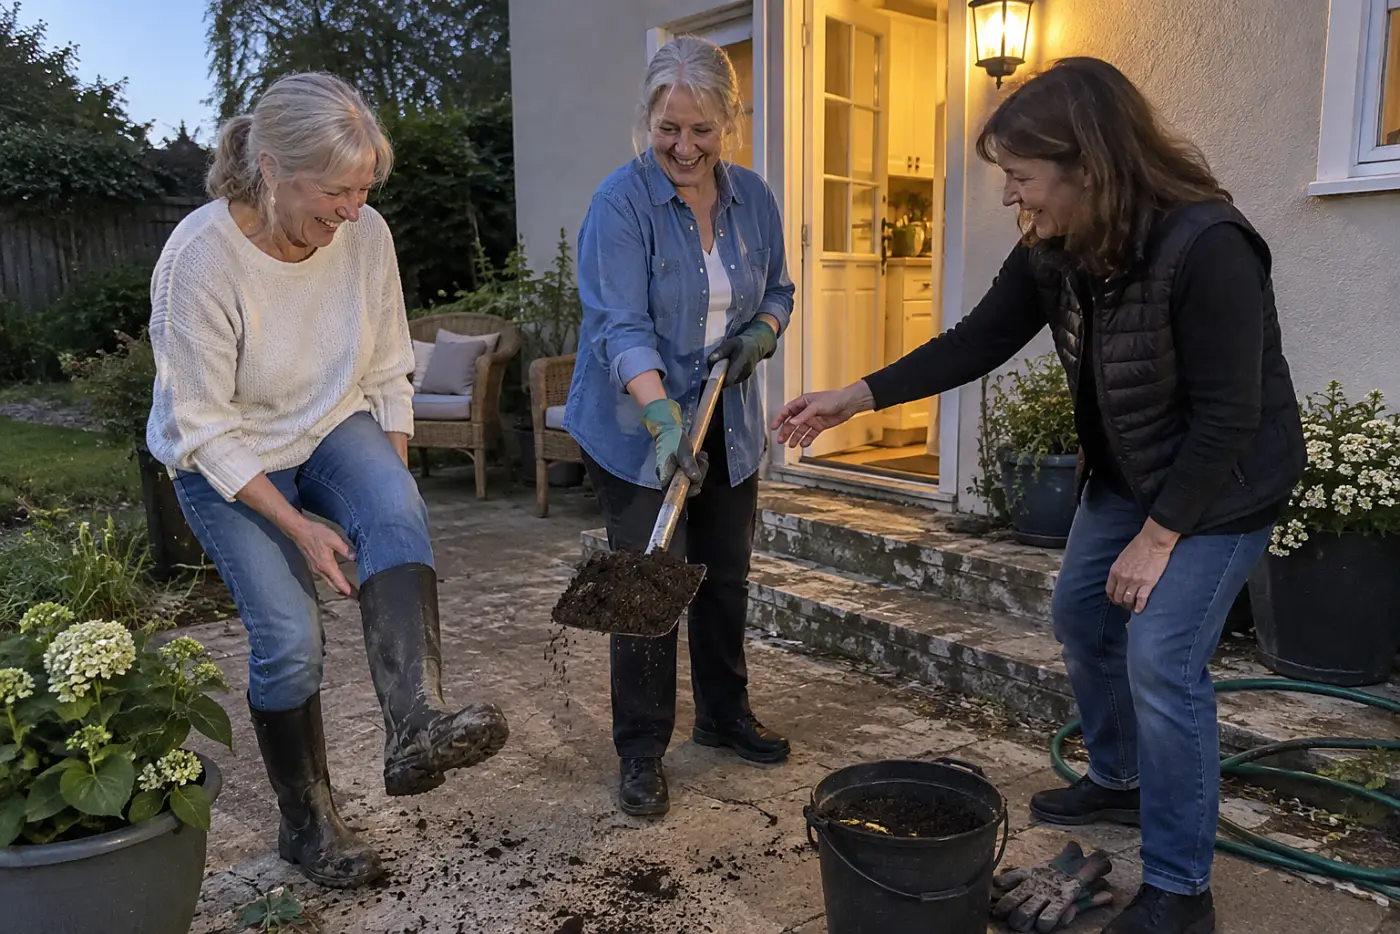
Reader quiz
Did you catch the details?
5 questions from this article. Finish them all to unlock the editor's bonus tip.
When using a sharp hoe on young weeds, how deep should you work?
Did any of these feel familiar?
Know someone who needs this?
Sources cited in this article
This article links to 13 outside sources, listed here so you can read them yourself.
- University of Minnesota Extension extension.umn.edu
- University of California Integrated Pest Management program ipm.ucanr.edu
- USDA Forest Service www.fs.usda.gov
- International Society of Arboriculture www.treesaregood.org
- University of Illinois Extension extension.illinois.edu
- University of Maryland Extension extension.umd.edu
- EPA WaterSense program www.epa.gov/watersense
- University of New Hampshire Extension extension.unh.edu
- EPA's composting guidance www.epa.gov/recycle/composting-home
- University of Vermont Extension www.uvm.edu/extension
- Arbor Day Foundation www.arborday.org
- University of Wisconsin Extension extension.wisc.edu
- National Weather Service www.weather.gov
June Marlow
Garden Editor
June writes about gardens you can still manage: what to plant, which jobs matter each season, and the tools that spare your knees and back.
More from June Marlow