










25 Small Changes That Let You Stay in Your Home Ten More Years
A stair bulb, a reachable shutoff valve, and a measured bathroom doorway help you plan for the next decade without betting on a renovation.
By David Ruiz, Home Editor
Updated · 17 min read
- Written by our home editor
- Cited 9 sources
- How we review
Read to the end: #1 is the home-planning walk-through that turns vague worries into a written work order, and almost nobody schedules it.
A grocery bag catches the stair rail as you reach for the light switch. The bulb is out, and the steps disappear into the hallway shadow. You stand still with the bag against your knee, deciding whether to go back for a flashlight.
It’s tempting to picture staying home for another ten years as one expensive renovation. But a burned-out bulb, a loose rug, and a plan nobody has written down create different problems. Each has a smaller first move, and none asks you to decide today what life will look like a decade from now.
Here are 25 changes worth making before you need them.
25Replace the bulb above the stairs
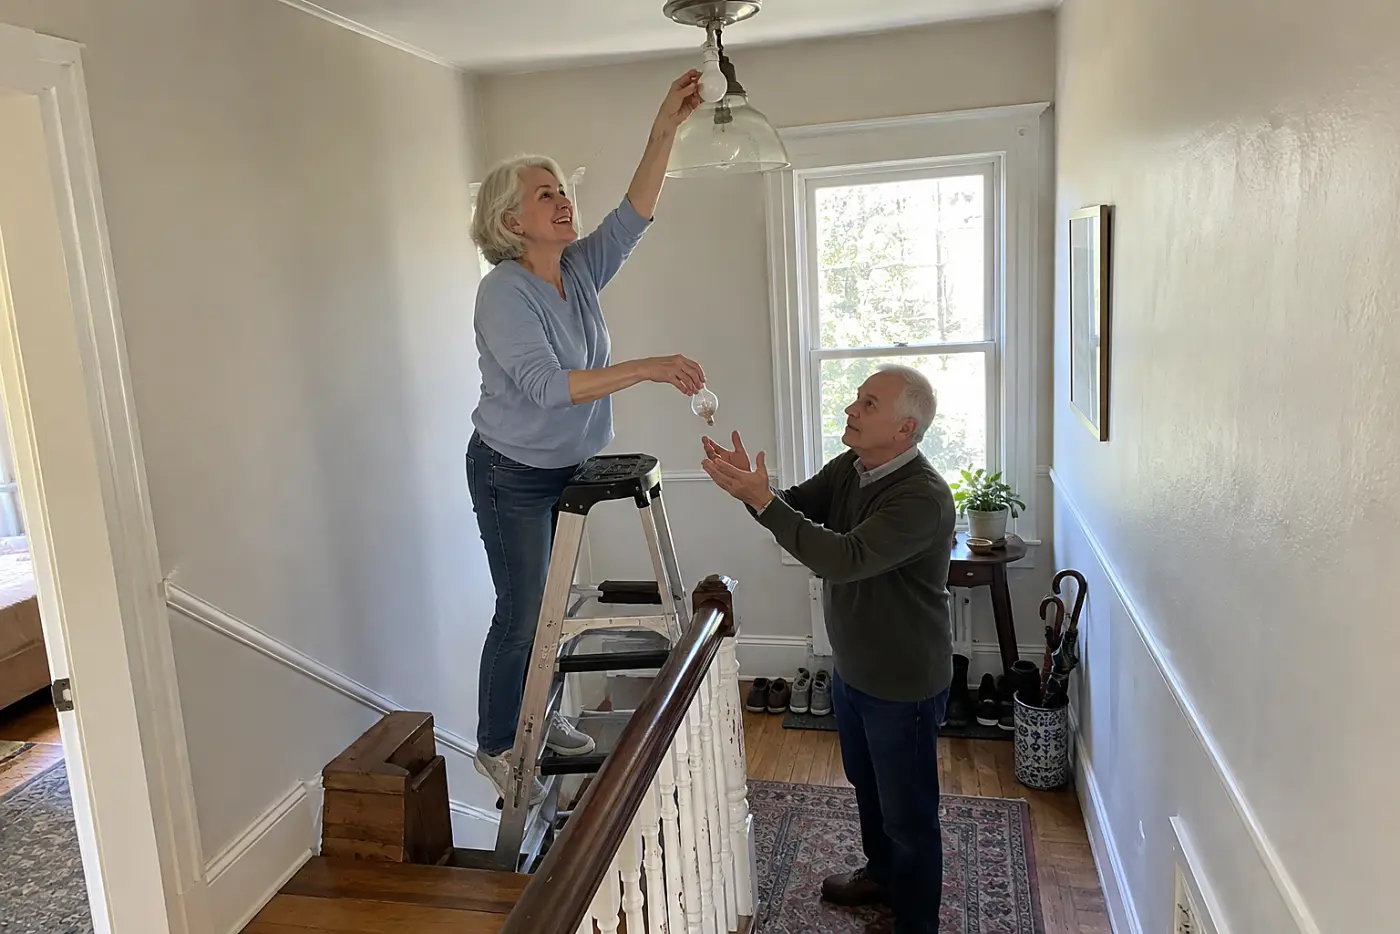
Dark steps make an ordinary trip harder to judge.
When a bulb burns out, you learn to climb by memory. That works until your hands are full or the hallway changes. Light needs to reach the first and last steps, not merely the landing.
The National Institute on Aging’s fall prevention guidance treats good lighting as part of reducing fall risks. A brighter fixture does little if its switch is beyond reach from the bottom step.
This week, turn on the stair light after dark and look for shadows on each tread. Ask an electrician, “Can I control this light from both ends of the stairs?” If a new switch requires wiring, ask for the installed price; a wireless switch kit costs about $20 to $50 before installation.
Once you see the steps, look at what your shoes touch.
24Remove the rug beside the bed
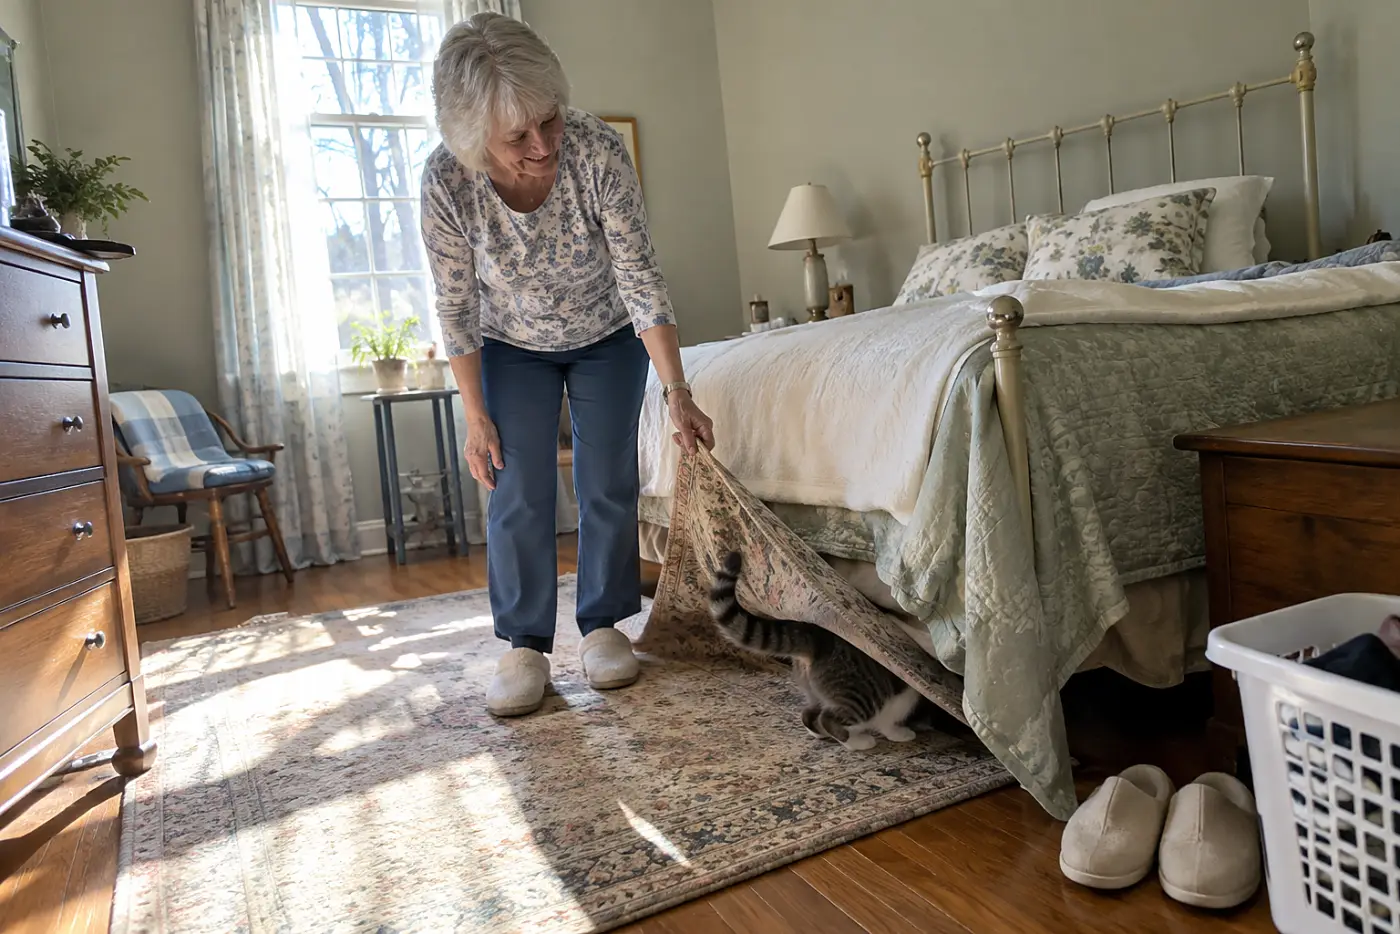
A rug that curls becomes a nightly obstacle.
Your feet meet that edge before your eyes adjust. Tape loses its grip as dust collects underneath, and a pad only helps when the rug stays flat. A clear path from bed to bathroom gives you one less decision in the dark.
There’s a useful test: walk that route wearing the shoes or slippers you actually use at night. Watch whether a toe catches, whether a door snags the rug, and whether you change your stride to get around it.
The CDC’s STEADI fall-prevention materials include home hazards among the things worth checking. You don’t need a fall to justify moving a mat; a near miss gives you enough information.
This week, lift the bedside rug and walk the route without it. If you want a softer landing, choose a low-profile floor covering that stays flat, then test it with the same shoes.
The floor is clearer now, but the route still needs light.
See more: 24 Hamstring Stretches for Seniors, Standing, Seated and in Bed →
23Put a night-light along the bathroom route
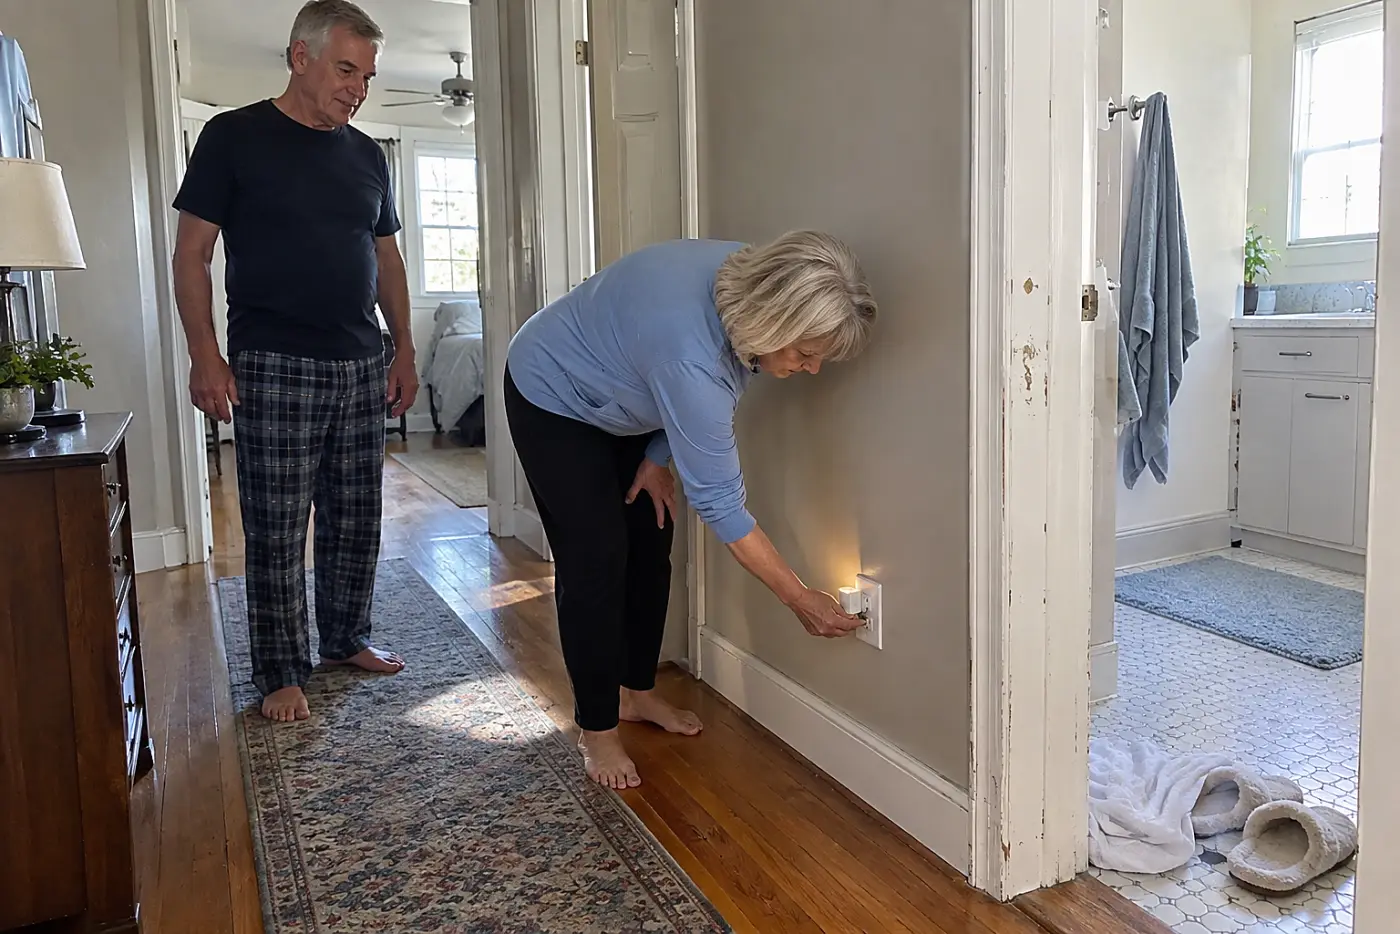
A bright bedroom light can leave you squinting.
When you wake at night, switching on an overhead light changes what you can see outside its beam. A night-light marks the floor ahead without requiring you to hunt for a switch.
Plug-in lights need outlets in the right places. Battery lights need a battery-check habit. Either way, keep cords off the walking path.
This week, walk from bed to toilet after dark and note every patch you cannot see. Place a light where it shows the floor, then walk the route again.
A clear path ends at a door you still have to open.
22Change the bathroom door that traps you
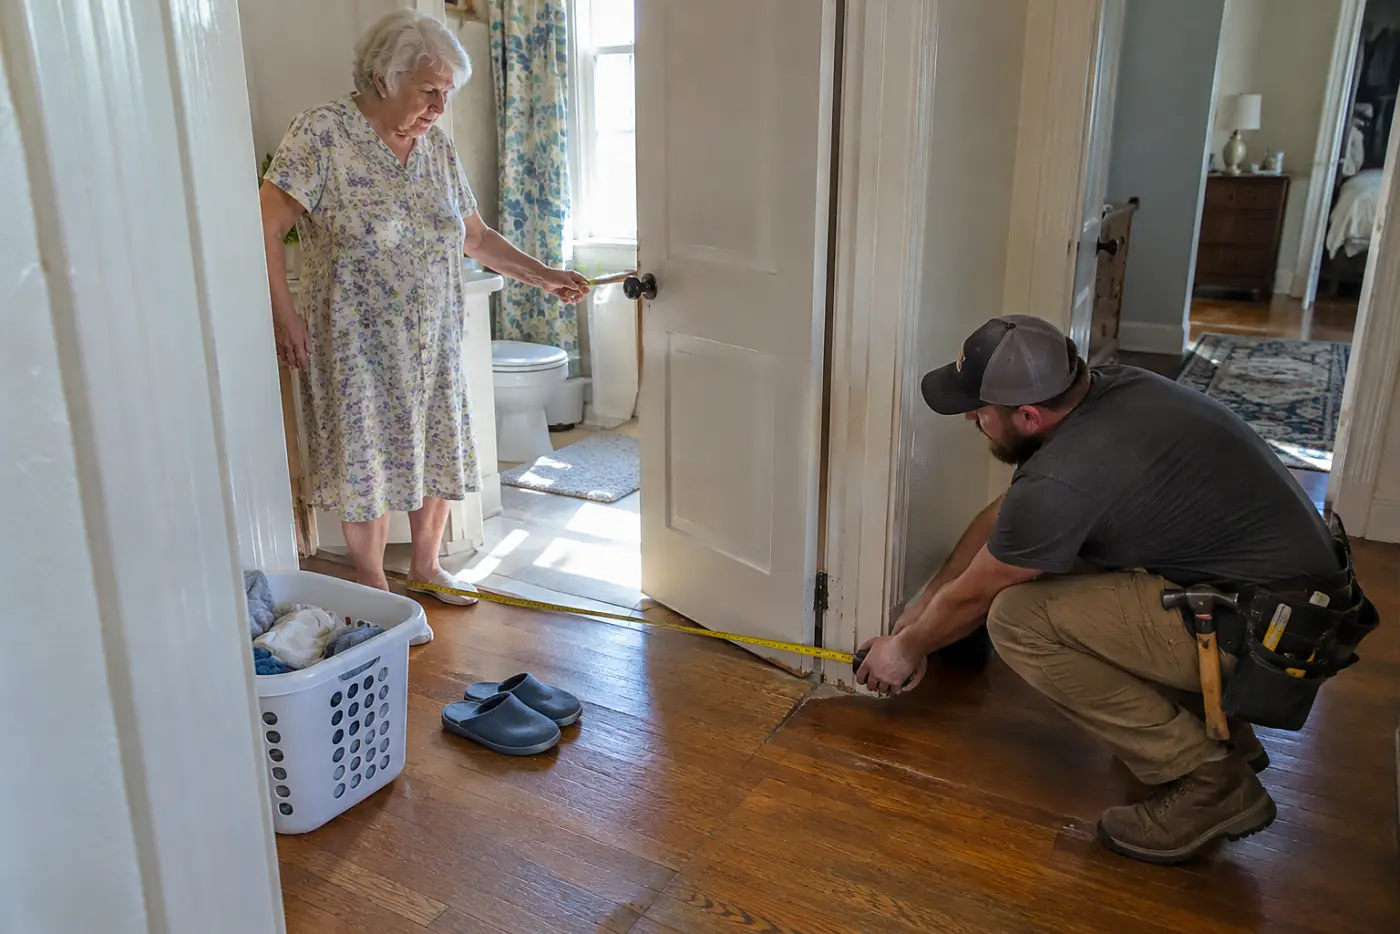
A bathroom door can block help when it matters.
An inward-swinging door uses floor space inside a small room. If someone falls behind it, opening the door becomes harder. Changing its swing is a carpentry decision, not a job to start by pulling hinge pins.
Before changing anything, look at the hallway. A door that swings outward must leave that passage usable. Check where the light switch, towel hooks, and nearby doors sit; one fix should not create another pinch point.
A sliding door has different demands. It needs wall space, sound privacy, and hardware you can grip. The right choice comes from measuring the room and testing the route, not buying a door from a photo.
This week, open the bathroom door fully and stand where a person would fall. Ask a carpenter, “What door arrangement keeps this entrance clear from both sides?”
With the entrance settled, check what your hand reaches for inside.
21Fasten grab bars into wall framing
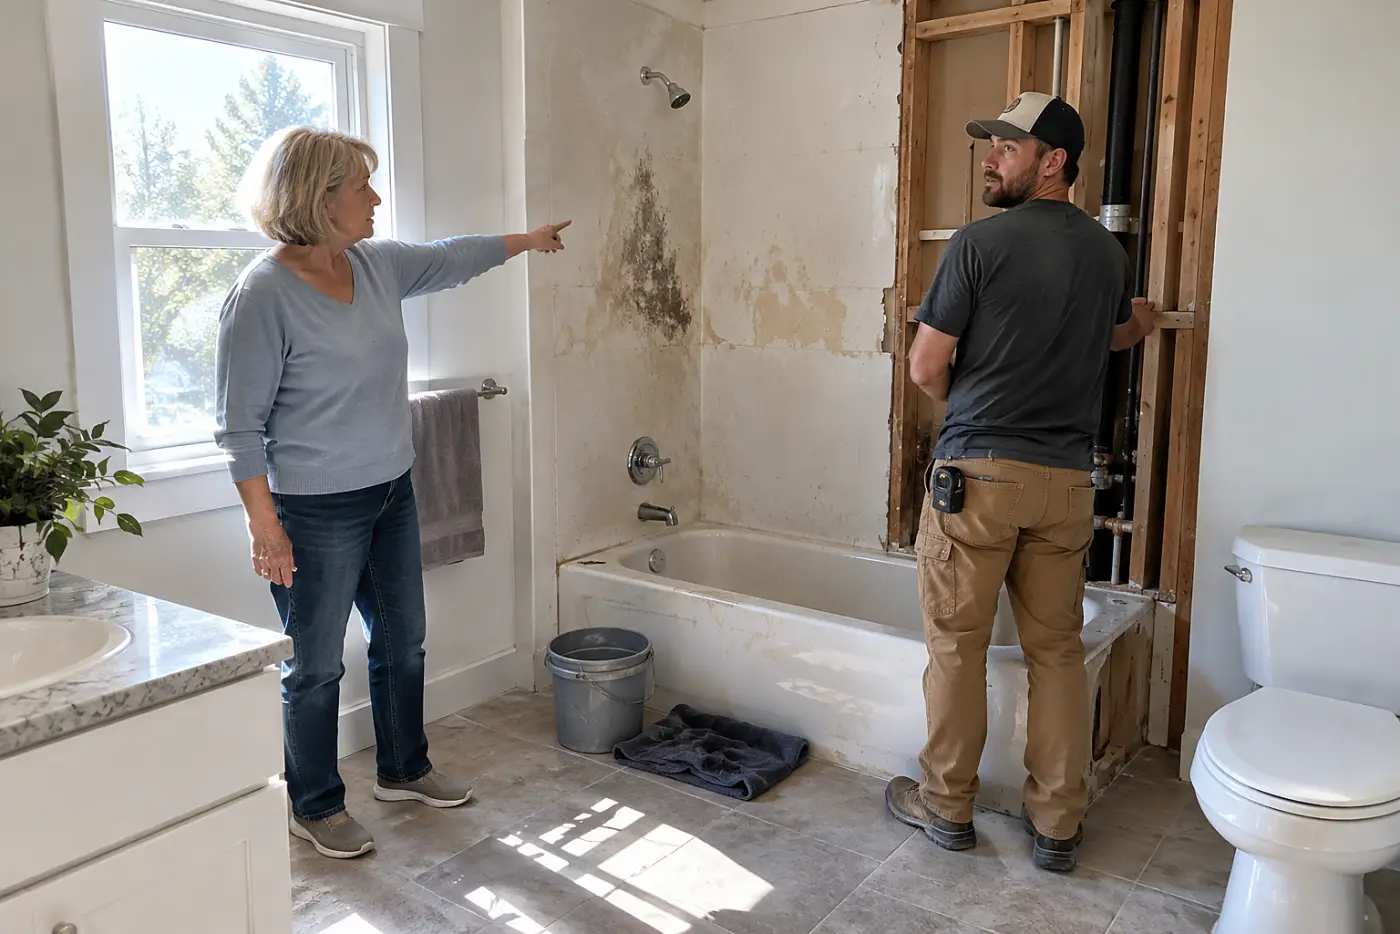
A towel bar is built to hold towels.
A grab bar needs a secure connection to framing or an approved mounting system. Its position matters, too: the useful place is where you move into the shower or rise from the toilet.
The National Institute on Aging’s aging-in-place guidance includes bathroom changes such as grab bars. Hardware alone won’t help if you must twist to reach it.
This week, mark where you naturally put a hand while stepping in and sitting down. Tell the installer, “Show me what will hold each bar before you close up the wall.”
Then look at the surface under your feet.
20Replace the slippery shower-floor setup
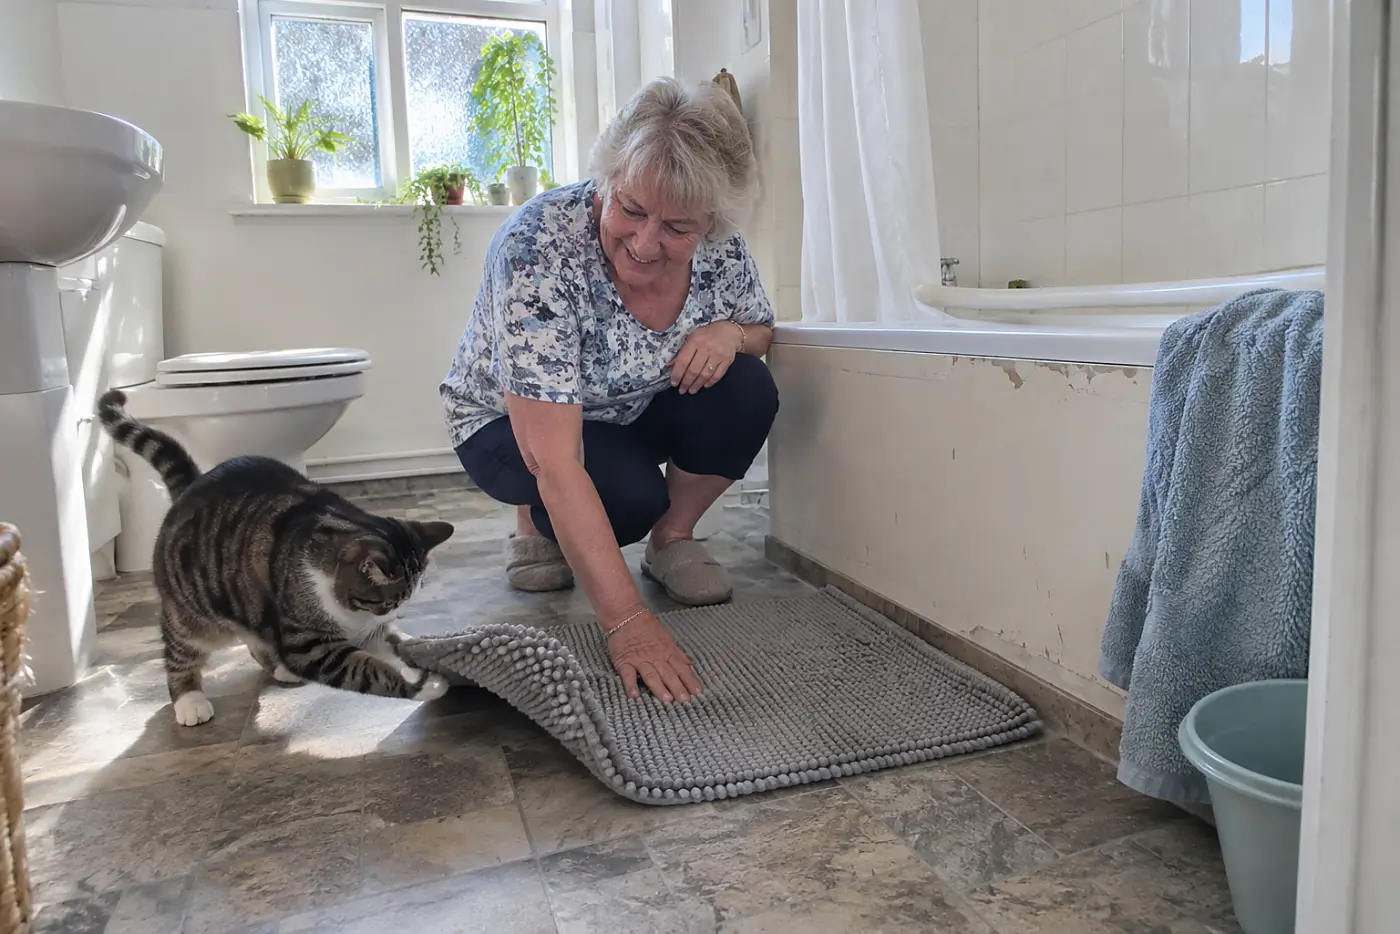
Water makes a smooth surface a different surface.
A loose mat shifts under a turning foot. Adhesive strips need a clean base and regular checks for lifted edges. A fixed slip-resistant shower floor removes a loose layer, but replacing the floor is a bigger job.
Start with how you use the shower now. Where do you step in? Where do you turn? Can you reach soap without leaning across wet flooring? Those answers tell you where grip matters most.
If a shower seat becomes part of the plan, check whether its feet sit level and whether it leaves room to enter. A seat that crowds the opening makes the first step harder. Keep the drain clear so water doesn’t pool around either choice.
This week, inspect the shower floor dry, then again after a shower. Ask a bathroom contractor, “What will stay secure on this surface when it’s wet?”
The floor is one part of bathing; the water needs a closer look.
19Set the hot-water temperature deliberately
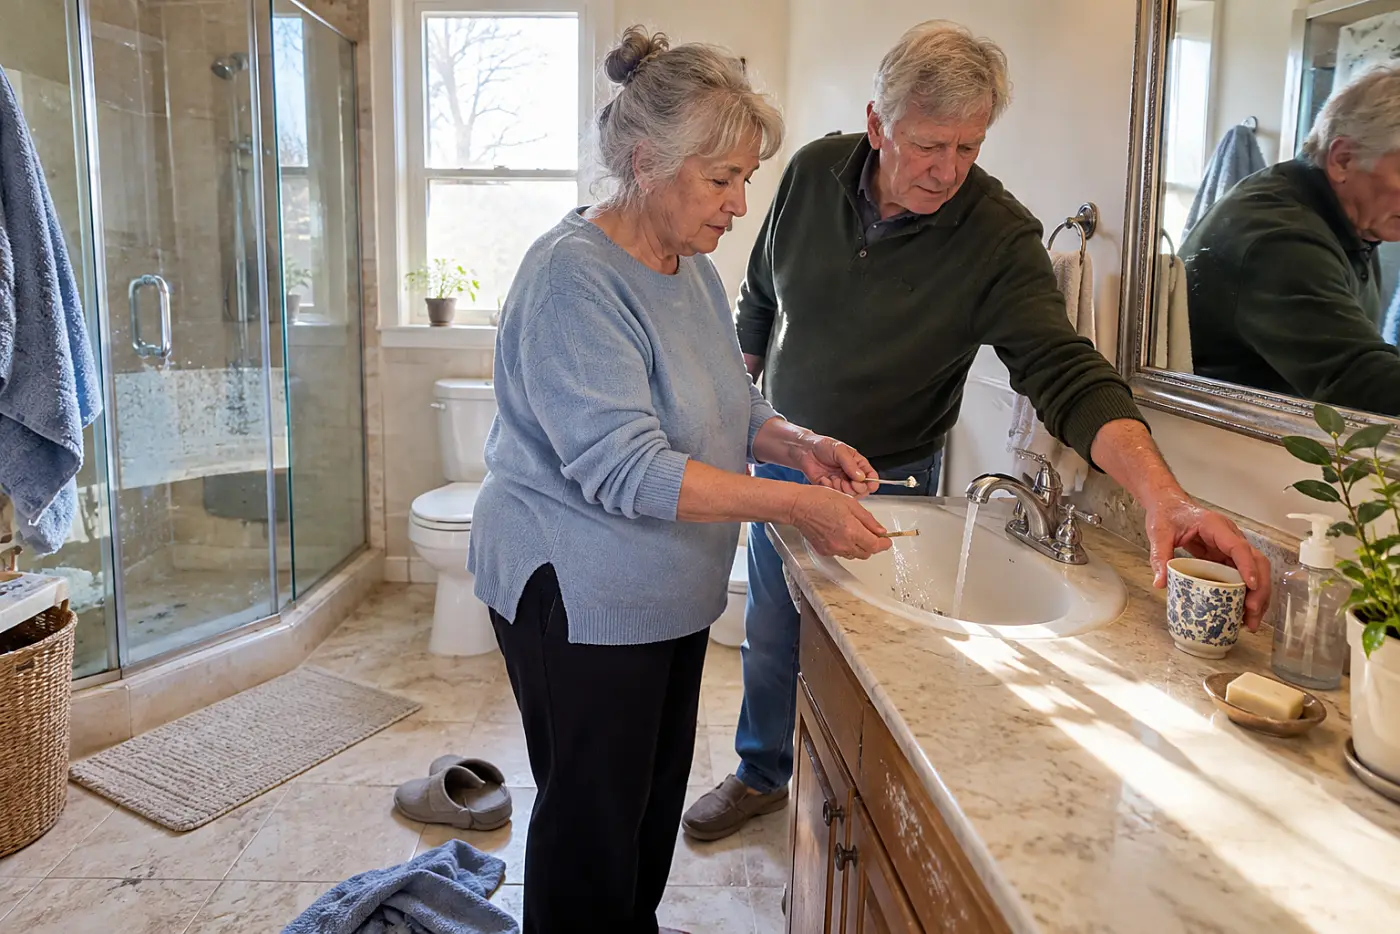
A tap should not require a reflexive retreat.
Water temperature changes at the heater affect every hot tap. Mixing valves and individual fixtures also affect what reaches your skin, so checking only the heater dial misses part of the picture.
The U.S. Consumer Product Safety Commission’s water-temperature guidance discusses scald prevention. For your house, the useful measurement is water coming from the tap after it has warmed.
This week, test the bathroom tap with a thermometer and note the reading. Ask a plumber, “What setting gives us comfortable water here without a scald risk?”
Next, consider how you get into the shower at all.
18Measure the shower entry before replacing it
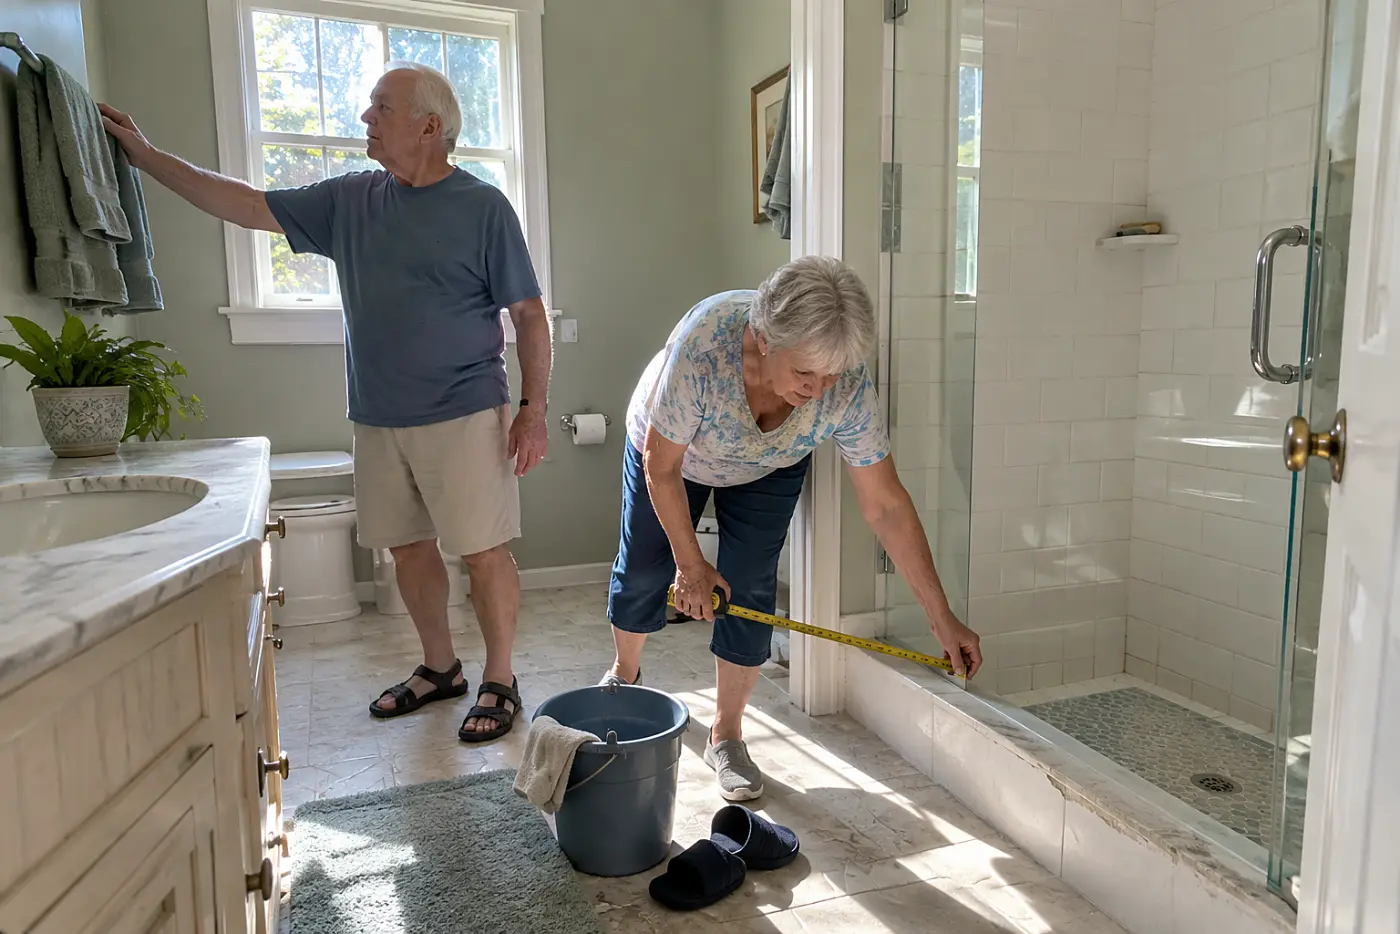
A high shower lip demands a high step.
A walk-in shower lowers that barrier, but the doorway, slope, drain, and splash control must work together. Removing a tub without checking the floor beneath it can turn a sensible change into a repair you did not plan.
Measure the opening you have now. Then picture entering while tired, carrying a towel, or using a walking aid. A wide-looking shower in a showroom does not tell you whether its door clears the toilet at home.
Ask how the new floor will keep water in the shower area. Ask where the grab bar backing will go before tile covers the walls. If you value having a tub, say so; the goal is an entry you can use, not a standard remodel package.
This week, photograph the bathroom and measure the shower opening, lip, and nearby clear floor. Tell the contractor, “Please show the entry and drainage on the drawing before I approve the work.”
The same measuring habit matters beyond the bathroom.
See more: 29 Things People Wish They'd Measured Before Moving Day →
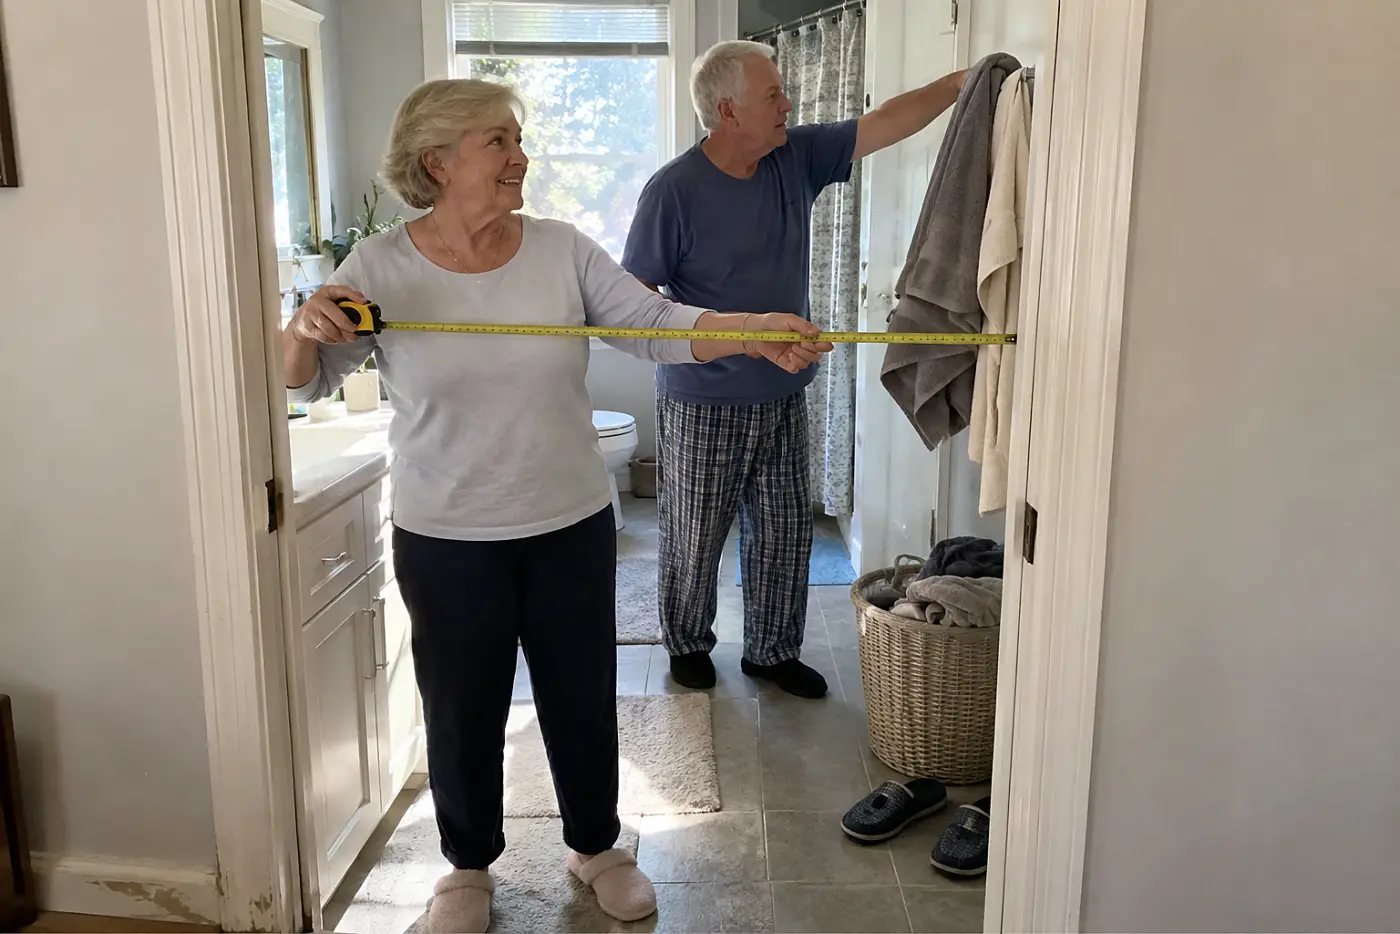
17Measure the narrowest doorway in the house
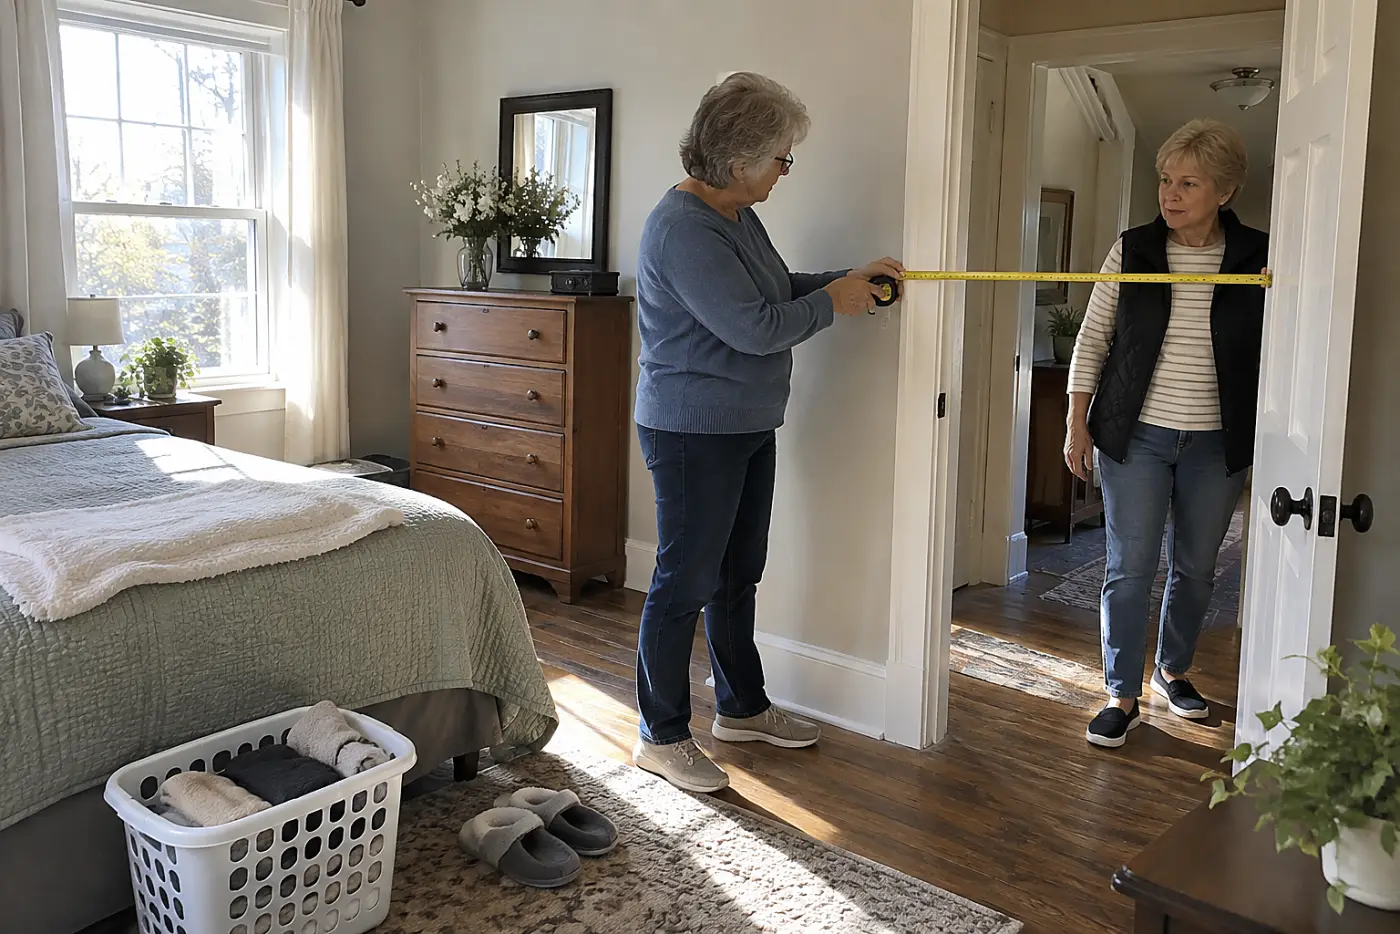
The widest doorway won’t fix the tightest one.
A chair, walker, or laundry basket has to pass through the actual opening, not the doorframe measured with the door removed. Hinges and the open door take up space.
The ADA’s accessible design standards require at least 32 inches of clear opening at a doorway under the standard’s conditions. Your house does not become an ADA project by default, but those drawings give you a useful comparison and help you ask precise questions.
This week, measure clear space with each door fully open, starting with the bathroom and bedroom. Tell a carpenter, “I need the usable opening, including what the door itself blocks.”
A usable opening still depends on what sits beside it.
See more: 24 Signs Your House Has Become Too Much, Before Your Children Say It →
16Clear the hallway of spare furniture
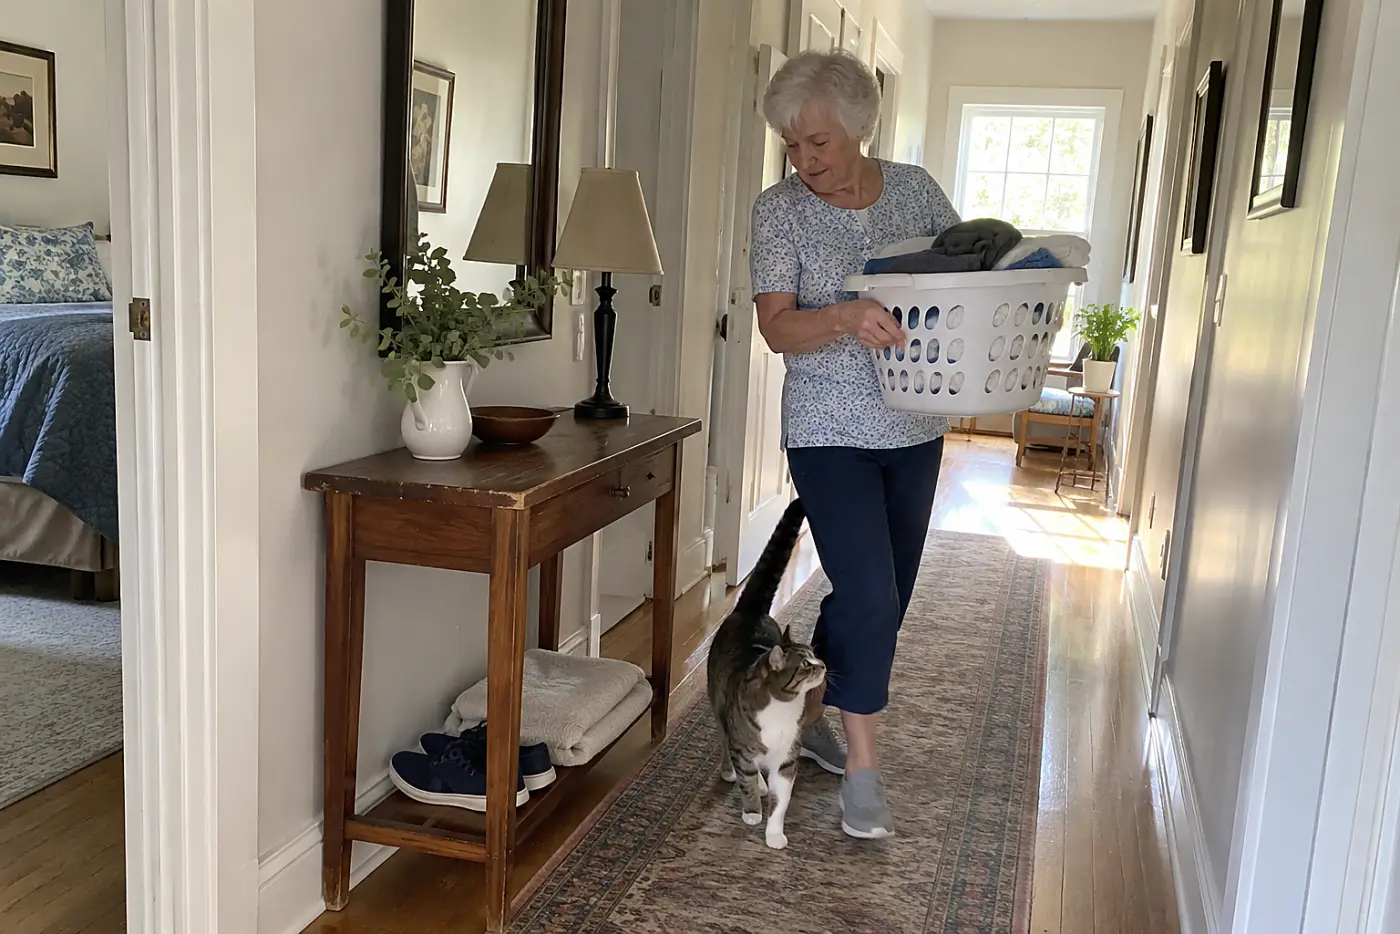
A hallway collects things that have nowhere else to go.
The little table holds mail; the plant stand fills an empty corner. Neither seems troublesome until you carry groceries, turn with a laundry basket, or need another person beside you. Space that works on a calm afternoon can feel narrow when you move quickly.
Walk through with the lights on and your arms at your sides. Notice whether you turn sideways or touch the wall to pass. Then repeat with the object you carry most: perhaps a laundry basket, a vacuum, or a bag of pet food.
Keep wall-mounted items from projecting into that path. Check electrical cords after moving furniture, since a newly open floor is little help with a cable across it.
This week, move one hallway piece out for seven days and use the route normally. Ask someone you trust, “Would you carry this basket through here and tell me where you have to turn?”
That open route leads to another place where a handhold matters.
15Tighten the rail on every staircase
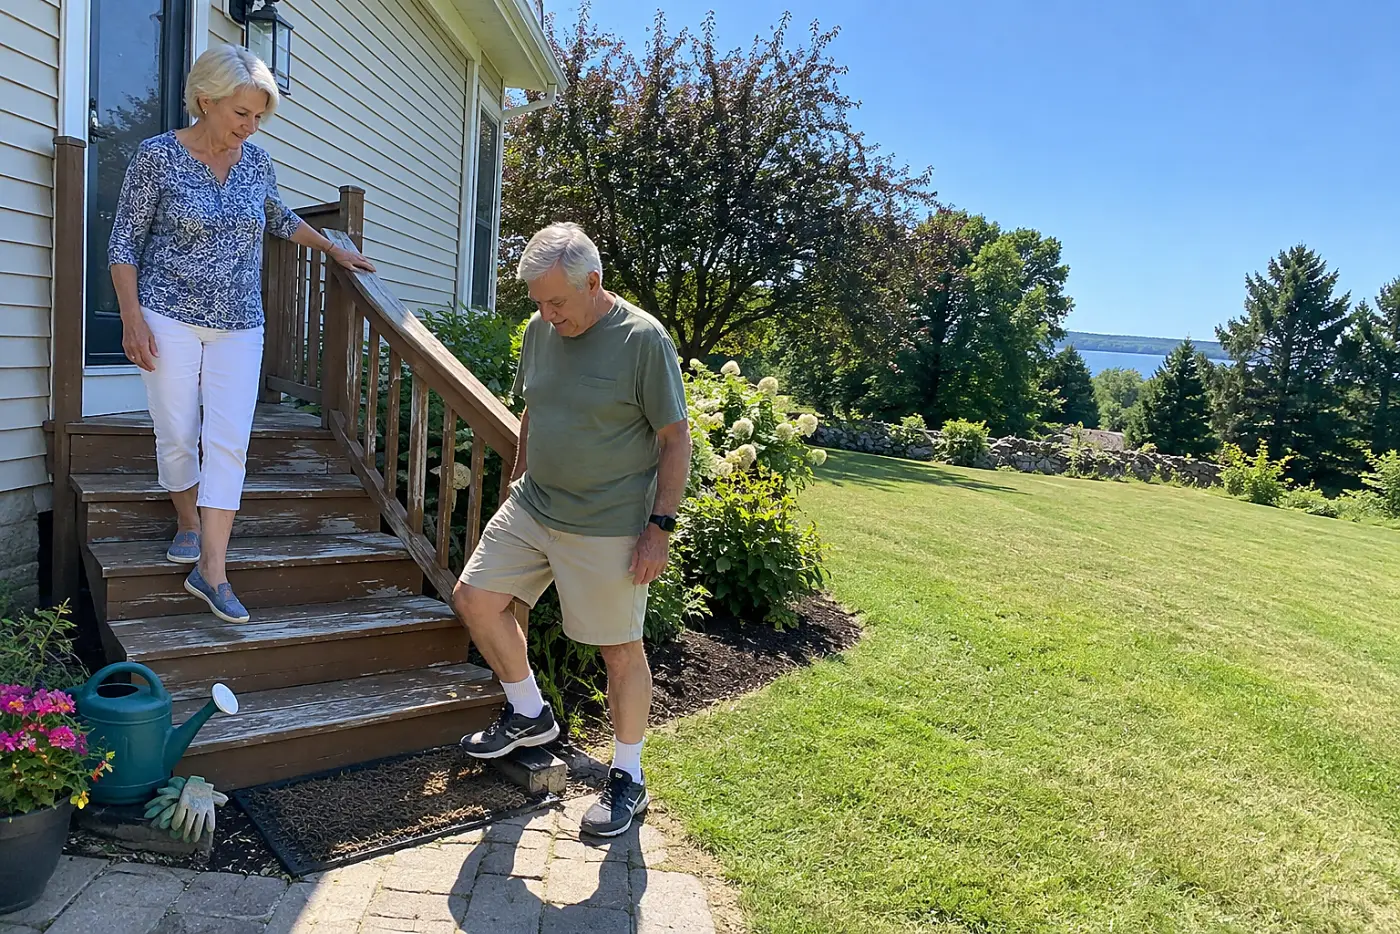
A rail that moves changes how you climb.
A handrail works when it runs where your hand needs it and stays firm under weight. A short decorative rail that ends before the bottom step leaves a gap at the moment you turn.
Check both indoor and outdoor stairs. Look for loose brackets, splintered wood, and places where you must let go to reach a door.
This week, hold each rail and press it in several directions without climbing. Tell a carpenter, “Please fix the loose section and check where the rail starts and stops.”
The next step takes you outside.
14Fix the uneven front walk
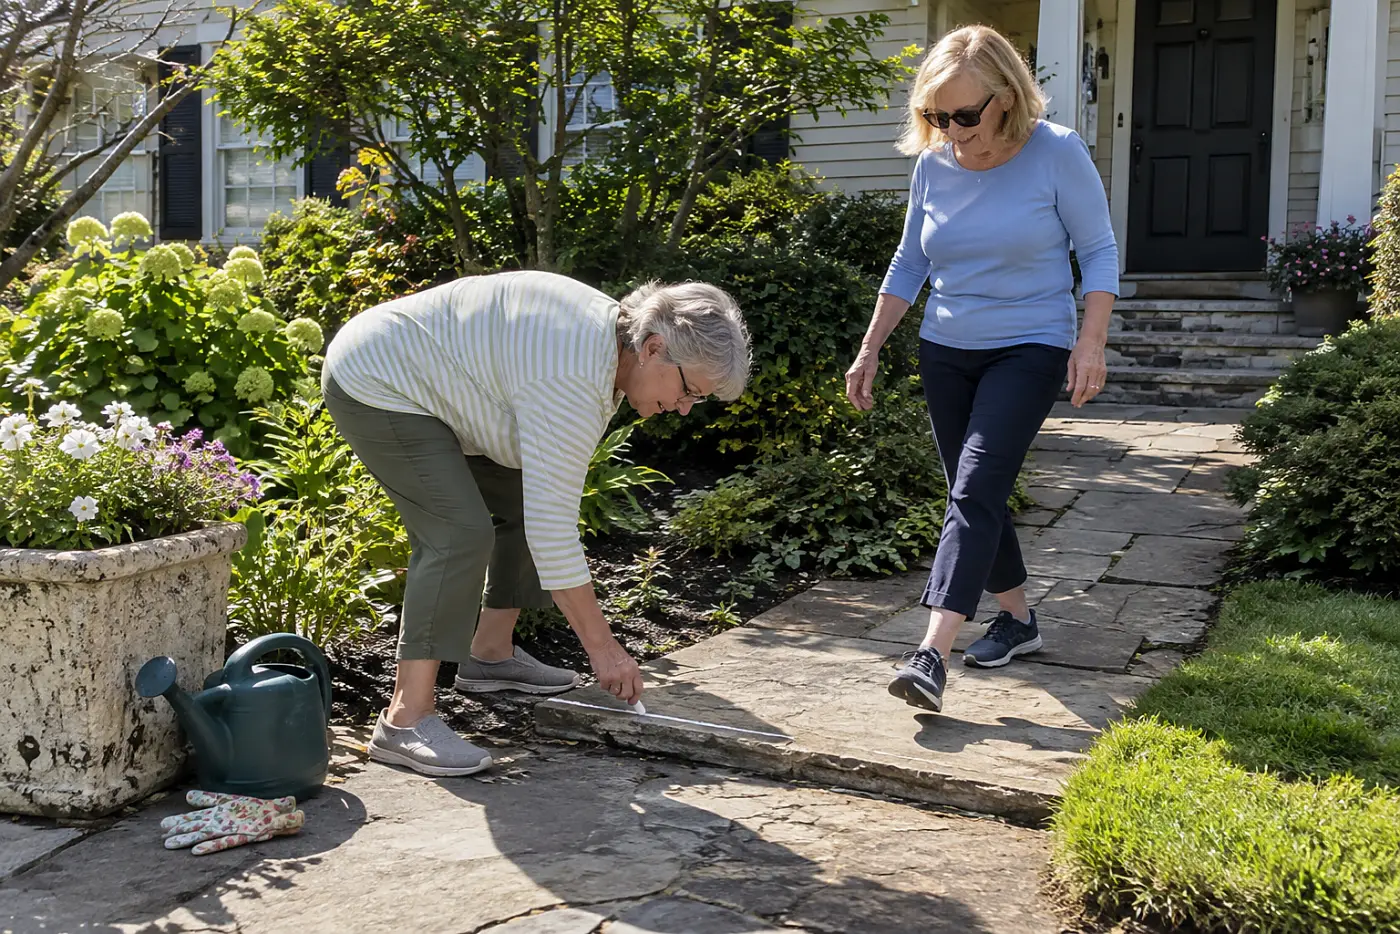
The front path has to work when you’re carrying something.
A raised slab, loose paver, or sunken edge changes the height of a step you’ve taken for years. Rain and leaves conceal that change. The walk matters even if you spend most days inside, because groceries, visitors, and deliveries all cross it.
Check the route from the place you park or get dropped off. Include the mailbox if you use it. Notice where water sits after rain and where the ground slopes toward the path.
A patch is worthwhile only if it leaves a level transition. For a larger repair, get a written scope that says which sections will be lifted, replaced, or regraded. Ask who will deal with drainage; otherwise, the same water can unsettle the new work.
The Federal Emergency Management Agency’s Ready.gov site urges households to plan routes out of the home. A dependable daily path gives you one route to examine before an emergency.
This week, walk the full route in daylight and mark every spot that changes your step. Tell the paving contractor, “Show me how this repair will drain after a hard rain.”
At the door, the route meets a lock you use every day.
13Try the front-door lock with full hands

A stiff lock turns arrival into a balancing act.
If you must set bags on the step to work a key, you’ve found a problem worth fixing. Weatherstripping, a misaligned strike plate, or the lock itself can be the cause.
Test the door from outside and inside. Check whether the handle works without a tight grip and whether the deadbolt slides freely with the door closed.
This week, unlock the door while holding an ordinary grocery bag, then repeat with empty hands. Tell a locksmith, “Please find out why this sticks before you replace the whole lock.”
Once you’re inside, there’s another doorway to test.
12Move daily tasks off the basement stairs
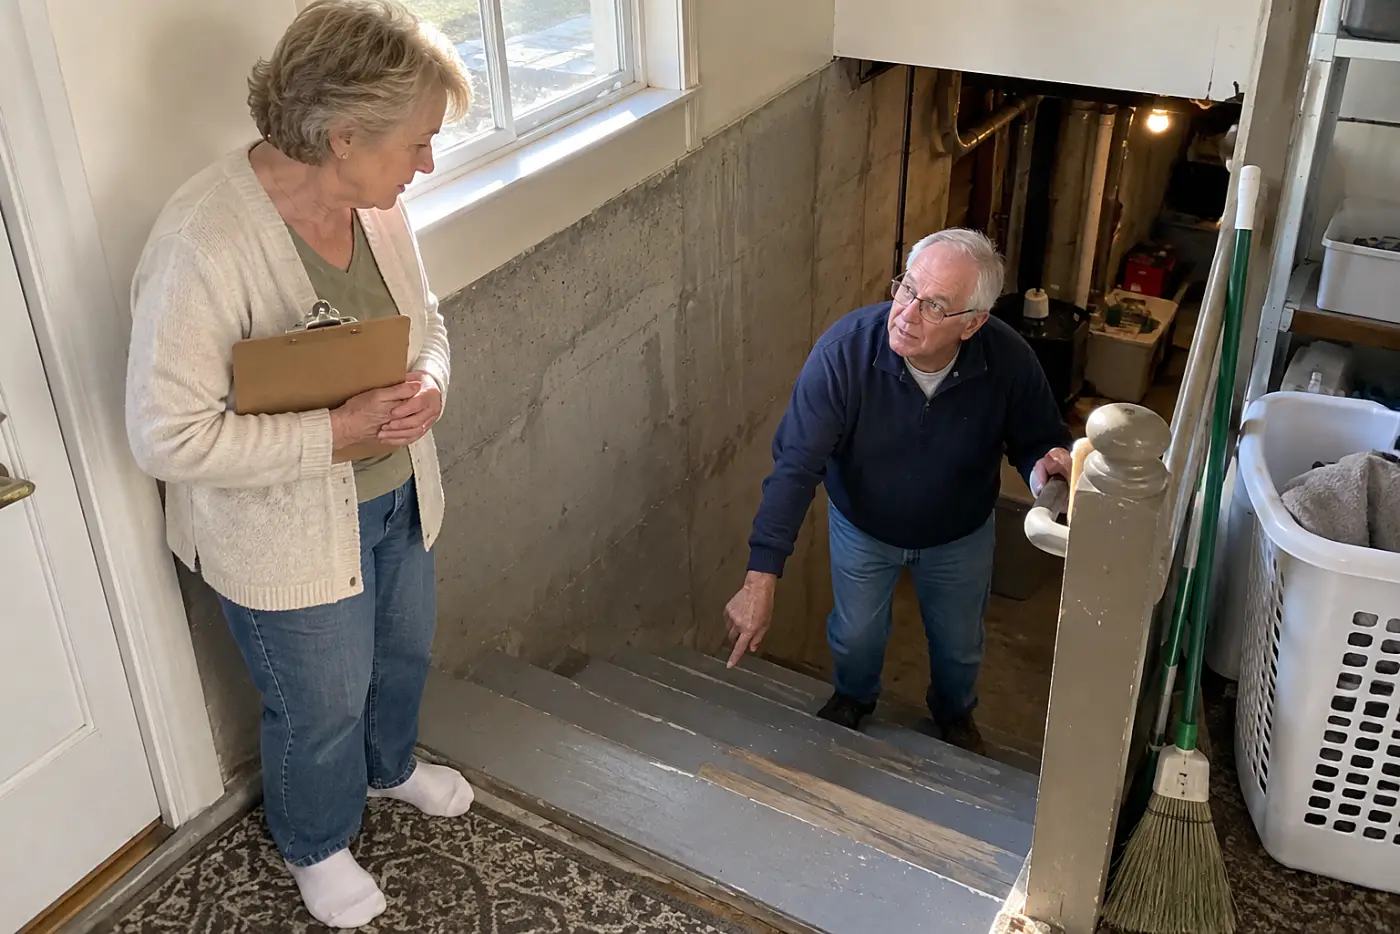
The laundry room is a destination, not a fitness test.
Stairs become harder to avoid when the washer, freezer, tools, or spare pantry goods live below. Moving the things you use every day changes how often you need the trip. That is distinct from deciding whether the basement stays part of your home.
Start with one week of trips. Write down what took you downstairs and whether it had to be there. Laundry is a larger decision than moving canned goods; a first-floor hookup needs a plumber and electrician to inspect the proposed spot.
A laundry move also needs a plan for leaks and dryer venting. Do not buy a machine based only on the space it seems to fit. Ask for the full installation requirements in writing.
This week, list every basement trip and circle the daily ones. Tell a contractor, “Could you check this room for safe washer, drain, power, and vent options?”
After changing where tasks happen, look at where supplies live.
11Lower the shelves you use daily

A step stool turns storage into a climb.
Heavy pans above shoulder height require both lifting and reaching. A low drawer or pullout shelf brings the weight toward you, where you can see and grip it.
Keep seldom-used dishes higher if you want. The change is for the objects you touch every week, including pet food and cleaning supplies.
This week, move the five heaviest daily items between waist and shoulder height. Tell a cabinet installer, “I want to reach these without standing on a stool.”
The kitchen has another reach that deserves attention.
10Change the controls on your stove
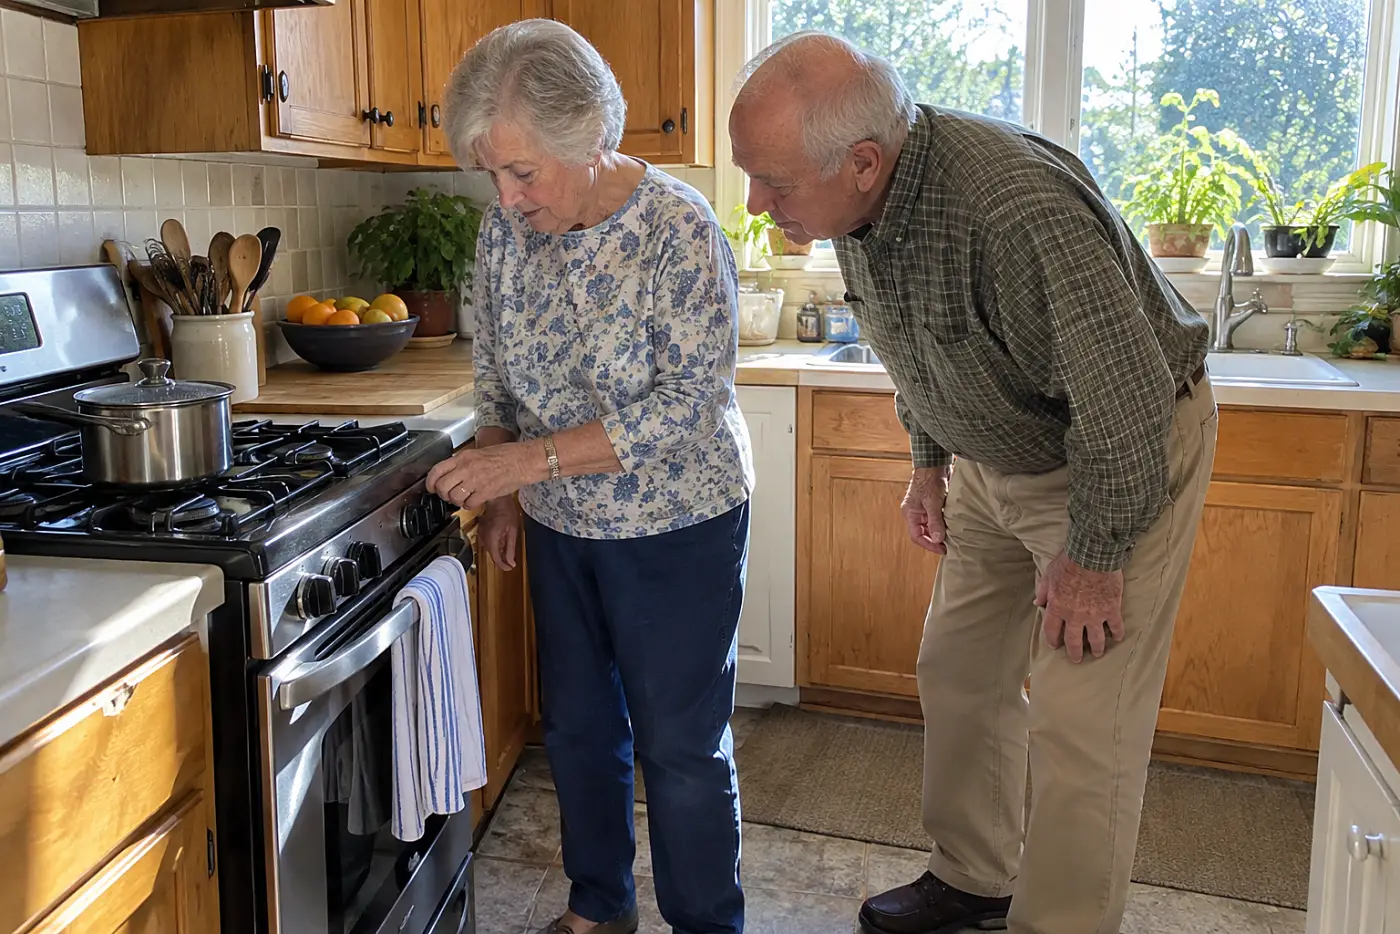
A hard-to-reach knob puts your arm near heat.
Stove controls sit in different places. On some ranges, reaching the controls means leaning over a hot burner. Large, readable markings and controls you can operate with a comfortable grip matter more than a glossy display.
Before replacing an appliance, test the one you own. Turn each control while the stove is off. Read its position from your normal standing spot. Look for a burner that responds slowly or a knob that slips.
The U.S. Fire Administration’s home-fire guidance includes cooking safety. An appliance change is only part of the answer; keep towels, packaging, and other things that burn away from the cooking area.
This week, do the off-stove control test and clear the space beside each burner. If replacement is on your list, tell the salesperson, “I need to operate and read these controls without reaching over a burner.”
Then check what happens if smoke reaches the hallway.
9Check every smoke alarm by name
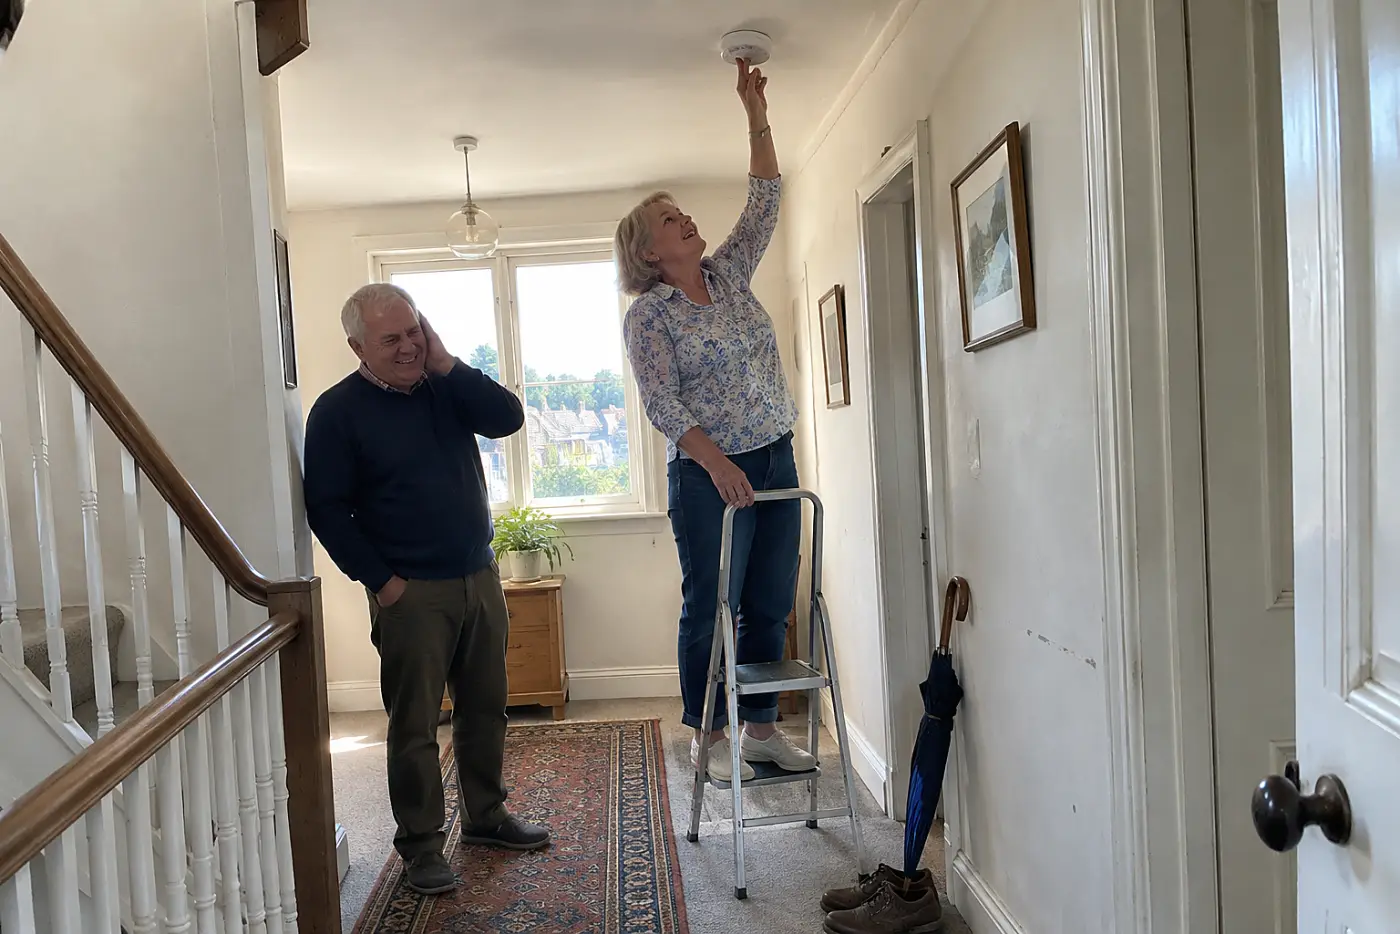
An alarm you cannot identify delays your response.
When several alarms sound, knowing which one started first helps you find the source. Interconnected alarms sound together, so read the model instructions before interpreting a voice alert or light.
The U.S. Fire Administration advises testing smoke alarms monthly and replacing them 10 years after their manufacture date. Check the date printed on each unit; a working test button does not reset its age.
This week, press each test button and write its location beside its model number. Tell an electrician, “Please check whether these alarms are placed and connected correctly.”
Fire is one reason to leave quickly; a written route is next.
8Write an exit route you can use
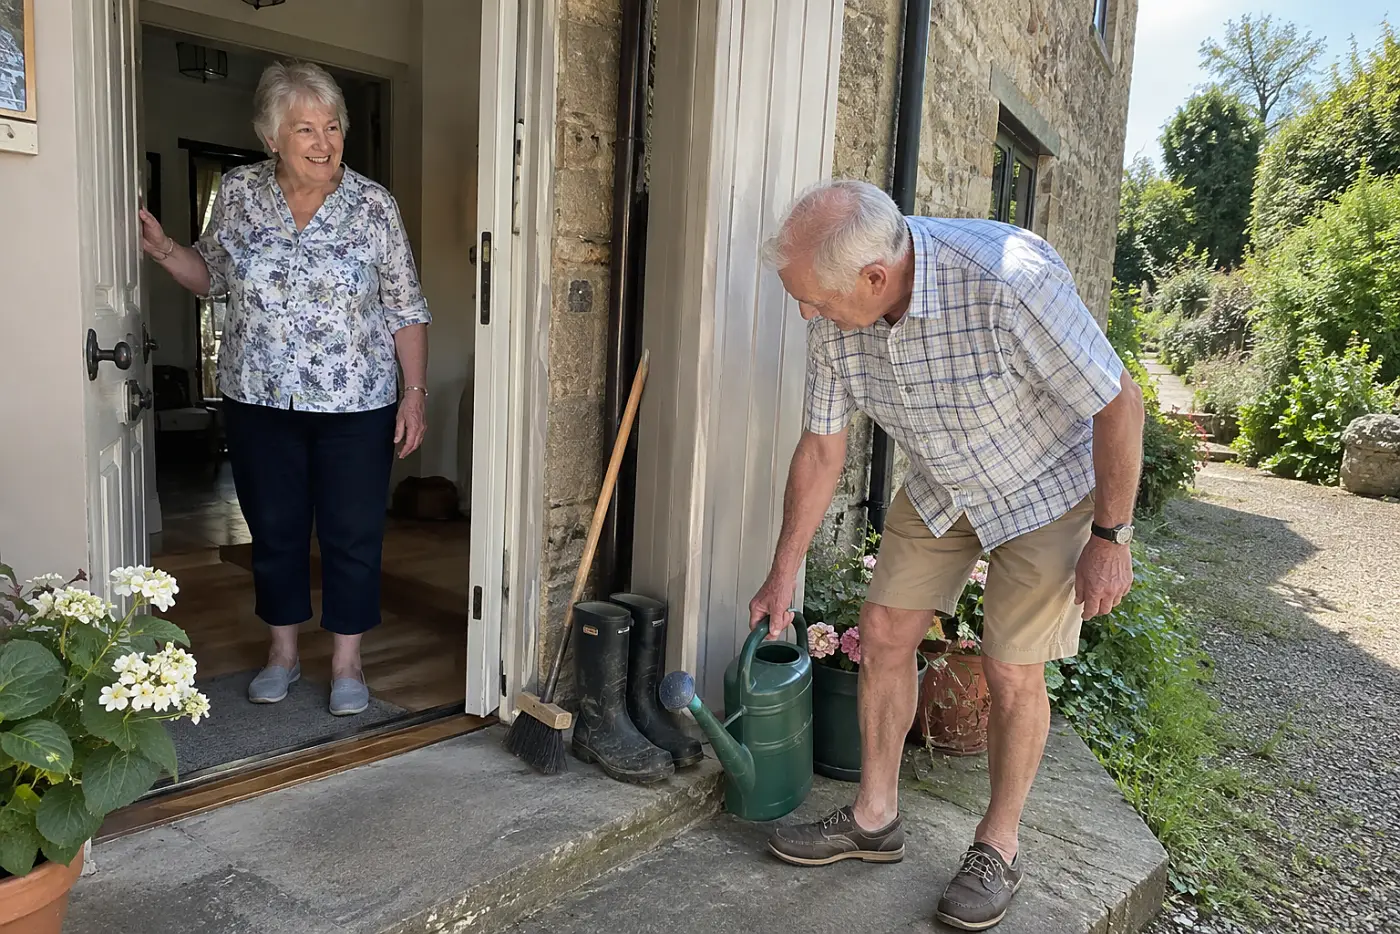
A familiar house looks different when the power fails.
Know two ways out of rooms where you spend time, when two exist. Windows, stairs, gates, and heavy doors deserve a real test; a route on paper is useless if you cannot open it.
Ready.gov’s emergency-planning guidance recommends planning how to leave and where to meet. Pick a meeting place outside so you do not reenter the house looking for someone already out.
Include pets in the plan. Put a carrier or leash where you can reach it, not in a closet behind stacked boxes. If a window is part of the route, check how it opens now rather than during an alarm.
This week, walk the routes in daylight and open the doors you’d use. Tell the person who would look for you, “If we leave separately, let’s meet at this spot.”
Leaving is easier when the right things are easy to find.
7Put emergency contacts beside the door
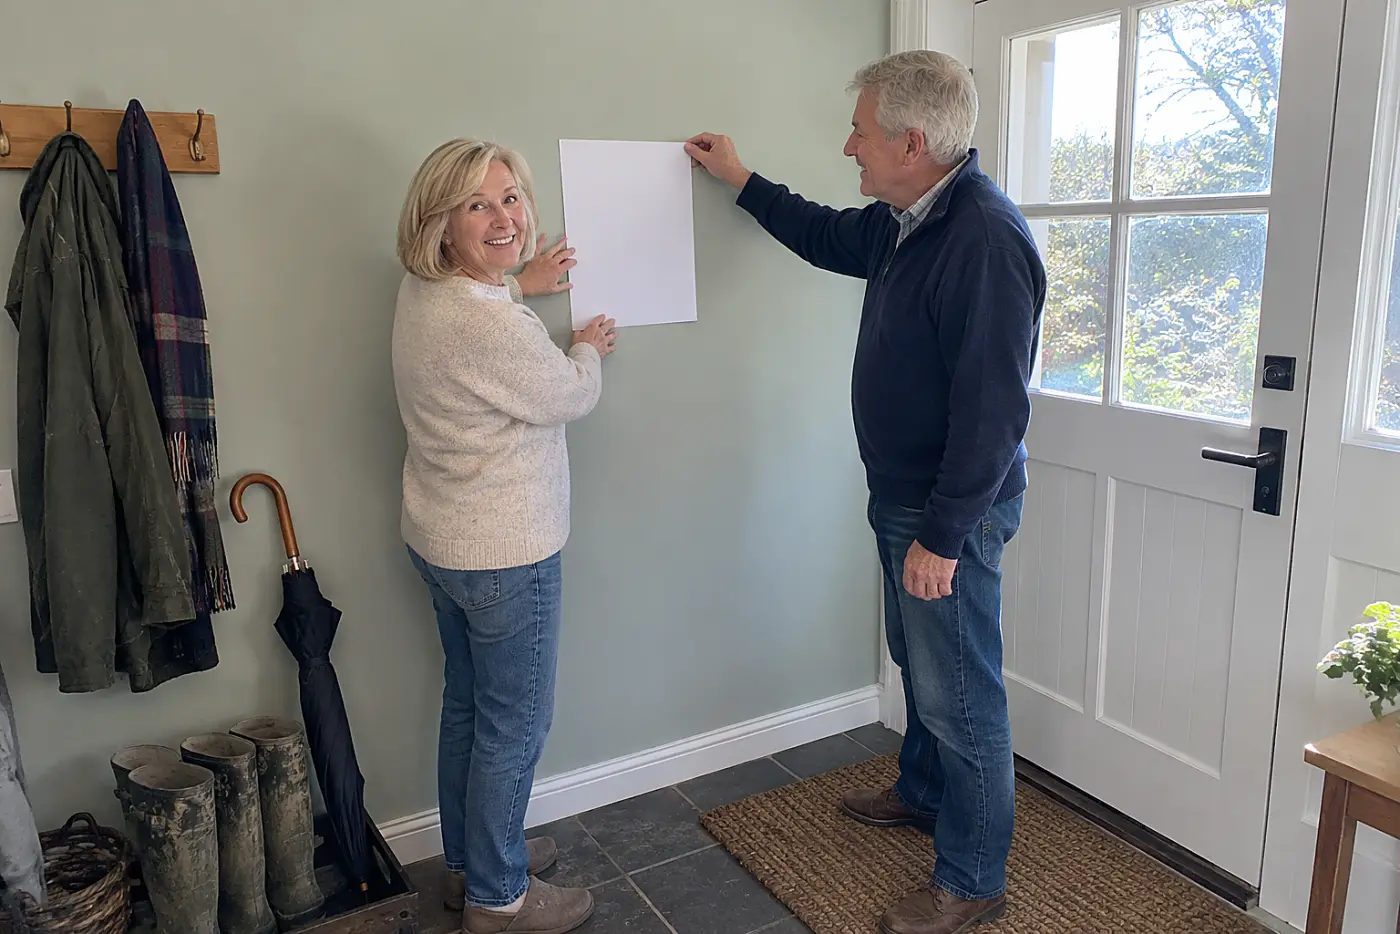
A phone battery should not hold the only numbers.
Write the names and phone numbers of people you want contacted after an emergency. Include your address; someone calling for help from your house should not have to search for it.
Keep the list where you can reach it and where a guest would look. Review it when a number changes.
This week, print or write one sheet and put a copy near the main exit. Tell your chosen contact, “I’ve listed you here; is this still the best number?”
The sheet tells someone whom to call, but not where things are.
6Label the main water shutoff valve
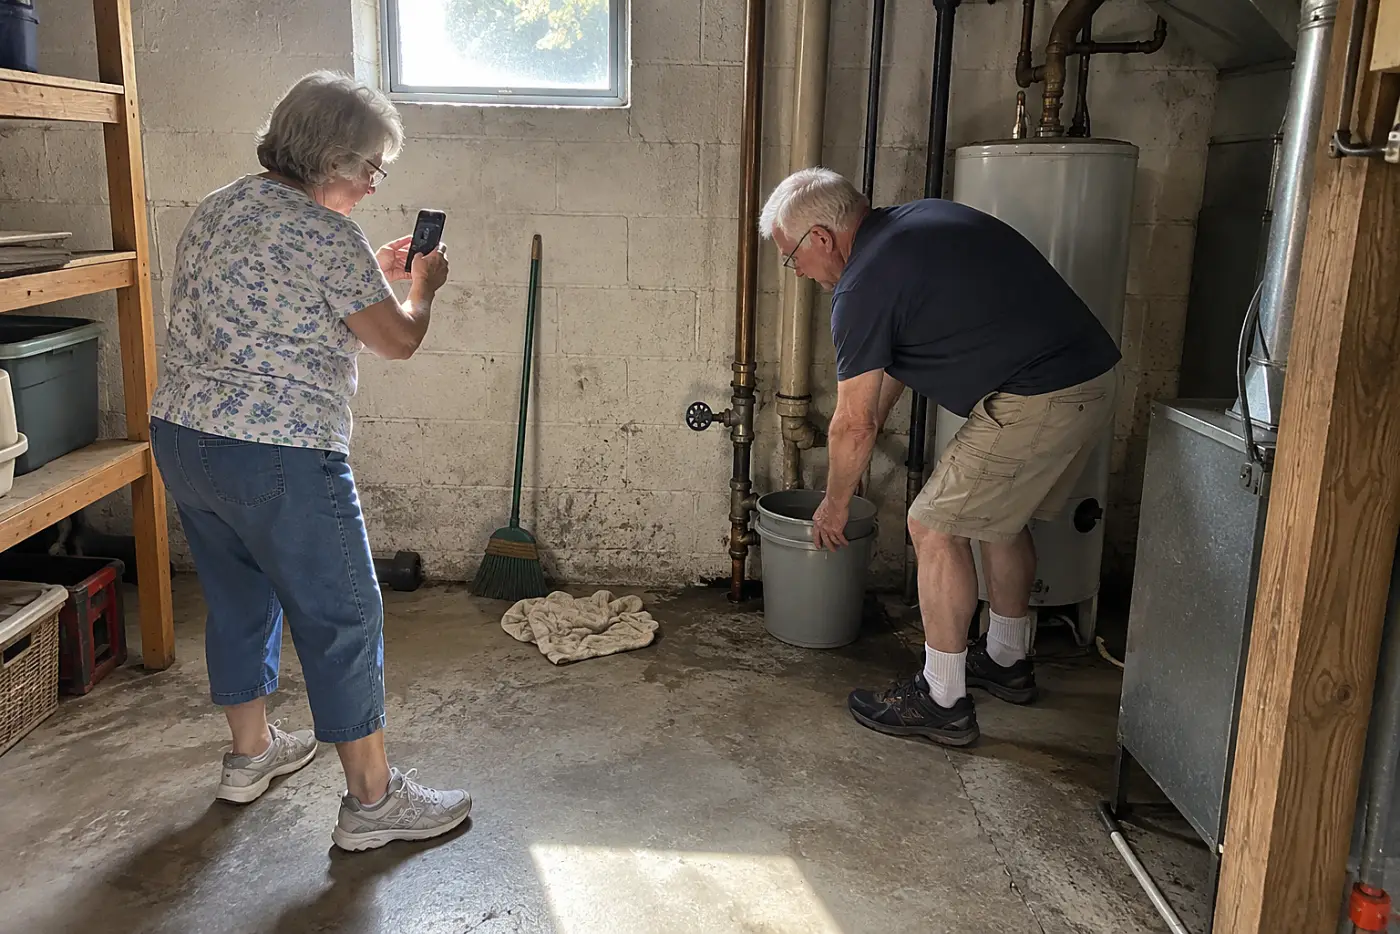
A leak turns a hidden valve into urgent business.
The main shutoff is where the water supply enters your home, though its location varies by house. Turning it stops water to the house; a fixture shutoff stops water only at that fixture. Both are worth finding before a pipe or supply hose fails.
Look for the valve near a basement wall, crawl-space entrance, or utility area. If you cannot identify it, ask a plumber. Do not force a valve that is stuck or corroded.
Then find the shutoffs under sinks and behind toilets. Make sure furniture and stored boxes do not block them. A tag on the correct valve helps a neighbor or houseguest act while you make a call.
If you live in a building with shared plumbing, ask management which valves serve your unit and which ones staff must operate. An unlabeled pipe in a shared utility room is no place for a guess.
This week, find the main valve and photograph it in context. Tell a plumber, “Please identify and label the shutoffs, and check whether they turn.”
Next, make the house usable when a repair interrupts power.
5Keep a charged light within reach

A flashlight in a dead drawer is storage, not light.
Power outages change familiar paths. Put a flashlight where you can reach it from bed and another near the main living area. Battery lights avoid cords across the floor.
Ready.gov’s power-outage guidance tells households to prepare for outages. Rechargeable lights still need a charging routine; ordinary batteries need checking and replacements.
This week, find each light in the dark and turn it on. Tell the person who shares your home, “These are the lights we’ll grab first.”
Light buys time, but repairs still need someone to answer.
4Mount a carbon monoxide alarm near bedrooms
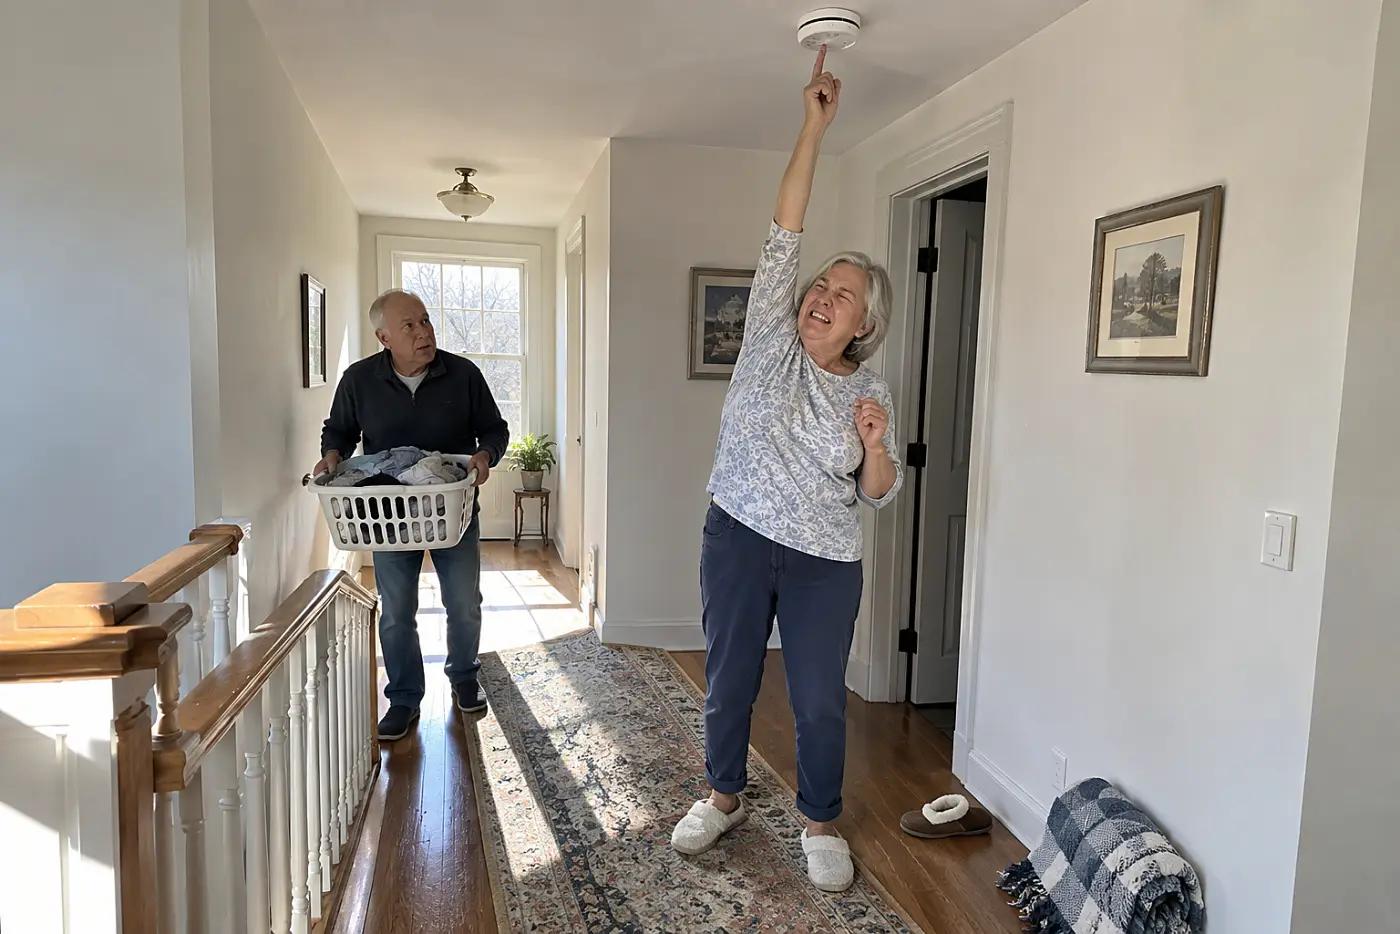
Carbon monoxide gives you no smell to warn you.
Fuel-burning furnaces, water heaters, fireplaces, and attached garages are possible sources. If carbon monoxide builds up while you sleep, an alarm warns you to leave. A smoke alarm does not do that job unless its label says it also detects carbon monoxide.
Without a working alarm, you lose the warning that tells you to get outside. The U.S. Consumer Product Safety Commission advises placing carbon monoxide alarms on each level and outside sleeping areas. Follow the alarm maker’s instructions for placement and replacement.
This week, check each alarm’s label, location, and manufacture date. Say to an electrician, “Please tell me where carbon monoxide alarms belong in this house.”
Once the air has a warning, check what happens when the heat stops.
3Test the garage door emergency release
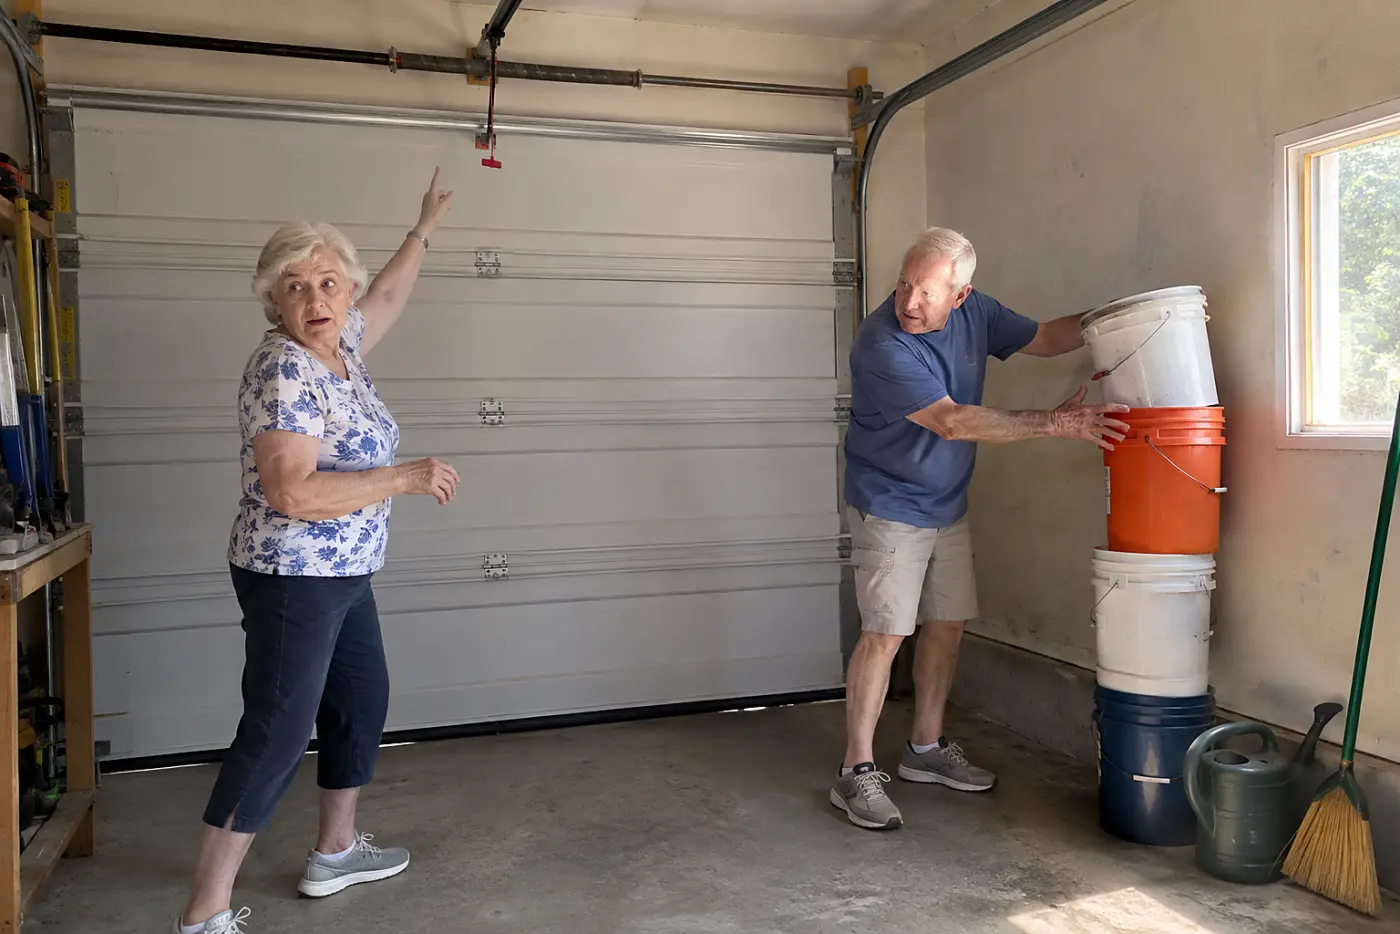
A powered garage door needs a way to open without power.
Pull the emergency release and the door stops listening to the opener. From there, you’re lifting it yourself. The handle is no help if you cannot reach it or the door is too heavy to raise. Test it only with the door fully closed; a door with a broken spring can fall.
Before touching the handle, find out whether the garage has another door you can use to get outside. If it doesn’t, check your opener’s instructions for the manual release procedure and for access during a power outage. Don’t try to lift a door that looks crooked or has a loose cable. Leave it closed and call a technician.
If the garage is how you leave by car, a power failure could trap the car inside. A release you can reach but cannot use leaves you waiting for a repair. The International Door Association’s consumer safety guidance covers manual release and entrapment risks for powered doors.
This week, find the release handle and read your opener’s instructions before testing it. Tell a garage door technician, “Please check that I can release and lift this door safely.”
A working way out still depends on the next call going through.
2Build a short repair-call list
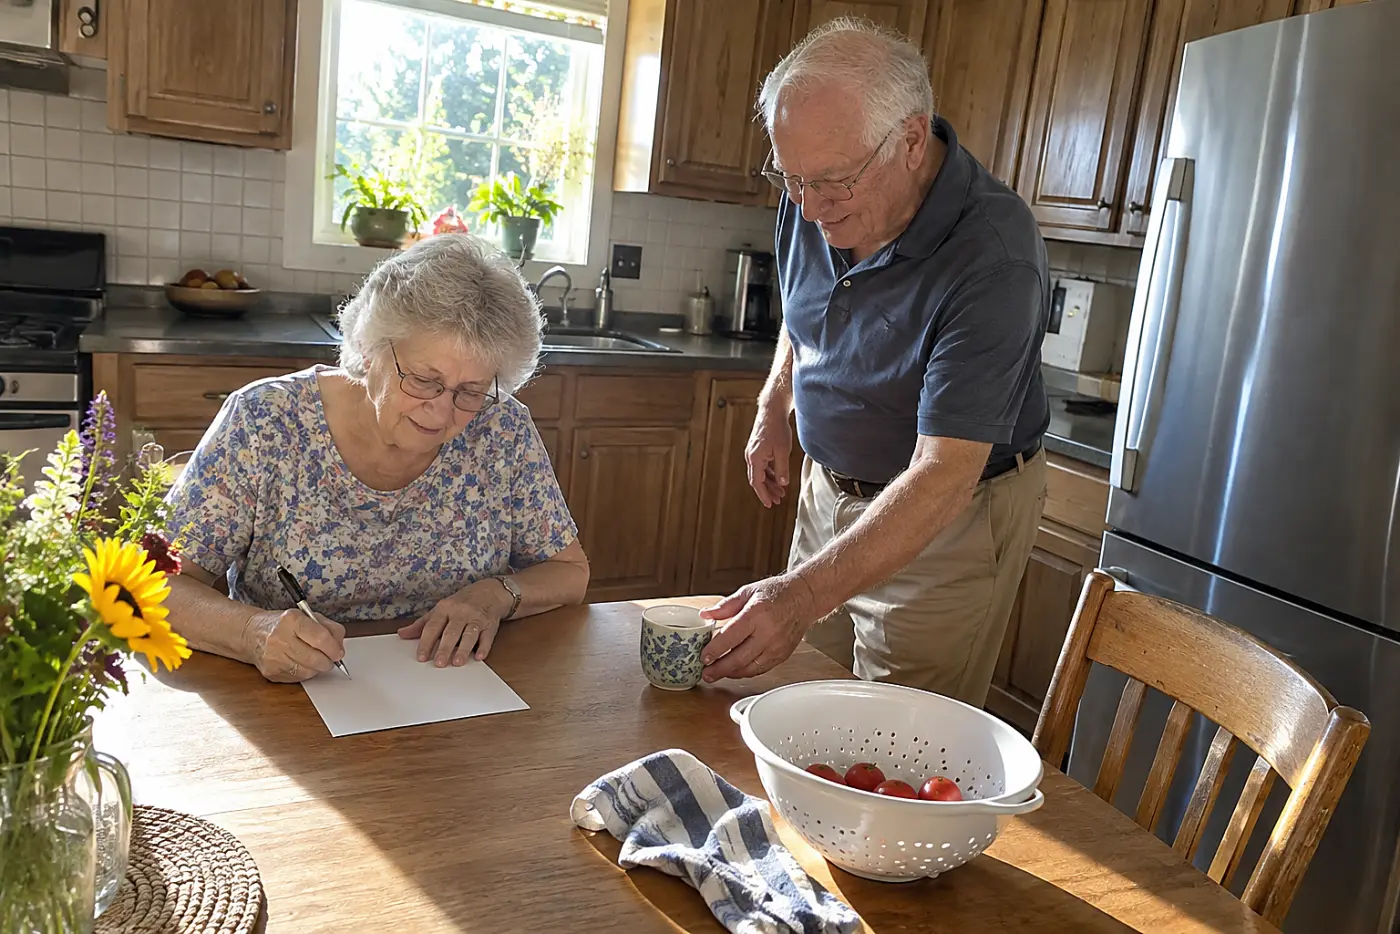
The first available contractor is a poor selection method.
A leak, broken heat, or jammed door pushes you to make calls fast. Write down the plumbers, electricians, locksmiths, and heating contractors you’ve used or checked before trouble starts. Add the utility company’s outage line and your insurer’s claim number.
For paid work, ask what the visit includes and whether an estimate carries a charge. Confirm licensing or registration through your state or local office when that trade requires it. Keep invoices and photos together; they give the next contractor a record of what changed.
The Federal Trade Commission’s home-improvement advice recommends getting estimates in writing and checking contractors. Do that before approving a large job, even when someone says they can begin today.
This week, put three trusted repair contacts and the utility number on one sheet. Ask a contractor you already know, “Do you take urgent calls, and what number should I use?”
The list handles a breakdown; the bigger plan starts before one.
1Schedule a room-by-room home-planning walk-through
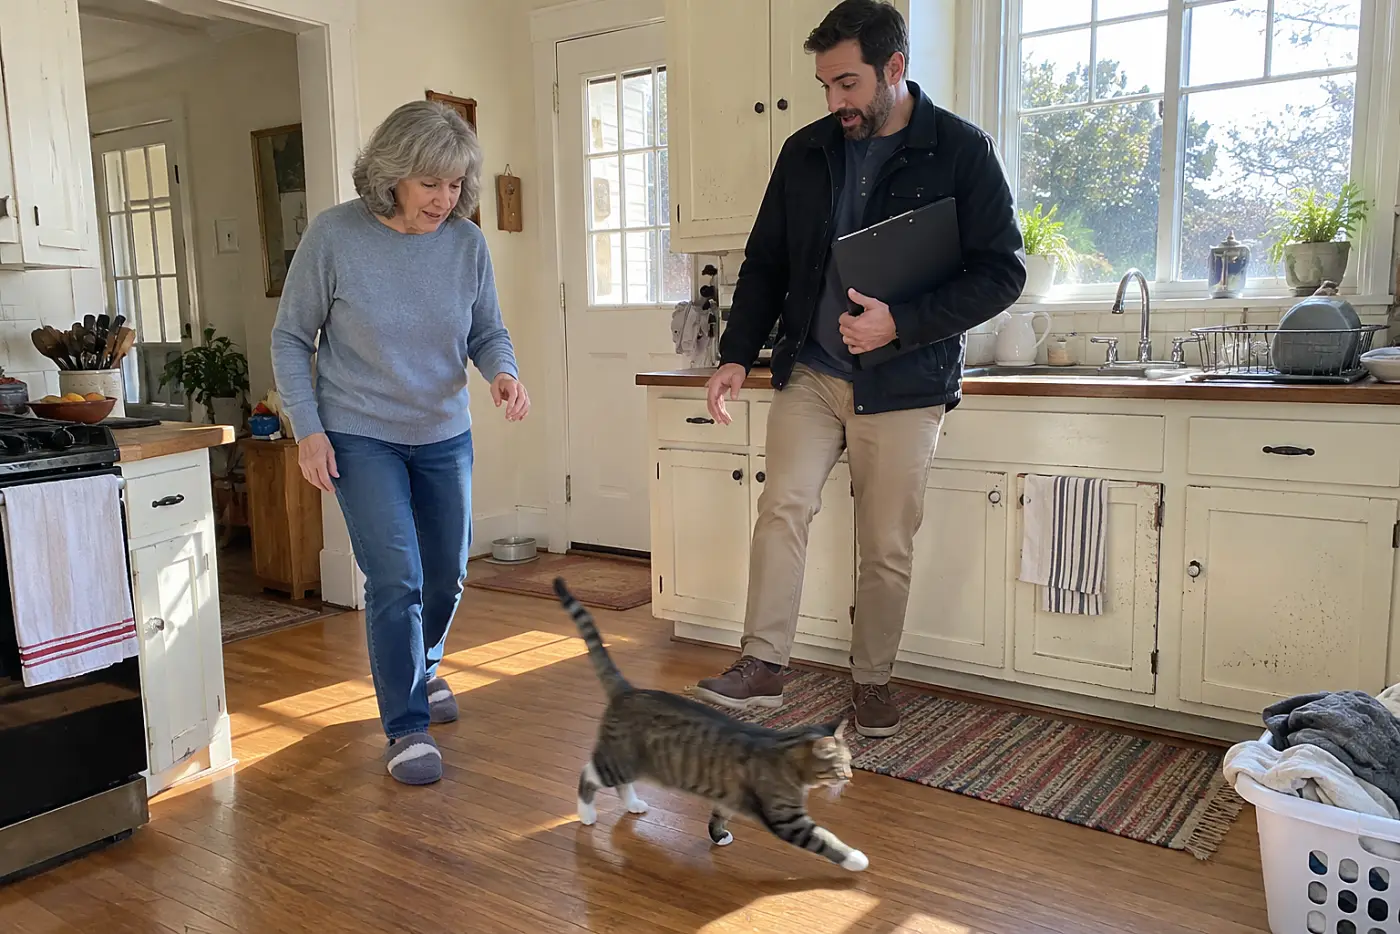
Small fixes fail when nobody checks how they fit together.
Book a room-by-room visit with an occupational therapist experienced in home safety or a qualified aging-in-place specialist. Walk your ordinary routes together: bed to bathroom, car to door, kitchen to laundry. Show what you carry, where you pause, and which steps you avoid.
Ask for written findings with priorities. Separate work you can do now, work needing a contractor, and changes to reconsider if your needs change. A sales quote is not the same as an assessment; ask whether the person assessing your home also sells or installs the recommended work.
The Administration for Community Living’s Eldercare Locator helps you find your local Area Agency on Aging. Ask that office where to find local home-assessment services; confirm fees and credentials directly with any provider.
Without a written plan, the next repair becomes a string of guesses. Measurements and photos give you a way to compare proposals before anyone opens a wall.
This week, make the call and book the walk-through. Say, “I want to stay here; please help me list the changes in order, with measurements and written priorities.”
Bring the right questions, or the visit becomes a tour.
The bottom line
The pattern here is simple: test the route you use, then fix what fails.
The best-prepared version of you has already walked the house and written down the measurements. She knows exactly who to call next.
Which of these has already happened in your family?
Up next
24 Aging-in-Place Renovations Worth the Money
See which bathroom fixes, doorway measurements, and financing choices deserve a place in your renovation budget.
Read the list →
Reader quiz
Did you catch the details?
5 questions from this article. Finish them all to unlock the editor's bonus tip.
After dark, what should you check on each stair tread?
Did any of these feel familiar?
Know someone who needs this?
Sources cited in this article
This article links to 9 outside sources, listed here so you can read them yourself.
- The CDC’s STEADI fall-prevention materials www.cdc.gov/steadi
- The ADA’s accessible design standards www.ada.gov/law-and-regs/design-standards/2010-stds
- The Federal Emergency Management Agency’s Ready.gov site www.ready.gov
- The U.S. Fire Administration’s home-fire guidance www.usfa.fema.gov/prevention/home-fires
- The U.S. Fire Administration www.usfa.fema.gov
- Ready.gov’s emergency-planning guidance www.ready.gov/plan
- Ready.gov’s power-outage guidance www.ready.gov/power-outages
- The Federal Trade Commission’s home-improvement advice consumer.ftc.gov/articles/how-avoid-home-improvement-scam
- The Administration for Community Living’s Eldercare Locator eldercare.acl.gov
David Ruiz
Home Editor
David writes about the house you have and the one you might move to: staying put, downsizing, repairs, and the small changes that stop a fall.
More from David Ruiz