


25 Haircuts That Make Women Over 60 Look Rested, and What to Tell the Stylist
A jaw-length bob gives you a starting point; a dry check of the front gives you the words to finish the conversation.
By Nora Bennett, Style Editor
Updated · 10 min read
- Written by our style editor
- How we review
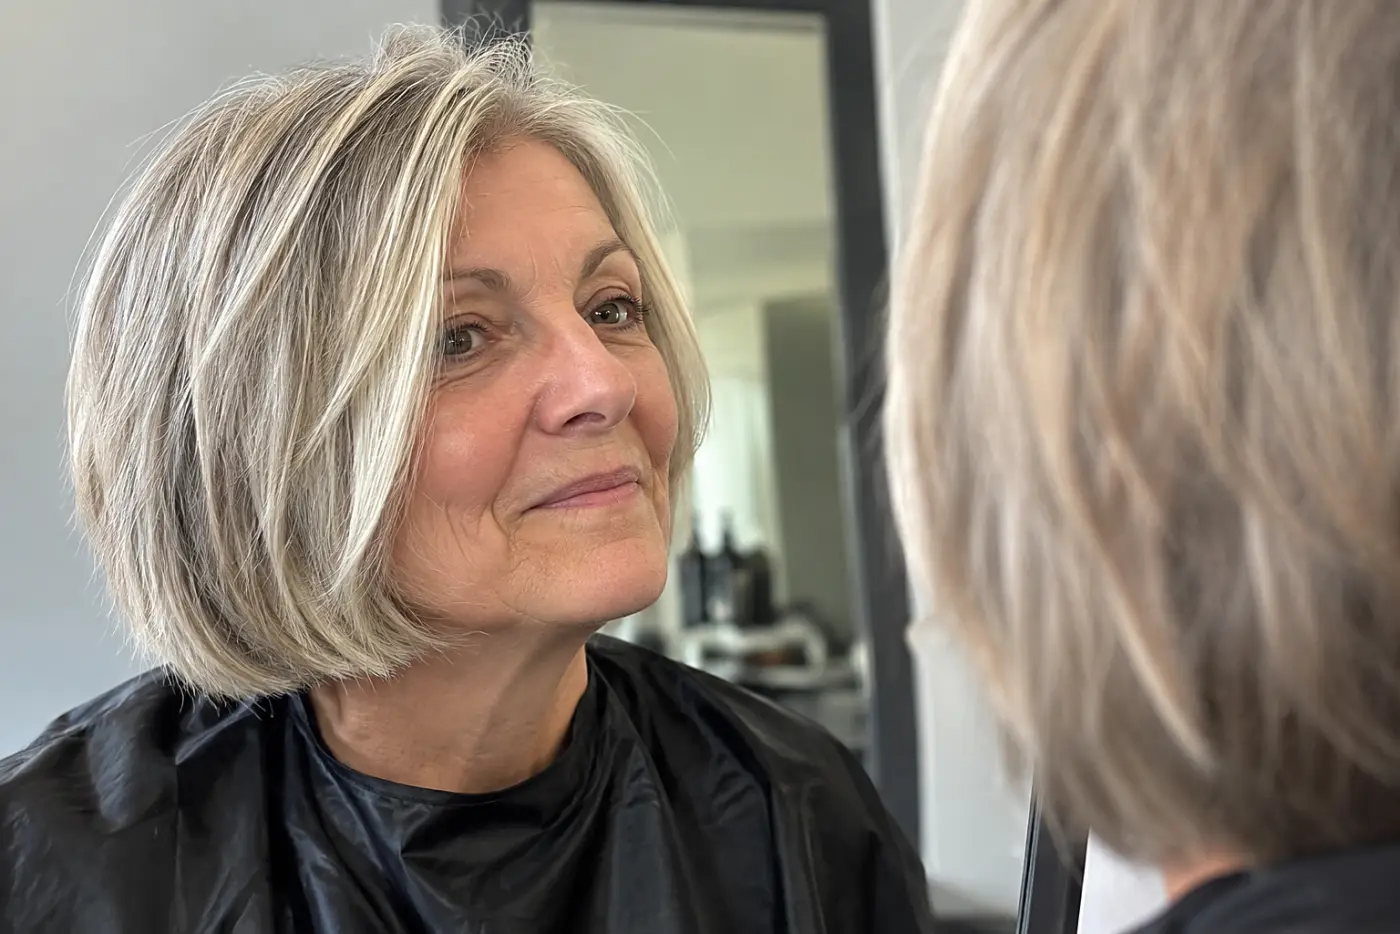
Read to the end: #1 is the one haircut check that shows how the front falls at home, and almost nobody asks for it.
The cape snaps shut at your neck. Across the mirror, a stylist asks what you want, and suddenly “shorter, but not too short” sounds hopelessly vague. A good picture helps. So does knowing which part of that picture matters: the jawline, the crown, the fringe, or the hair left around your ears.
Here are 25 cuts and the words to take into the chair.
25A Blunt Bob at the Jaw
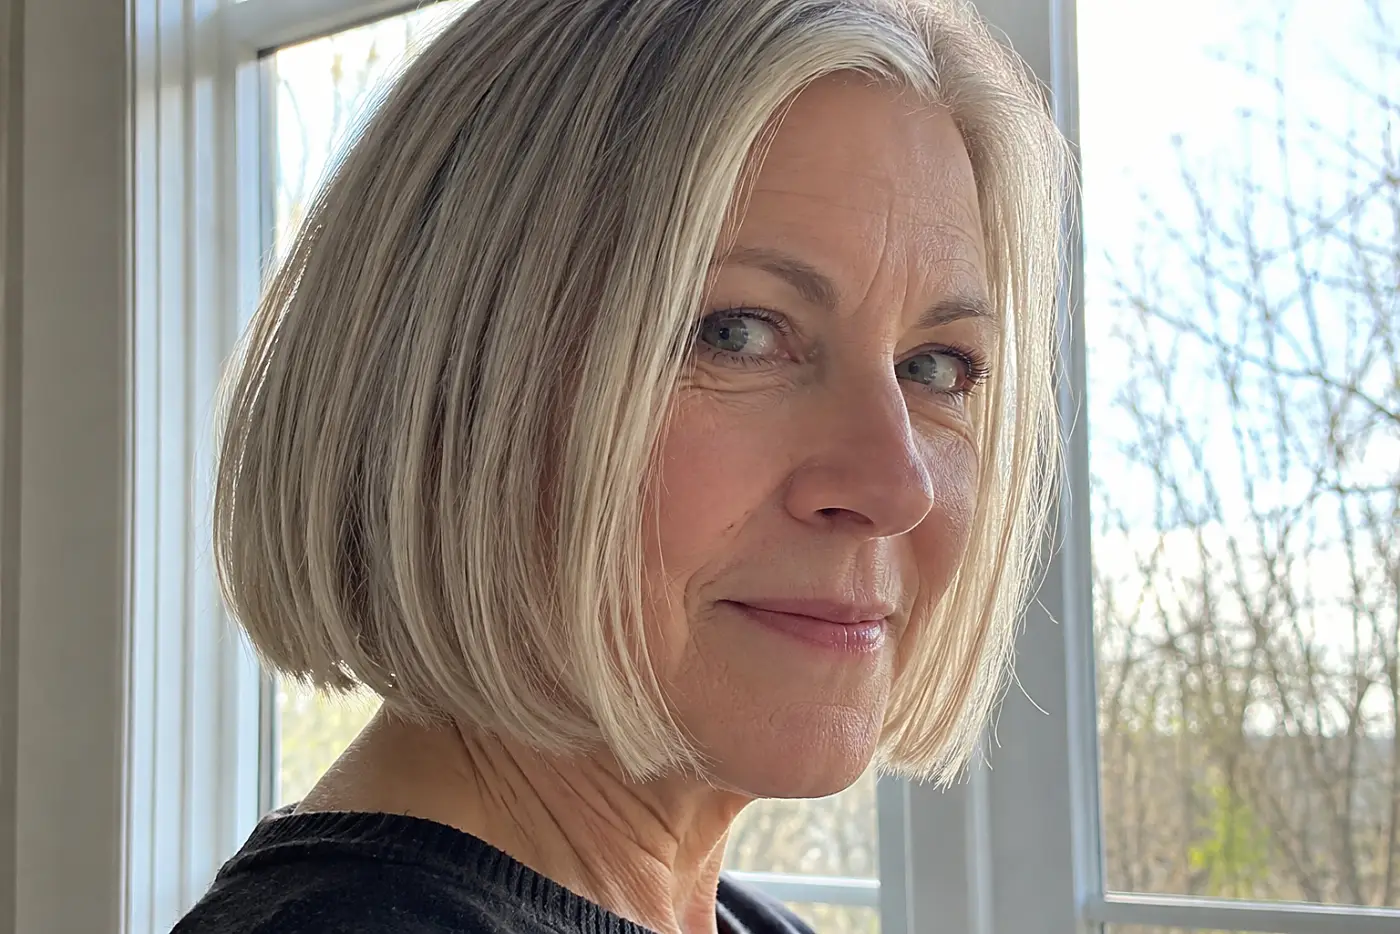
The solid edge makes the jaw-length bob easy to spot.
That straight line gives fine hair a full-looking bottom. It also puts every bit of the cut on display, including uneven corners. If your hair bends outward at the ends, ask where the finished line will sit once it dries. A jaw-length photo taken with straightened hair won't show that bend.
Ask for a blunt edge at your jaw, then have the stylist check both sides dry.
24A Bob With a Side Part
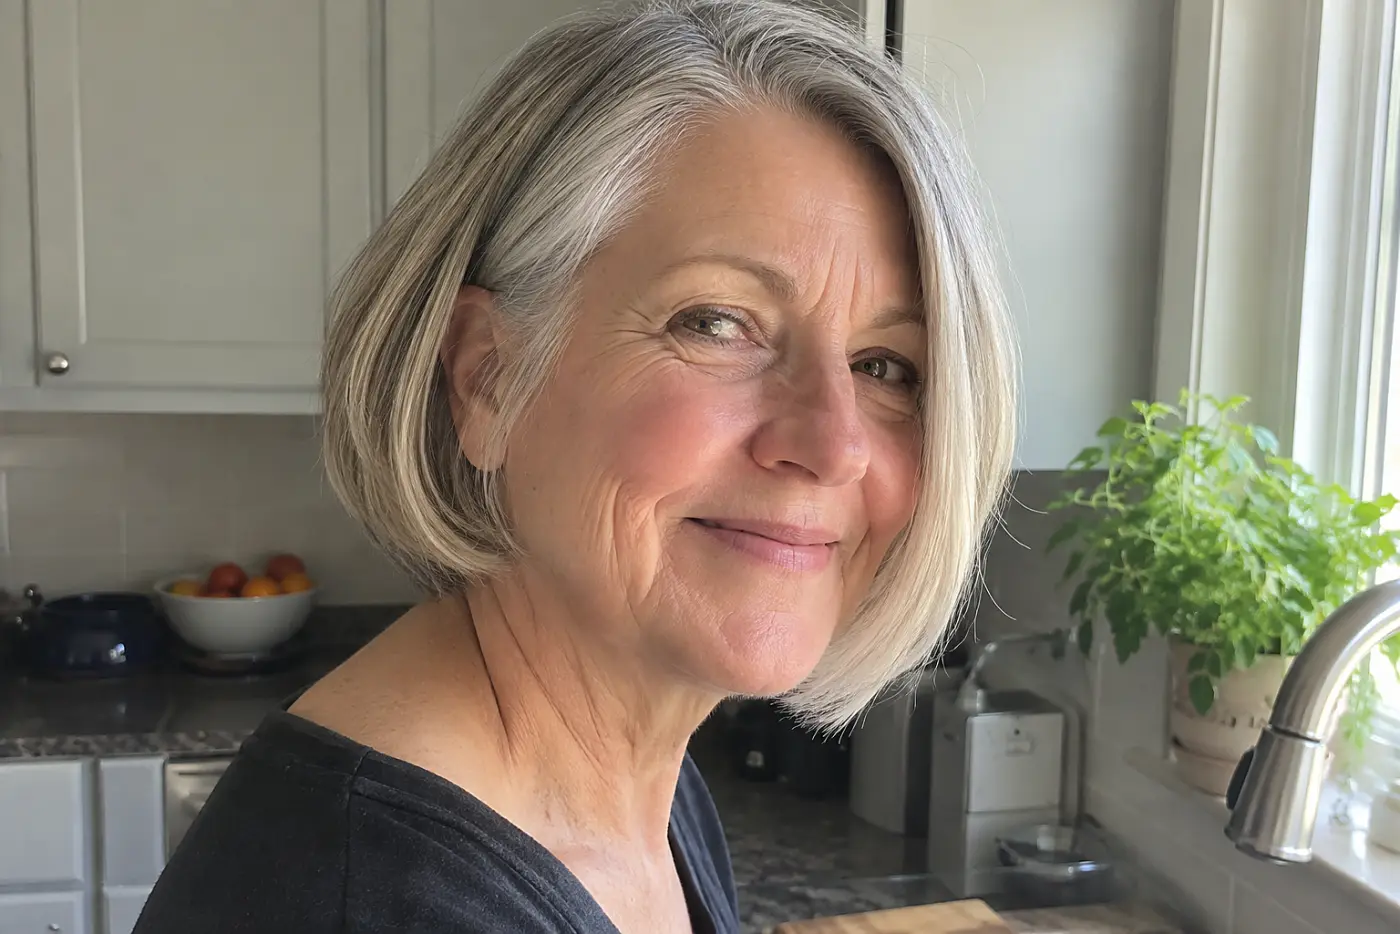
The deeper part sends one broad section across the forehead.
Moving the part changes where the weight sits without demanding a new length. The fuller side covers a high temple; the lighter side leaves the face open. Look at the roots in the picture, not just the sweep at the ends. A side part forced against a strong cowlick won't stay put through breakfast. The cut needs to work after you wash it.
Show your usual part. Ask for the bob to be shaped around it, rather than the part in the photo.
23A Rounded Chin-Length Bob
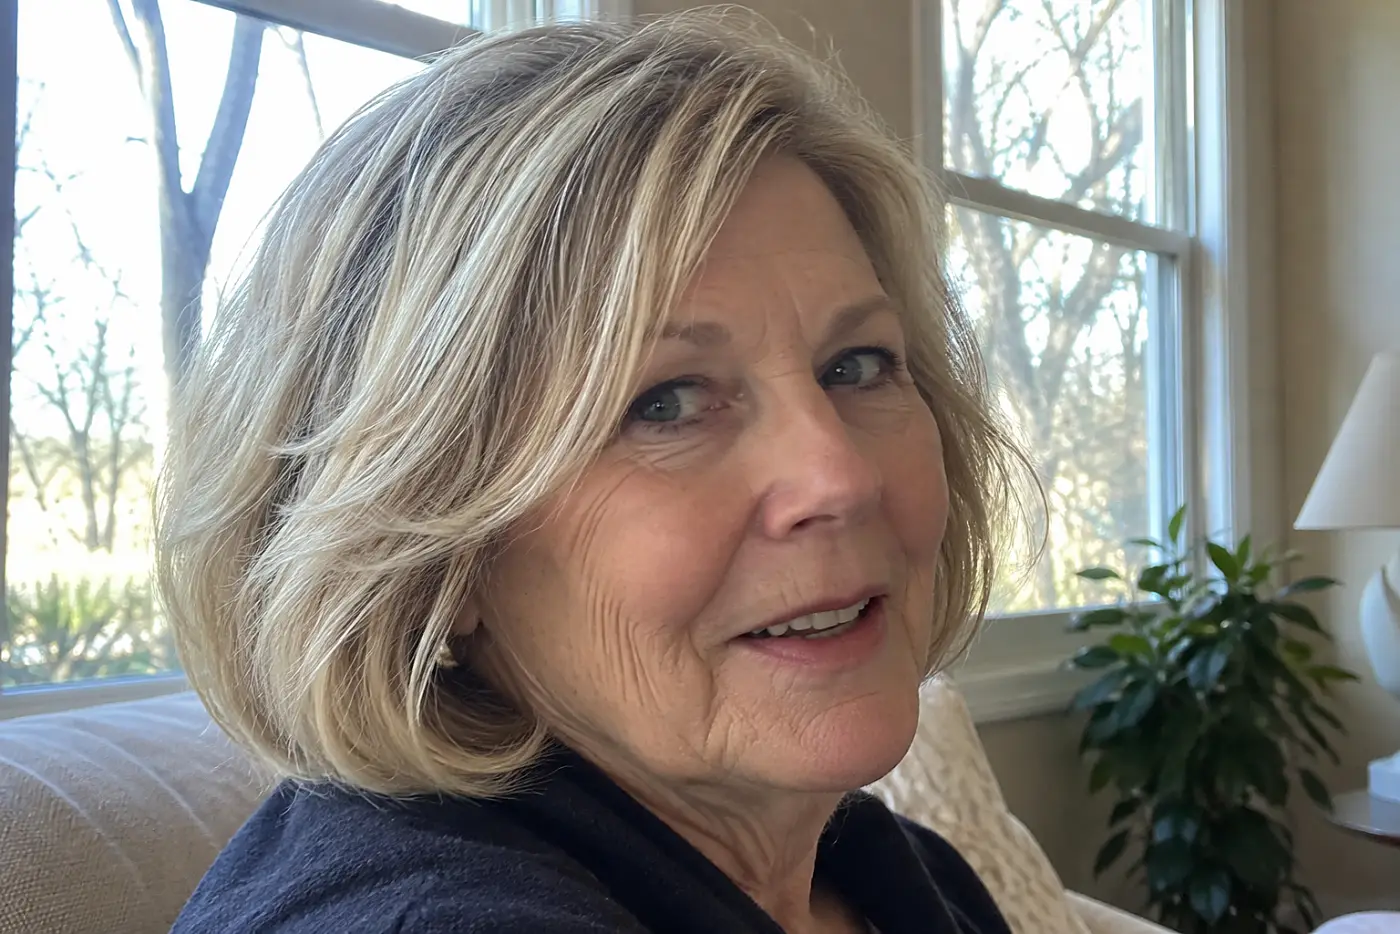
The ends curve inward instead of hanging in a hard line.
That roundness comes from the shape of the cut and the way it's dried. Heavy hair needs room inside the shape or it turns into a triangle by afternoon. Fine hair needs its bottom edge kept intact. The photo tells you which version you want: a soft curve, not a tucked-under helmet.
Ask for a chin-length bob with a rounded outline, and show how much body your hair holds naturally.
22A Collarbone-Length Lob
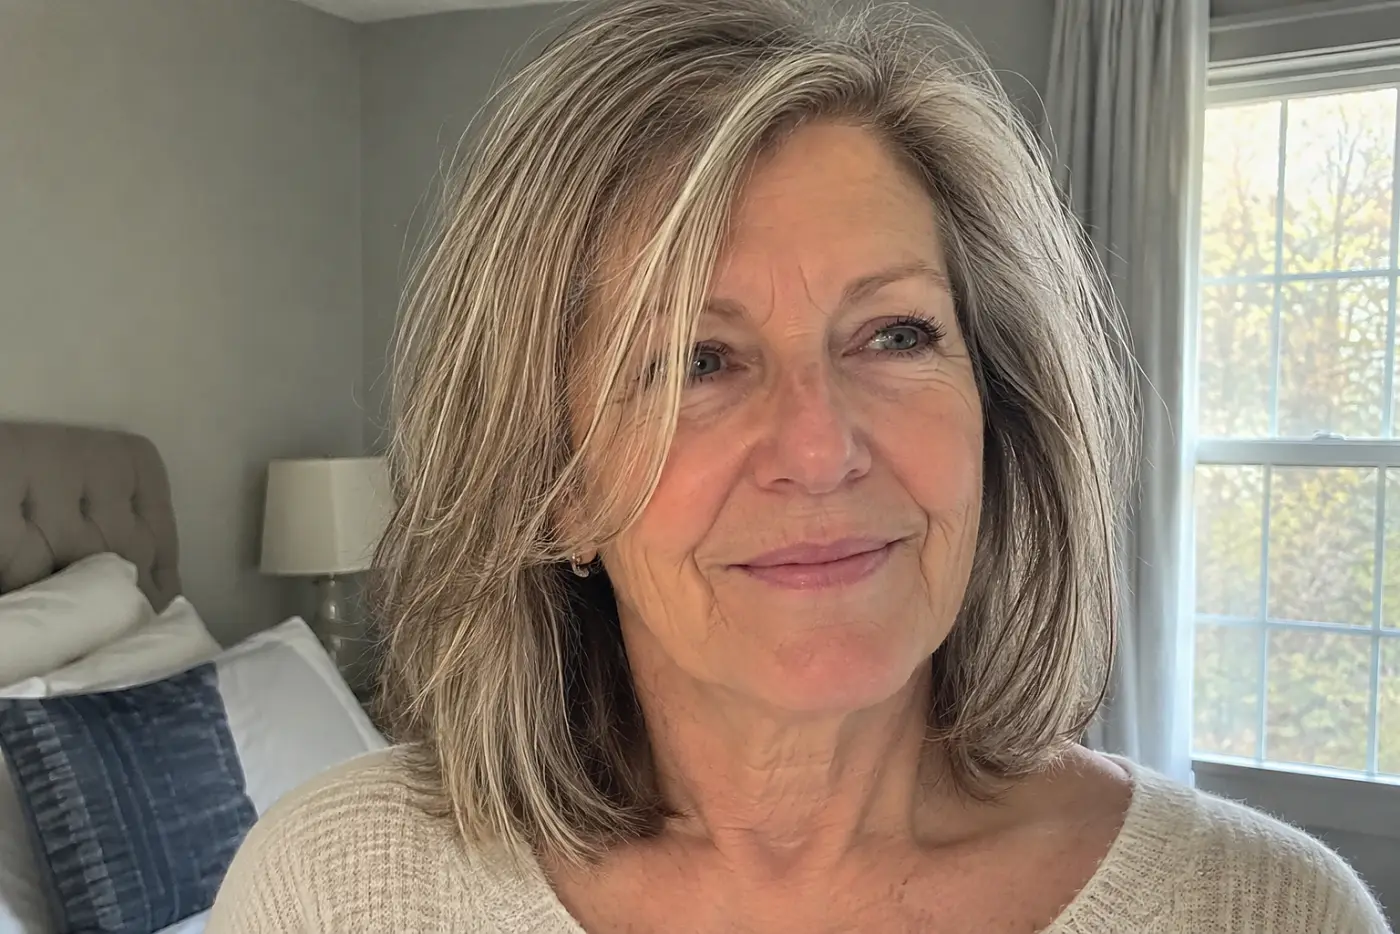
The ends brush the collarbone, leaving the neck clear.
This length gives you enough hair to tuck behind an ear or pull back for errands. It also draws the eye down when the ends hang without shape. In the picture, notice whether the front reaches the collarbone or drops below it. That difference matters when the cut grows out. Your shoulders affect where those ends turn.
Point to the spot on your collarbone where the front should land. Ask the stylist to confirm the length dry.
21A Lob With Face-Framing Pieces
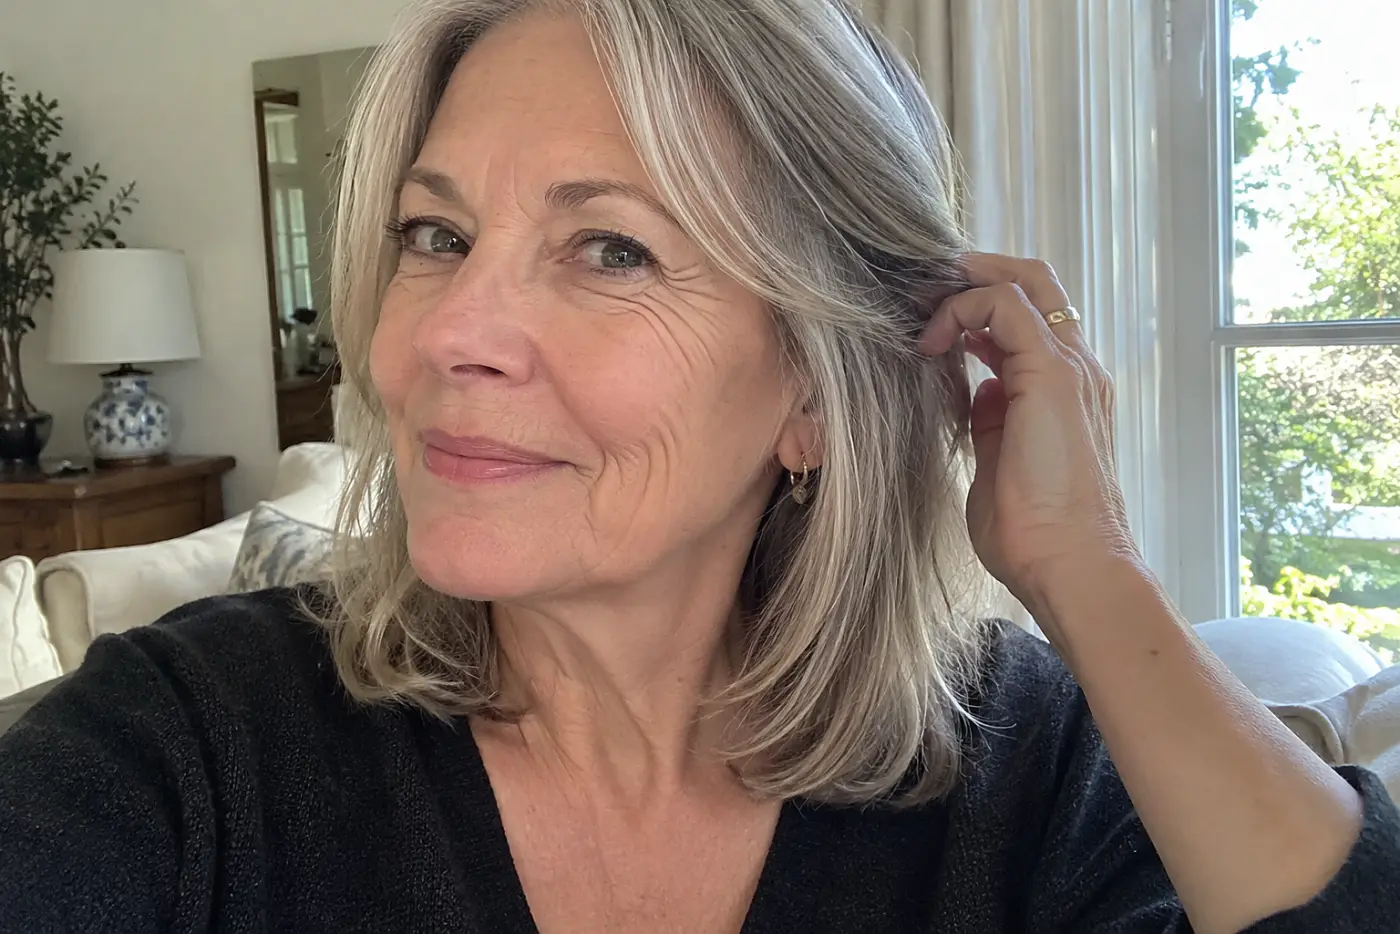
Two shorter sections break up the solid line near the cheeks.
Those pieces give a longer cut a front view, not just a tidy back. Start them too high, though, and they become bangs you didn't request. The picture helps you mark the first bend, near the cheekbone or lower.
Put a finger where you want the shortest front piece. Ask to keep everything else long enough to tie back.
20A One-Length Shoulder Cut
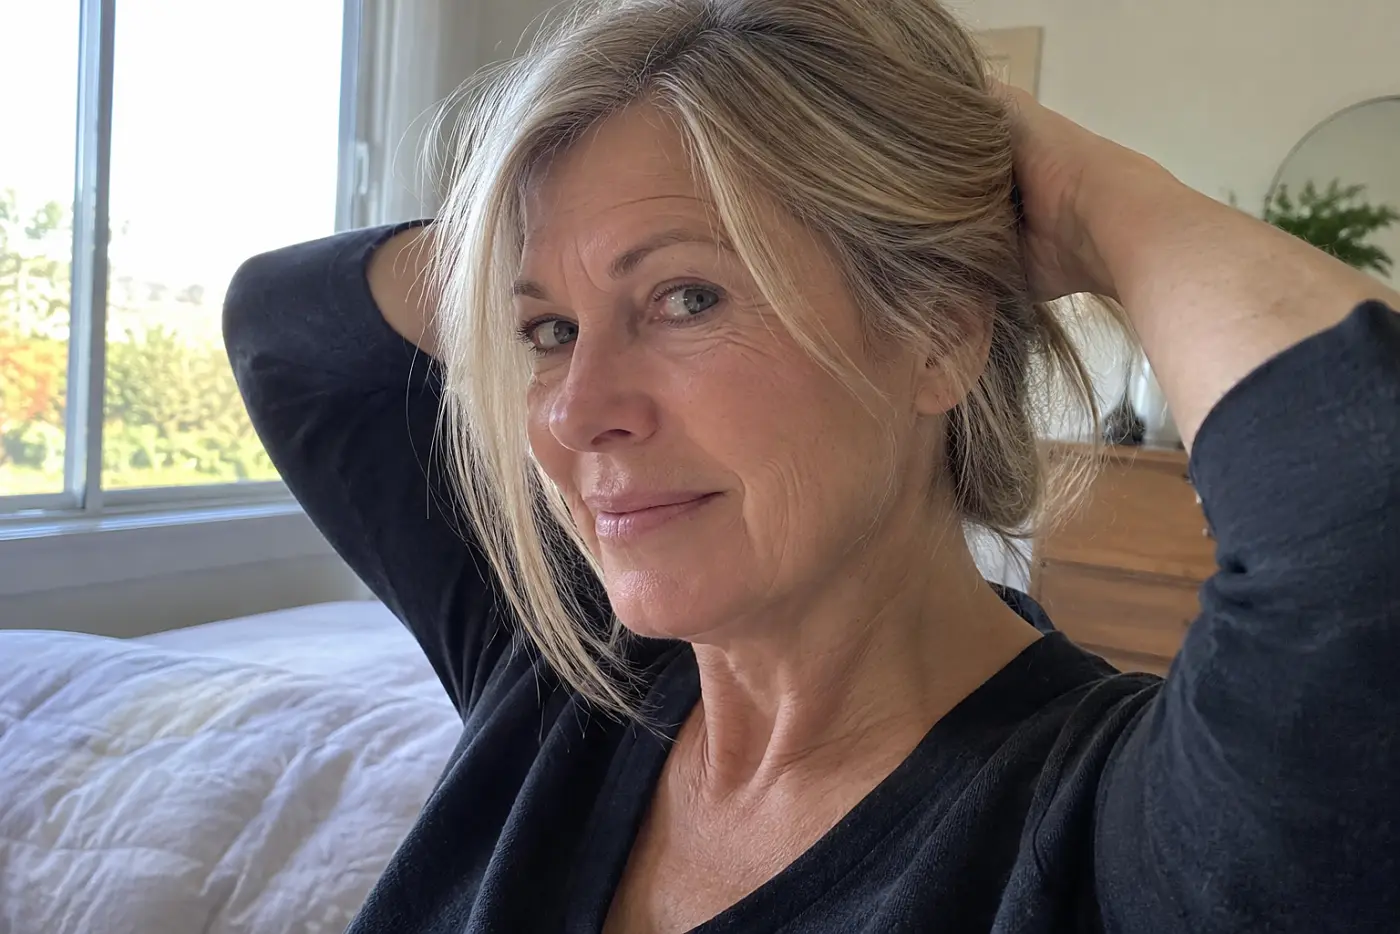
The hair reaches the shoulders in one clean, heavy line.
There are no short layers to escape a clip or ponytail. That makes this a practical choice when you still put your hair up. The catch is where the ends hit: shoulders push some hair outward. Look at the picture for that small flip before deciding it's a styling failure.
Ask for a one-length cut that reaches your shoulders when dry. Say whether you want the ends to flip or fall below them.
19Long Layers Below the Shoulders
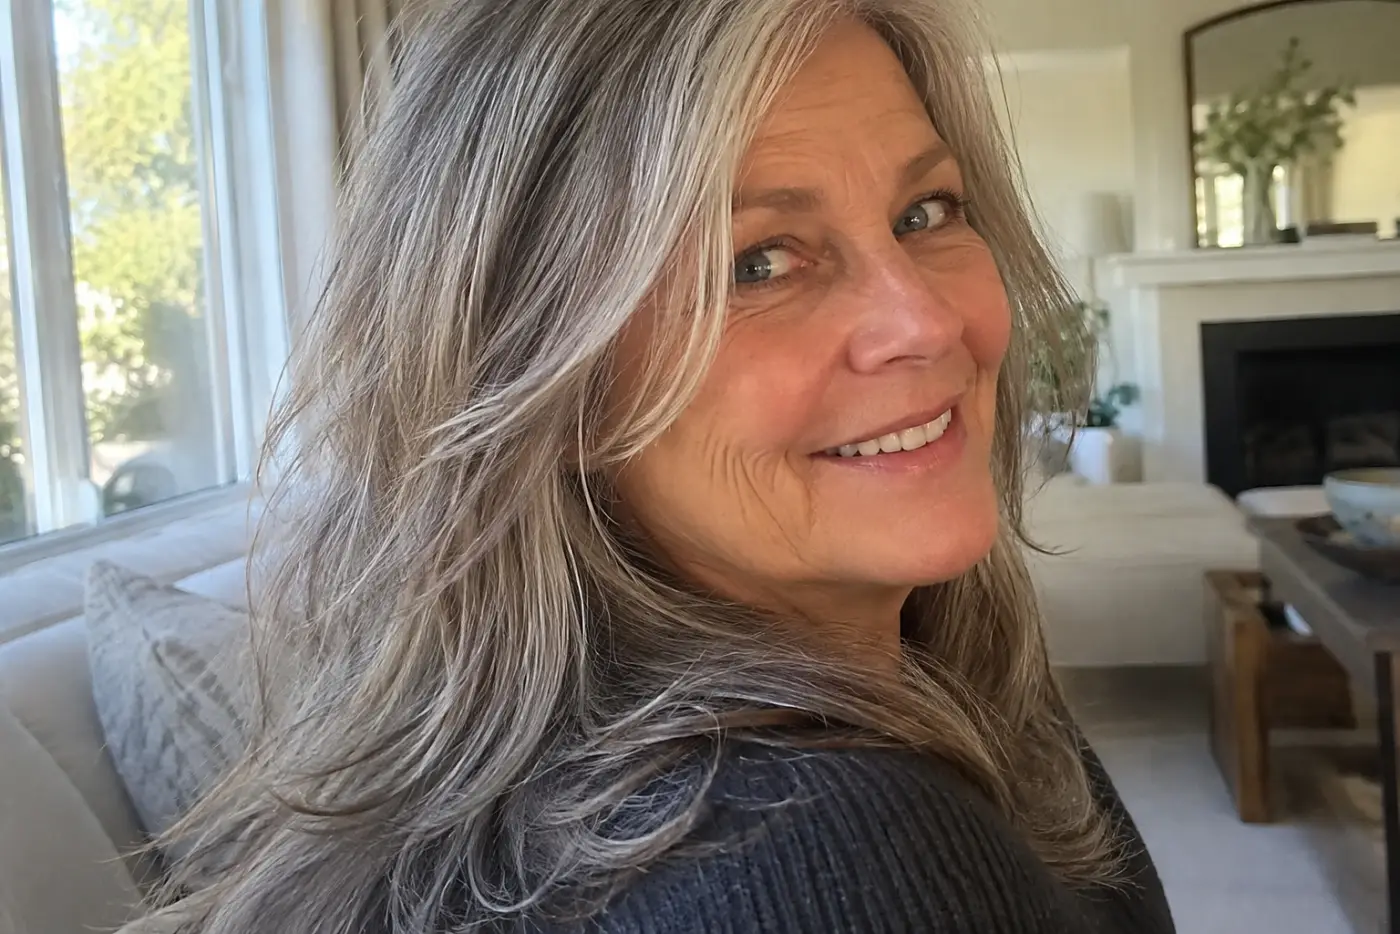
The longest hair stays past the shoulders; shorter lengths move through it.
Long layers remove weight without taking away the length you waited to grow. Too many short ones leave thin ends that won't gather neatly. Check the picture's bottom edge: you should still see a definite line of hair there.
Ask to keep the perimeter full and place the shortest layer below your chin.
18A U-Shaped Back on Long Hair
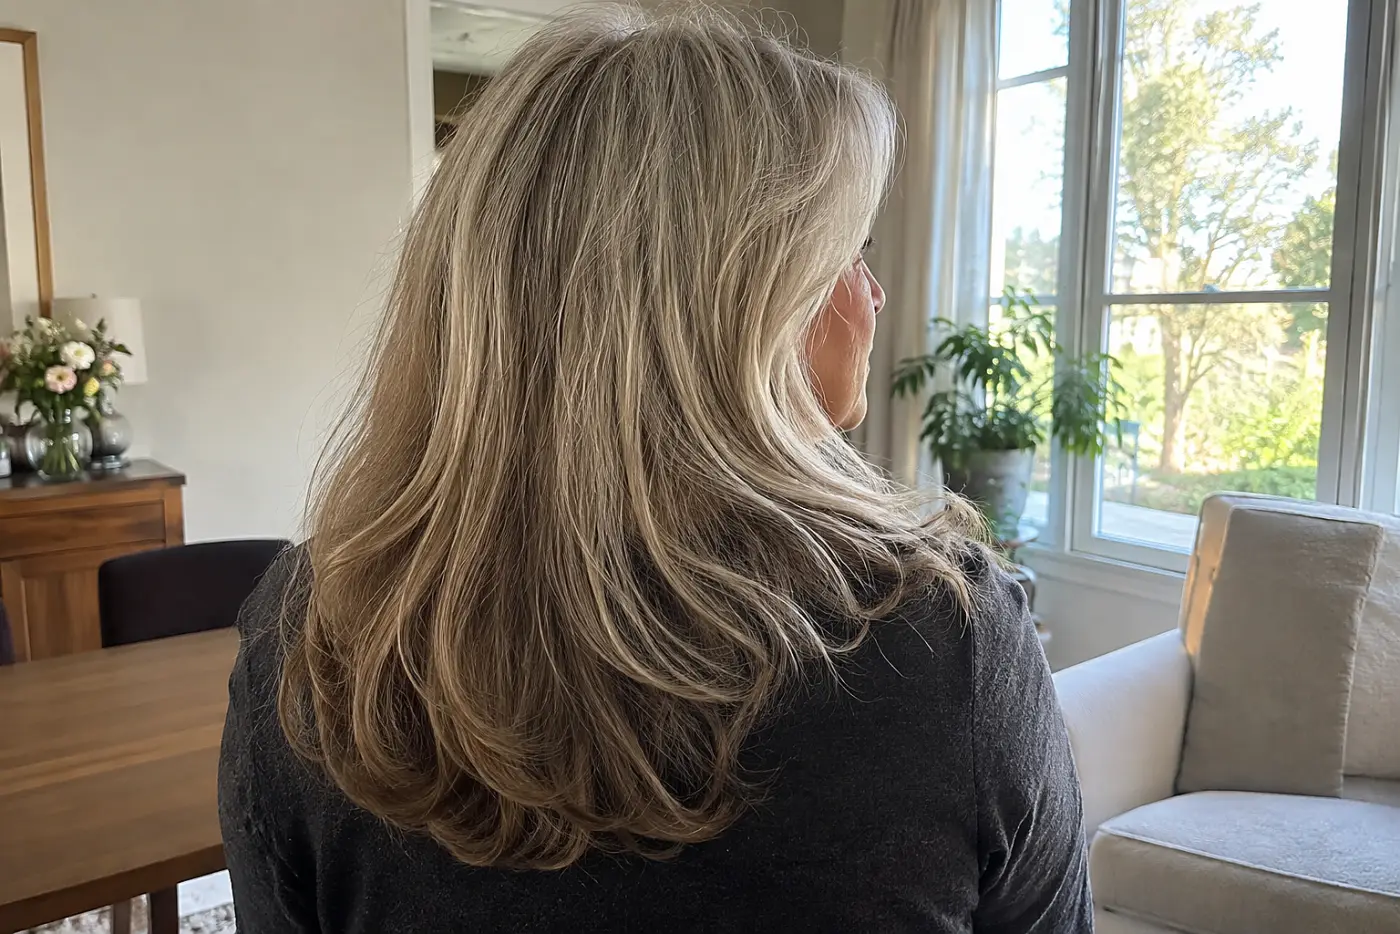
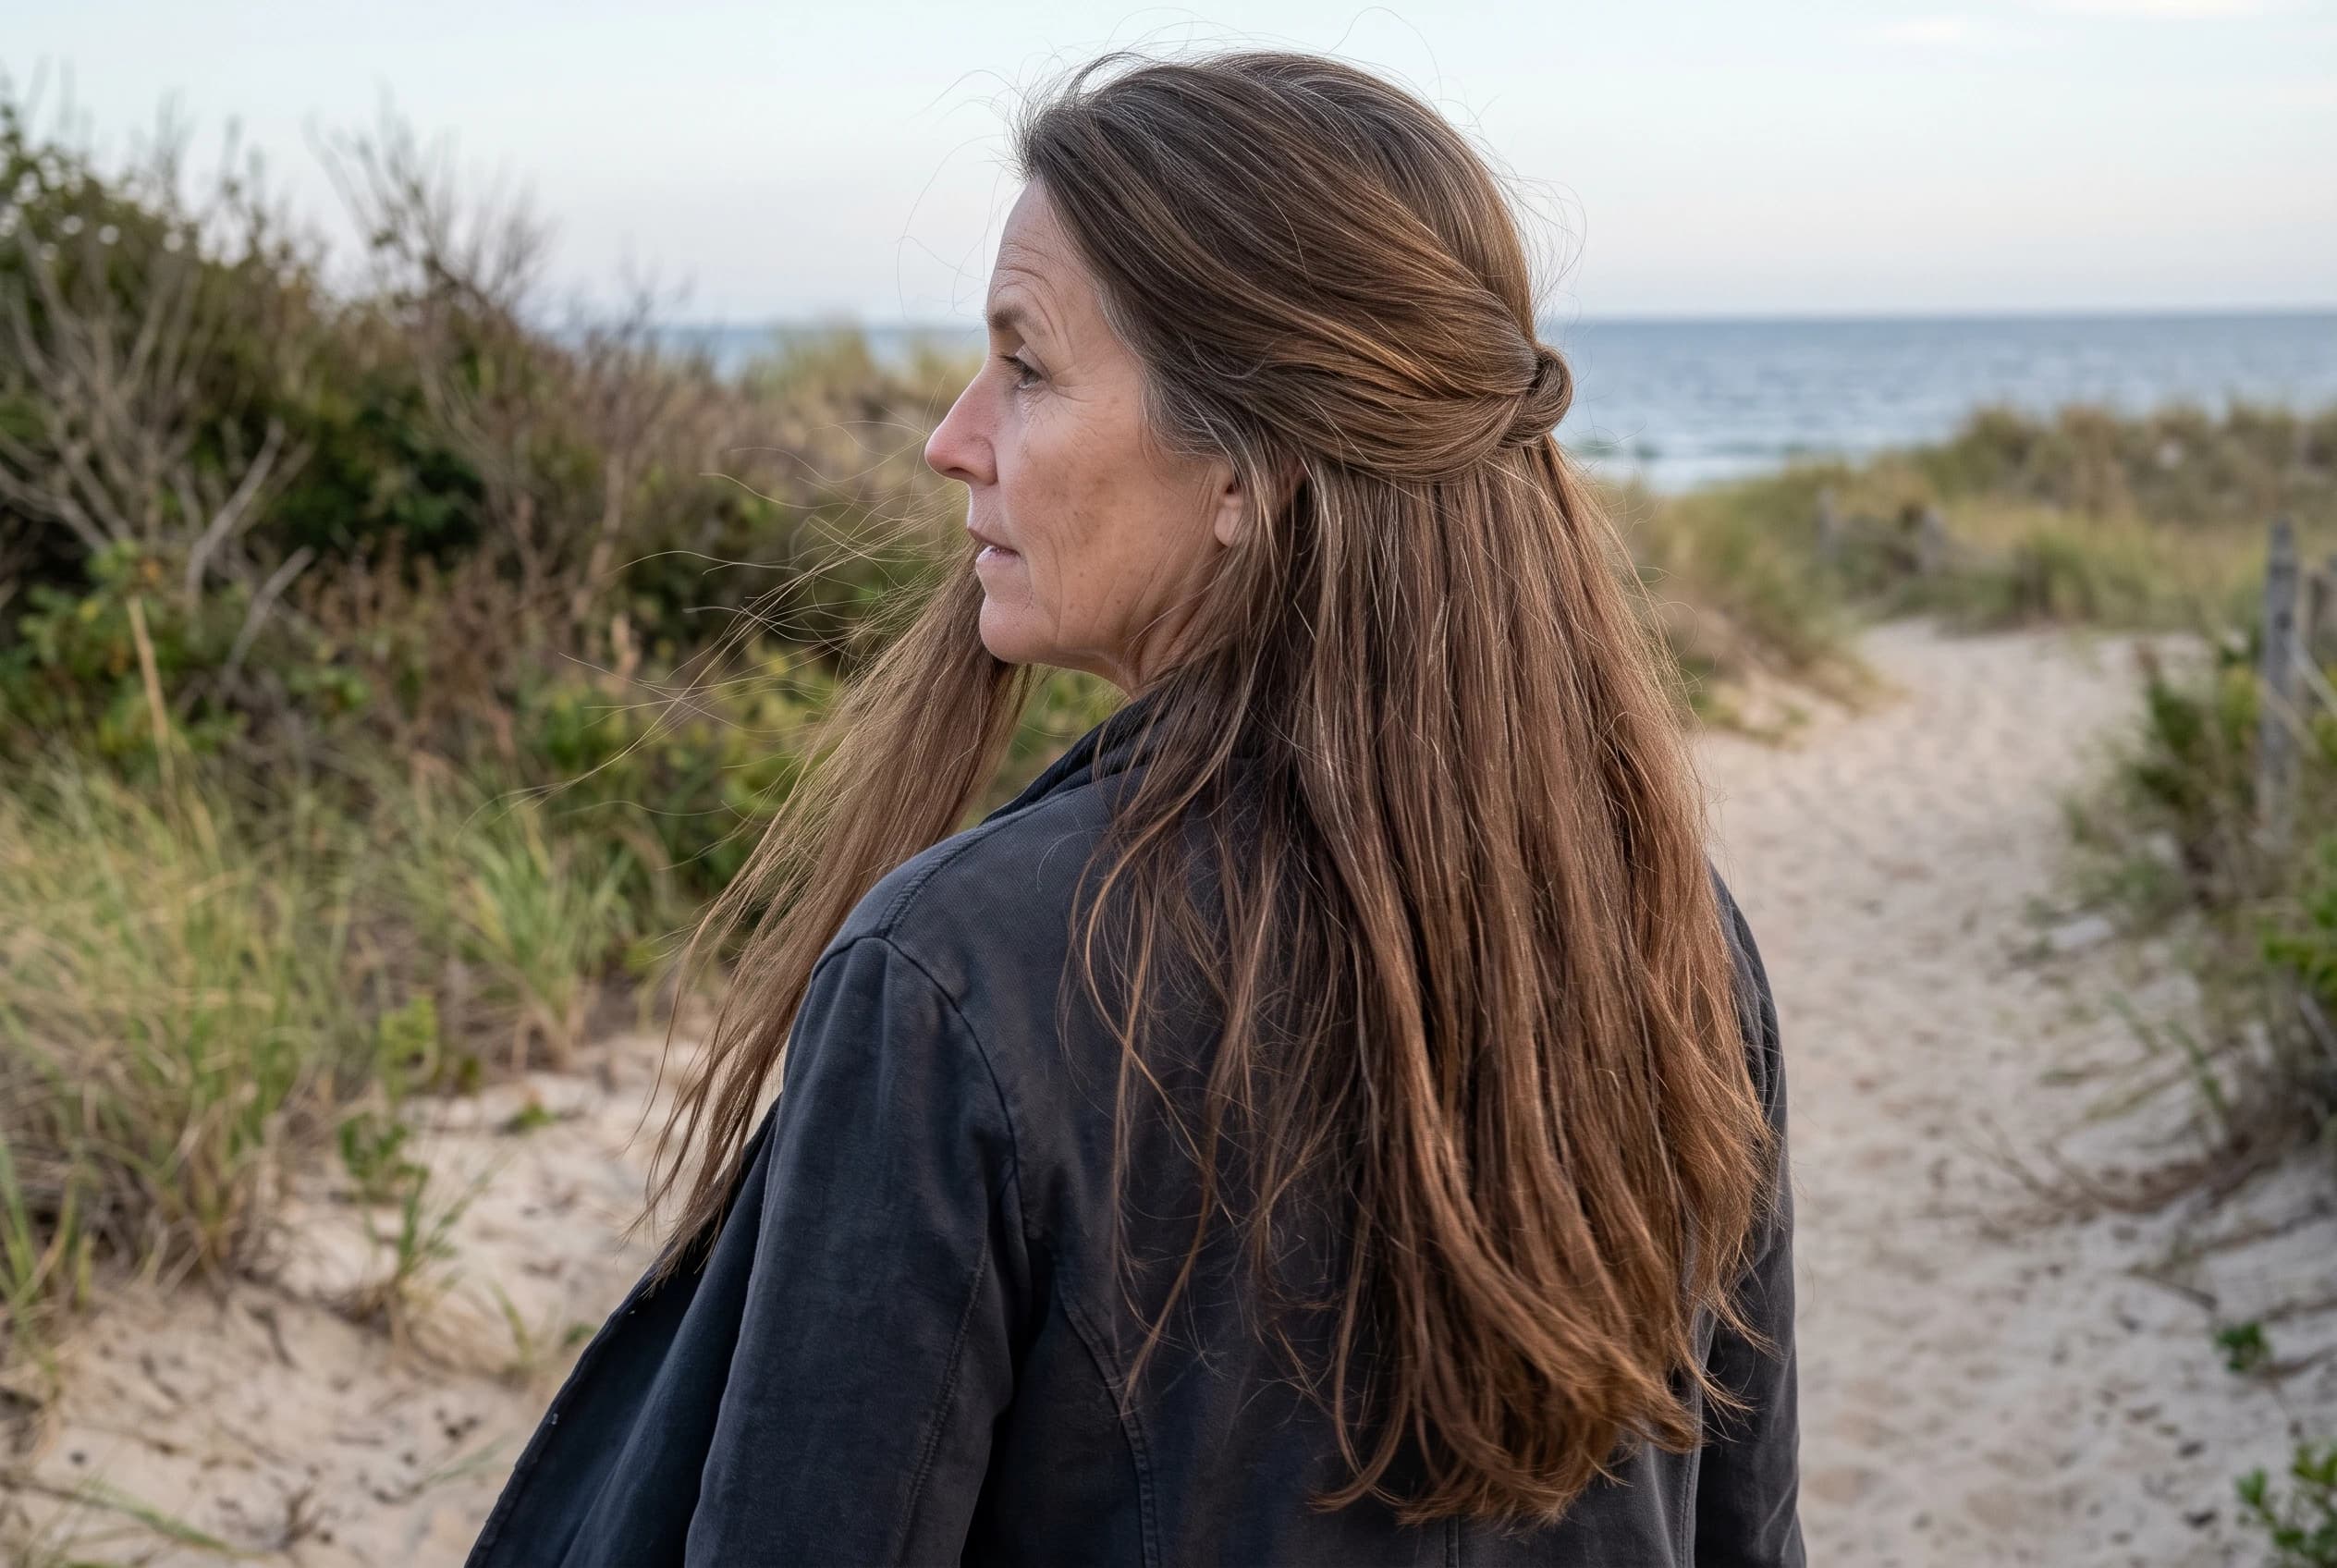
From behind, the long ends form a shallow U.
This shape leaves more hair through the middle while easing the corners at the sides. It looks different from a sharp V, which puts the longest point at the center and thins the outer edges. If you wear your hair over one shoulder, those side lengths matter. The back view is the picture to bring.
Ask for a shallow U at the bottom, not a V. Check the shape before the cape comes off.
17A Sleek Pixie With Side Fringe
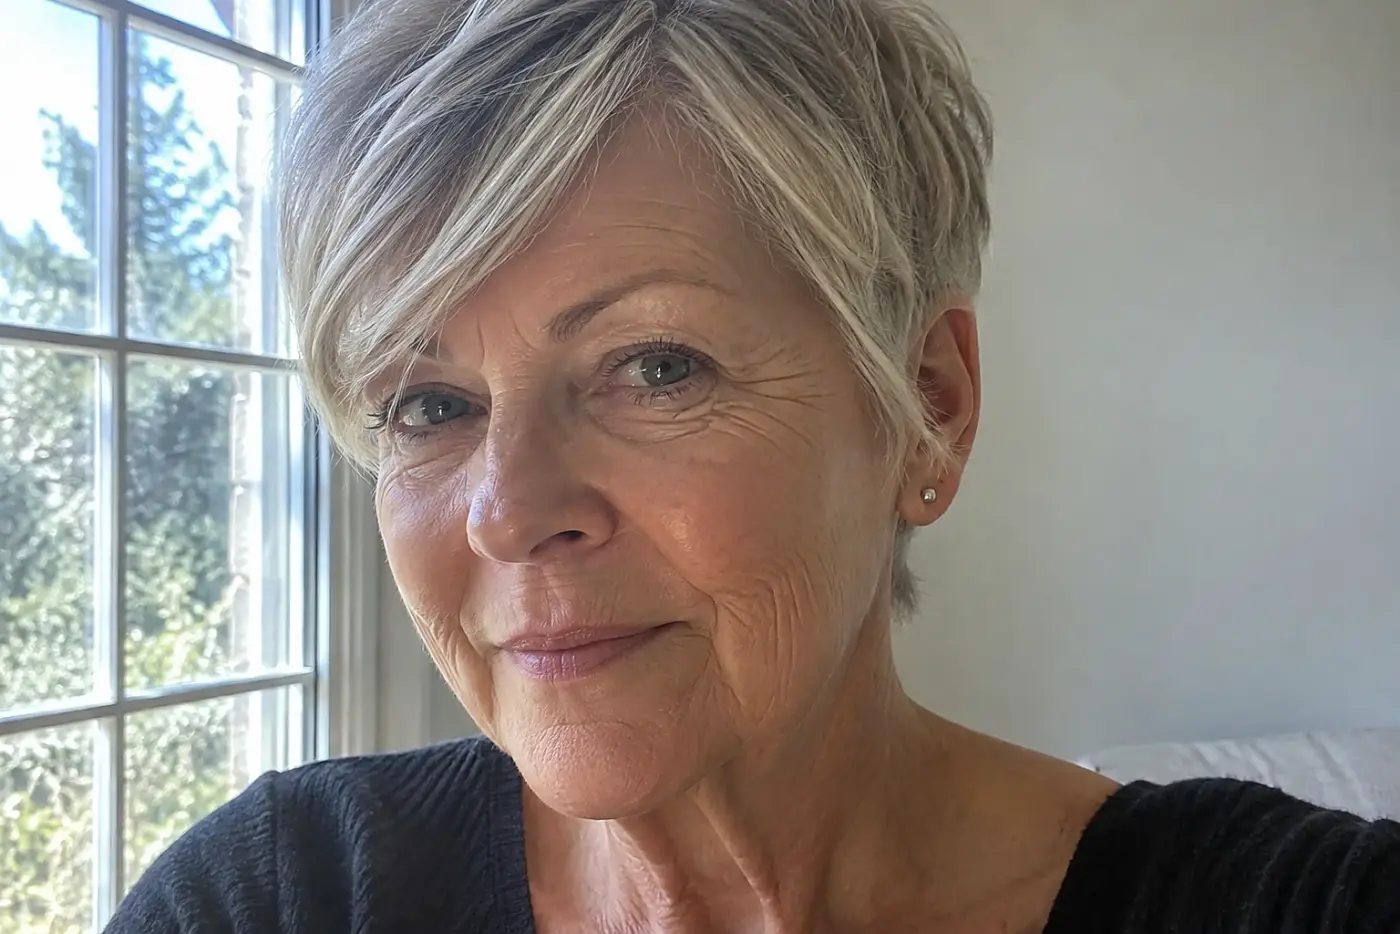
Short sides leave a longer section crossing the forehead.
That fringe gives the pixie a direction when the sides sit close to the head. Its length matters: above the brow feels different from a piece that reaches the cheekbone. A photograph from the front won't show how tight the sides are.
Ask to see the side view and say exactly where the fringe should end when dry.
16A Tapered Pixie at the Nape
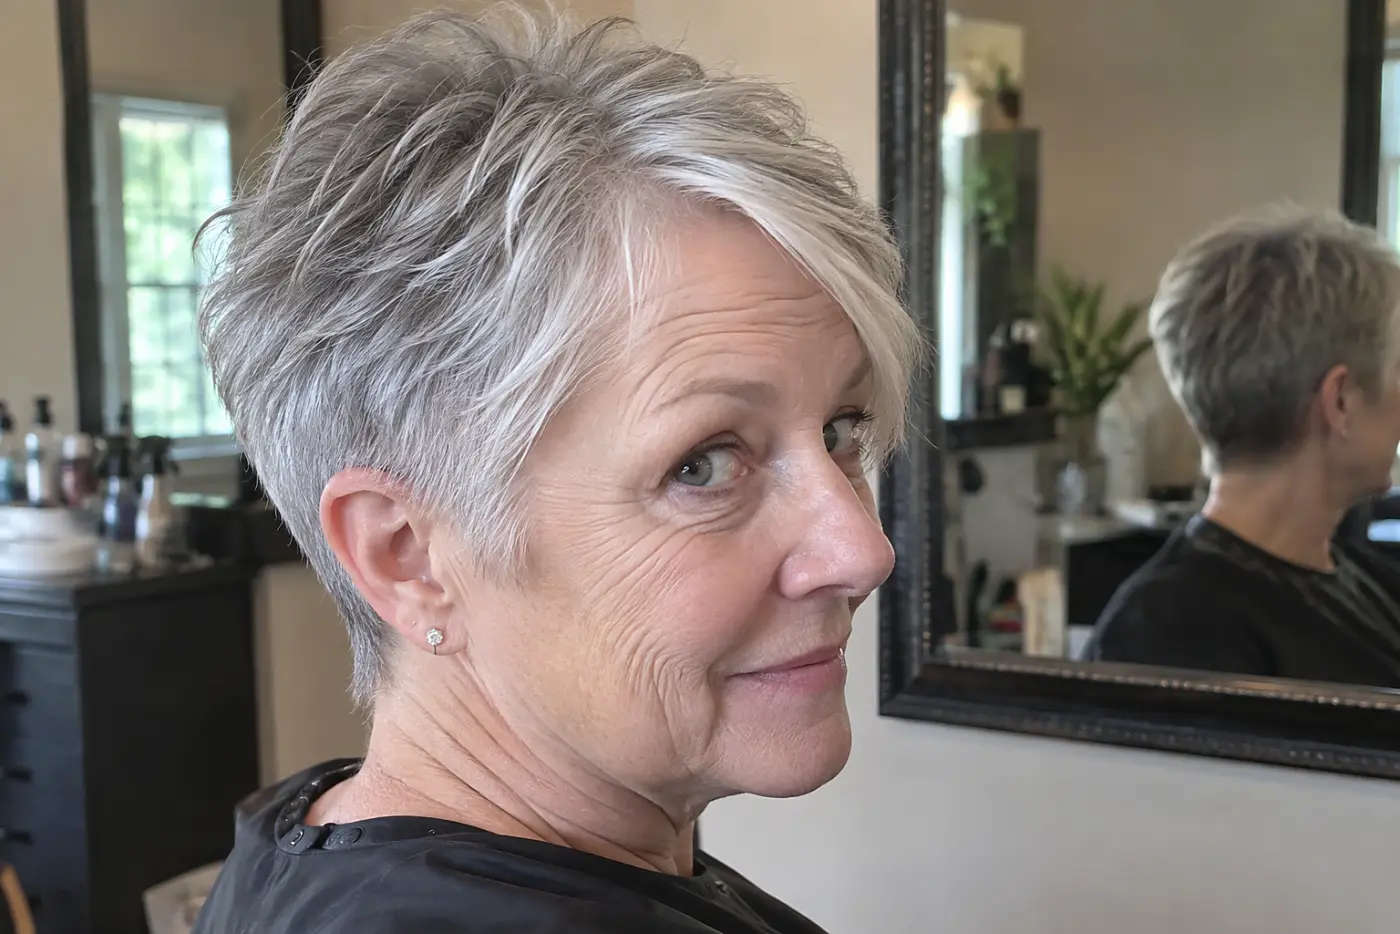
The nape follows the neck, with length left on top.
A neat taper puts the shape where you see it from the side. It also means the back grows out visibly. If the photograph shows a close-cut neckline, ask how that edge will look several weeks later. Plan to have a short nape tidied about every 4 to 6 weeks if you want to keep that close outline. A longer top gives your fingers something to move without making the nape bulky.
Ask for a taper at the neck. Tell the stylist whether you want your ears exposed or partly covered.
15A Long Pixie With Ear Coverage
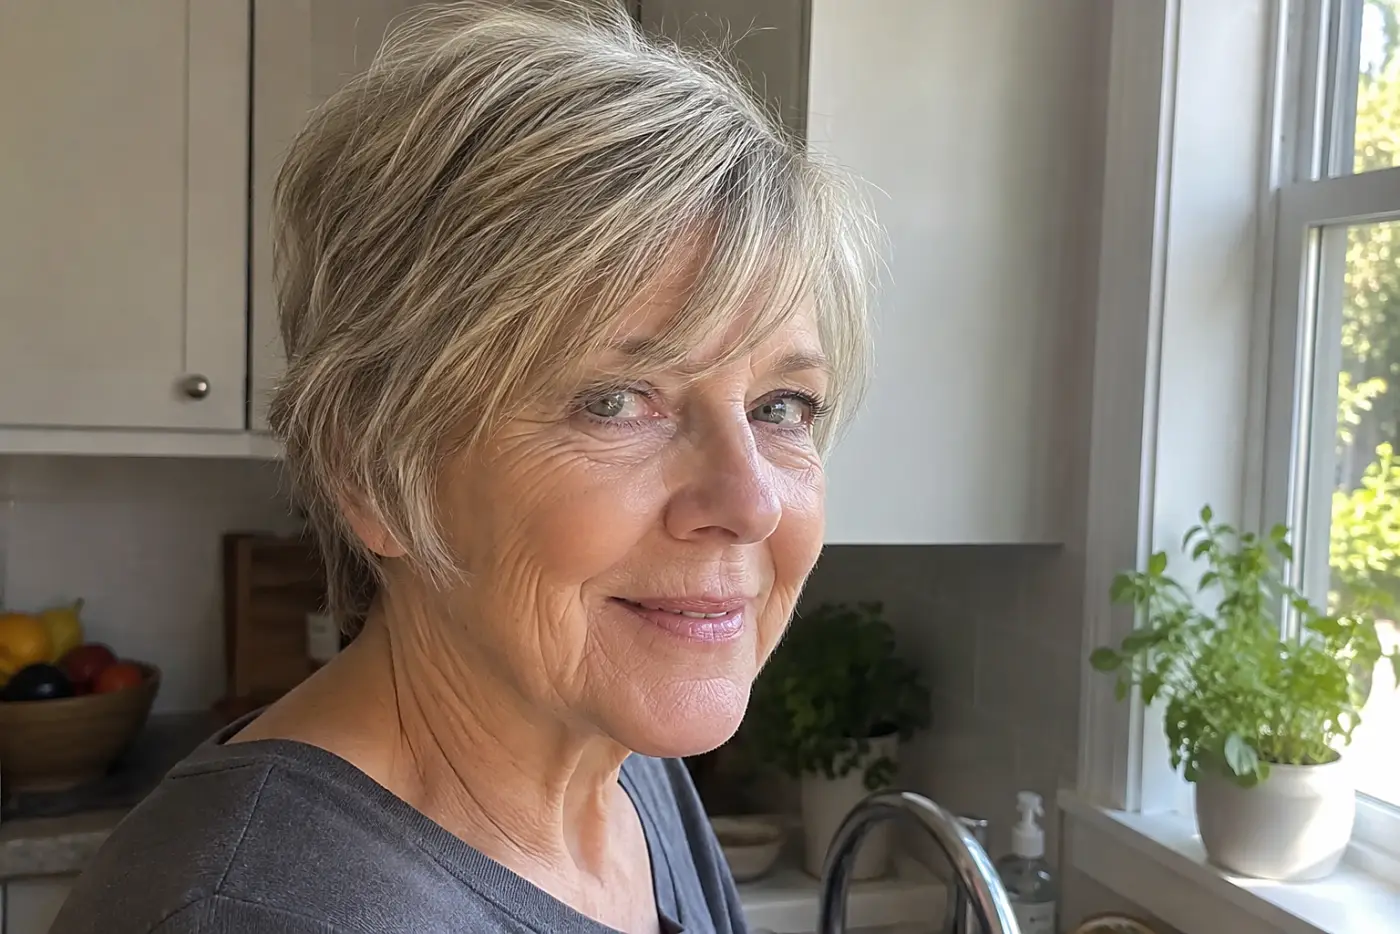
The top moves freely while the sides skim the ears.
That small bit of side length changes the whole front view. It gives you somewhere to tuck a stray piece when the front gets in your way. Look closely at the picture: covered ears don't require long hair at the nape. Check the side view, too. Hair that brushes the top of the ear looks different from hair that covers the lobe. You need to name the stopping point.
Ask to keep the hair over the tops of your ears, with a shorter, tidy back.
14A Textured Crop With Short Fringe
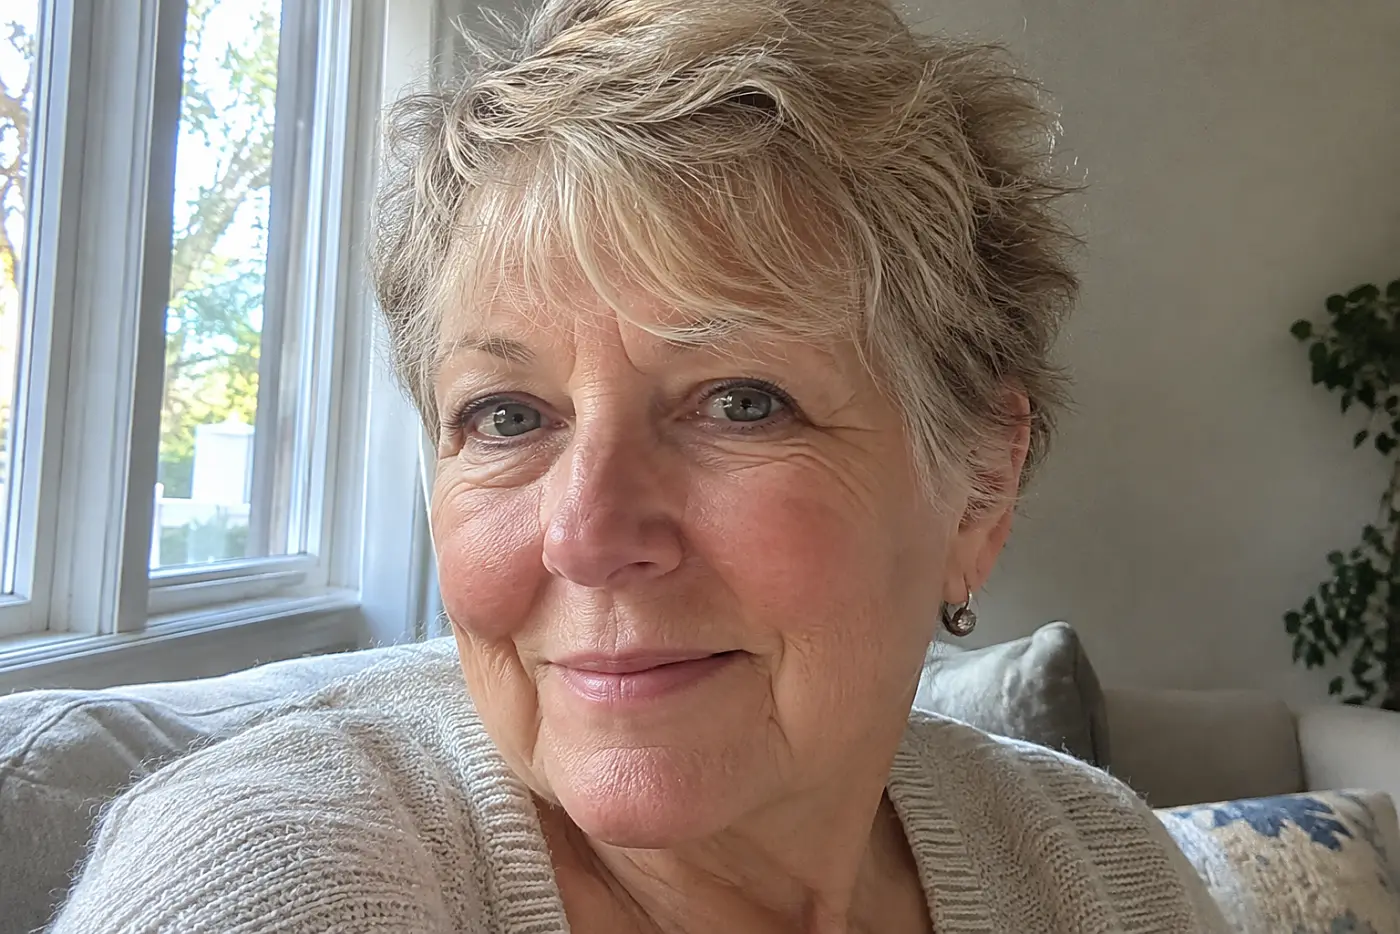
The fringe sits above the brows in broken, uneven pieces.
This cut keeps the forehead open without asking the front to lie in one solid strip. Texture needs a clear plan. Too much thinning leaves fine hair wispy; too little leaves thick hair sitting forward like a shelf. In the picture, study the spaces between the pieces.
Ask for a short, piecey fringe. Discuss where the stylist will remove weight before any thinning shears come out.
13A Bixie With a Tucked Nape
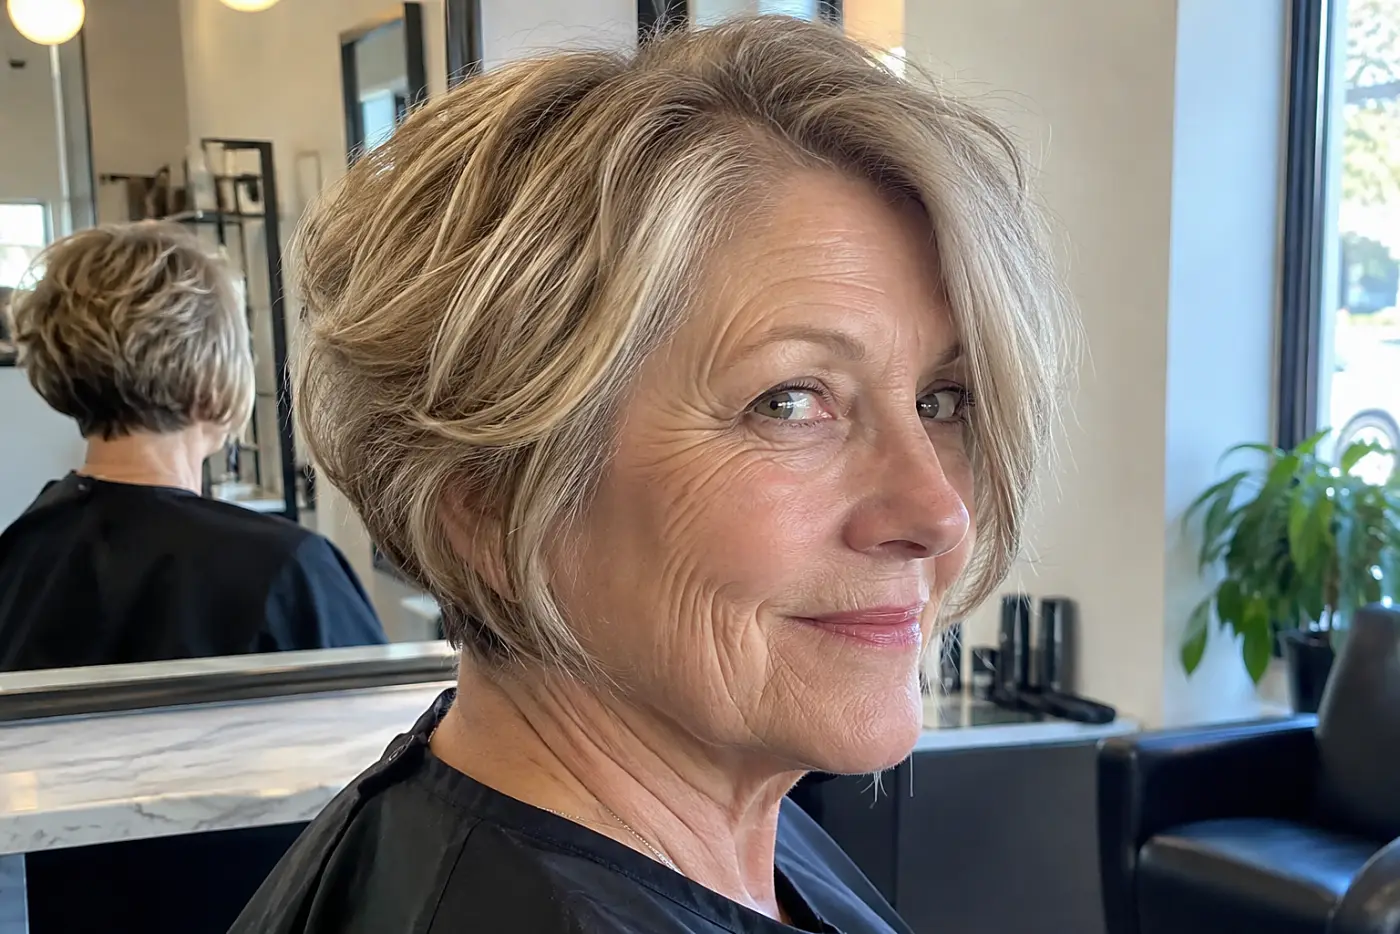
The top reads like a bob; the nape reads like a pixie.
That split gives you movement around the face without a heavy block of hair at the neck. The important line sits behind the ear, where longer sides meet the shorter back. A front-view photo hides that join. Bring a side view so the stylist sees how much hair you want left beside your cheek. Keep an eye on the nape: a tucked edge sits close without being shaved.
Ask for bob-length pieces around your ears and a nape that tucks in, not a shaved undercut.
12A Soft Shag With Crown Layers
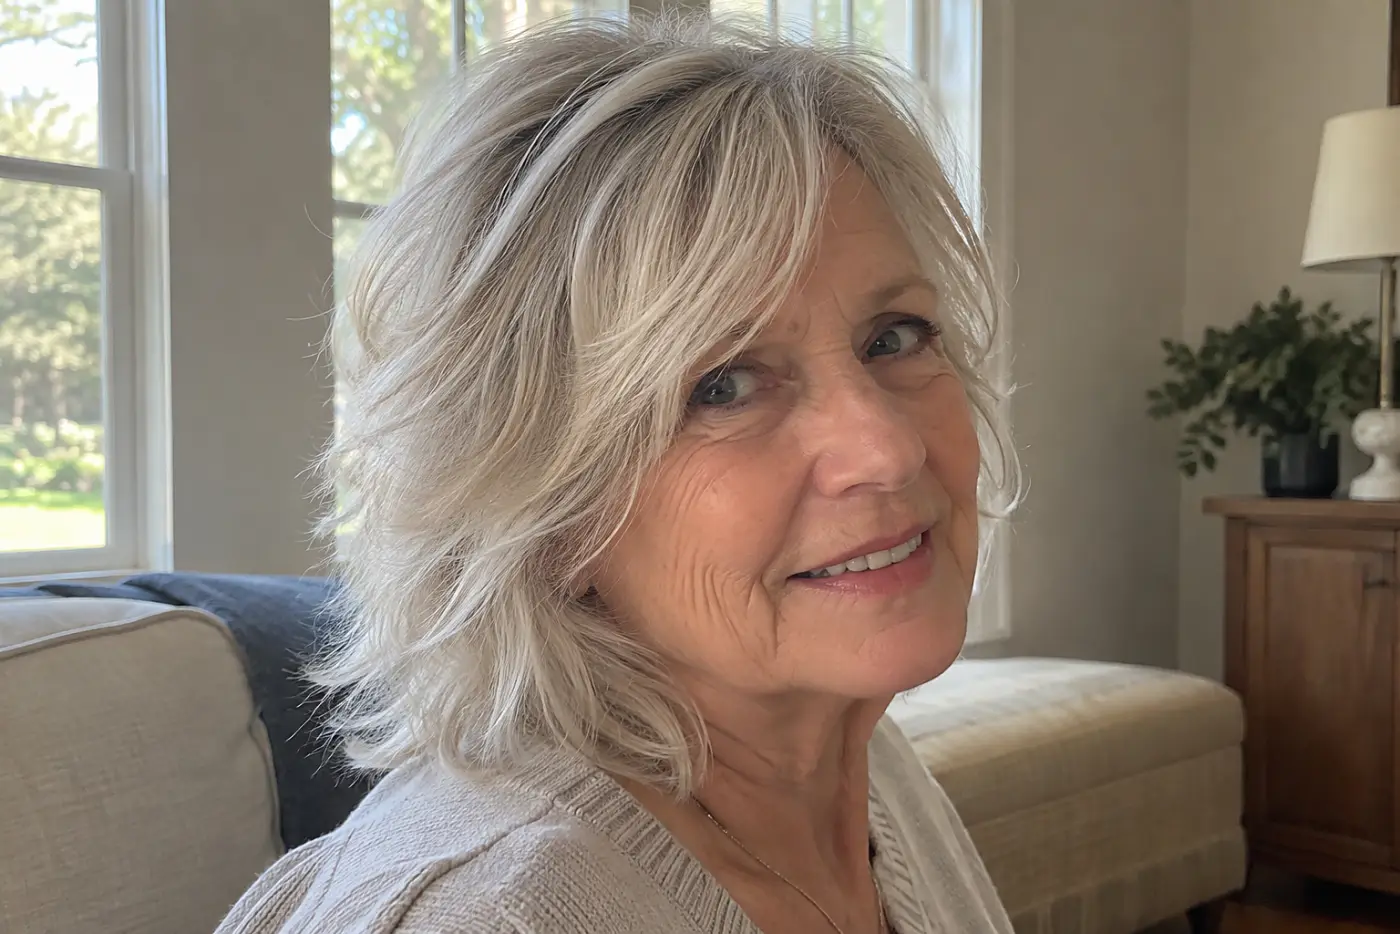
Shorter layers lift at the crown while the ends stay loose.
This shape follows natural wave instead of pressing it into a straight bob. The crown is the risky part: cut it too short, and those pieces stand up alone. Look at where the shortest visible layer falls in the picture. If it's near the top of the ear, know you're asking for noticeable height.
Ask for crown layers, then agree on the shortest piece before cutting starts.
11A Shag With Longer Curtain Bangs
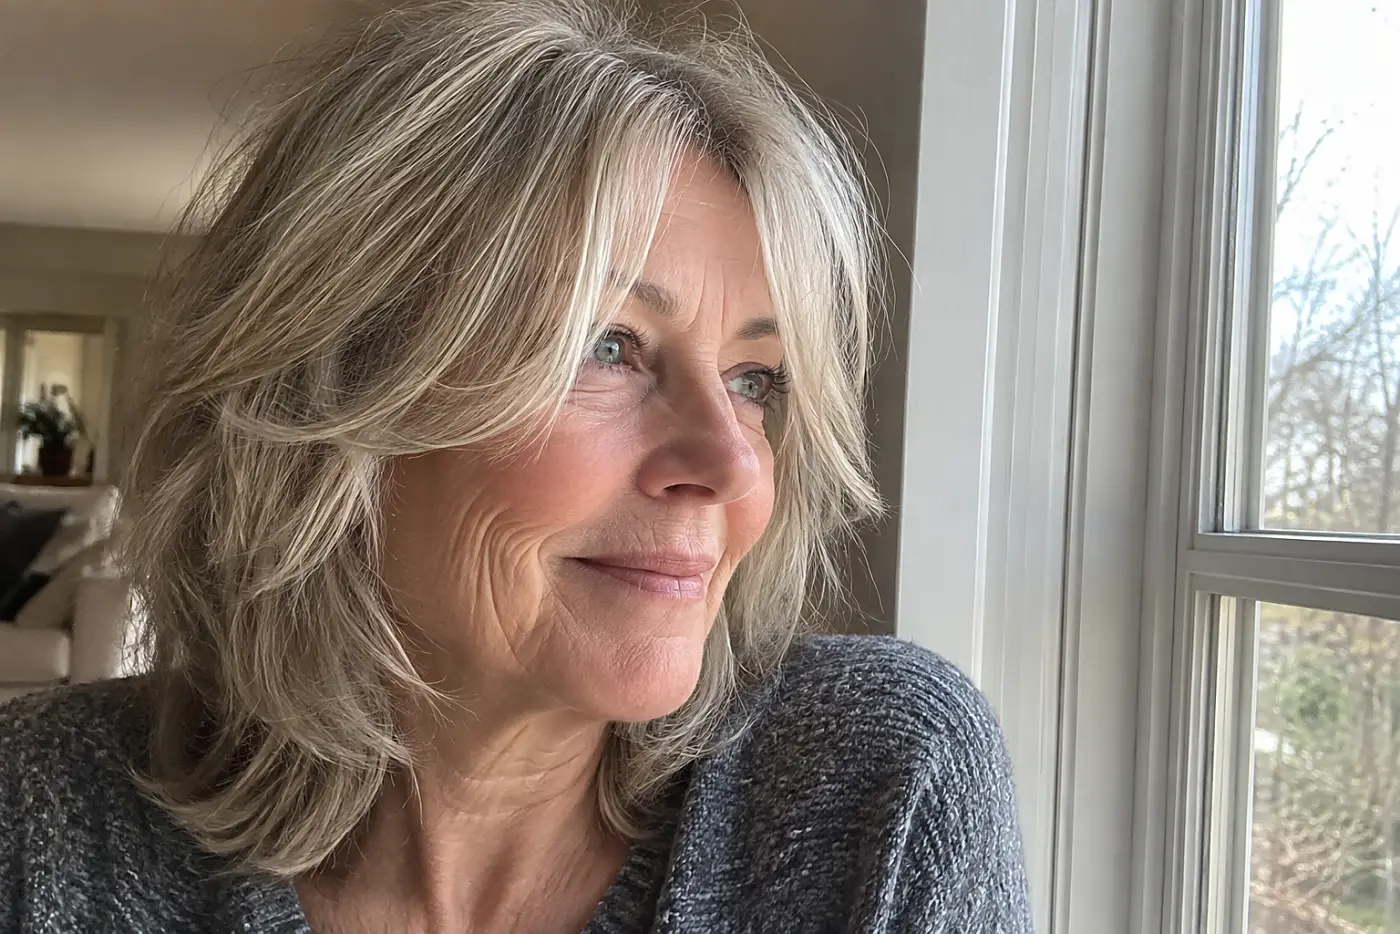
The bangs part near the middle and join the side layers.
Unlike a short fringe, these pieces leave the forehead partly visible. They also need enough length to move away from your eyes. Check the photograph for where the ends fall when the hair is dry.
Ask for curtain bangs that reach your cheekbones and blend into the layers beside them.
10A Wavy Bob Above the Shoulders
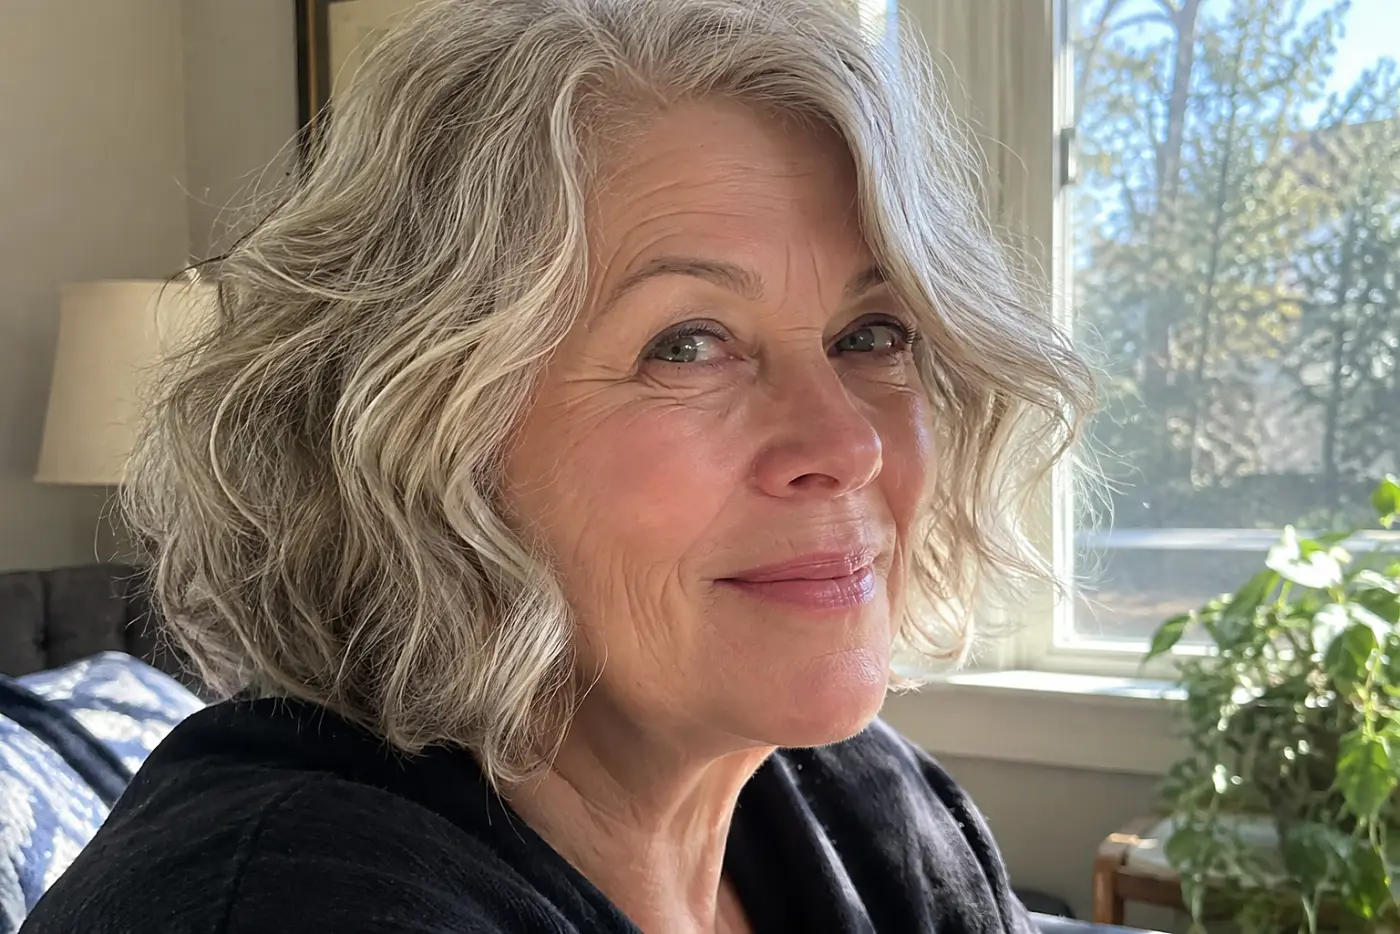
The waves make an uneven outline just above the shoulders.
A wavy bob has to be judged at its usual texture. Wet hair hangs longer and hides where the ends will spring up. One side of a natural wave pattern also behaves differently from the other. That's normal; a perfectly matched wet cut isn't the only goal.
Wear your hair as you normally do, then ask the stylist to check the outline after it's dry.
9A Curly Bob With a Rounded Shape
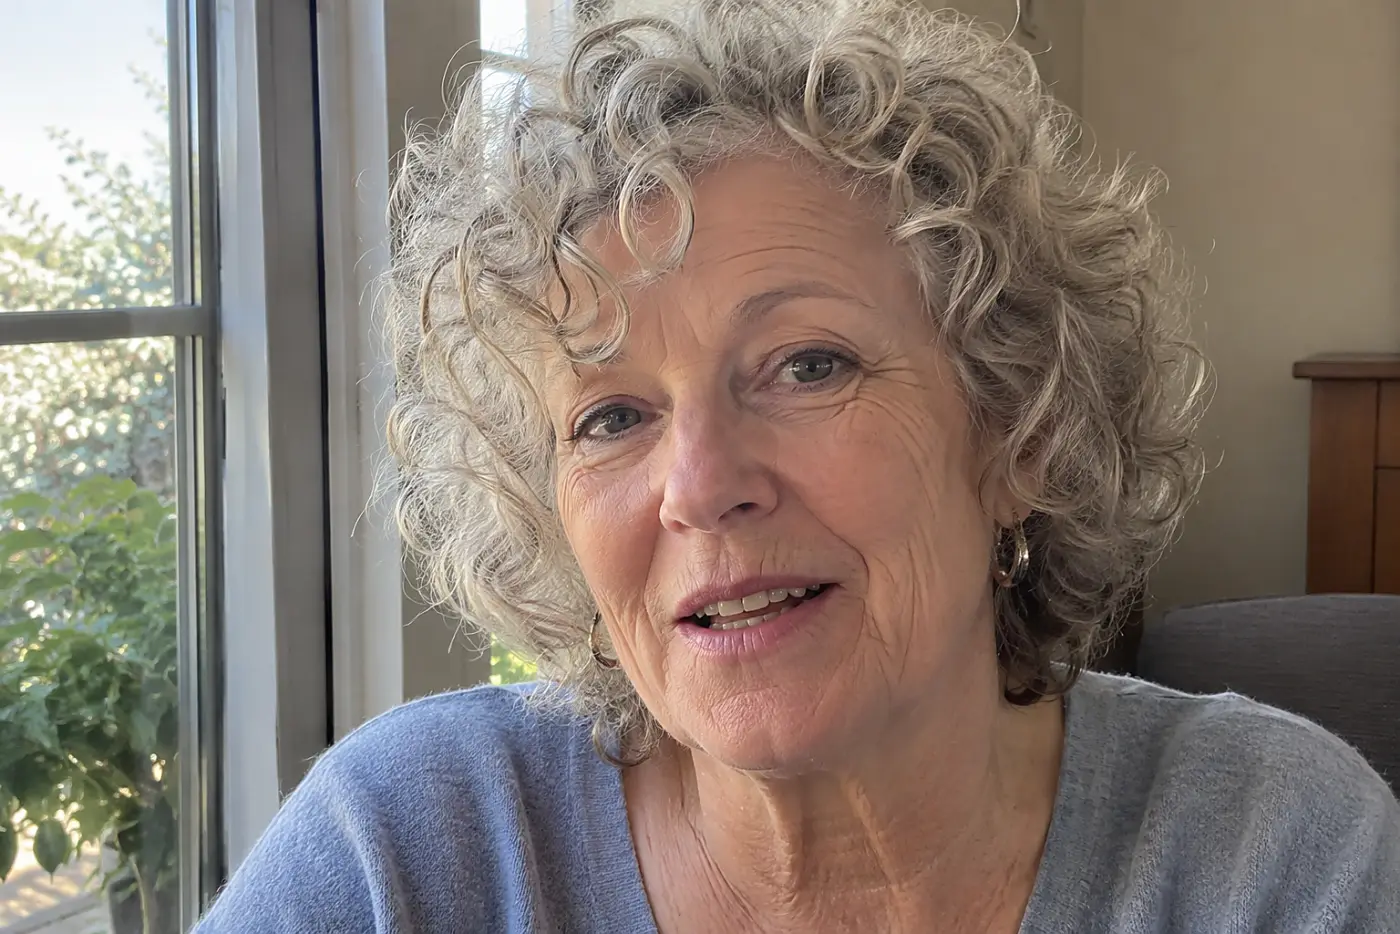
The curls build width around the cheeks, not the neck.
That outline puts the spring of the curls where you see it. A straight-looking wet cut tells you little about the final width. The picture should show dry curls from both the front and side. Check the space below the widest point. Shorter curls at the nape keep the outline round instead of pulling it downward. Your own curl pattern sets the shape; the photo shows where to discuss its width. Name that spot before cutting starts.
Ask where the widest part will sit once your curls are dry.
8A Curly Cut With Forehead Curls
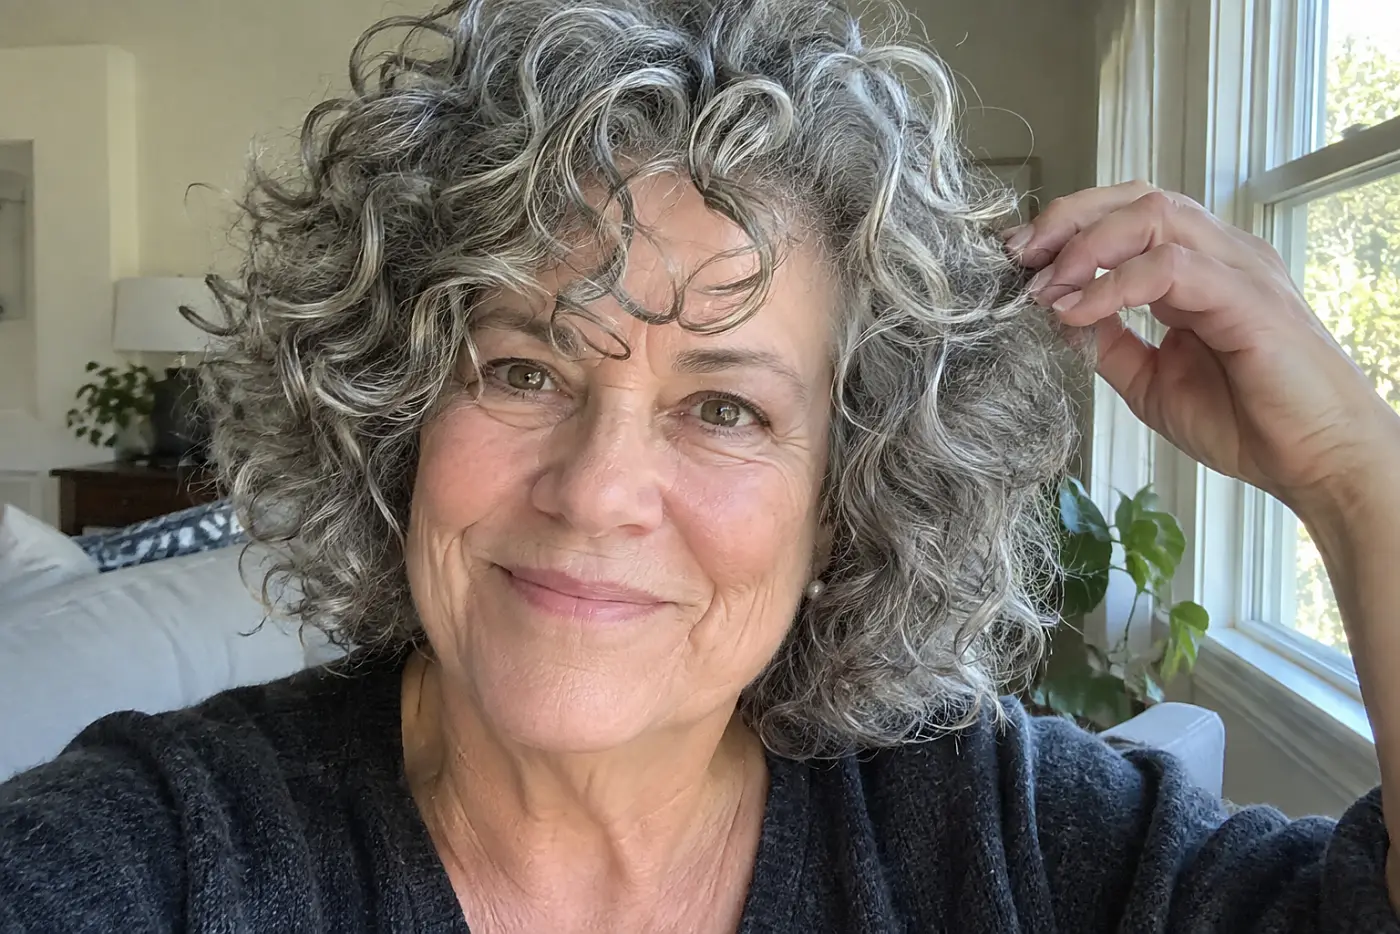
A few curls fall forward while the sides stay shaped.
Forehead curls are a commitment to a shorter front, even when they look long and stretched in the chair. Each curl draws up differently. One cut across wet bangs won't land as one even row after drying. Look for the individual curl ends in the photograph.
Ask the stylist to leave the front long at first and check each curl dry before taking off more.
7A Close Crop With a Full Crown
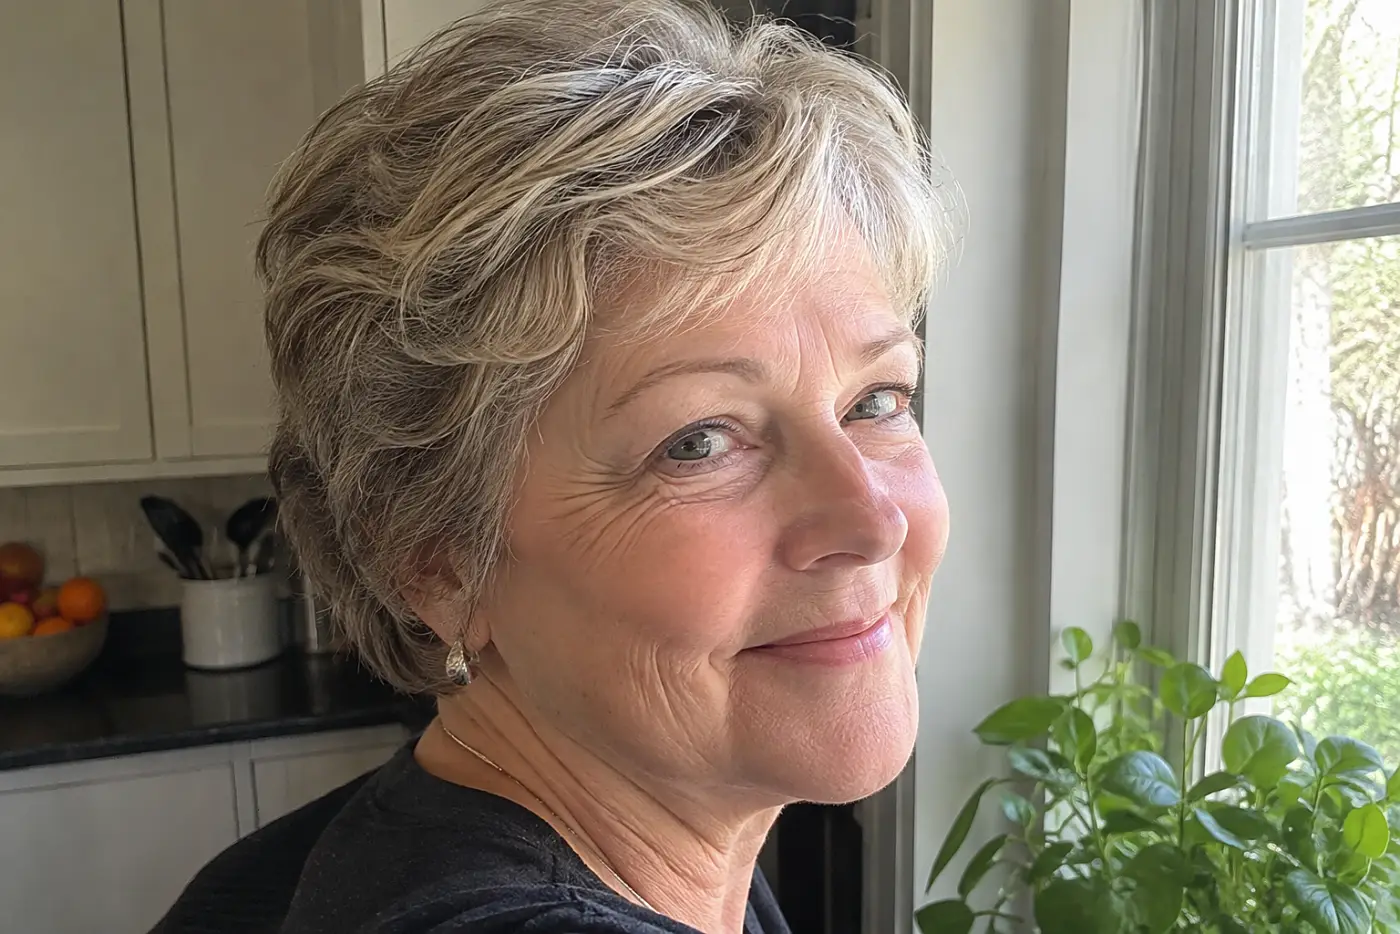
The sides sit close; the crown keeps its dense shape.
This works as a clear outline, not a promise that short hair needs no care. The top still decides how the cut looks in the morning. Notice whether the pictured crown stands upright or lies forward.
Ask to keep enough length on top to style it with your fingers.
See more: 29 Colors That Wash You Out After 50, and the Ones That Don't →
6A Pixie With a Swept-Back Top
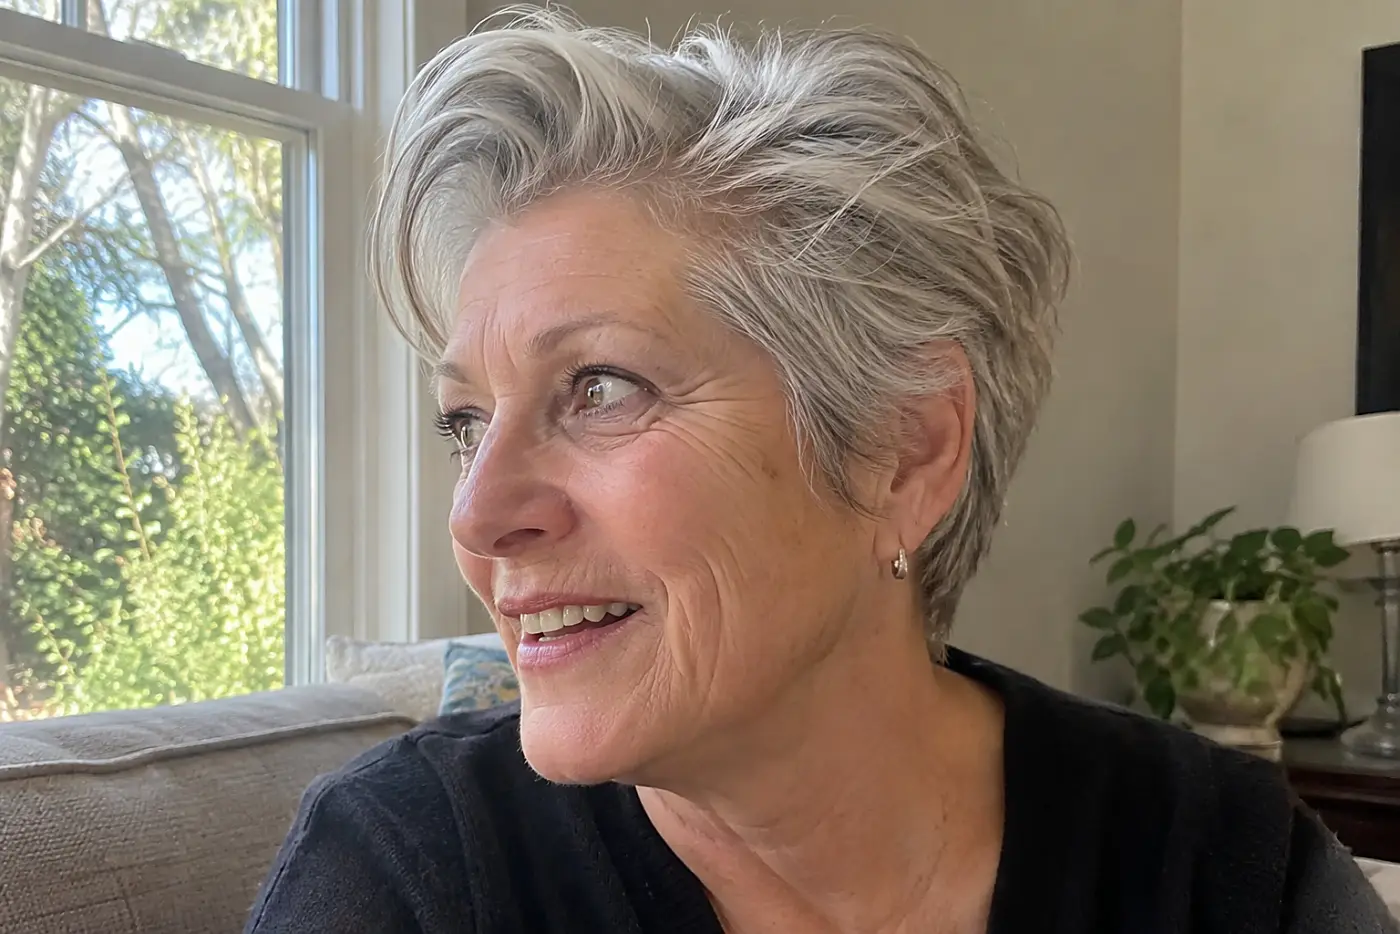
The front lifts away from the forehead instead of crossing it.
The lift changes the cut's profile, especially in side view. It also asks your roots to cooperate. Hair that naturally falls forward needs drying or product to stay back. Check the picture for how much height you actually like, not the height made for a photograph.
Ask the stylist to show you the top's length without product, then demonstrate how to direct it back.
5A Bob With Brow-Length Bangs

A straight fringe sits at the brows above a blunt bob.
The fringe gives the cut a firm front edge. It also puts your brows and glasses in the same small space. In the picture, check whether the bangs touch the frames or clear them.
Wear your usual glasses to the appointment and ask for the bangs to be checked with them on.
See more: 23 Signs Your Glasses Are Aging You →
4A Graduated Bob That Holds Its Shape Between Trims
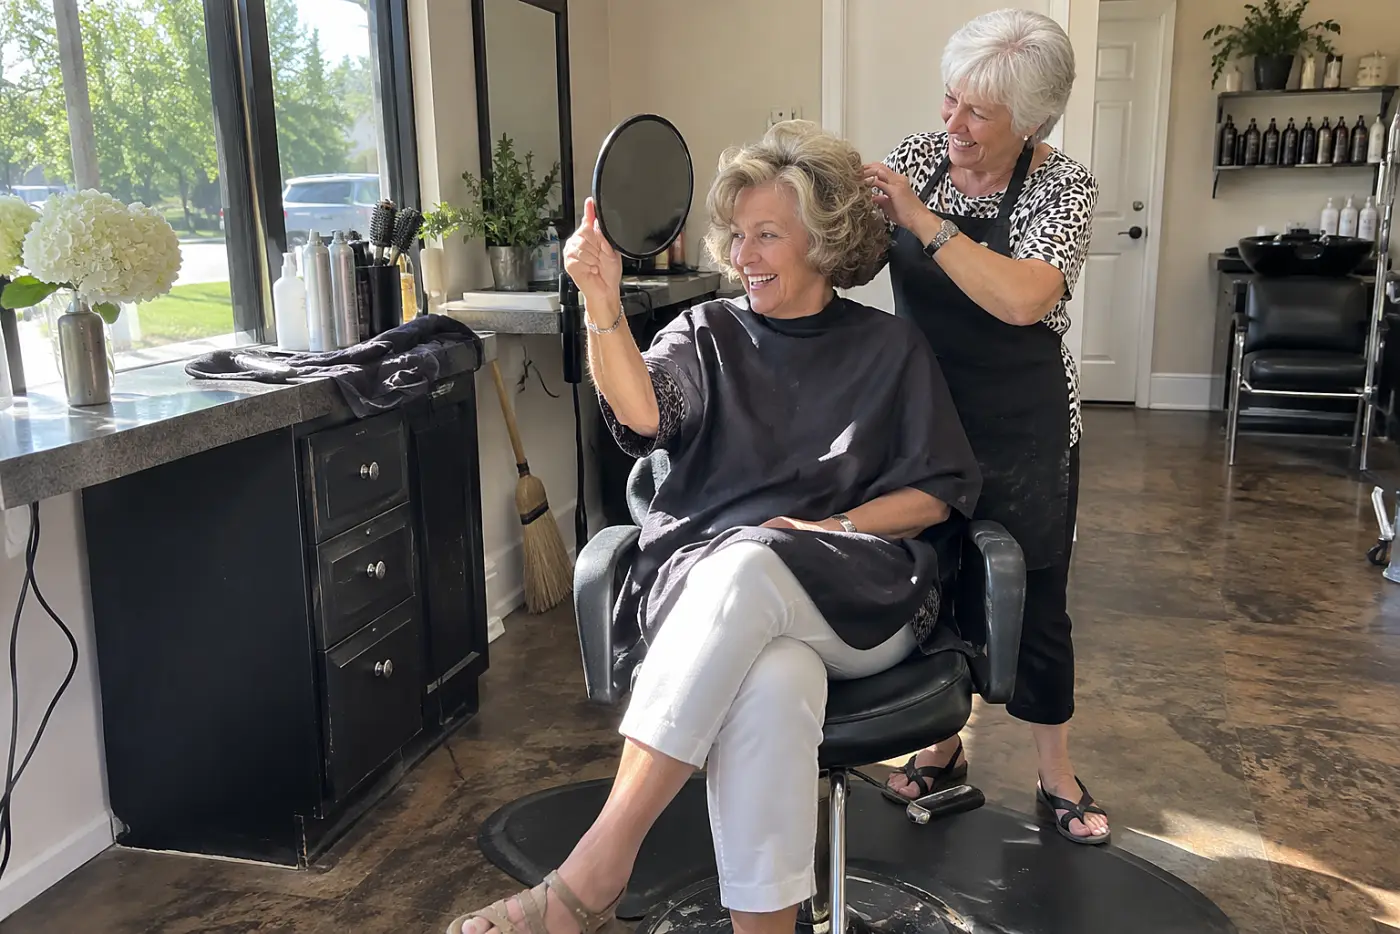
The rounded back changes as the shortest layers grow.
In a graduated bob, short layers support longer hair above them. As those layers grow, the weight moves lower and the rounded back loses its lift. A photo taken on haircut day shows the shape at its freshest. It won't tell you how the back will sit before your next appointment.
That matters if you want a cut you can leave alone for a while. If you want to preserve the graduated shape, plan on a trim about every 6 to 8 weeks. The shorter the nape, the more plainly the growing edge shows above a collar. Ask the stylist to show you the shortest layer with a comb before any hair comes off. Watch where it falls against the hair above it. You want to know how the two lengths will meet as they grow.
This week, decide how frequently you're willing to return for a trim. Say, “I like this rounded back, but show me what length will keep its shape between my appointments.”
The back has a schedule; the next cut puts the question up front.
3A Long Bob With a Diagonal Front Edge
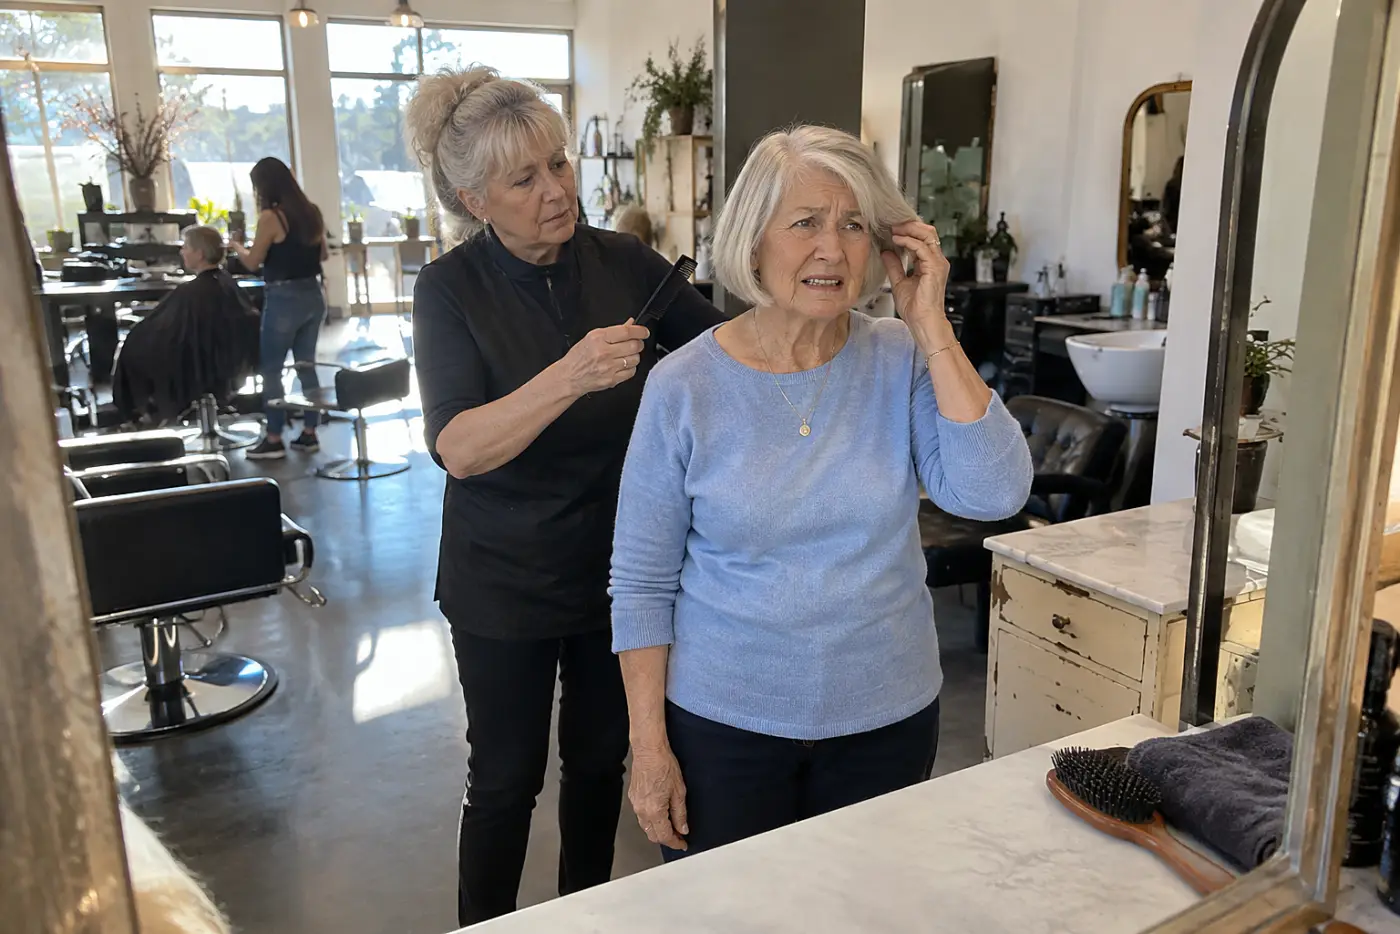
The front looks longer only if the angle survives drying.
An angled bob runs shorter at the back and longer beside your face. Unlike a U-shaped cut on long hair, its line shows from the side. If your ends flip at the shoulders, that line shifts.
Ask the stylist to mark the front length on your collarbone before cutting. Say, “Please check the angle once my hair is dry.”
Then see where the ends turn.
2A Shoulder Cut With Side Bangs
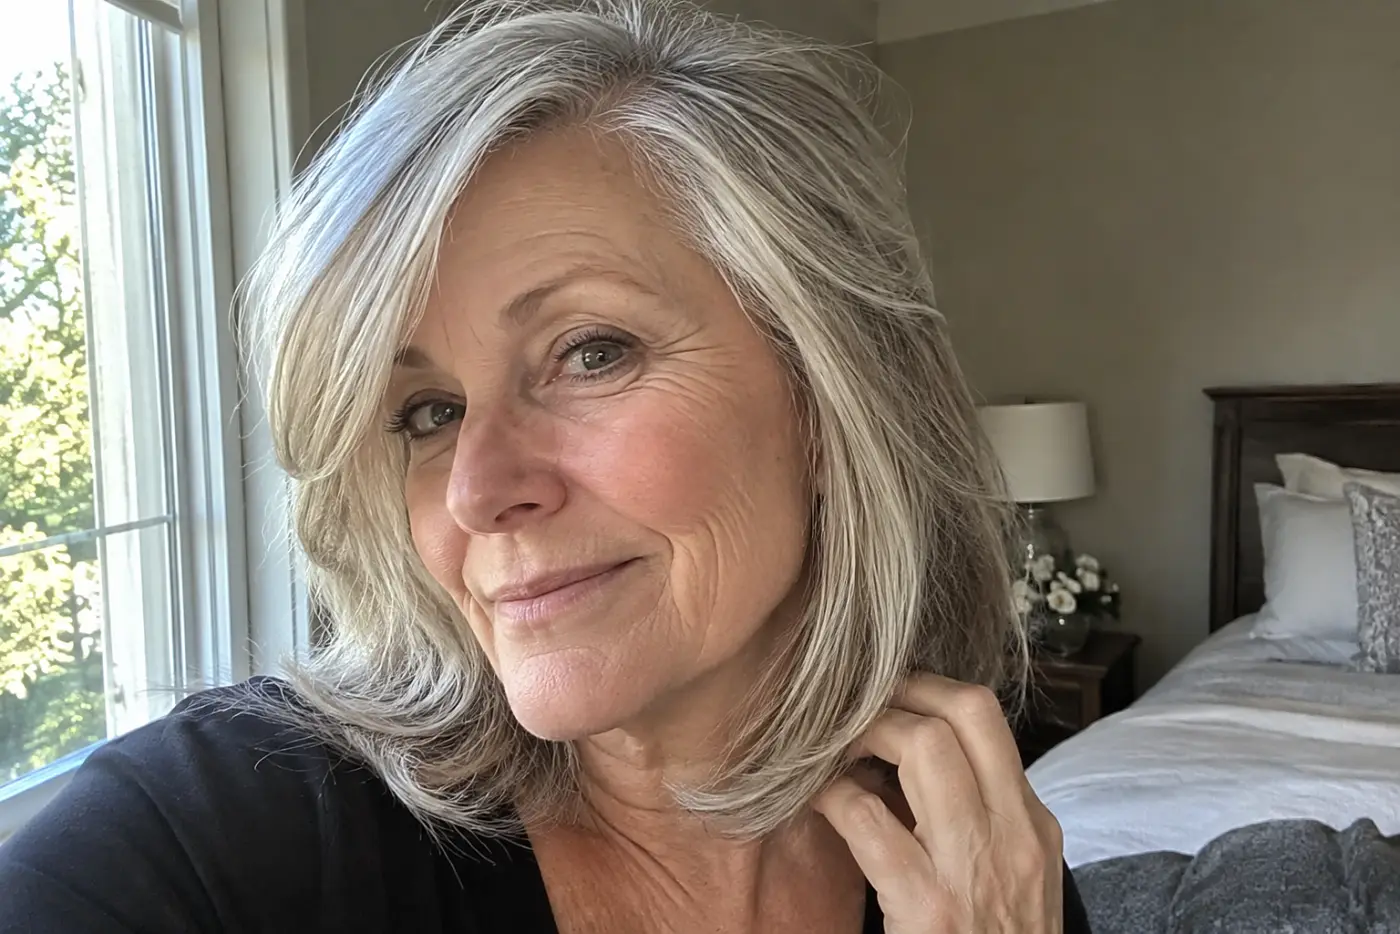
Long bangs cross the forehead and meet the shoulder-length sides.
This gives you a fringe you can tuck away instead of maintaining a short line across your brows. The shortest point determines whether it stays out of your eyes. Photos taken with a blowout hide that everyday test. Check where the bangs land when your hair parts on its own. If you wear glasses, their frames give you another line to clear.
Ask for side bangs long enough to tuck behind your ear. Check the length without styling.
1A Face-Frame Cut Dry and Unstyled
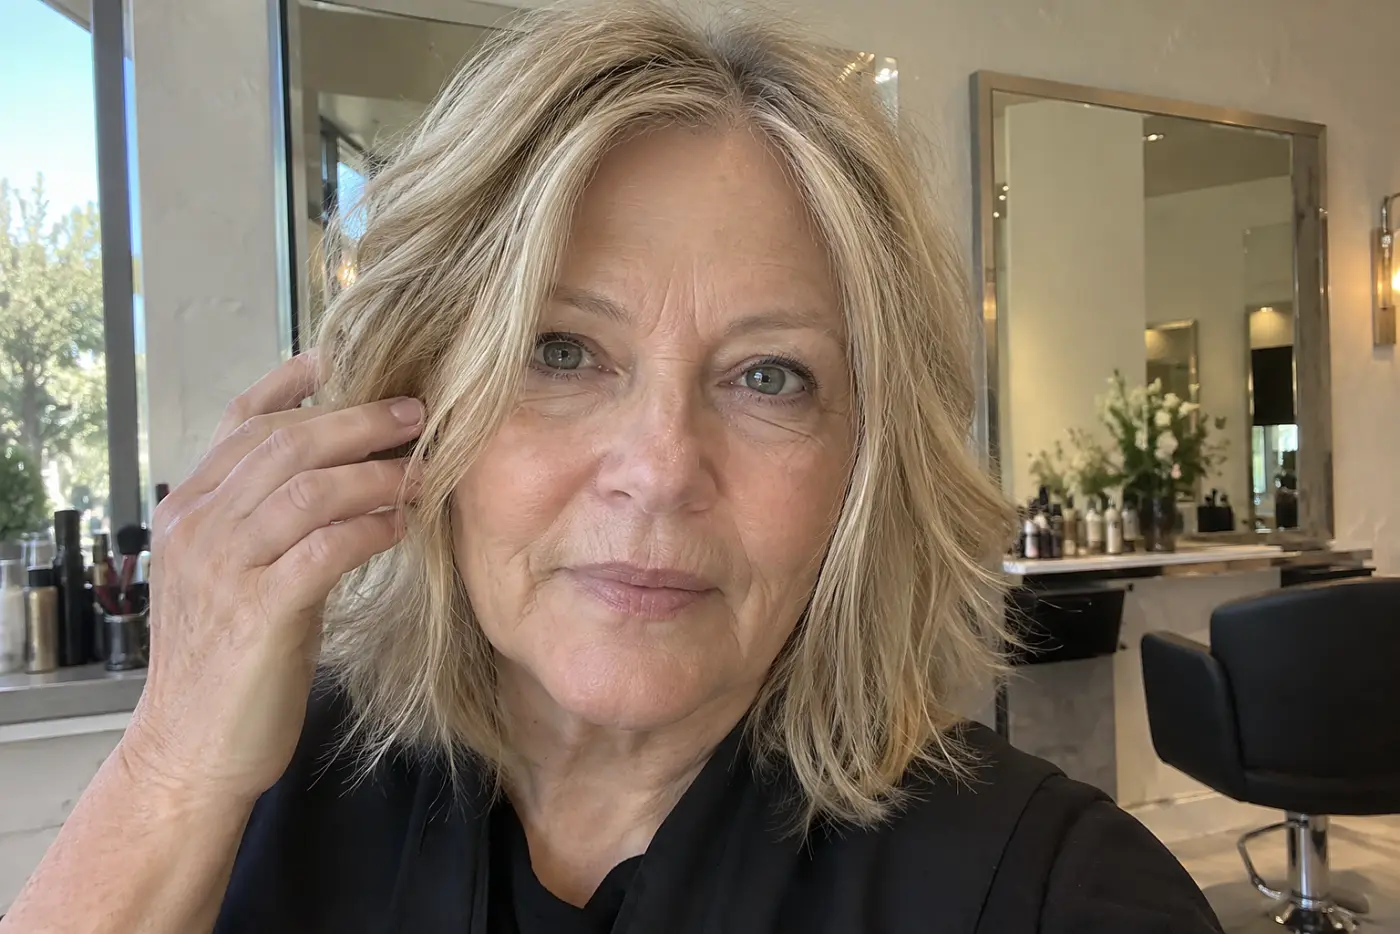
The front pieces fall into place without a brush holding them.
This is the cut to ask for when the photo looks right but your hair never does the same thing at home. The front controls what you see each morning: the part, the fringe, and the pieces beside your cheeks.
A salon finish hides a front that falls flat without a round brush. You need to see where it settles on its own.
Ask the stylist to check the face-framing pieces dry and unstyled before you leave; the steps below give you the exact test.
The bottom line
Across these 25 cuts, the difference lies in where the front falls, where the weight sits, and what your hair does dry.
You already know a good salon finish isn't your Tuesday morning. Bring the picture, point to the exact length, and check the result before you leave. Which cut have you tried to describe without quite finding the words?
Up next
25 Spring Outfits for Women Over 60 (and What Makes Them Work)
A linen shirt, a jacket, and the shoes you’ll actually wear turn familiar clothes into outfits for spring days.
Read the list →
Reader quiz
Did you catch the details?
5 questions from this article. Finish them all to unlock the editor's bonus tip.
With a blunt bob at the jaw, what should you ask the stylist to check dry?
Did any of these feel familiar?
Know someone who needs this?
Nora Bennett
Style Editor
Nora writes about hair, clothes and grooming for people who have stopped asking permission: what to keep, what to let go, and what reads as taken care of.
More from Nora Bennett